The Outbox Pattern in Event-Driven ASP.NET Core Microservice Architectures
How to Build a Resilient Architecture with RabbitMQ, C#, Entity Framework, and the Transactional Outbox Pattern

In the first step, you will create two microservices. Each microservice has its own database. They use events to publish changes to a RabbitMQ event bus. (You can skip this part if you already implemented it in my last article). Next, you will see how messages get lost e.g. when the message bus is down.
In the second part, you apply the transactional outbox pattern and see how it prevents losing messages.
In the last step, you add publisher and subscriber acknowledgments and duplicate/out-of-order message handling.
Contents
- Create the .NET Core Microservices and Exchange Messages
- Implement the Transactional Outbox Pattern
- (Optional) Test the Implementation
- Add Publisher Notify, Acknowledgments, and Resilient Message Handling
- Final Thoughts and Outlook
1. Create the .NET Core Microservices and Exchange Messages
See my previous article for how to create the Microservices and configure RabbitMQ.
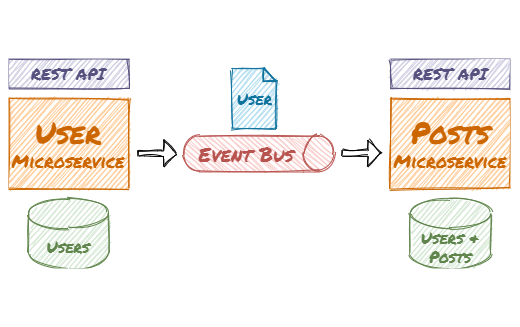
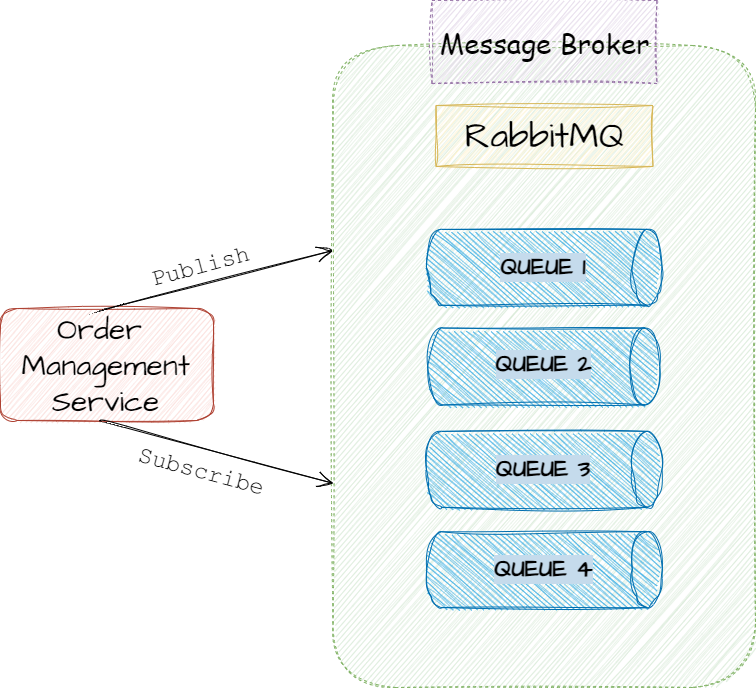
This will give you the following components and workflow:

Now both microservices and the RabbitMQ container “some-rabbit” should be running. Use the REST API of the User service to create and modify users and make sure everything is working. The User service should be sending events to the event bus and the Post service handles them. And the users in the user database are in sync with the users in the post database.
Messages Getting Lost
Stop the RabbitMQ container:
C:\dev>docker stop some-rabbitUse the Swagger UI to create a user in the UserService:
{
 "name": "Chris2",
 "mail": "chris2@chris2.com",
 "otherData": "Some other data"
}
The RabbitMQ server can’t be reached:

The user is in the user database:

The event is lost and therefore the user is not in the post database and the microservices are now inconsistent. In the next step of this guide, you will see how to solve this problem.
2. Implement the Transactional Outbox Pattern
In this part of the guide, you will add the transactional outbox pattern to the UserService project to prevent lost messages.
If you want to read about the details and concepts of the transactional outbox pattern, you can get more information about it at: https://microservices.io/patterns/data/transactional-outbox.html
Create the IntegrationEvent entity:
Add it to the UserServiceContext:
public DbSet<UserService.Entities.IntegrationEvent> IntegrationEventOutbox { get; set; }Modify the UserController
The code in PutUser and PostUser starts a transaction and updates/inserts the User entity. In the same transaction it inserts the IntegrationEvent in the database instead of directly publishing the event:
Create the publisher as BackgroundService
The IntegrationEventSenderService polls the database and sends all outstanding events to RabbitMQ:
Continuously polling the database is not good. You will improve the polling in the next step.
Add the IntegrationEventSenderService as HostedService to Startup.cs:
Further reading: Implement background tasks in microservices with IHostedService and the BackgroundService class
3. (Optional) Test the Implementation
Now it’s a good time to test if everything is working like expected:
Delete the user.db so that the database schema is created including the outbox table
Delete the post.db so both databases are empty
Start the RabbitMQ container:
C:\dev>docker start some-rabbitStart the User Service in Visual Studio
Use the Swagger UI to create a user in the UserService:
{
"name": "Chris",
"mail": "chris@chris.com",
"otherData": "Some other data"
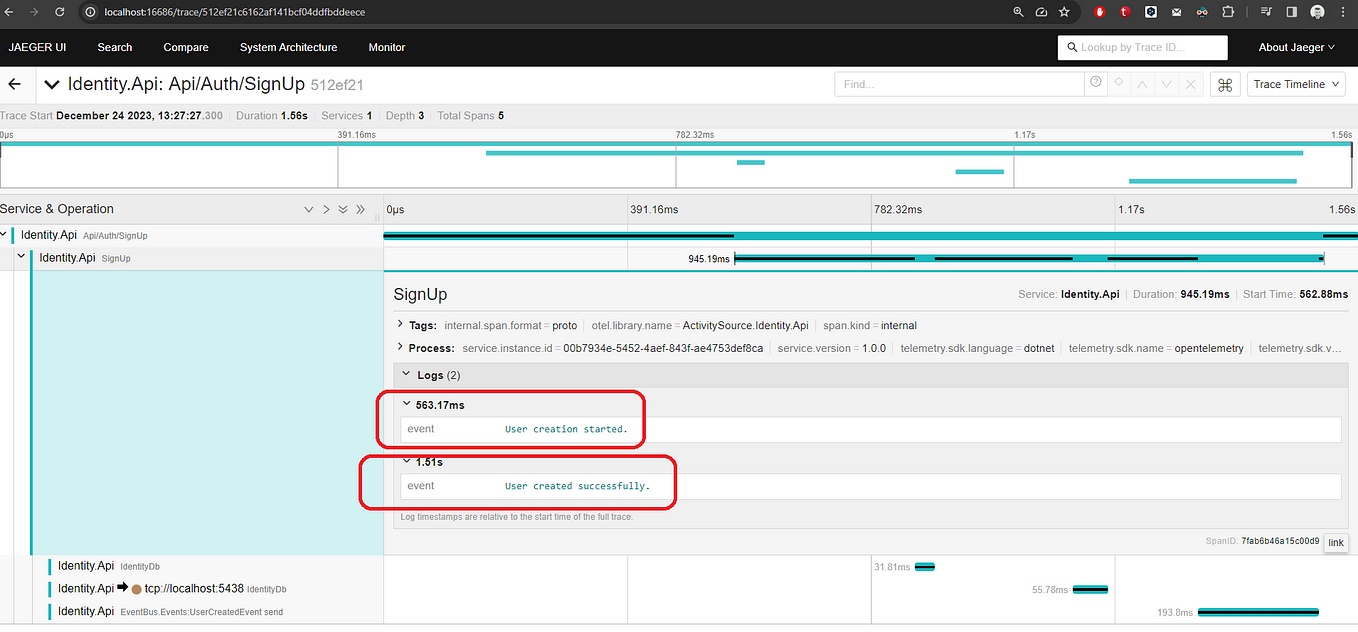
}The sending of the event is logged to the console:

Stop the RabbitMQ container:
C:\dev>docker stop some-rabbitUse the Swagger UI to create another user in the UserService:
{
 "name": "Chris2",
 "mail": "chris2@chris2.com",
 "otherData": "Some other data"
}
The IntegrationEventSender can’t send the message and logs a RabbitMQ exception every 5 seconds:

Start the PostService (it has no automatic restarting logic)
Start the RabbitMQ container:
C:\dev>docker stop some-rabbitThe IntegrationEventSender sends the message:

Congratulations: Your outbox implementation is working like expected!
4. Add Publisher Notify, Acknowledgments, and Resilient Message Handling
Inserting or updating the user entity notifies the publisher so it loads data from the outbox table only if there are new entries. A version field for the user entity enables handling of duplicated or out-of-order messages in the consumer. RabbitMQ publisher confirms, persistent messages and acknowledgments handle situations where the publisher, subscriber, or the event-bus don’t work.
Detailed workflow of the outbox pattern, publisher notify, acknowledgments, and version control:

Modify the User entity to include the version field:
You could use RowVersion with a production SQL database. But SQLite doesn’t support it.
Modify the IntegrationEventSender
It uses a CancelationToken to wake up when there are new entries in the outbox. See the comments in lines 47, 49, and 65 for how persistent messages and publisher confirms are implemented.
Synchronously waiting for publisher confirms is very inefficient. See the official RabbitMQ guide for how to improve it.
Make sure, you created the queue as durable:
Durable queues will be recovered on node boot, including messages in them published as persistent. Messages published as transient will be discarded during recovery, even if they were stored in durable queues. (https://www.rabbitmq.com/queues.html)
Modify the UserController
Set/increment the version field in PostUser/PutUser.
Get the IntegrationEventSender in the constructor and call it after committing the transactions.
Modify program.cs in the PostService project
- Line 78 disables automatic acknowledgments
- Line 75 sends the acknowledgment
- Lines 45 and 64 check for duplicate messages
Using Program.Main is not optimal. You could move the code to a BackgroundService.
You can now delete the user and post DB and test your implementation as you did in part three of this guide.
5. Final Thoughts and Outlook
You added the outbox pattern to your event-driven architecture and made it more resilient.
You would have to adjust the code to use it in a production environment: Clean up the code and apply security best practices. Apply .NET Core design patterns, error handling, etc. You should also optimize the publisher acknowledgments and use a BackgroundService in the post service.
You could move the outbox logic to a central location like the DbContext or use a framework like MassTransit. (These frameworks, SAGAs, and scaling/sharding might be good candidates for my next articles.)
See my other articles on how to deploy your ASP.NET Core application to Kubernetes, use Angular for the UI, and add MySql and MongoDB databases.
Please contact me if you have any questions, ideas, or suggestions.