How to screen record on Chromebook: Full guide

Most people use third-party apps to record their device's screens, bringing up another debate on which third-party app is the best for screen recording. If you own a Chromebook, you don't have to participate in this debate, as the feature comes within the computer! This guide will show you how to screen record on Chromebook and help you get rid of all the third-party apps you downloaded!
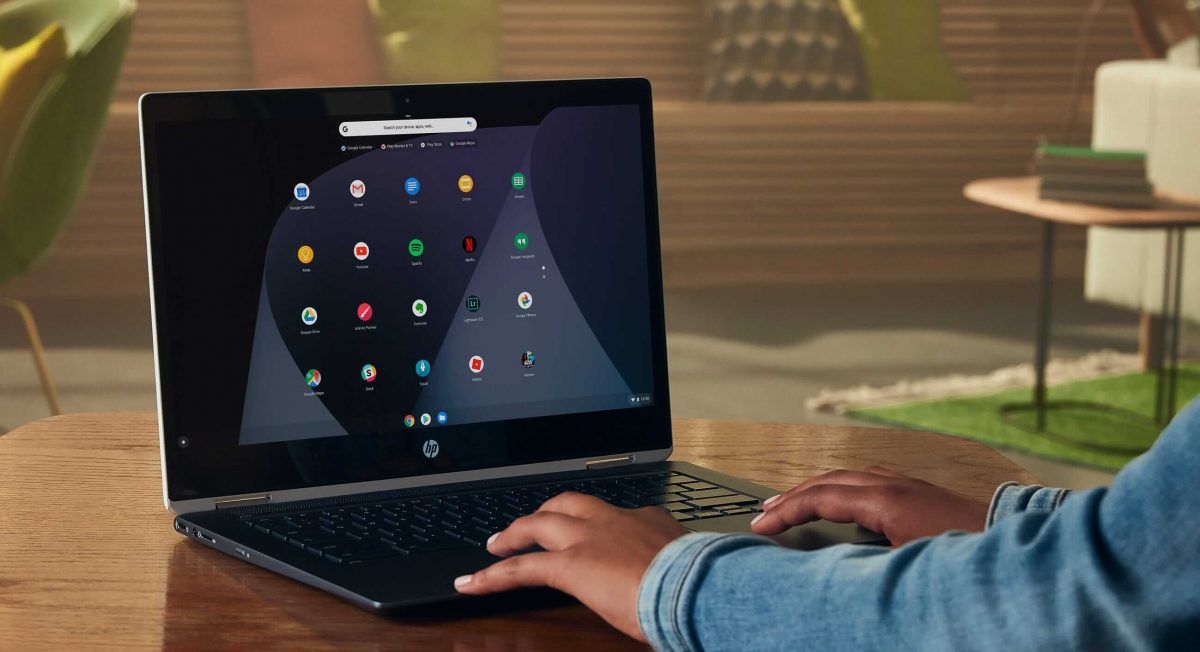
A Chromebook is a laptop that uses ChromeOS, a Google-developed operating system. The lightweight ChromeOS operating system was created to be compatible with Google's suite of web-based programs, including Google Documents, Gmail, and Google Drive. Its emphasis on cloud computing and web-based applications sets it apart from other operating systems like Windows and macOS. Chromebooks are known for being affordable, having a long battery life, and starting up quickly.
How to screen record on Chromebook: Easiest methods
Recording your screen might be one of the easiest things you can do on your Chromebook, thanks to ChromeOS' user-friendly interface. You don't have to be an expert to do it, and you will actually be surprised that you are only a few clicks away from it! If you want to know how to screen record on Chromebook, follow the sites below:
- At the bottom right of your screen, click on the Chromebook Shelf.
- Expand the menu by clicking on the arrow facing upwards.
- You will see a "Screen Capture" button; click on it.
- At the bottom left, select the camera icon.
- Choose the screen size; the left is for full screen, the middle is for partial screen, and the right is for a windowed record.
- Set everything up by clicking the "Gear" icon, which stands for "Settings.
After setting everything up, now it is time to start your recording. Depending on the screen size you choose, there are three different methods to start your recording. If you want to know how to screen record on Chromebook, you need to follow the methods below cautiously:
- Full Screen: Click anywhere on your screen to start your recording.
- Partial Screen: Select the area you want to record by dragging and then hit the "Record" button.
- Windowed: Select the window you want to record by clicking its area to start your recording.
A very recognizable red icon will appear on the taskbar. It is the universal symbol of "recording," and when you want to stop the recording, just click it, and the session will stop. If you haven't changed any settings regarding its "save place," you can find it in the Downloads folder. Double-click on the video you saved a see how it recorded your screen!
How to take a screenshot on Chromebook?
Luckily, some chromebooks have "screenshot" buttons for you to finish the process with only one click. If yours doesn't have that button, don't worry, we have another solution for you!
- If your Chromebook doesn't have a Screenshot key, press Ctrl +Shift + Windows icon. (or Ctrl + Shift + F5, if your external keyboard doesn't have a Windows key.)
- At the bottom, select Screenshot.
- Select an option between full screen, partial, or window.
How do you screen record on a Chromebook with sound?
Now you know how to screen record on Chromebook, but did you know that you can also record your audio on top of the recording? You might have seen people do that on YouTube and other platforms when they need to tell the story of what they have on their screens. It is also very easy to do on Chromebooks! For that, we will be using another built-in ChromeOS app called "Screencast."
- Launch Screencast.
- Click + New Screencast.
- Just like Screen Capture's menu, click the gear at the right of the toolbar.
- Click Microphone under audio not to turn it on. (You can also enable your camera at this stage.)
- Set everything according to your preferences as shown under the "how to screen record on Chromebook" title.
- The three-second countdown will start, and once it hits 0, you can start talking!
Once you are done, click the red recording icon on your toolbar. All the other steps are the same as the previous one.
More Chromebook guides can be found below:
Advertisement