How to Record a Video on Windows 10 with OBS Studio

Here we’ll show you how to create a screen recording using OBS Studio. How to live-stream. And how to save your videos in the right format for different platforms.
There are many choices when it comes to recording video of your desktop of Windows 10, but one application that stands at the top of the list is OBS Studio.
OBS stands for Open Broadcaster Software. OBS Studio is a free, full-featured, open-source video recording and live streaming application. It’s perfect for live-streaming games, creating how-to videos for YouTube, and much more.
In this article, you’ll learn how to create a screen recording using OBS Studio, how to live-stream, and how to save your videos in the right format for different online platforms.
Setting Up OBS Studio
You can download and install OBS Studio for Windows, macOS, or Linux. Once installed, just select the Start menu, type “OBS Studio”, and select the OBS Studio app to launch it.
When it launches, you’ll see a window similar to the one below with a preview of one of your desktops (whichever screen is selected by default). You’ll notice there are five control panels along with the bottom and menu options along the top.
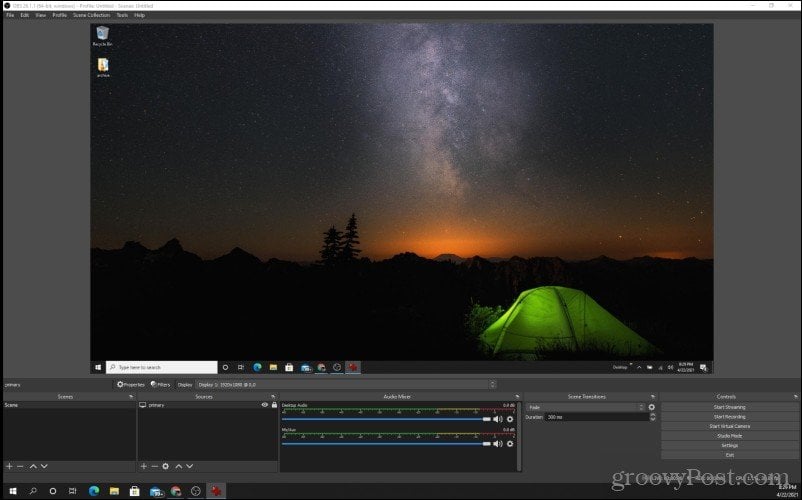
We’ll dive into each of the important areas you need to explore so you can start recording or streaming your displays.
Set Up Your Input Display
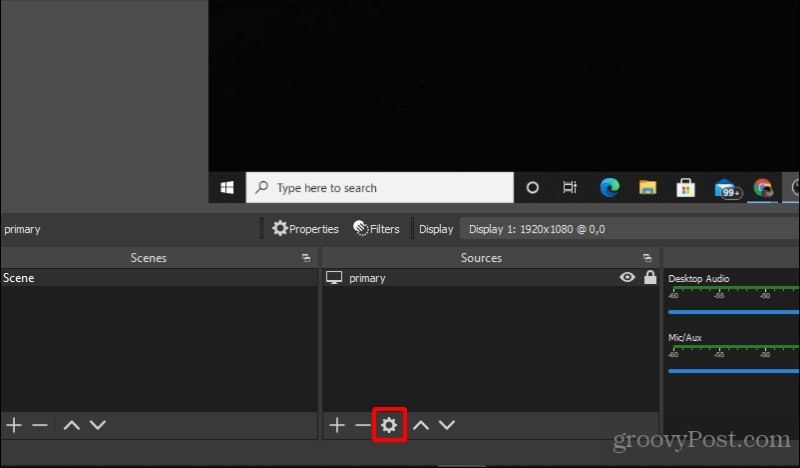
The most important of these is the Sources box (second from the left). This is the current screen that OBS Studio is viewing. Select the gear icon at the bottom of this box to change the display.
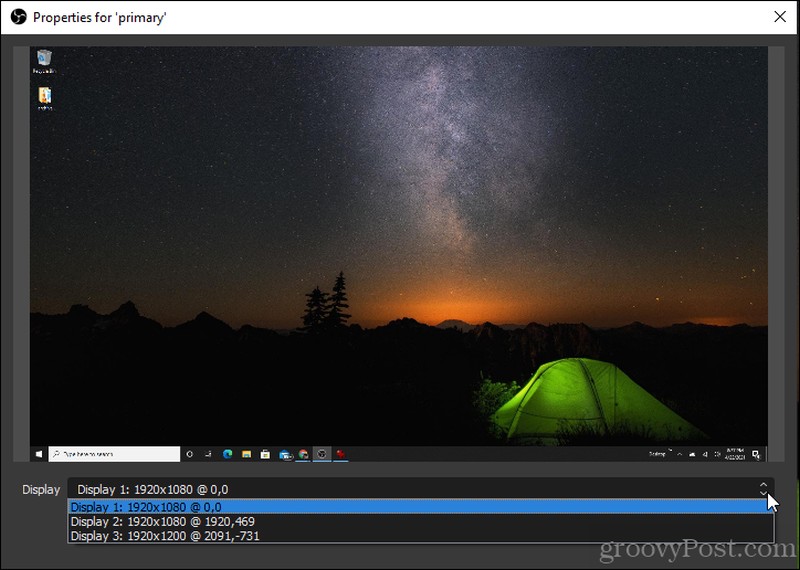
In the popup window, use the dropdown next to Display to choose the display you’d like OBS Studio to record or stream from. Then, select OK to finish and close this window.
Set Up Your Desktop and Microphone Audio
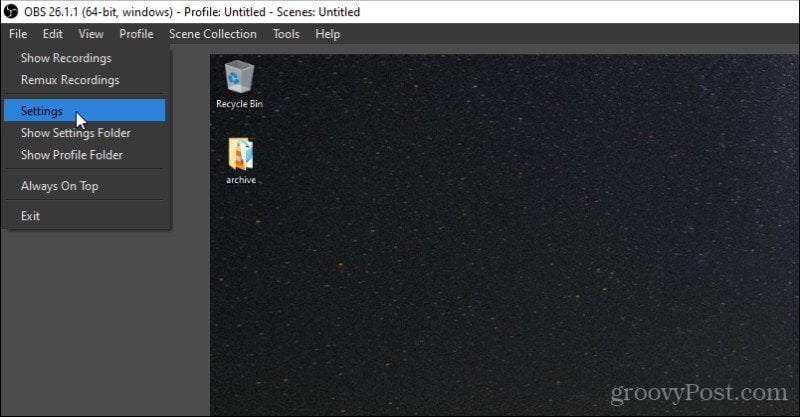
The next thing you’ll want to set up is which audio source you want to record from. To do this, select File from the menu, and select Settings.
In the Settings menu, select Audio from the left navigation pane, and use the dropdown boxes next to Desktop Audio and Mic/Auxiliary Audio to choose your audio sources for your sound and your microphone.
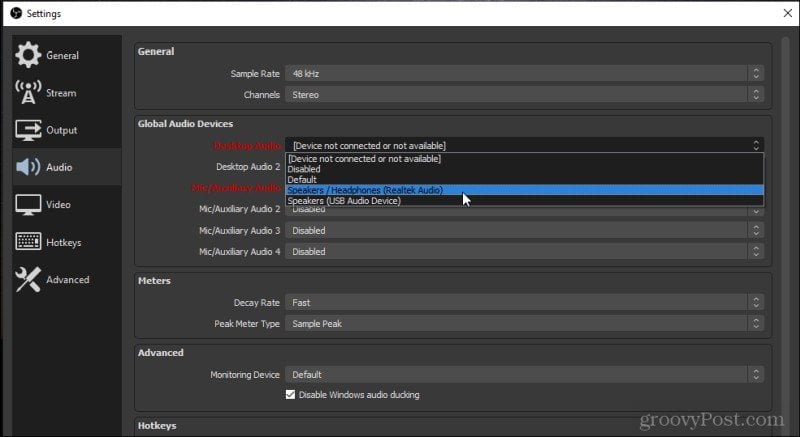
These settings are useful if you have headphones you want to use that include a microphone. By setting both of these to your headset, you can record the sounds as you hear them, as part of your screen recording or live stream.
Select OK to finish and close this window.
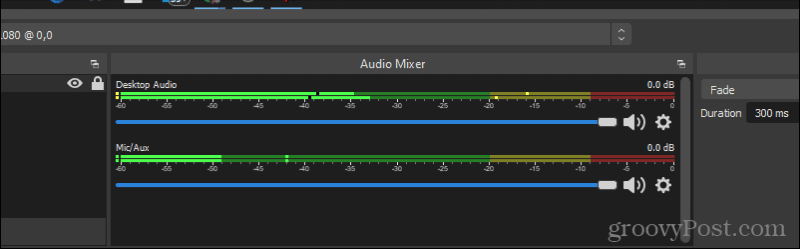
Make sure to test that your audio is working by talking and also adjusting your desktop sound so that the desktop makes a test noise. You should see both the Desktop Audio and the Mic/Aux sound bars at the bottom of the OBS Studio window light up.
Now that you’ve got your video and audio all set up and working properly, you’re ready to start your recording!
How to Record Desktop Video on OBS Studio
There are two ways to record desktop video on OBS Studio. One is to create multiple scenes and piece them together. Scenes are typically used for live streaming, because you can overlay different input sources (like a webcam and your desktop). The other option is to capture one recording and quickly save it as a video file. This is usually the choice for creating how-to videos.
Recording Video in OBS Studio
You can actually record your desktop without setting up any scenes, if all you want to do is record your desktop and audio.
When you’re ready to start producing your desktop video, select Start Recording in the Controls panel at the lower right corner of the window.

When you do this, you’ll see the button change to Stop Recording, with a small pause icon on the right. You can pause your recording at any time by selecting this icon.
A small red circle will appear at the bottom next to REC, where you’ll also see your total recording time counting up.

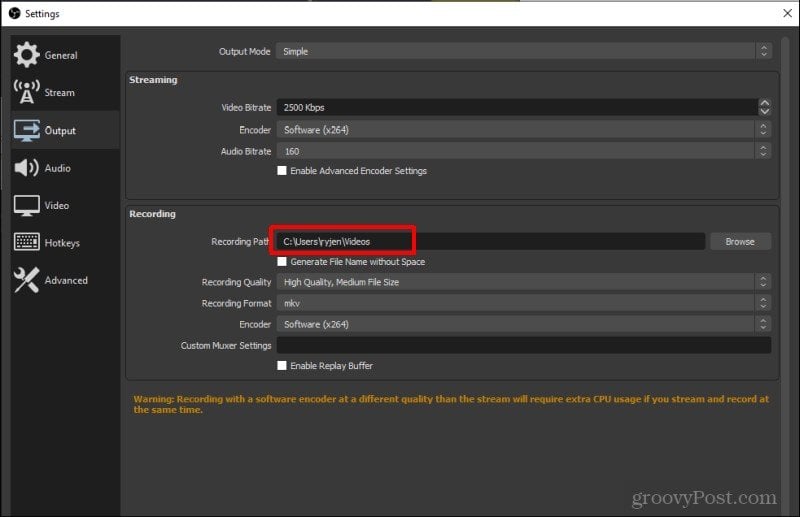
When you select Stop Recording, the video will automatically get stored in your default output location. You can find this by selecting Settings from the control panel, and select Output from the left menu. Make note of the Recording Path, or update it to wherever you’d like your video to go.
That’s how easy it is to record your desktop with OBS Studio.
Next, let’s look at setting up your scenes for live streaming (or recording).
Create Scenes in OBS Studio
To create your first scene, select the plus icon at the bottom of the Scenes window. This will open a small window where you can give your scene a name.

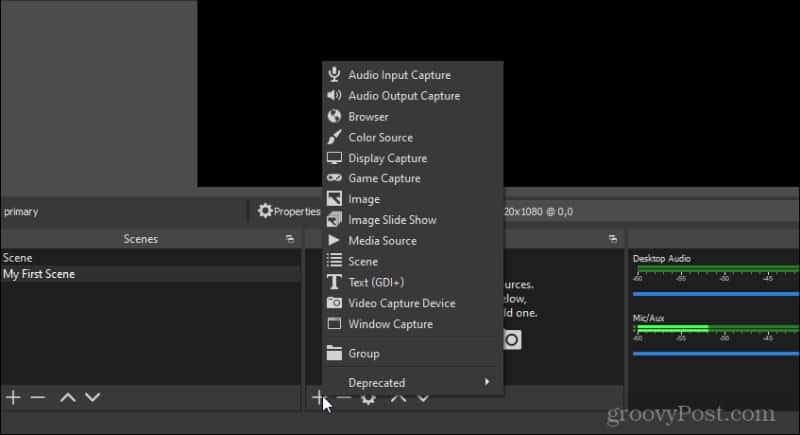
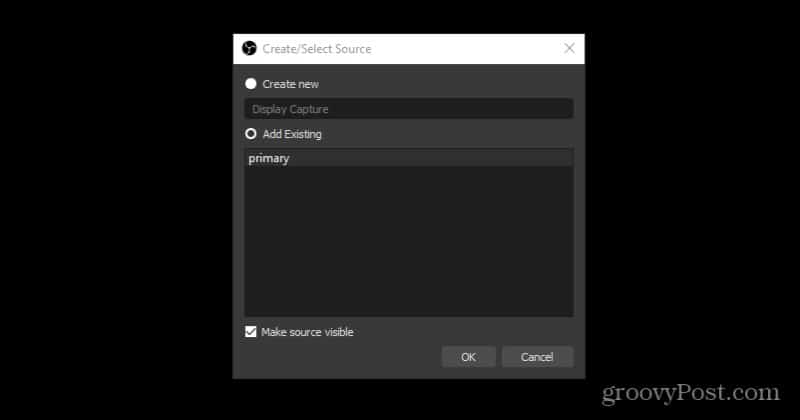
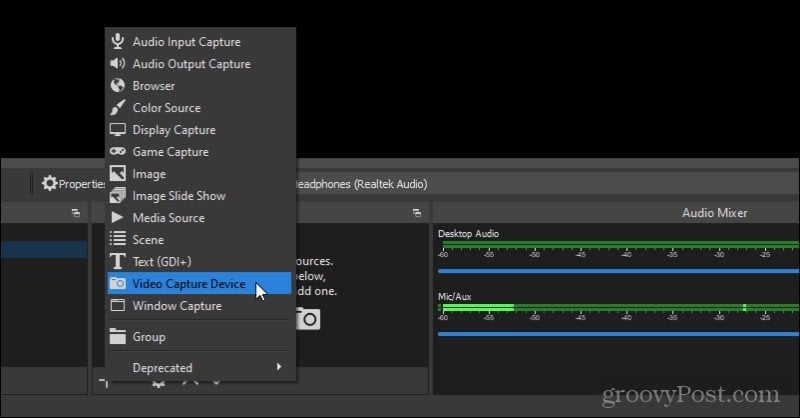
Select OK to close this window. Then, under the Sources box, select the plus icon. You’ll see a menu appear that you can use to add all of the input sources that you’ll use for your scene. Select Display Capture if you want to record a video of your desktop.
You’ll need to choose the hardware source. In this case, select Add Existing and select primary. This will use the default display that you currently have selected.
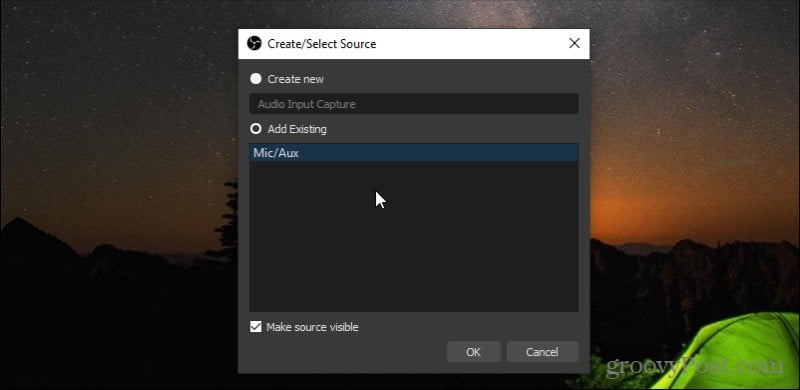
Again, under the Sources box, select the plus icon again. This time, select Audio Input Capture to get the audio from your microphone. In the pop-up window, select Add Existing and select Mic/Aux. Select OK.
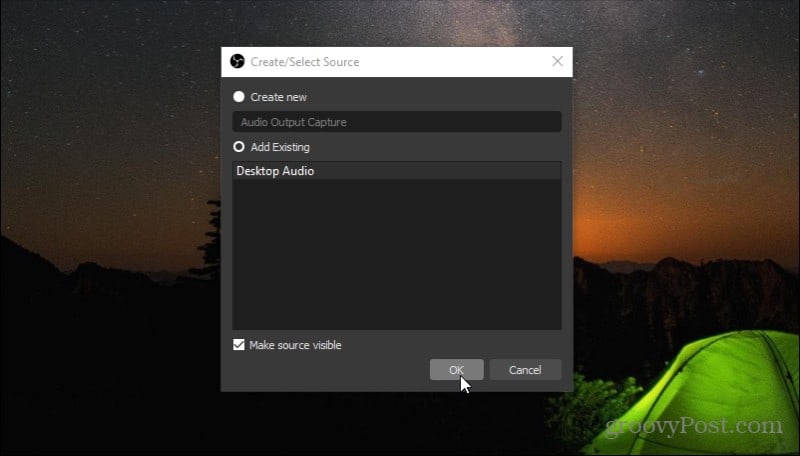
Finally, select the plus icon under Sources again. This time, select Audio Output Capture to get the audio from your desktop. In the pop-up window, select Add Existing and select Desktop Audio. Select OK.
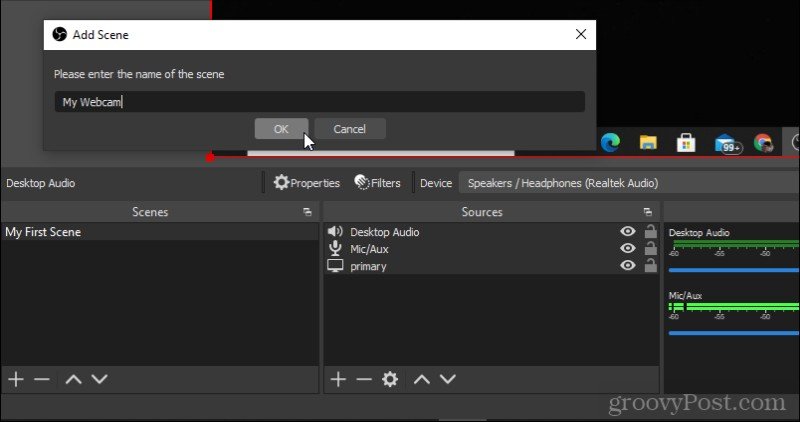
You’ll see your first scene highlighted in red.
If you’d like to overlay your webcam in the upper left corner, press the plus icon under the Scenes box and name the next scene “My Webcam” and select OK.
Next, select the plus icon under Sources and select Video Capture Device.
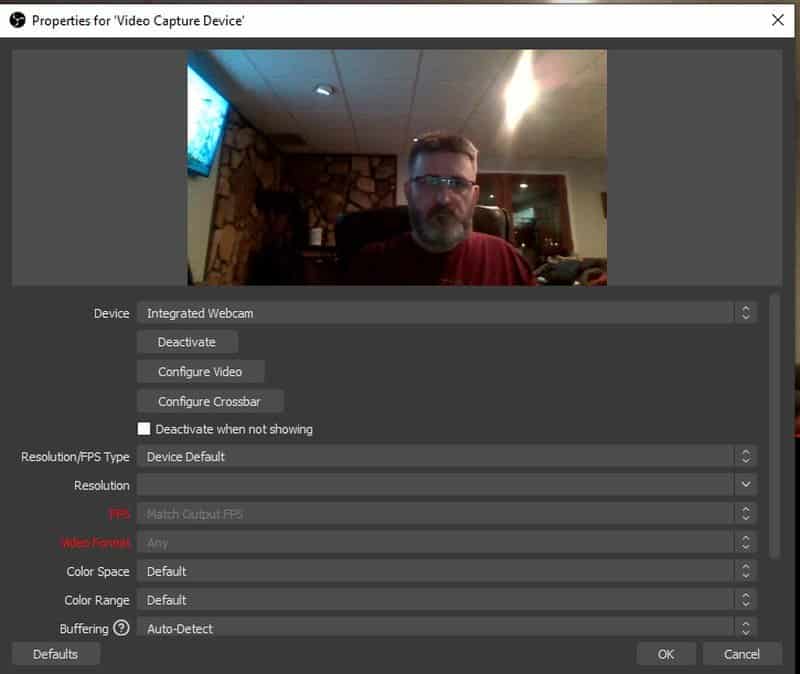
Leave Create new selected and select OK. You’ll see a new window open up with your webcam. Adjust the settings however you like, and select OK to close the window.
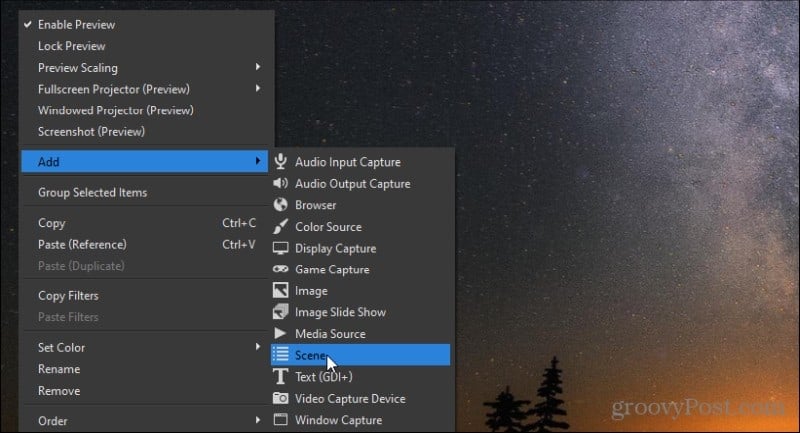
Now switch back to the first scene with your desktop. Right-click anywhere in the window and select Add and select Scene.
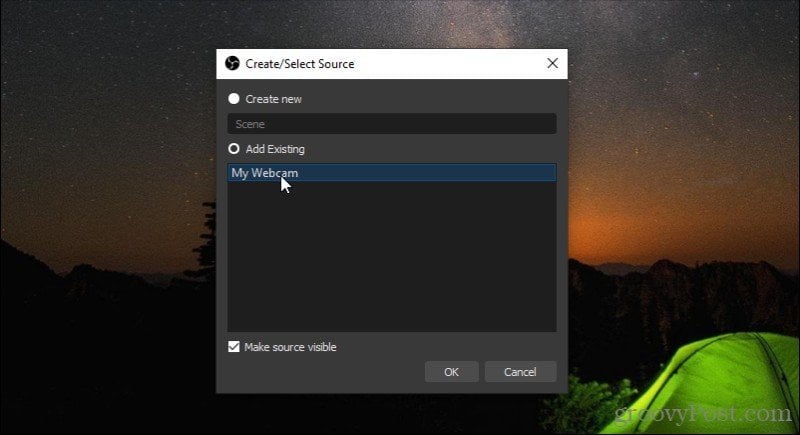
You’ll need to select the scene you want to add. Choose Add Existing, and select My Webcam (the scene you just created with your webcam).
Now you’ll see your webcam scene on top of your desktop scene. Resize the webcam to the size you’d like.

That’s all there is to it. Now you’re ready to either create a new recording with your new combined scenes or start streaming live!
How to Stream Live with OBS Studio
If you do decide to start streaming live with OBS Studio, you’ll need to adjust a few settings. Open the Settings window again, and choose Stream from the left menu.
Here, you’ll see a dropdown box next to Service with a list of popular streaming services to choose from.
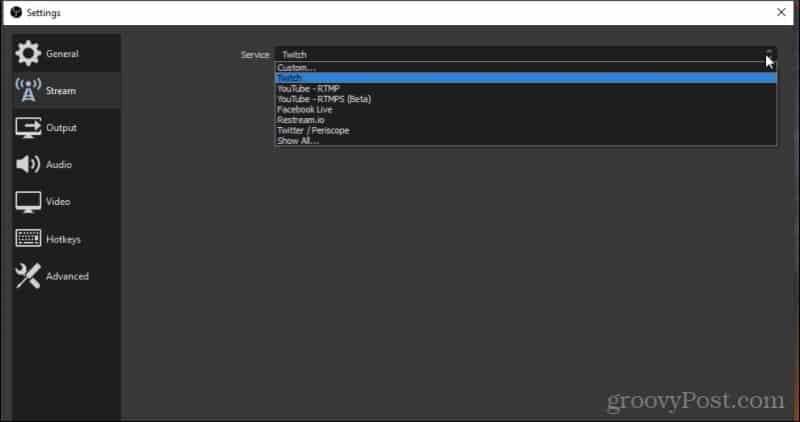
If you don’t see the service you’re looking for, select Show All for a much longer list of supported live streaming services.
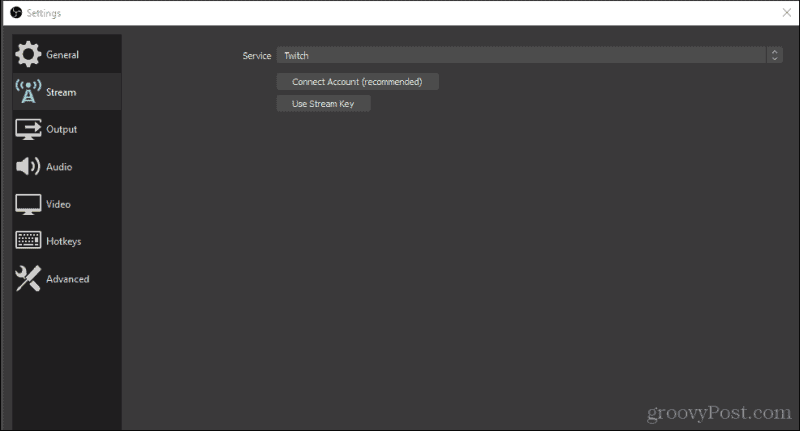
Choose the one you like, and you’ll see the options to connect to that account underneath your selection.
Once you’ve configured your streaming output service, you can return to the main window and just select Start Streaming to connect to your streaming service and start streaming your new scenes.
Using OBS Studio to Record or Stream Your Desktop
OBS Studio is a very powerful desktop recording and streaming application that’s surprisingly free to use. There are so many features that we’ve barely scratched the surface in this article.
Try playing around with using different input or output sources when you create various screens and combine them into any creative layout you like. Some people even add backgrounds and text for professional-looking live stream setups. With a little practice, you could have your own live streaming studio set up and ready to start sharing with the world.