How To Play Free Fire on your PC using a Controller!
Introduction
Dive into the thrilling world of Free Fire on a whole new level by playing it on your PC with a controller! In this comprehensive guide, we'll walk you through the process of setting up Free Fire on your computer using the BlueStacks emulator, so you can enjoy seamless gameplay with the comfort and precision of a controller. This article is packed with essential tips, detailed steps, and valuable insights to ensure that your transition from touch controls to a controller is smooth and enjoyable. So, gear up and get ready to dominate the battlefield with an enhanced gaming experience like never before!
Download & Install BlueStacks
To enjoy Free Fire on your computer, you'll need an Android emulator like BlueStacks. Widely recognized for its exceptional performance, BlueStacks is designed to optimize PC mobile gaming. The download and installation process is straightforward and quick – follow the on-screen instructions provided by the setup wizard. With BlueStacks installed, you'll be all set to experience Free Fire in a whole new way on your PC or Mac.
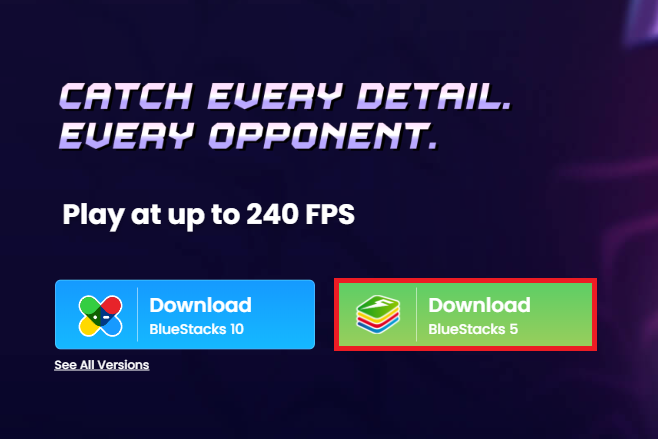
Download BlueStacks 5
Download Free Fire
Open your Play Store and log in with your Google account. Search for Free Fire and download the game to your BlueStacks emulator. This might take a few minutes to complete depending on your network connection.
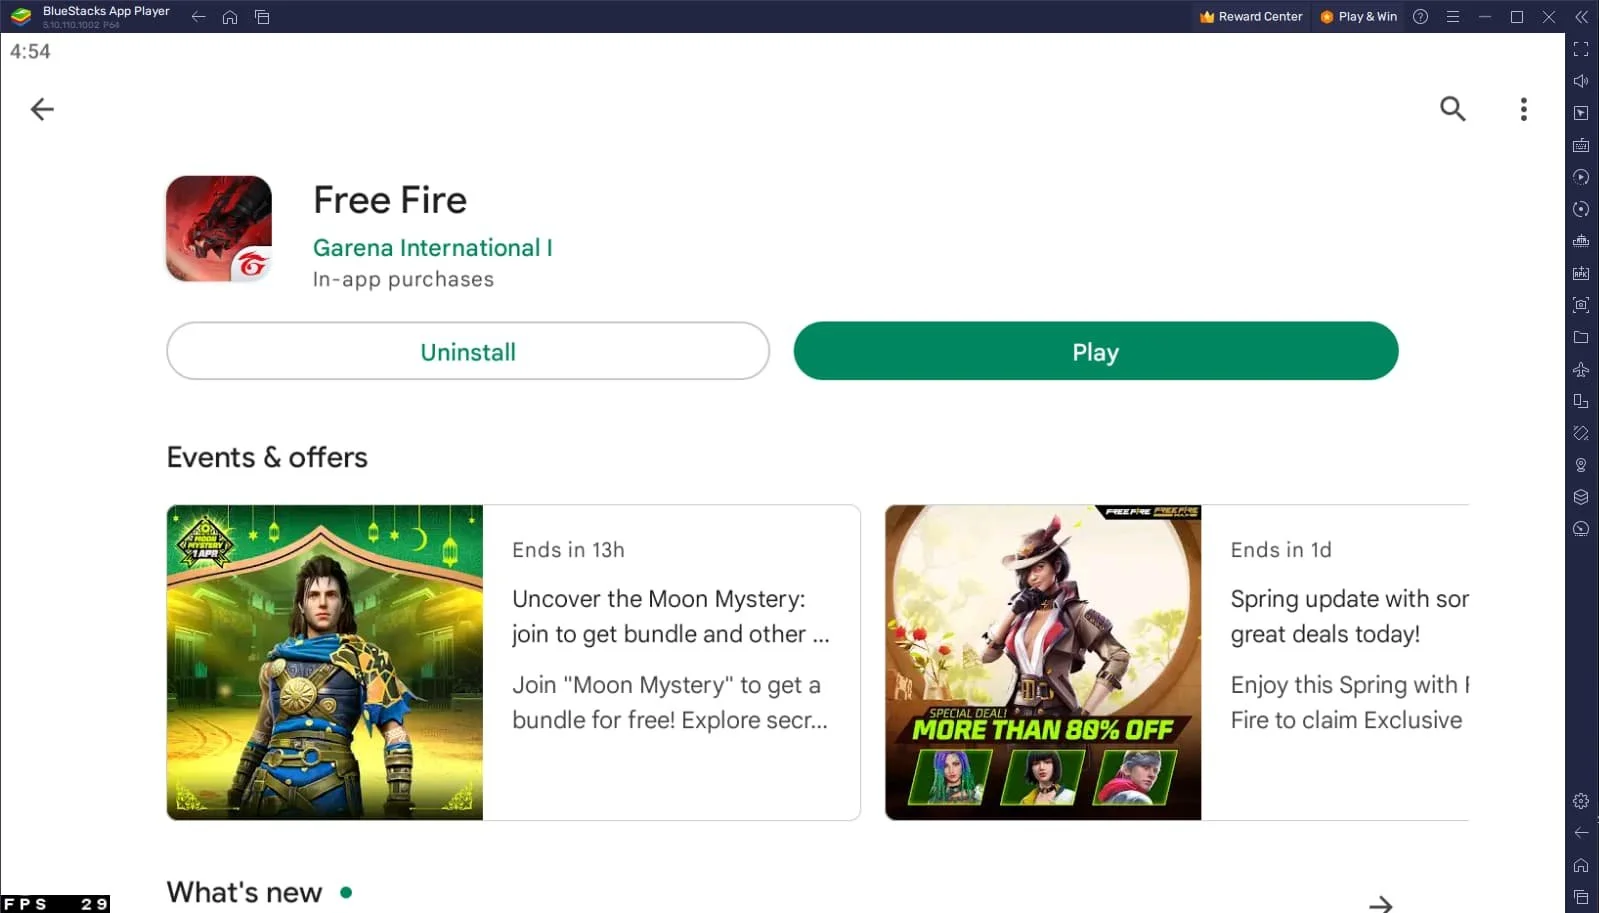
Download Free Fire from the Google Play Store
BlueStacks Controller Settings
While downloading the game, take a moment to review your emulator settings. Click the gear icon to access these options. In the Gamepad section, enable "Gamepad detection" for BlueStacks to recognize and accept input from your controller.
Below, set the "Gamepad input settings" to "Automatic" and adjust the "Gamepad vibration" option based on your personal preference, though it may not impact Free Fire.
Once you've connected your controller or gamepad, BlueStacks will recognize it as an alternative input method to your keyboard and mouse, enhancing your gaming experience.

BlueStacks Gamepad Settings
Optimize BlueStacks Performance Settings
In the Performance tab, adjust the settings based on your PC's capabilities. Allocate a high number of CPU cores if you have minimal background applications running. Similarly, consider your Memory allocation; for users with 4GB or less RAM, set this option to Low.
Under Performance Mode, select the Balanced option to optimize memory and CPU usage, reducing lag or performance issues.
For an enhanced gaming experience, enable the High FPS option and match the emulator's frame rate to your screen's refresh rate, ensuring smooth gameplay.
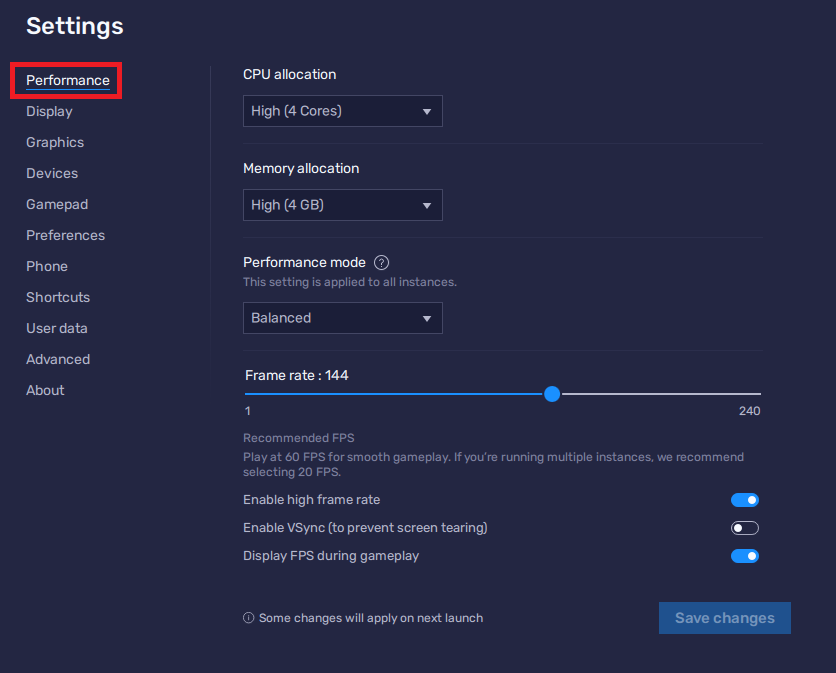
BlueStacks Settings > Performance
BlueStacks Display Settings
In your Display settings, set the display orientation to landscape, and choose a proper resolution to play Free Fire on your monitor. You can also adjust the size of this window by dragging its corners.
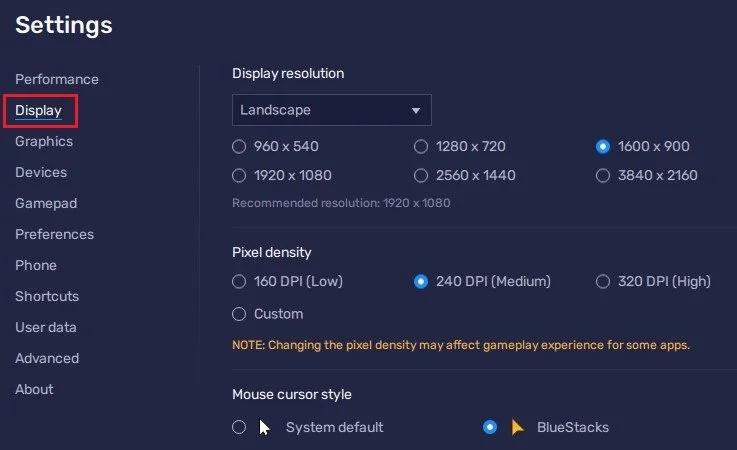
BlueStacks Settings > Display
Optimizing Free Fire Settings for BlueStacks & Controller
Sensitivity Settings
Experience smooth gameplay with Free Fire on your PC by optimizing your settings for controller use. Once you've logged into your account, navigate to the in-game settings. Fine-tune your controller sensitivity in the "Sensitivity" section for precise aim and movement.
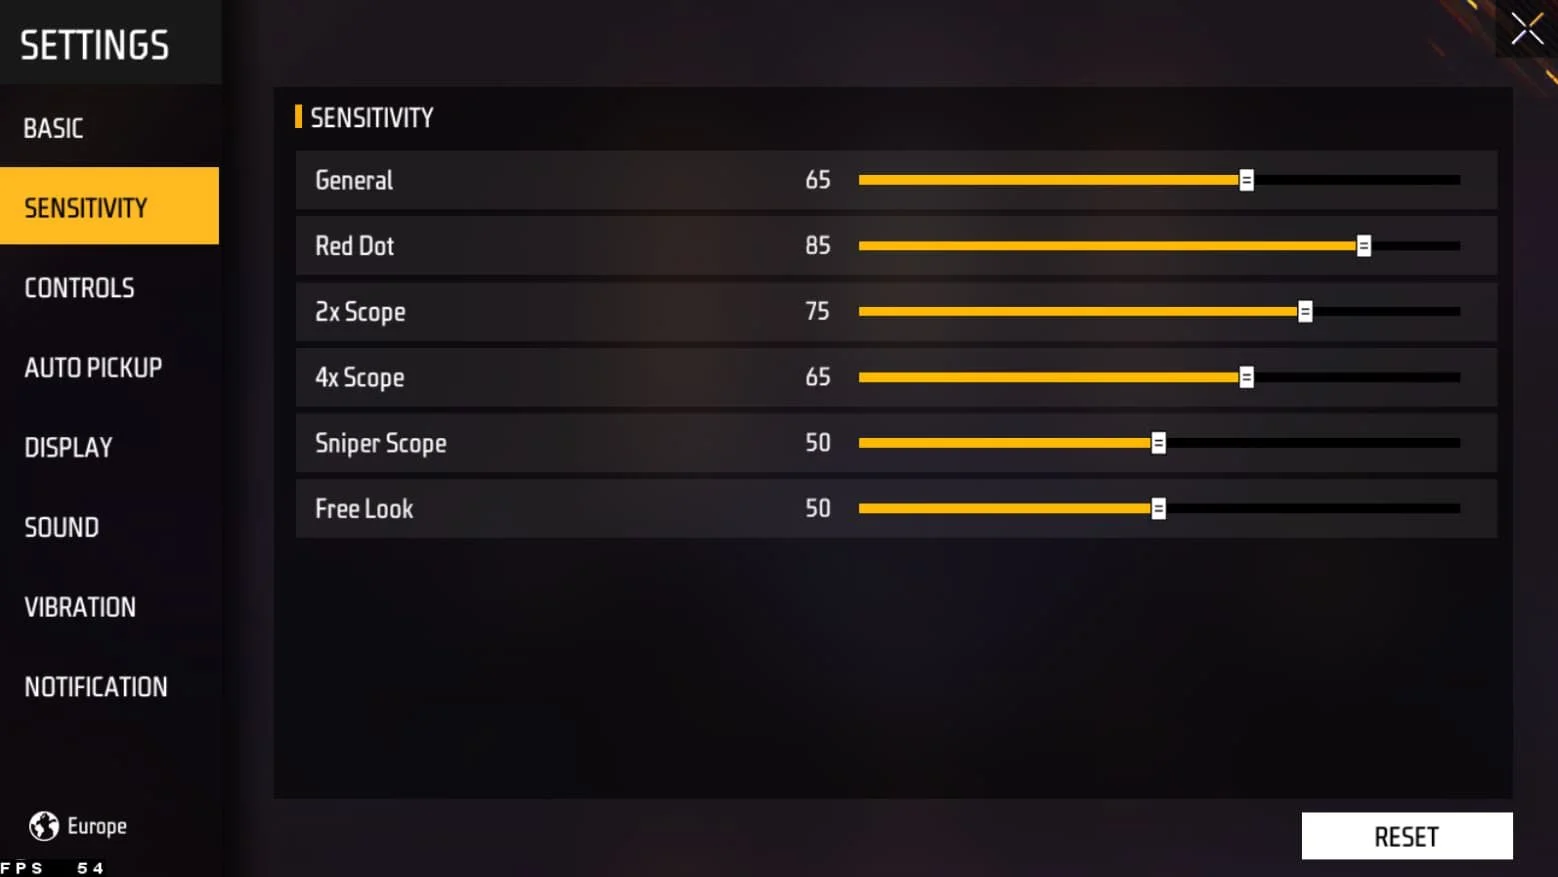
Free Fire Settings > Sensitivity
Controls Settings
In the "Controls" section, select "Full Control" for Aim Precision and disable the "Hold Fire to Scope" option for a better gaming experience. It's also recommended to disable most of the "Assistance" options, as they may hinder controller users.

Free Fire Settings > Controls
Display Settings
To address any performance issues or lag, adjust the Graphics preset and frame rate according to your PC's capabilities, found in the Display settings.
By default, your WASD keys and connected controller will function, with pre-set button bindings for playing the game. Test out the default controller layout in a game session, and if needed, customize it further using BlueStacks game control options.

Free Fire Settings > Display
-
Most modern controllers are compatible with BlueStacks, including Xbox, PlayStation, and various USB controllers. Ensure that your controller is connected to your PC before launching BlueStacks.
-
To customize your controller layout, access the BlueStacks game control options. From there, you can assign specific actions to your controller's buttons, optimizing your gameplay experience.
-
Adjusting settings like Graphics preset and frame rate can significantly improve the game's performance, especially if you're experiencing lag or other issues. Experiment with different settings to find the optimal configuration for your PC.
-
The default settings are designed for a general gaming experience, but individual preferences may vary. It's recommended to test the default layout in a game session and adjust the settings as needed for your unique playstyle.
-
Yes, BlueStacks allows seamless switching between controller and touch controls. If you decide to use touch controls during gameplay, ensure that the appropriate settings in Free Fire are enabled for an optimal experience.
How to troubleshoot common problems with BlueStacks on Windows