The Biggest BlueStacks Update for Free Fire is Live: Booyah!
Shooting Mode |
HD Graphics |
Mouse Sensitivity |
Best Settings |
It’s been a while since we last spoke about Free Fire, the mobile battle royale that is competing with PUBG and CoD in what seems to be the game mode of the decade. A lot has changed since, both on our end and with the game itself, as the developers have improved upon many aspects that previously felt lacklustre, such as *cough* graphics and overpowered assault rifles *cough*.
Other things have not changed much, though. The game is still slightly in favour of pay-to win players since costumes and weapon skins continue to give you a slight edge here and a tiny boost there. These can ultimately turn into an upper-hand in an engagement with an opponent of similar skill and knowledge.
So we figured we’d put together a team of the most avid FPS fanatics at BlueStacks and come up with a definitive guide to playing Free Fire like a pro. We’re talking people who spent 100s of hours on the original Halo trilogy, combat masters who graduated from high-school and university without missing a CS 1.5/1.6/GO LAN party, as well as Call of Duty veterans with over 10 years of playtime.
Our initial tactics to becoming a top player are a strong start, but we felt more was needed: something to consistently give you fair shot in any engagement against a pay-to-win person.
Shoot to Kill with BlueStacks
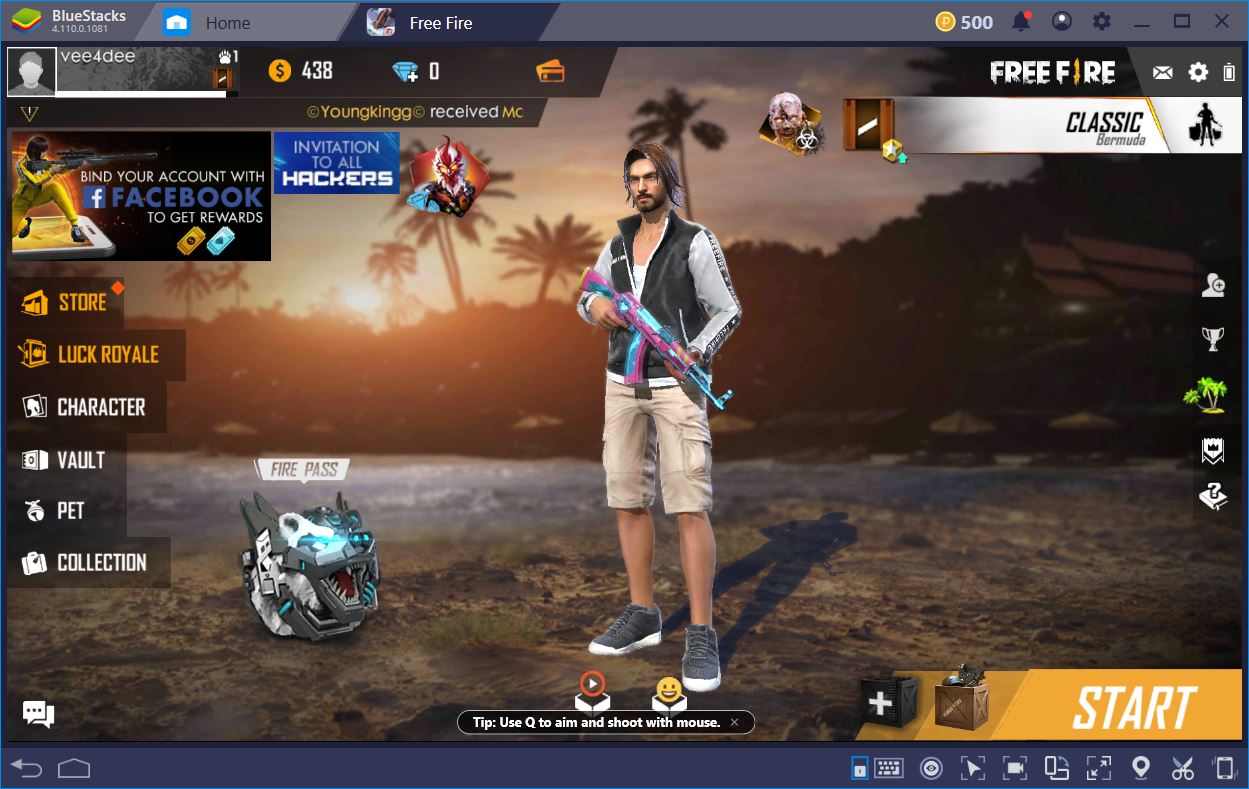
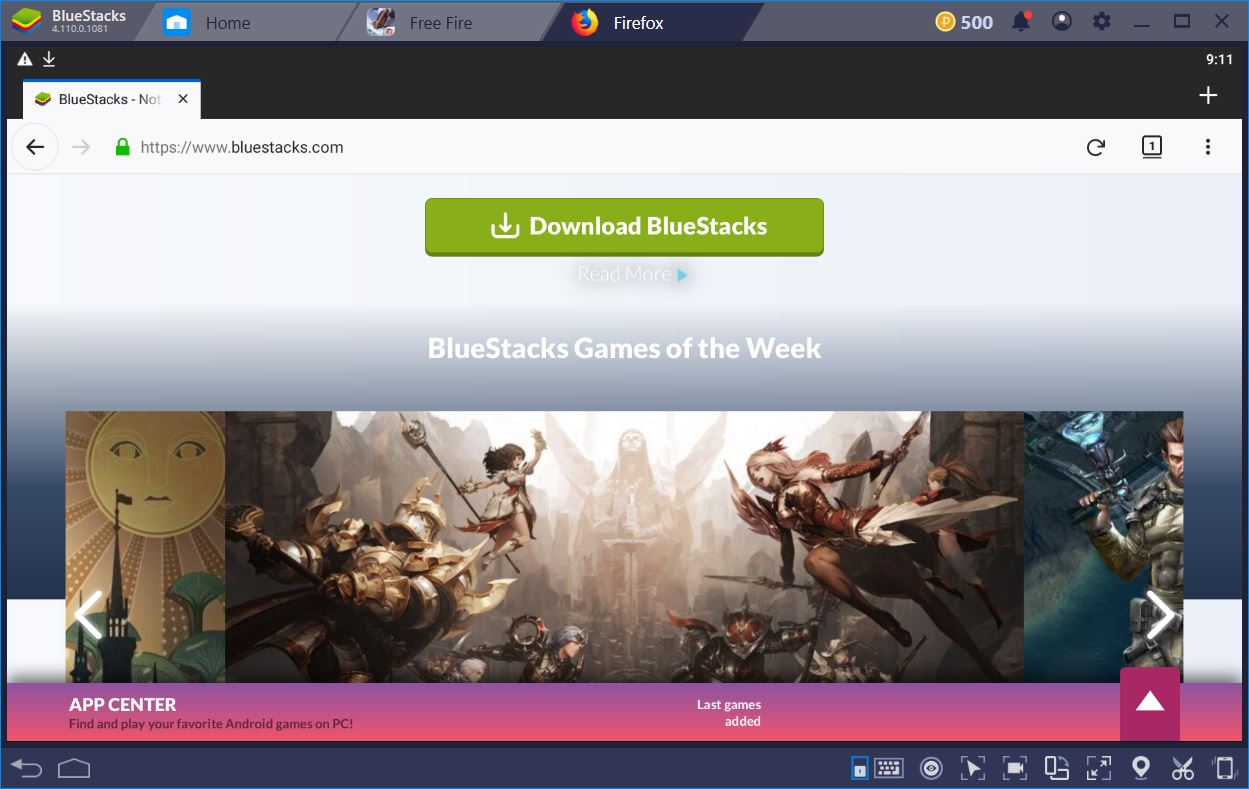
If you want to aim for the leaderboards, perhaps even enter some of those attractive tournaments, you should seriously consider playing Free Fire on a PC with BlueStacks. There are multiple reasons why you’d want to do this, all of which will be explained in great detail in what follows.
The latest version of BlueStacks (4.110.0.1081) gives you a unique advantage when playing Free Fire on PC due to its optimized mouse input.
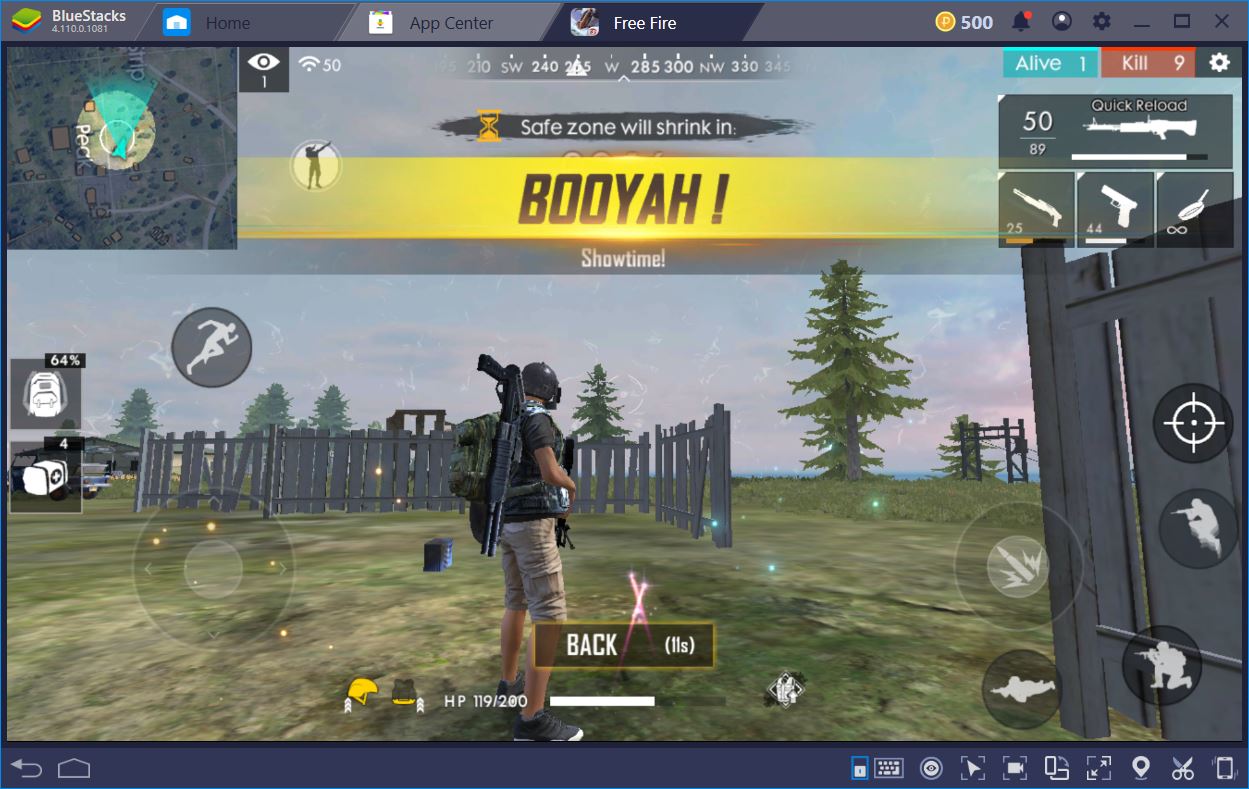
We’d say it works wonders, but it would be an understatement. On our first game, we got 12 kills and took home the chicken dinner without anyone so much as getting us under 100 HP. In what follows, you can find out how to set-up your mouse to benefit from American Sniper level accuracy, just like the pro FPS players. Booyah.
With the help of the BlueStacks Keymapping Tool, we are able to play the game using a mouse and keyboard. Needless to say that playing like this is instrumental towards shooting better and winning more. The powerup in control and game performance we get by switching from an Android device to PC is just too big to pass up on.
High Definition Graphics with BlueStacks
As we’ve said in the beginning, the in-game textures have come a long way from last year. Even though we weren’t that obsessed with how every surface looks to begin with, we definitely see how unpolished, grainy or blurry items might give players a bitter taste. We wouldn’t take a half-done box in Dust2 or some iffy Halo aliens either. To increase visibility of objects and people that are both far and close, you’ll need to amp up the Graphics Settings required to process the game’s textures.
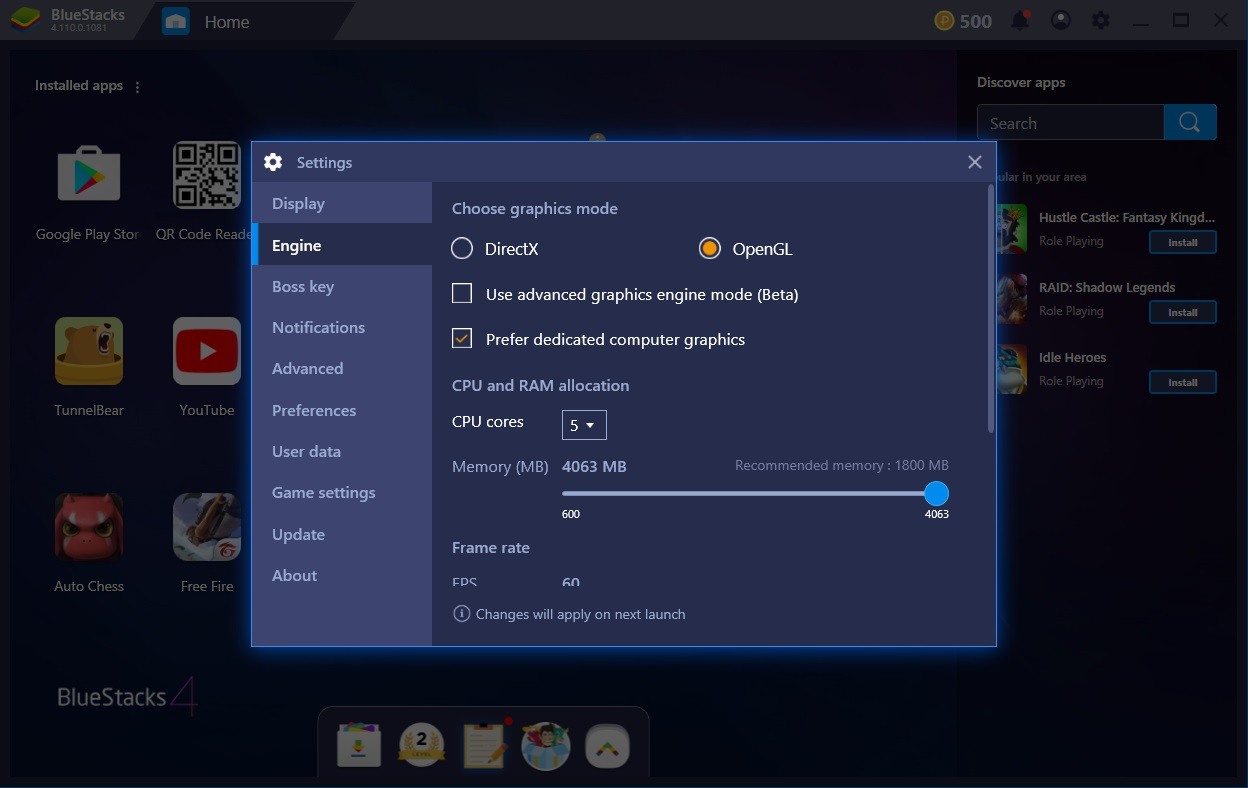
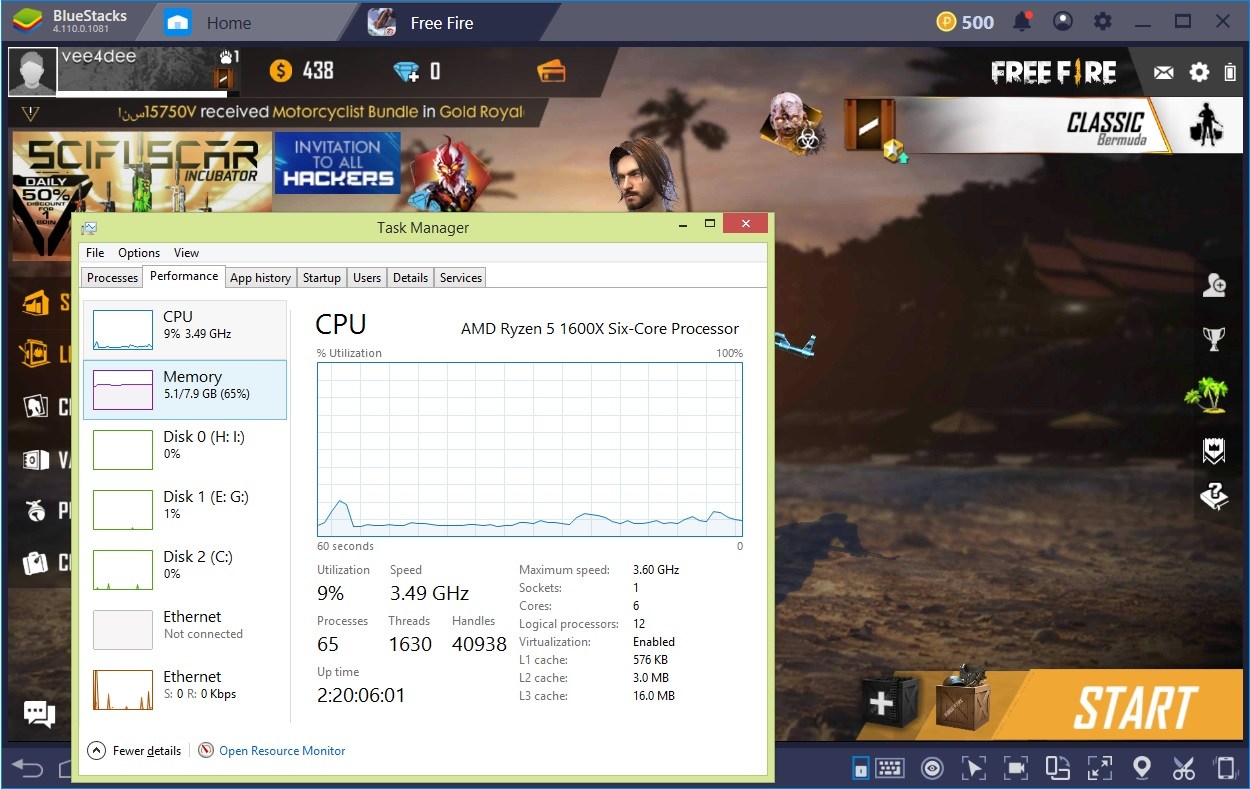
To do this, go to settings and Engine. Here, you want to make sure that at least 4 CPU cores and 4 GB of RAM are assigned to the emulator. This will give it plenty of power to do what it does best – render the game as beautifully as possible. Next up, resolution.
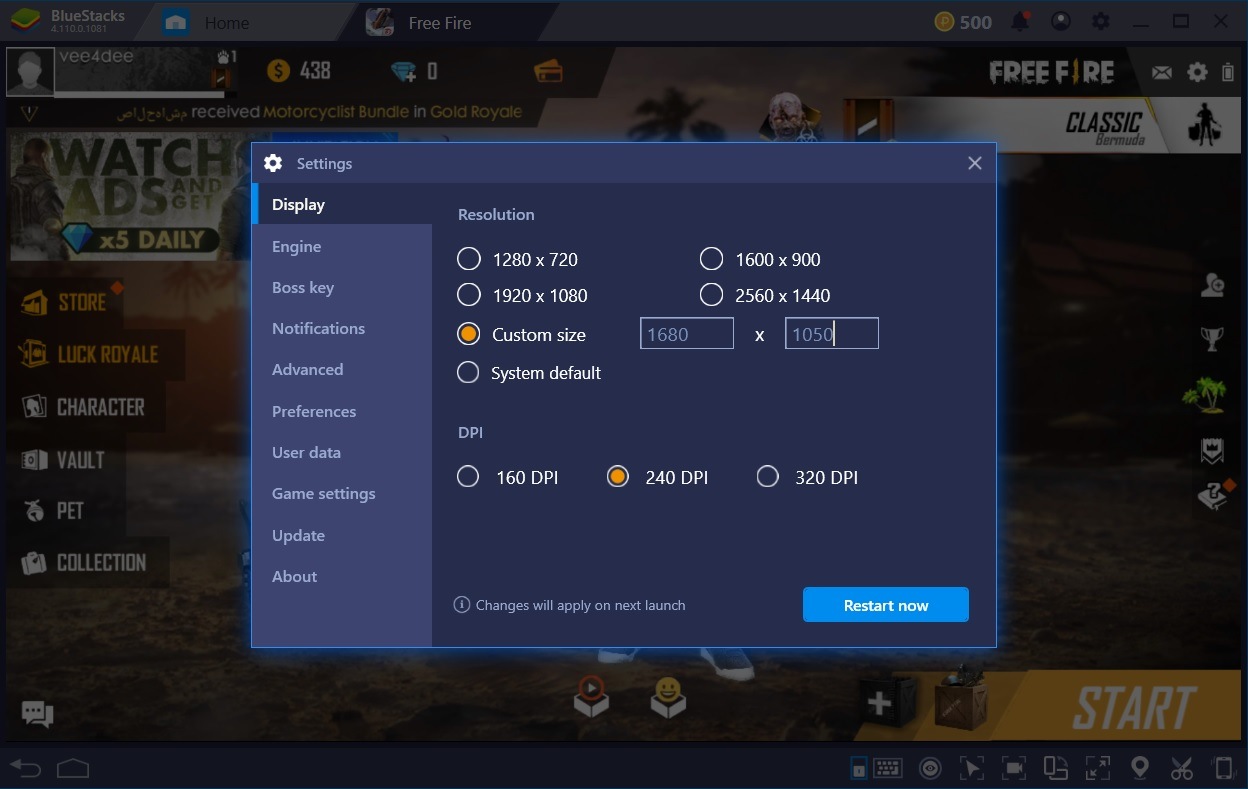
Tip 1: Input Exact Screen Resolution
Our first pro tweak is to input the exact resolution of your screen. This will ensure you get a crisp display when playing full screen. If there’s a helmet hiding in the grass or showing behind a rock, you’ll be able to catch it. Because this computer was used to rank up all the way to LEM and SMFC in CS:GO, you’ll notice that it has a custom resolution that fits the 4:3 aspect ratio like a glove. To check what resolution you’re currently running, right-click on your Desktop, and select Screen Resolution from the drop-down menu (for Windows users).
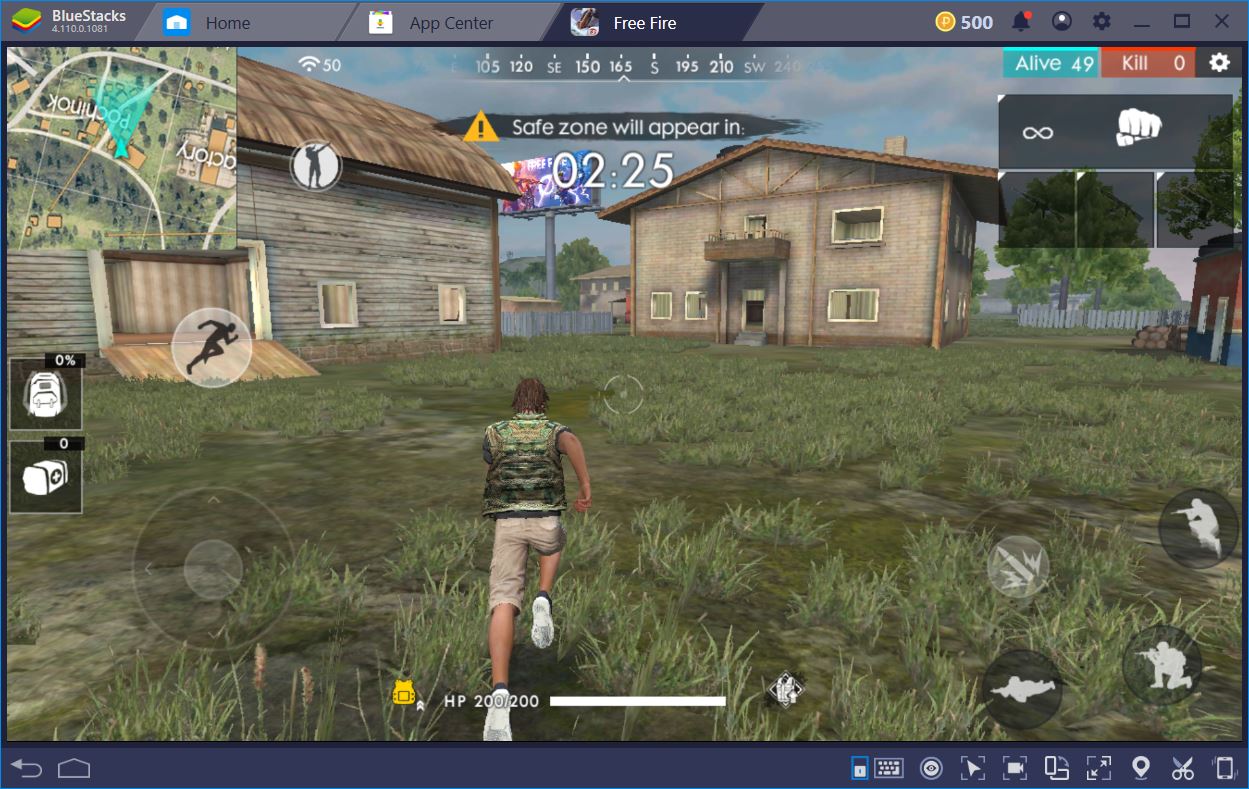
If there’s a sniper crouching behind any of the windows in either one of these three buildings, you’d be able to see them before they get a chance to shoot. This will give you the advantage of positional knowledge, which you can use to flank them or take them by surprise. As expected, there was nobody around and we had a free day with the loots. Woot!
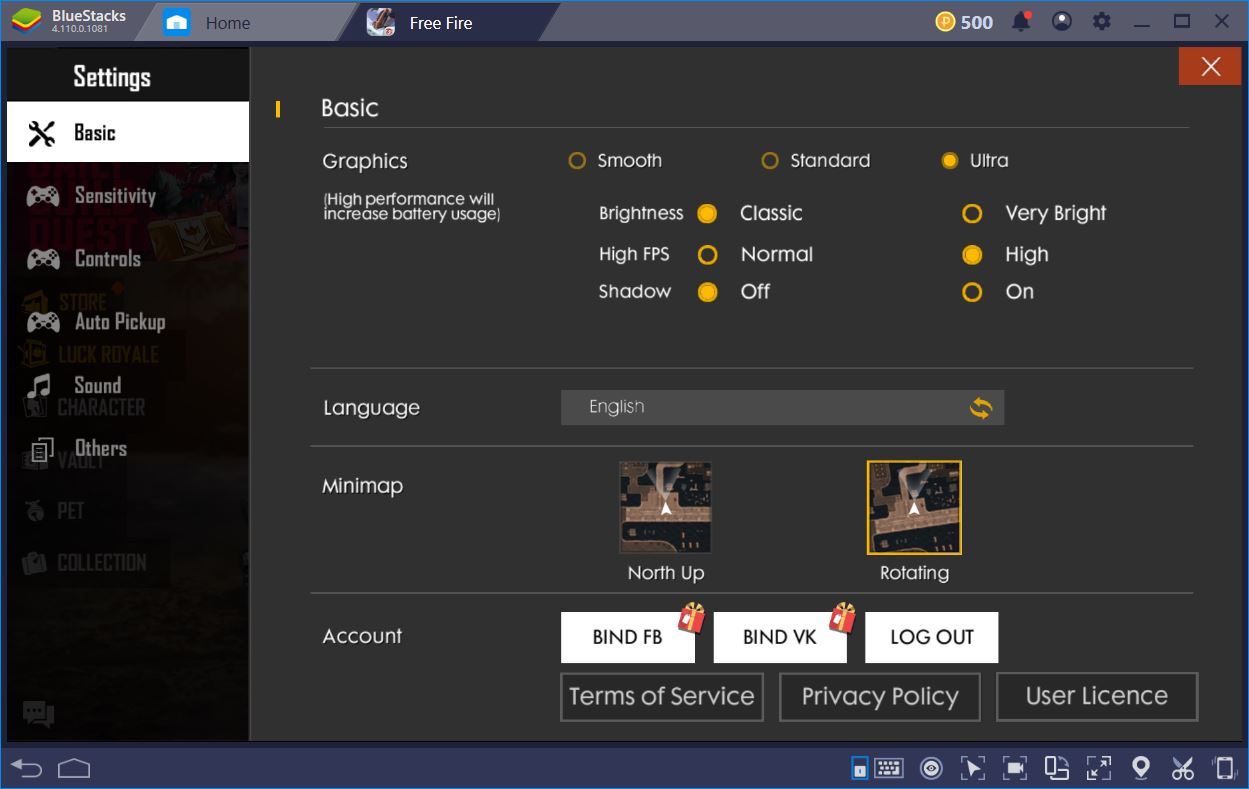
Tip 2: Tweak the in-game graphics settings
Another thing we tweaked was the in-game graphics. We set these on Ultra, High FPS and no Shadows to get the best detail possible in every single frame. This is your second pro tip. FPS often makes the difference between you getting a headshot or somebody doing it to you, which is why you don’t want to miss out on any frame whatsoever. You want them all and you want them now.
Also one of the major reasons why PCs are better at gaming than consoles and, of course, mobile devices. So far, at least.
Building Your Sharpshooter Aim: Mouse Sensitivity
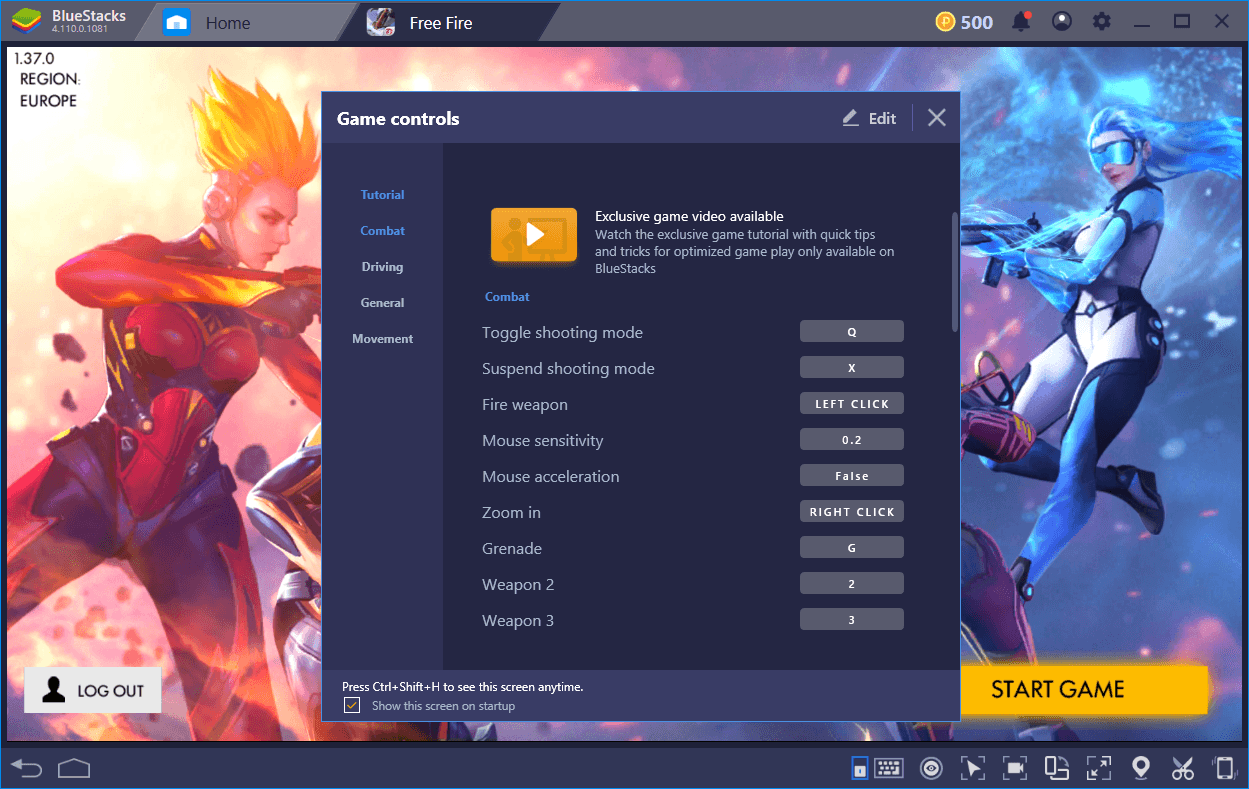
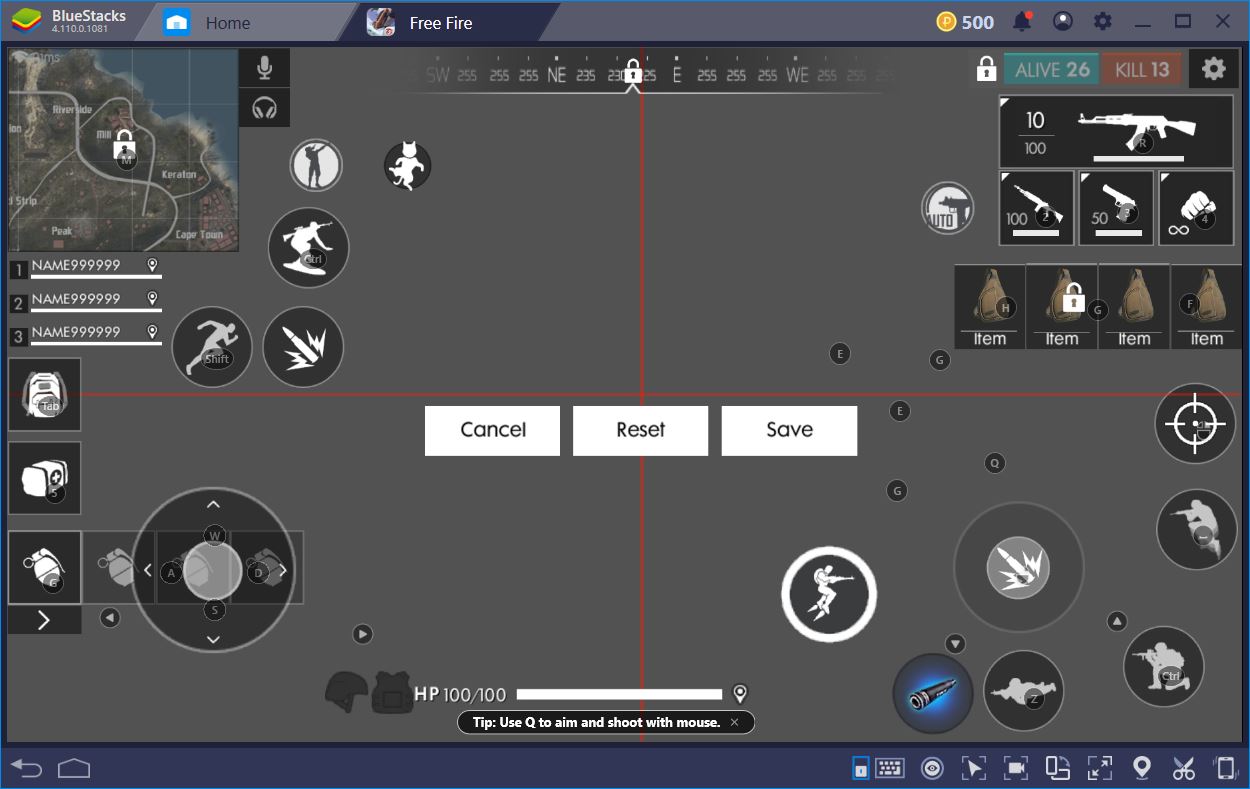
Much like in any shooter, mastering Free Fire is all about how well you can aim, as well as how good your reflexes are. Both of these are harnessed and gained through practice and play, so don’t be afraid to just get into some games for the fun of it. We found that the best keymapping setup is the one provided by BlueStacks, so we didn’t change much in it – just the shooting mode trigger, the crouch button, as well as the item use one. To trigger the fullscreen mode, you can press F11 at any time.
Tip 3: Use Full Control Aim and One-handed Vehicle Control
From the in-game menu, we switched our aim to Full Control and the vehicle control to one-handed. The latter ensures that we can use the WASD keys to drive around, while the former will let you get a better feel of what it is to aim in Free Fire. Sure, many players opt for aim assistance, but this won’t get you the most kills. It helps you land body shots, but that’s the most that it can do for you. We like to aim for the head, quick and painless.
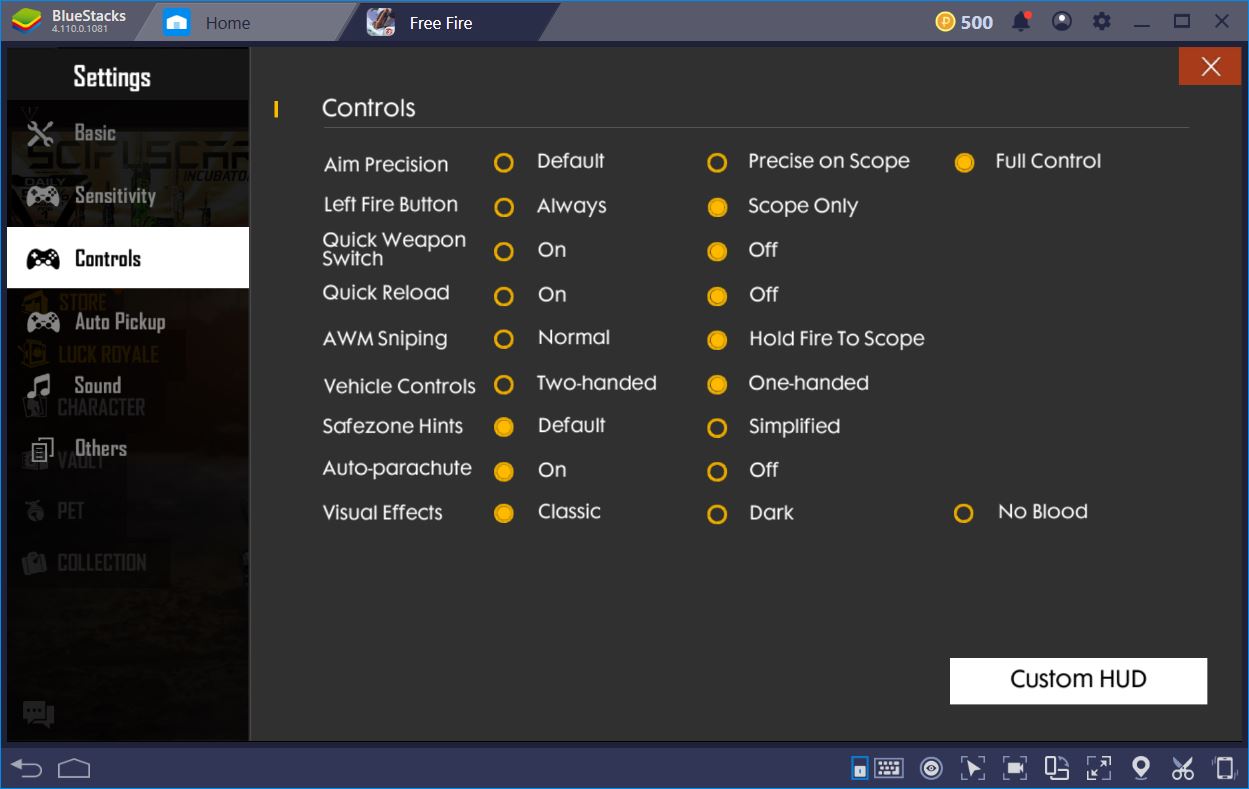
We don’t want the casual experience here with the Default aim-assist, nor the in-between, which is the Precise on Scope. We want to be in charge of every single movement, so that no millisecond is wasted on shooting Kevlar vests. Unlike the graphics settings, which will require you to restart the application, full control can be changed on the go. They can be useful for those instances where you’re experiencing a lot of latency due to overloaded servers, so don’t forget that they’re there.
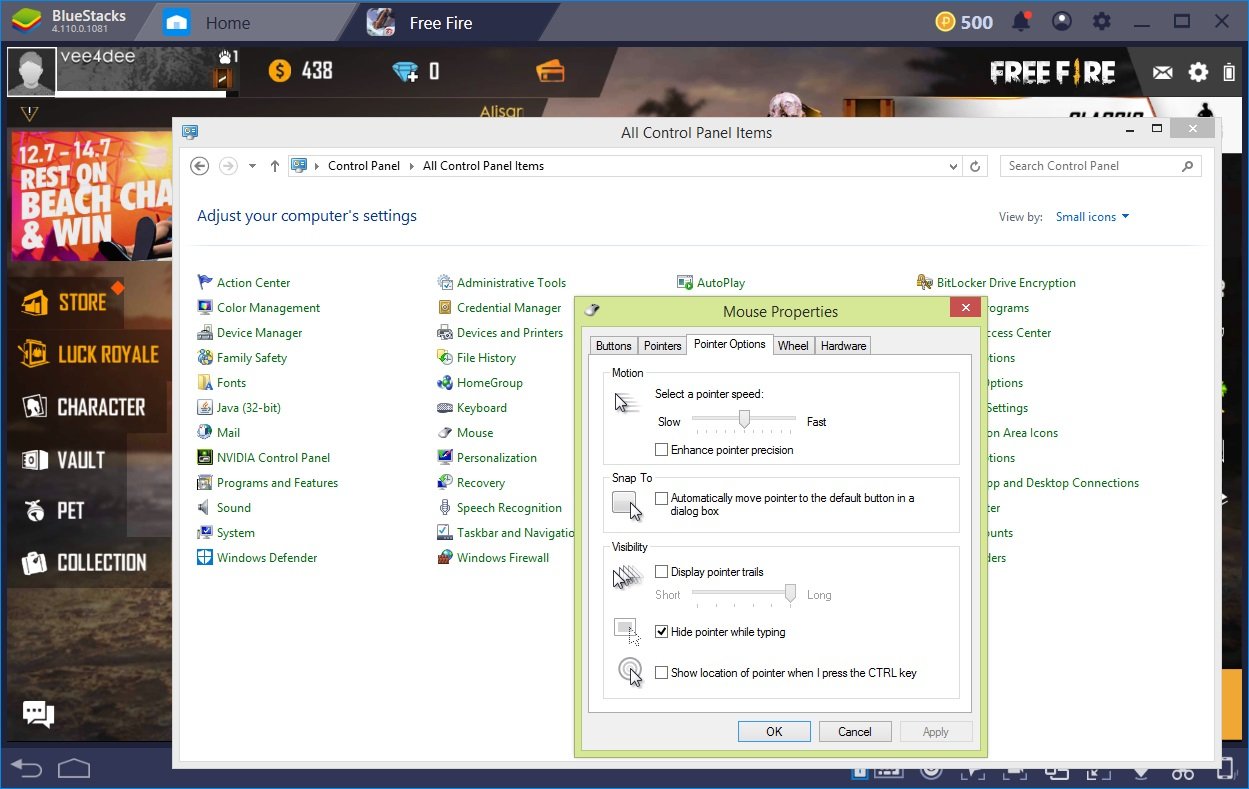
Tip 4: Disable Pointer Precision in Mouse Settings
The fourth pro tip: to further increase your accuracy, you’ll want to disable any mouse acceleration that is caused by the operating system. It can be really helpful when you’re just trying to go about your business and browse the web. However, it is tremendously annoying when playing a shooter. The reason for this is because it slows down your sensitivity during short, successive pointer movements and increases it when you’re moving from one side of the screen to the other. If you’re trying to aim, this is a nightmare. The stuff of ball mice.
Play Free Fire on BlueStacks
To disable acceleration, we head over to the Control Panel, under Mouse, and select Pointer Options from the top menu. Here, make sure to disable pointer precision, as this will sometimes hasten your turning and mess up your precision. Now you can aim like a pro.
Optionally, you might also want to consider investing in a gaming mouse. You don’t need anything fancy or flashy – just 5 buttons and the possibility to alter your DPI, the maximum of which should not be under 1000.
Decisive Laptop Settings
The settings described above were the absolute, most important things to tweak so that you can step-up your game in Free Fire. However, there are several other aspects you might want to consider, either as a matter of preference or to enable you to get more from the game. You might have noticed that we’re playing on a PC, yet a lot of people also like to shoot things on their laptops. These are a bit more complicated because they tend to have performance plans that significantly (and we mean it) alter the quality of your gameplay.
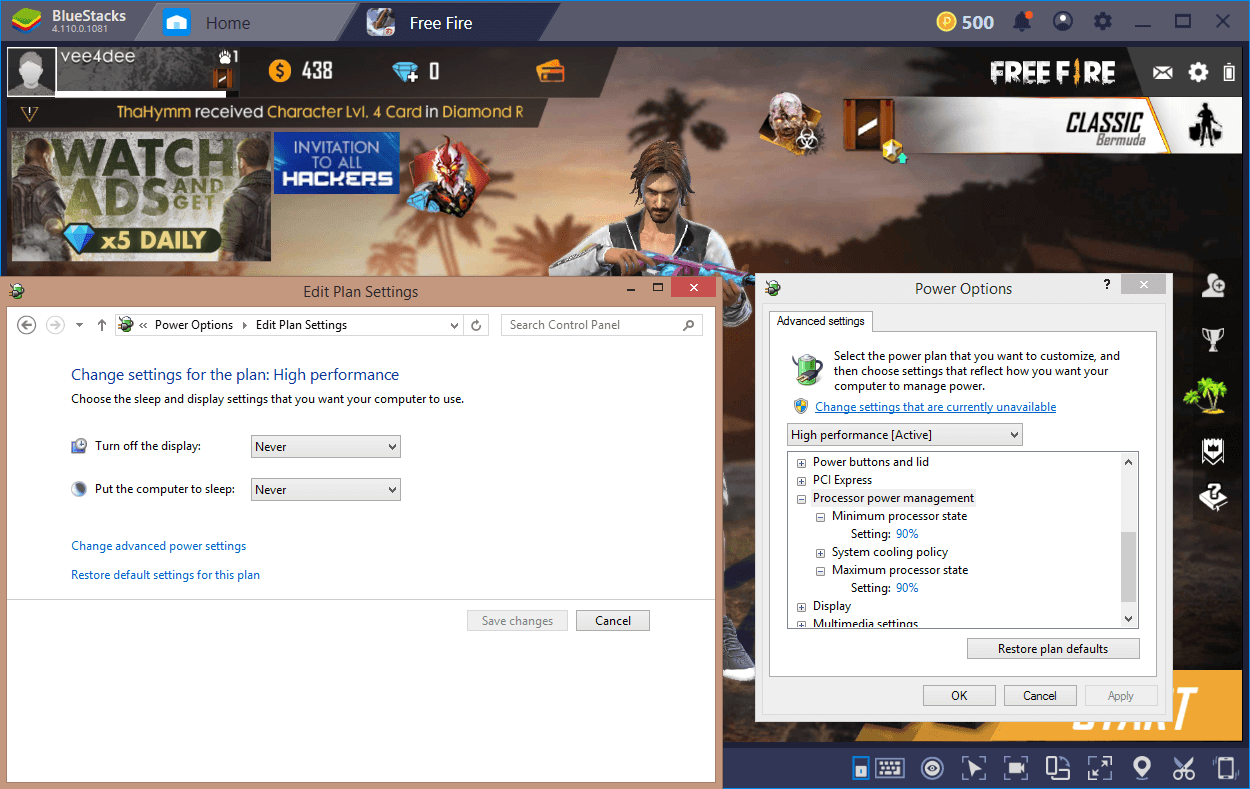
Tip 5: Choose a High-Performance Power Management Plan on Your Laptop
As a fifth tip, if you’re playing on a laptop, make sure to head over to Control Panel, Power Options, and select a high-performance plan. Then, go on Change Plan Settings. Another window will pop up. Here, scroll down to Processor power management and set the minimum and the maximum state a bit higher. On a laptop, you’ll have options for Plugged-in and On-battery, so you can just modify the former. It would be a pity not to use all of the power that our neat AMD Ryzen delivers.
This optional setting is actually a throwback to the very beginning, when we set the Engine options. You might remember that we had allocated at least 4 cores and 4 GB of ram. Ideally, you’d also want to activate Prefer dedicated computer graphics in this section. Don’t do it if you own an AMD processor that is a bit older, as they only recently introduced APU technology in their microprocessors.
Tip 6: Change Fn Key Behaviour
Virtually any laptop manufactured in the past decade has multi-purpose function keys. While they are, for the most part, useful – particularly when trying to adjust your screen’s brightness or your machine’s sound – they can also decidedly interfere with your Free Fire experience, for instance when you’re trying to toggle Shooting Mode by Pressing F1. The easy fix is to lock your Fn key.
Sometimes, you might also need to change the behaviour of your Fn keys in order to use them. This is a bit more complicated, but still doable. We can’t even count how many times we’ve accidentally pushed Fn when blasting through enemy lines and, suddenly, our screen went off or the keyboard stopped working. Not fun.
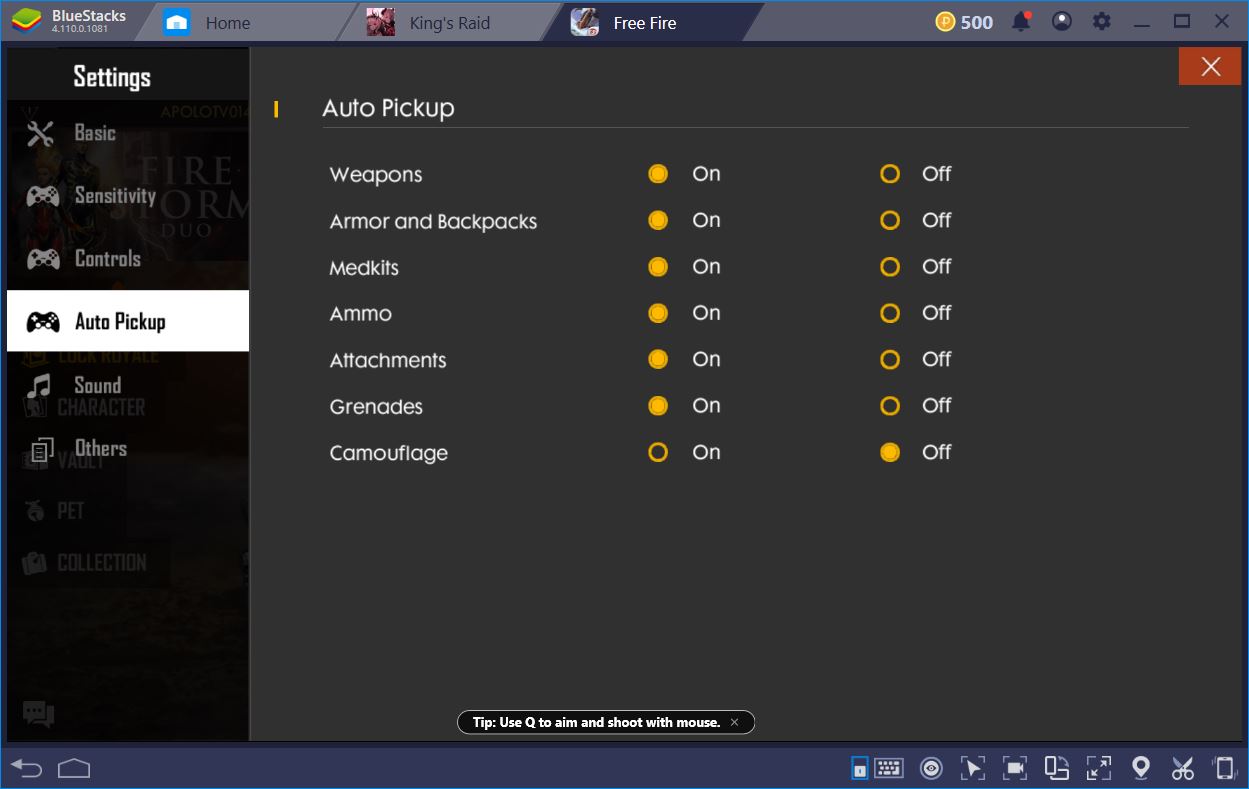
Tip 7: Enable Auto Pickup of all items except camouflage
If you’re trying to minimize dead time while you’re vulnerable, for instance when going through the lootbox of an opponent you’ve just defeated, you might want to turn on Auto Pickup for everything except camouflage. This will ensure you can loot as fast as possible without having to take your eyes off your surroundings. To do this, go into Settings and Auto Pickup.
Engage On Your Terms
Tip 8: Pick your battles, engage when you have an upper edge
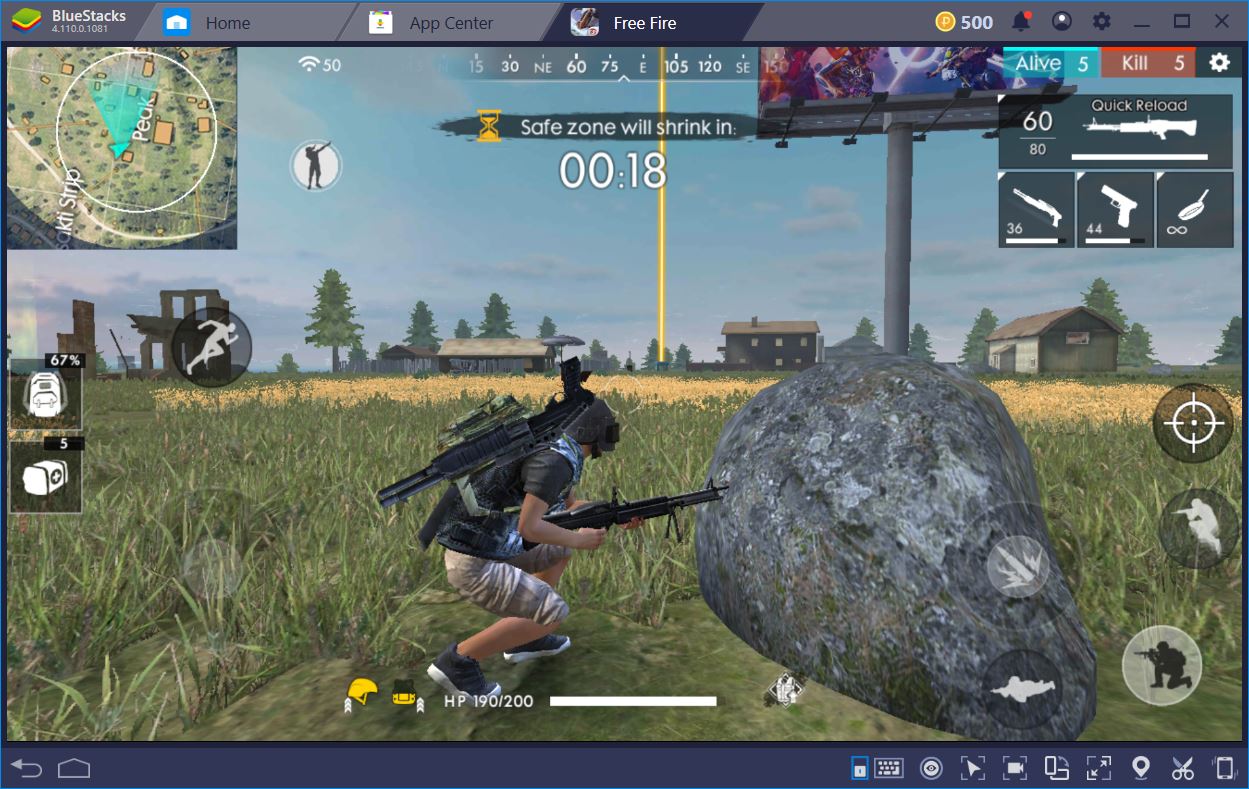
Speaking of which, if you’re this close to drops, you might want to stay back and wait for other people to go for them and shoot them on sight – that’s our eighth tip. Somebody always makes a run for it. With 5 people alive, we feel comfortable scouting the area from the cover of this rock.
If you hear a group engaging with one another, you might want to sit patiently on the side-lines for a while and wait until somebody dies. You can use this time to heal a bit and then finish off the remainder of your opponents. There’s also a good chance they’re pretty low by now. This is also referred to as Third Partying.
If you find you’re having difficulties remembering the key controls, you can make the keyboard overlay visible by clicking on the eye button at the bottom of the BlueStacks window. We prefer to play without, but that’s just our preference. You can choose to display it and pick an opacity level that suits you without it affecting visibility in the game.
Tip 9: Listen to the Game
Don’t be afraid to put on a stereo headset and listen to the game. If anybody is shooting or driving a vehicle, you’ll most certainly hear them before you can see where they are. This will help you have a better understanding of where you need to be to get the upper hand on your enemies.
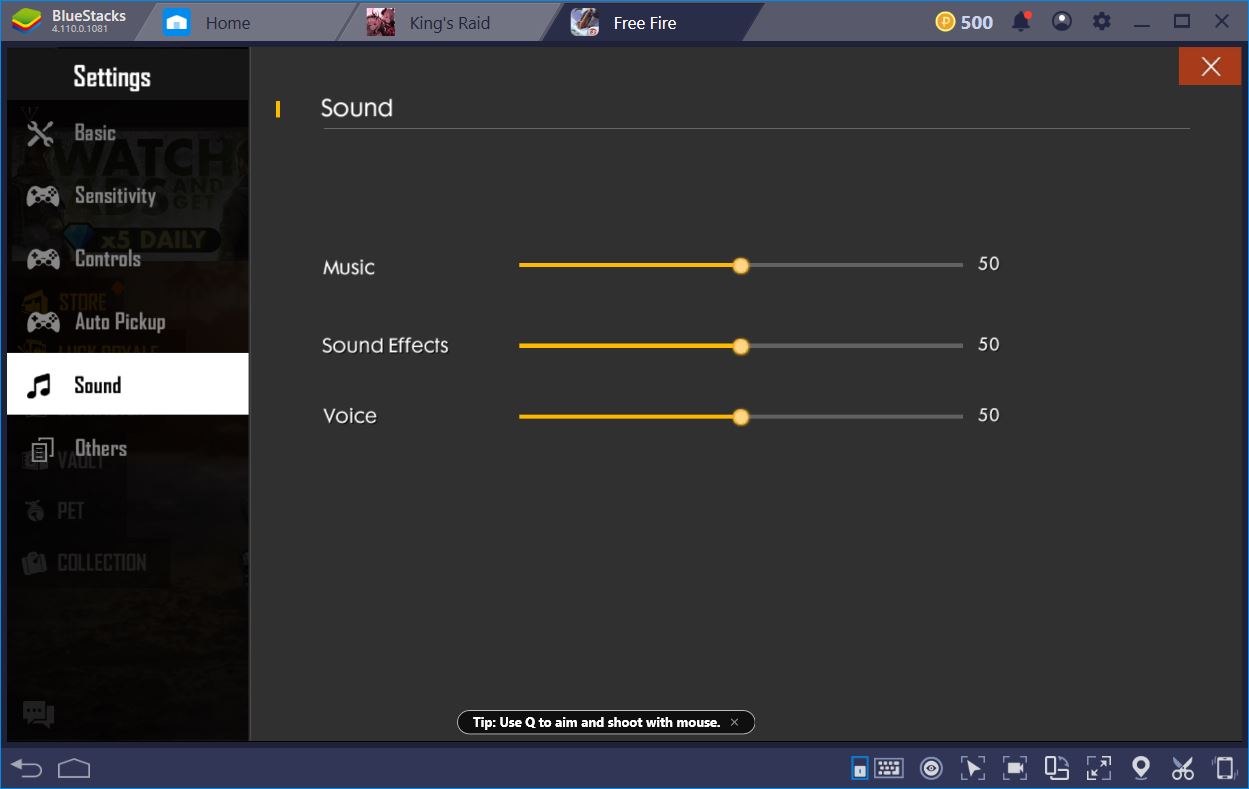
You might also want to turn off the music volume. You wouldn’t want to get distracted while you’re trying to hear your opponents’ footsteps coming up the stairs. It’s not only startling when you’re fragged from behind, unaware, but also extremely annoying. Especially if you’ve been carefully defending a good spot for some time.
You can adjust the volume of the music, voice, and other sound effects if you go into Settings and Sound.
As you can see, there are a host of things you can do to dramatically improve your gameplay experience in Free Fire while playing on BlueStacks. Each and every single one of these optimizations will help you get one step closer to that Chicken Dinner by enabling you to get a better feel of the game while also having more control each step of the way. Just try to avoid us on the battlefield. We’re very competitive!