Quick Links
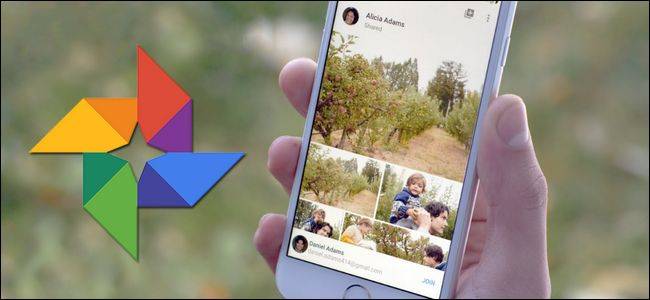
Whether you want to share family photos with distant relatives or make a shared pool of vacation or event photos with friends, it's easy to create and share collaborative albums in Google Photos.
While there is no shortage of ways to share photos among your friends, Google Photos offers some pretty enticing reasons make it your photo sharing platform of choice. First off, there's the simple ubiquity of Google accounts---practically everyone has one already and, if not, it's free. Google Photos also offers features like unlimited photo storage, built-in social functions like commenting on albums and individual photos, facial and object recognition, a plethora of other features big and small.
In fact, we only have one real complaint to lodge about photo sharing through Google Photos. When you share an album, you can't really limit who can see it. Google Photos creates a custom (and obfuscated) URL for each album and you share the album by sending people that URL. There's no way to limit access to specific Google accounts. While the chances of someone guessing the long and obfuscated URL that points back to your shared album is minuscule, that doesn't prevent the people with whom you share the URL from sharing it with others. We'd still prefer the additional security of login-restricted access. Hopefully, this is an issue that Google addresses in future updates to Google Photos.
That minor complaint aside, Google Photos makes it super easy to share your pictures. Let's jump right into creating a new album and enabling the sharing features. We'll be walking you through the features using the Google Photos for iOS app, but the functionality is pretty much the same in the Android app. You should also be able to follow along easily if you're using the web-based Google Photos interface, since the menu entries are all the same.
Create and Share an Album in Google Photos
To create your first shared album, fire up your Google Photos app and click the menu icon (three horizontal lines) in the search bar. In the menu, click "Shared" to access your shared album directory.


On the "Shared" page, click the + symbol in the lower right-hand corner to create an album. You'll be prompted to select photos for the album---select as few as one or as many as you want, and then click "Next."


Name your new album, and then click "Share." You'll see all kinds of sharing options, depending on what apps you have enabled for sharing. You can share the album with individual contacts, send the shared URL to your messaging app of choice, email a link to the album, and so on.


Although it isn't immediately apparent here, we want to emphasize the point we brought up earlier. Google Photos sharing is not permissions-based. If you share your album with three of your friends, you're not giving their three Google accounts permission to access the shared album. You're just sending them the URL for the album. Yes, this URL is long and the chances of random people stumbling across it is pretty much zero. But, anyone with the URL can access your photos, meaning that the people you shared it with can easily share it with others. So, it's in your best interest to keep sensitive photos out of shared albums and only share with people you trust.
Manage Your Shared Album
So, you've created your album and shared it. Now, let's take a look at how to manage that album. If you just finished creating a new album, you'll immediately land on that album's page. If you're coming back into the app, tap the "Albums" icon and then the "Shared" album thumbnail. You'll see a list of all your shared albums (in our example, there's just the "Pets" album we created in the last section). Tap the album you want to open.


Within the album, you'll see a series of icons across the upper right corner. From left-to-right, they let you:
- Send the album to Chromecast as a slideshow
- Add photos to the album
- Make comments on the album
- Share the album with more people
- Access the album's menu.

The album's menu lets you take actions like viewing recent activity, editing the album name, configuring sharing options, and deleting the album.

The "Sharing options" page offers several additional options. You can grab a copy of the sharing link, see who's been invited to view the album, toggle collaboration and commenting on or off, and---naturally---stop sharing the album.

Stop Sharing an Album
One of our favorite things about the sharing toggling in Google Photos is that if you stop sharing an album and then share it again later, the album is given a brand new, randomized URL (unlike the static URL that is permanently assigned to albums when you share an iCloud photo album). While you will lose comments and collaborative photos if you stop sharing an album, it is nice that you can share it again with a brand new URL if you need to, instead of deleting the entire album and rebuilding it from scratch.

That's all there is to it: you now have a shared and collaborative Google Photos album where your friends not only can see, for example, your vacation photos, but even add their own if their on the trip with you.