Quick Links
The latest version of the Microsoft Edge browser is based on Google's Chromium software, and the two share many features including the ability to set default zoom levels for one site or every site. Here's how.
How to Set a Default Zoom Level for All Websites
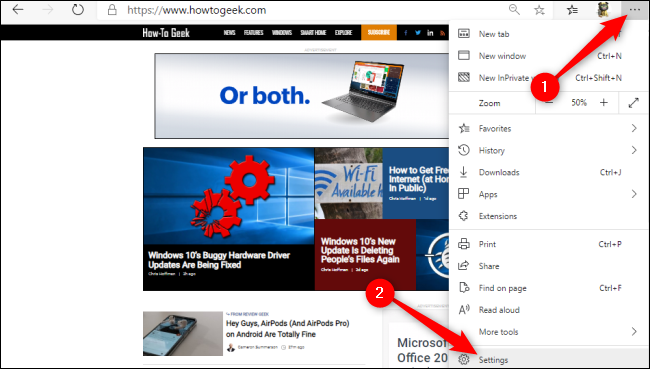
Telling Edge to enlarge or shrink all websites automatically is just five clicks away. Launch the web browser, and then click the three horizontal dots in the top right. From there, select the "Settings" button.
Now, click "Appearance." You can also type "Zoom" in the "Search Settings" box. Either way, click the "Zoom" drop-down menu and choose your desired zoom level. This zoom level will apply to all websites, except websites where you've already set an individual zoom level.
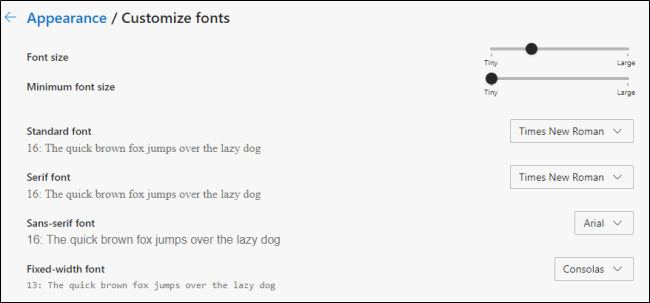
If desired, you can scroll farther down and set a default font size for all websites in Edge. Click "Customize Fonts" to access a menu with in-depth settings for different font styles, as well as sliders for a default font size and a minimum font size.
How to Set an Individual Zoom Level for One Website
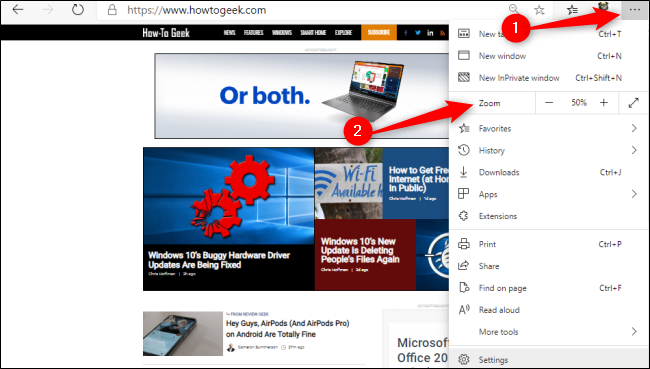
You can override Microsoft Edge's default zoom setting for a single website in just two clicks. Click the three horizontal dots in the top-right corner and then click the Minus (-) or Plus (+) icons to zoom out or in, respectively.
You can also use these handy shortcuts to quickly set a default zoom for a website. Press Ctrl on Windows and Cmd on Mac while performing any of the following:
- Scroll in or out with your mouse.
- Press the Minus (-) or Plus (+) key.
- Press "0" to reset the zoom level to 100 percent.
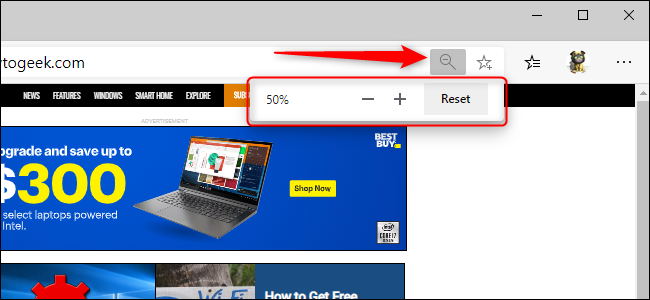
Once a default zoom level is set for a website, you can click the magnifying glass in the address bar to view or change this setting.
Altering your individual and default zoom levels in Microsoft Edge can help avoid eye strain, make Edge more efficient, or help you resize different windows for better browsing.


