
Microsoft Access is a GUI-based front-end database app that brings the power of software development tools and Microsoft Jet Database Engine in one no-code and low-code platform. Therefore, creating a relational database in Access is a breeze.
This article will show you the simple steps to create a desktop-based Access database using a template. It’ll also explain the steps to create an Access database from scratch by building your own forms, tables, reports, and other objects.
Using Templates to Create a Database in Microsoft Access
Microsoft gives you access to several production-ready Access database templates. You can use these templates without modification or personalize them a bit for branding purposes.
An Access database template comes with all the necessary objects that a functional database needs. For example, you’ll find tables, queries, macros, reports, and forms in any template that you pick.
You can pick any database template to get started with the Microsoft Access database. Here is how:
- Open Microsoft Access on your laptop or desktop.
- You should see the home screen view of Access.
- Click on New on the left-side panel.
-
You should see many Access database templates.
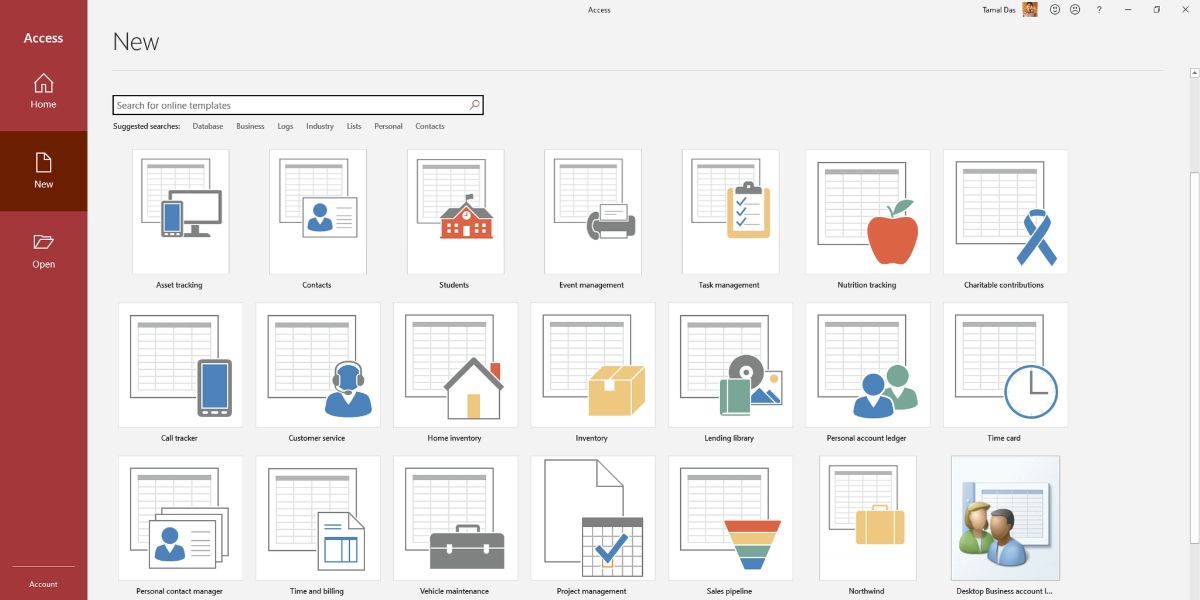
- Use the search box to look for online templates if you don’t find what you’re looking for.
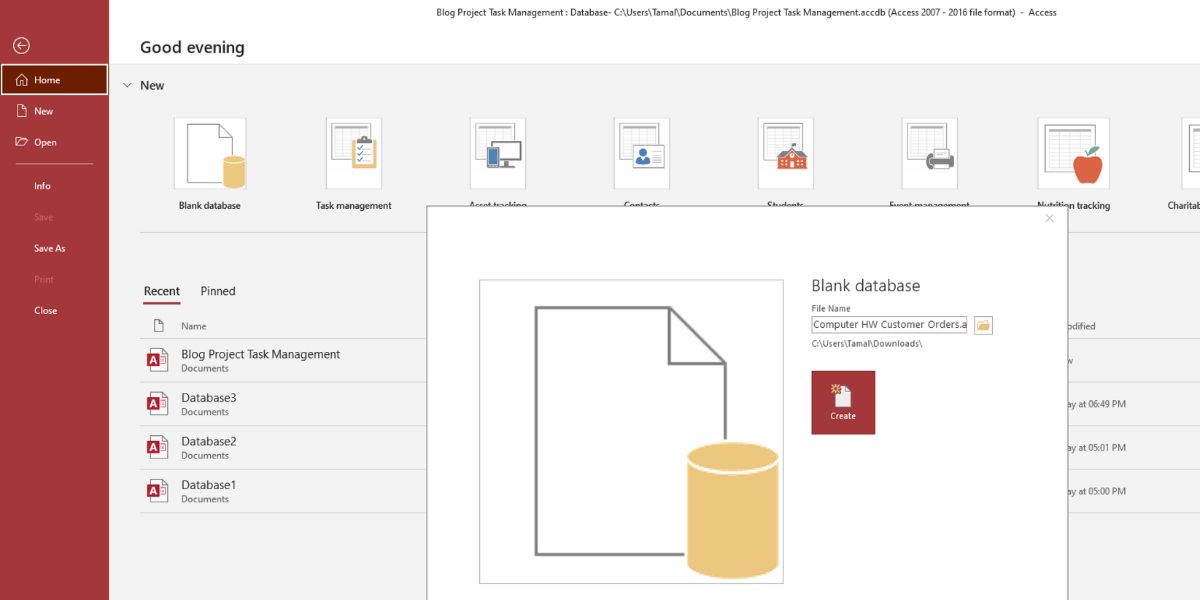
- The template overview window will open once you choose a template.
-
Here, you may change the File Name and file path.
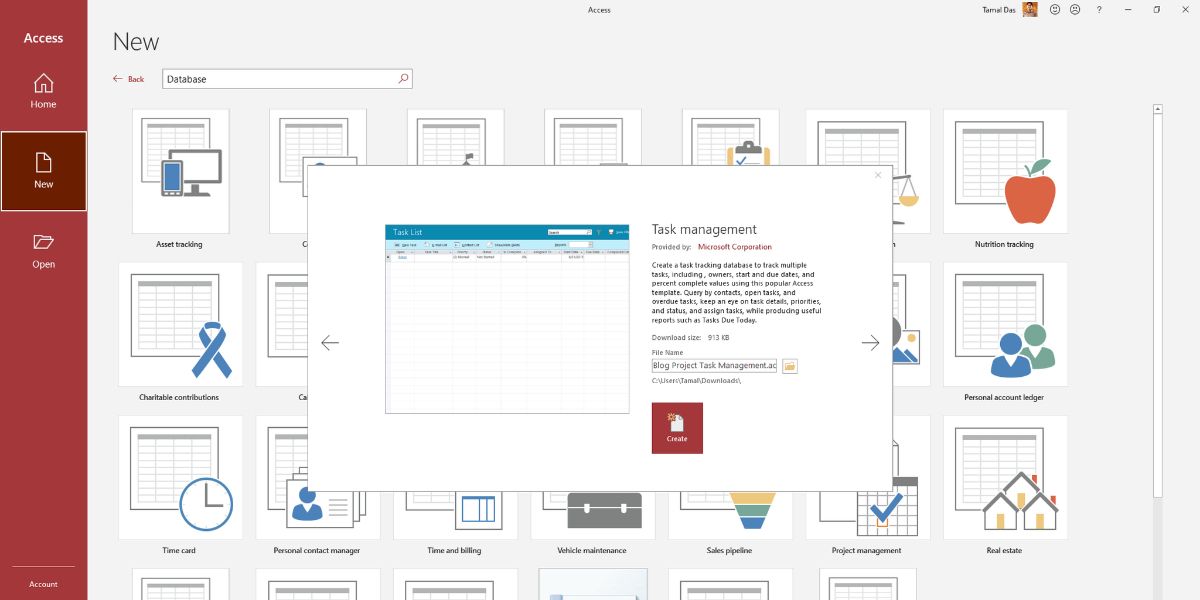
- Click Create to build the database. It’ll open automatically.
- You’ll see the welcome screen. Click on Get Started to use the database.
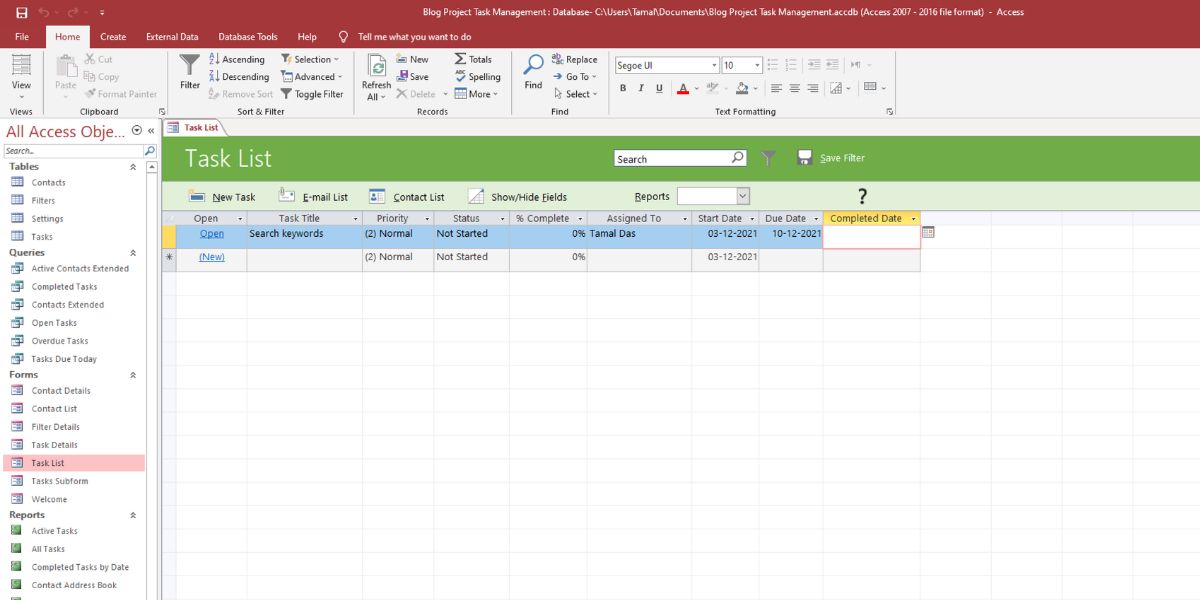
- The left-side Navigation Pane shows you all database objects like Tables, Queries, Forms, and so on.
-
You can start entering project tasks by clicking on New Task within the Task List form.
-
You can double-click on Tasks beneath the Tables menu on the left side to review the raw database.
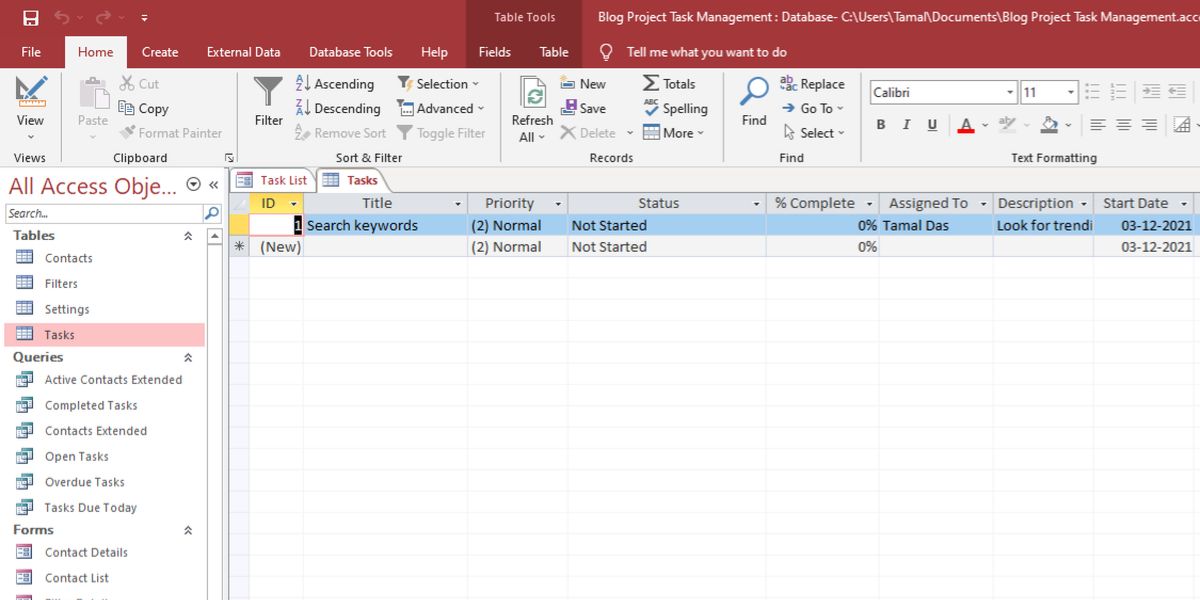
- Click on the Close (X) button in the top-right corner beneath the ribbon to close any open database objects.


How to Create a Database in Microsoft Access From Scratch
Though Access database templates save you some time, it doesn’t let you dive deep into the working of a database. You need to create a database from a blank Access file using your own data, table, forms, and other parts. Download this sample Access database to start building your own.
You can start creating your own Access database by following these easy steps:
- On the Access ribbon menu, click on the File tab.
- You’ll see the Blank database option. Click on that.
-
Change the name and path in the Blank database overview window.
-
Click on the Create button to build and open the empty database.


The empty database is the foundation. You need to add data and database parts to make it a functional database. The following sections will show the steps to add basic database parts of Access:
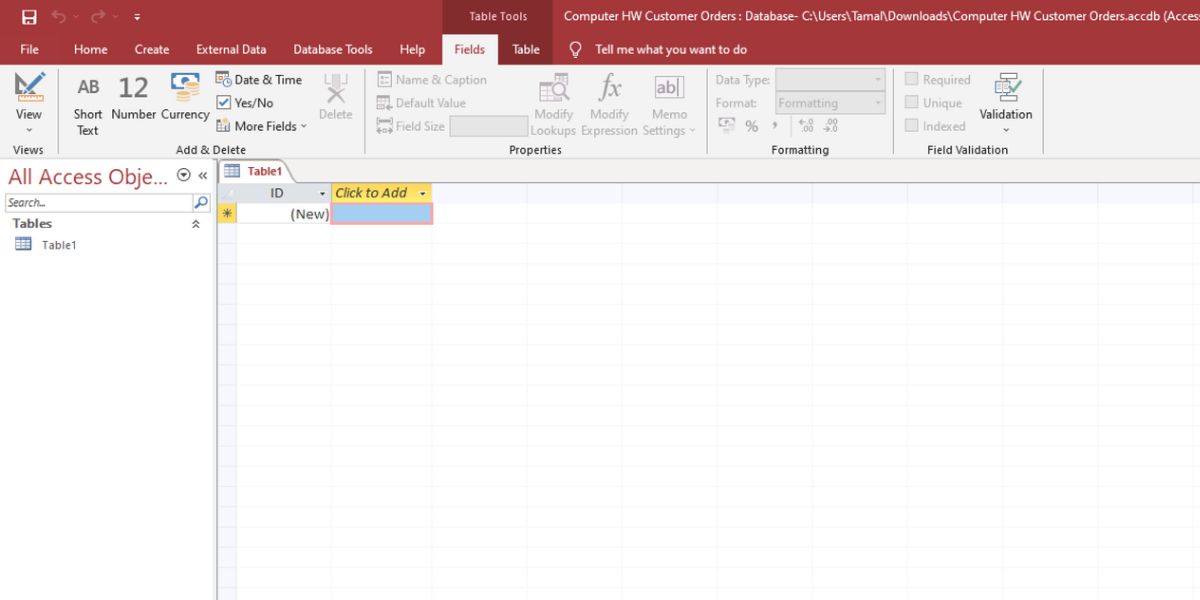
1. Add a Table
The empty database will automatically add a table, Table1. The table in the Datasheet view resembles an Excel worksheet. However, Access uses the term Field for columns and Record for rows.
If you want to add a new table to your database:
- Click on the Create tab of the ribbon menu.
-
You’ll see six sections of database parts like Application, Table, Query, Form, Report, and Macro.
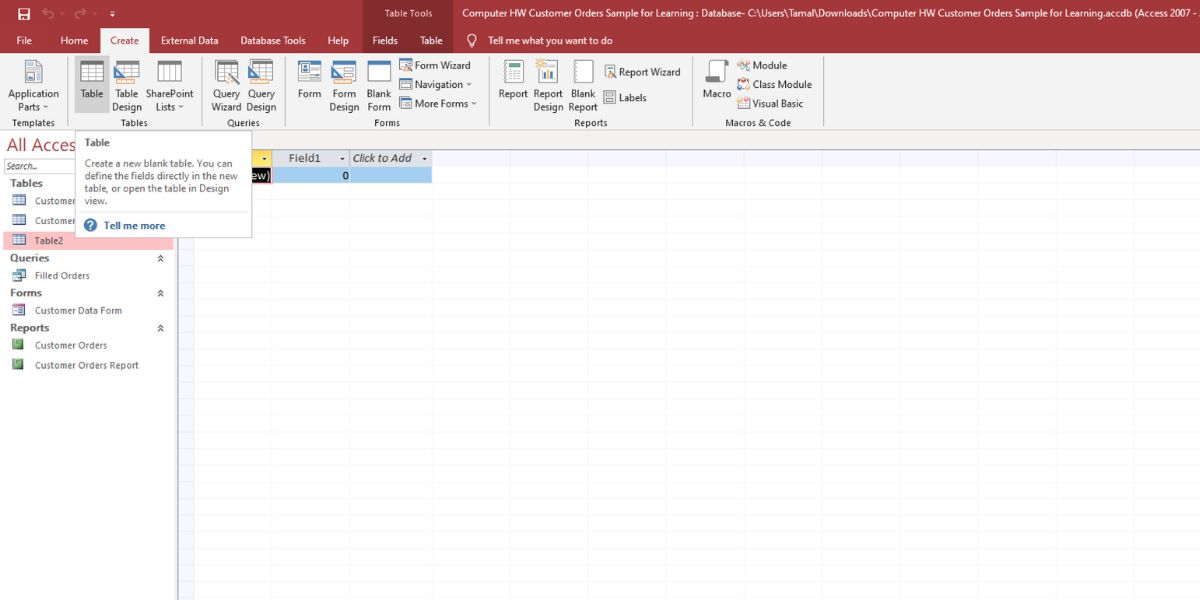
- Simply click on Table to create Table2.

2. Adding Data to Tables
Though the Access database looks quite similar to Excel, adding data is different. Here are the steps that you should try to add data to a table:
-
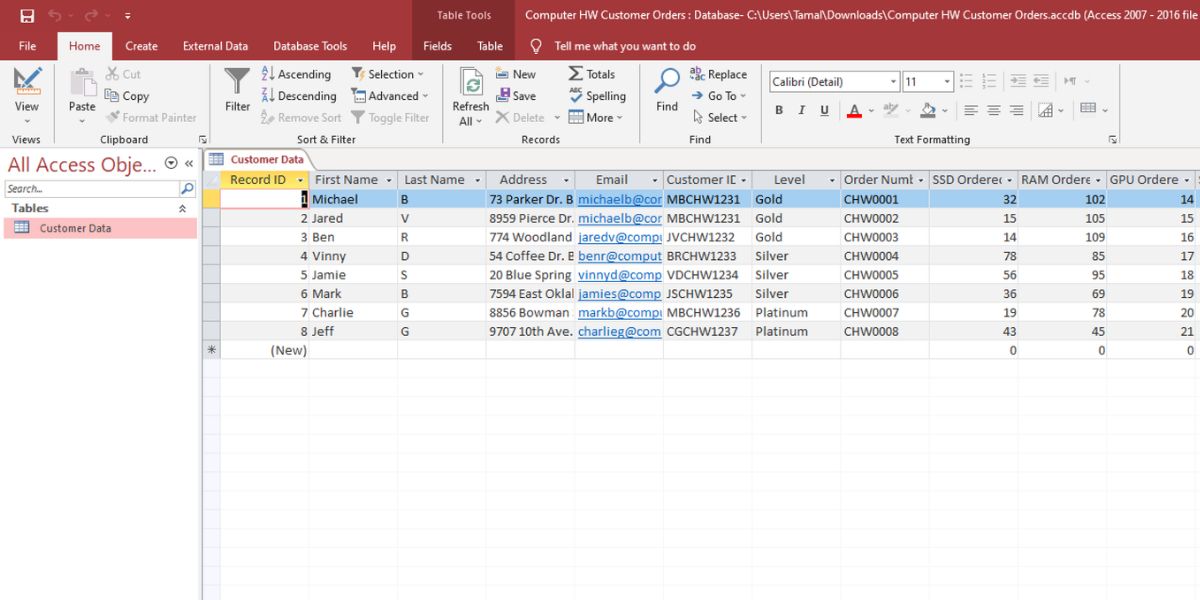
The first field will show as ID. Double-click on that to rename it to Record ID.
- Now click on Click to Add and choose the data type. Data type lets Access know what kind of records you will store in that field.
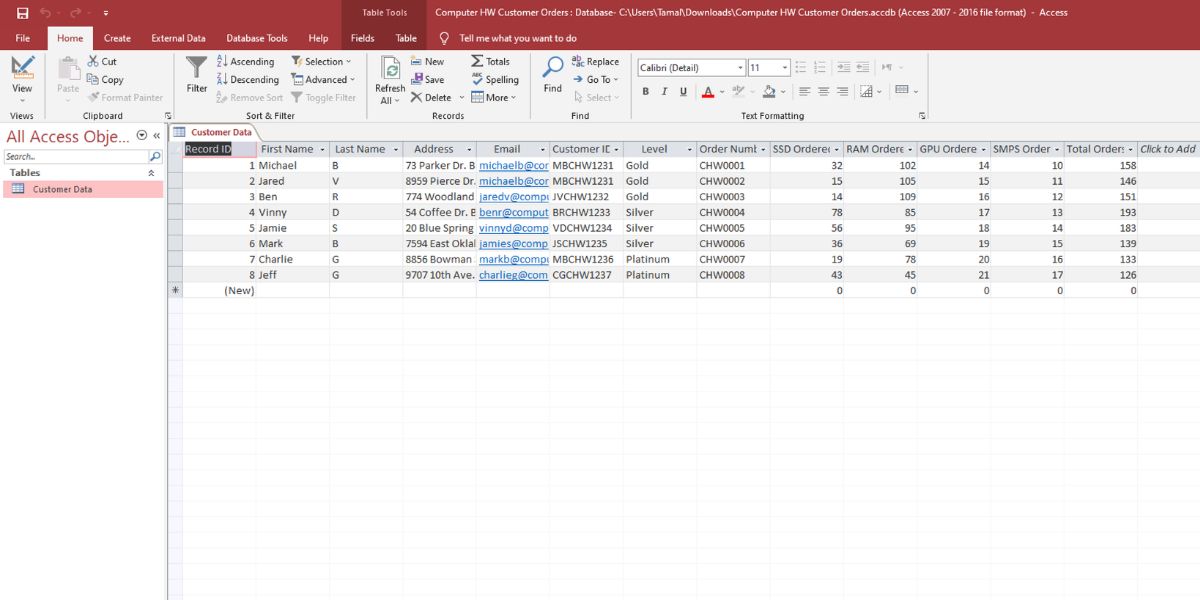
- Choose Short Text for fields such as First Name, Last Name, Address, etc.
-
To add fields and data types faster, click on the Design View icon in the bottom-right corner.
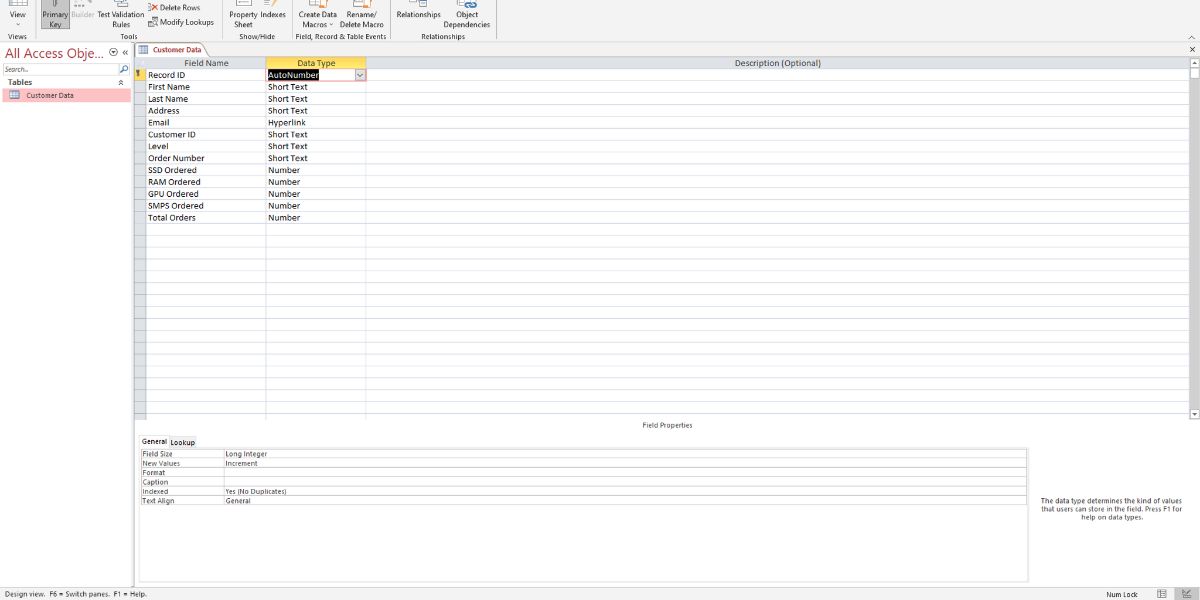
- You can add Field Name and Data Type side-by-side.
-
Now, it’s time to add records. Once you add a record beneath First Name, Access will assign the Primary Key 1 in the cell below Record ID.
- Primary keys are unique for each record. Access uses it to build table relationships.


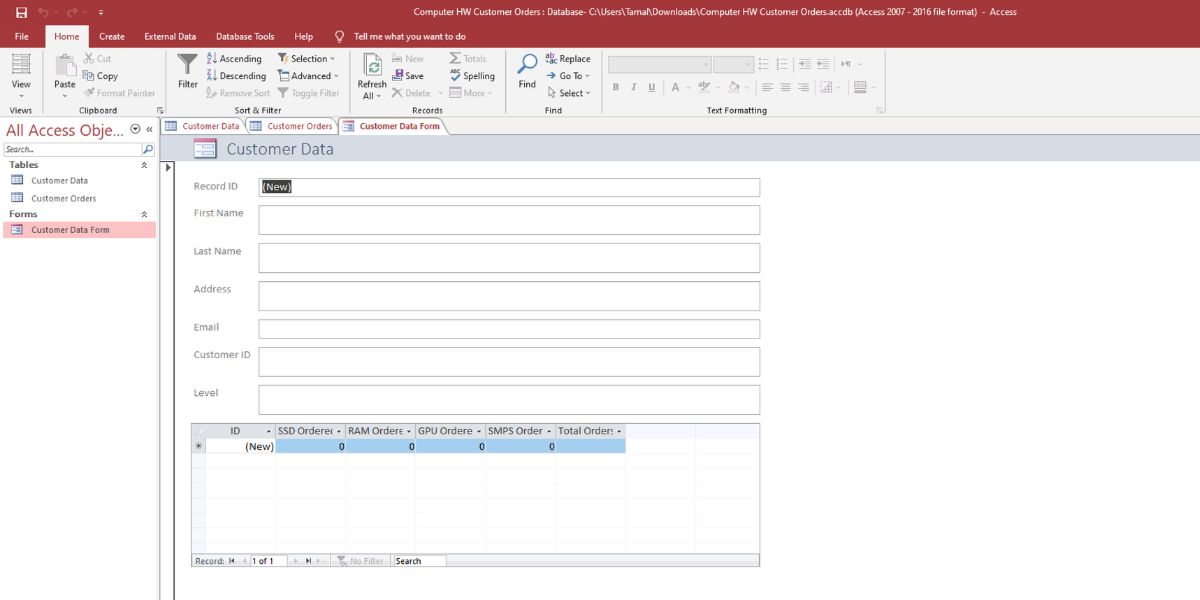
3. Add a Form
Forms help you and your team members to add data quickly. It also makes data entry easier. Replicate the following steps to build a form:
- Choose a database table for form building.
-
Click on Create tab on the ribbon menu.
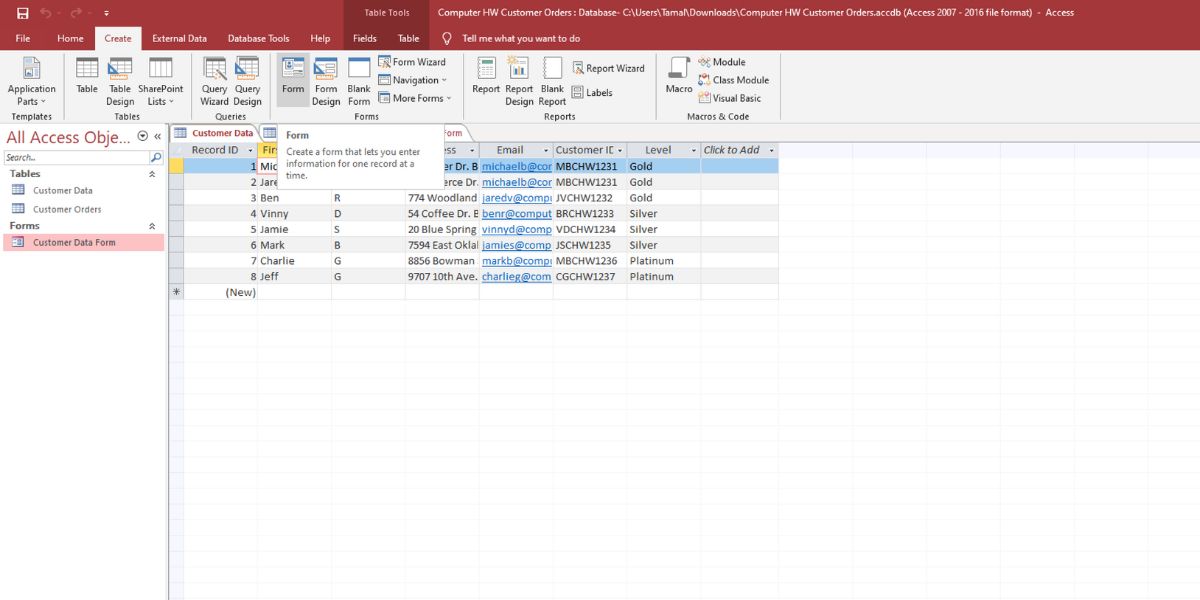
- Click on Form.
-
Access will automatically create a form based on the table data.
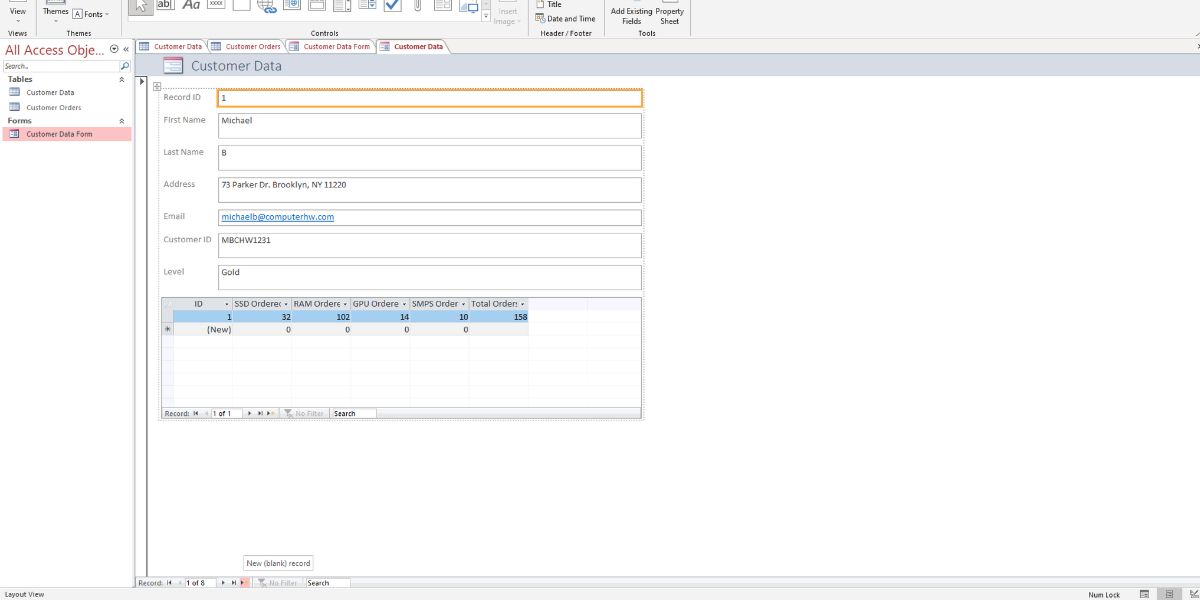
- The form will also show data from other linked tables.
-
Click on the New (blank) record button at the bottom of the form to enter new customer details.
- Now, if you attempt to close the form, Access will ask you to save and rename the form.


4. Add and Run a Query
Running a query and fetching data is a vital task that you can perform in your Access database. You may want to try these steps:
-
From the Create tab on the ribbon menu, click on Query Design.
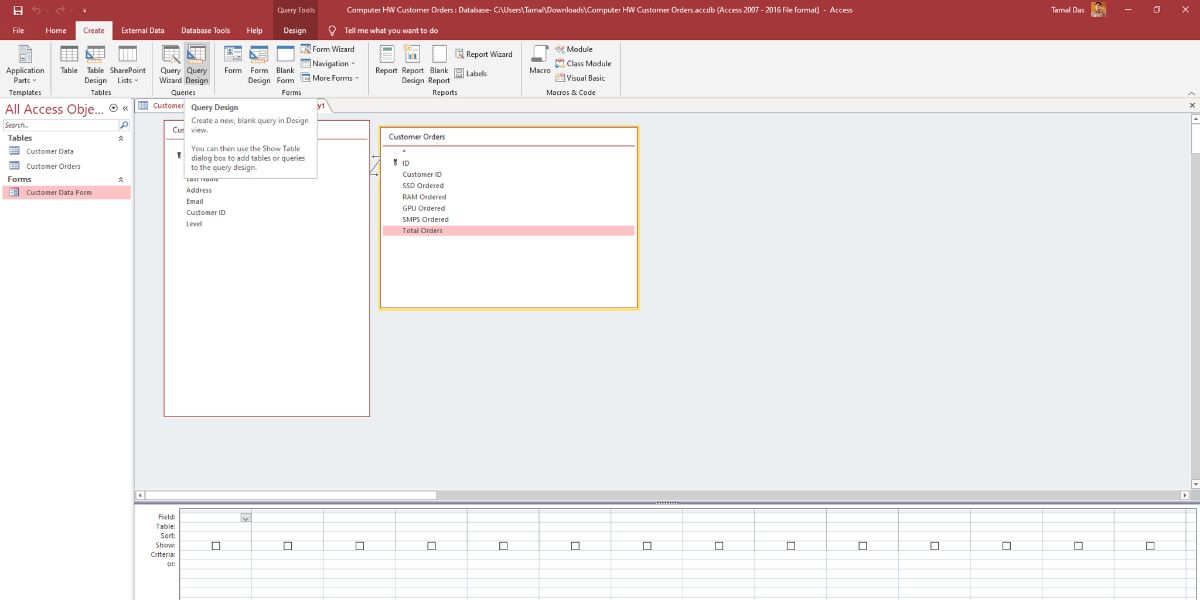
- Double-click on the tables from which you want to fetch data through queries.
- Double-click on the fields that you want to include in your query from each table.
-
You can also add criteria for each field to show specific data.
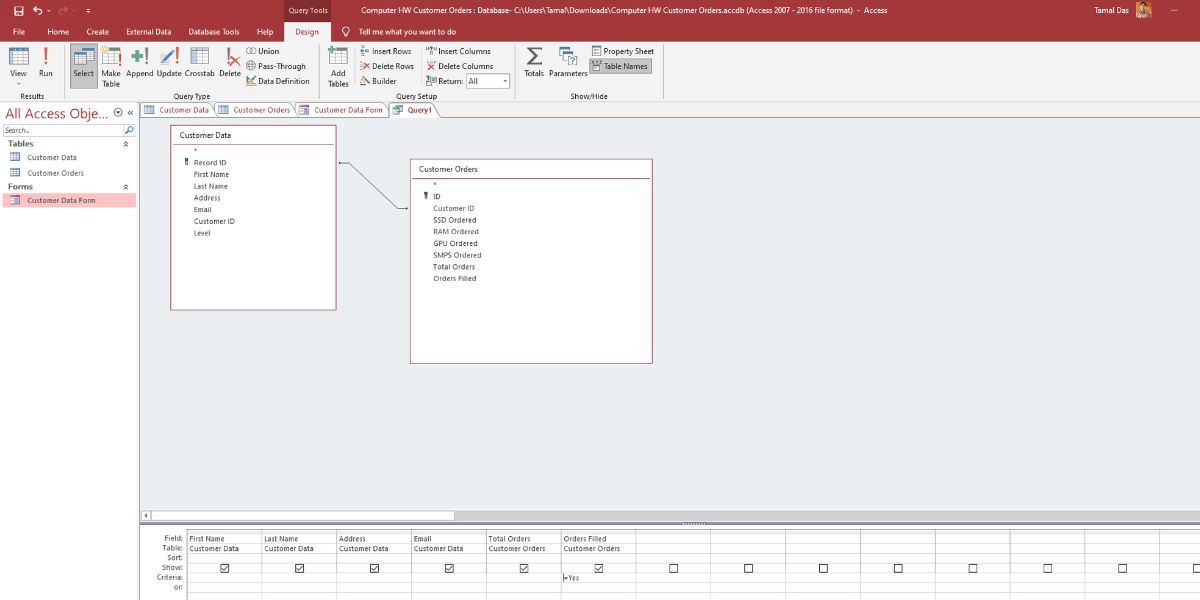
-
Add criteria for Order Filled by entering an equals sign (=) followed by Yes.
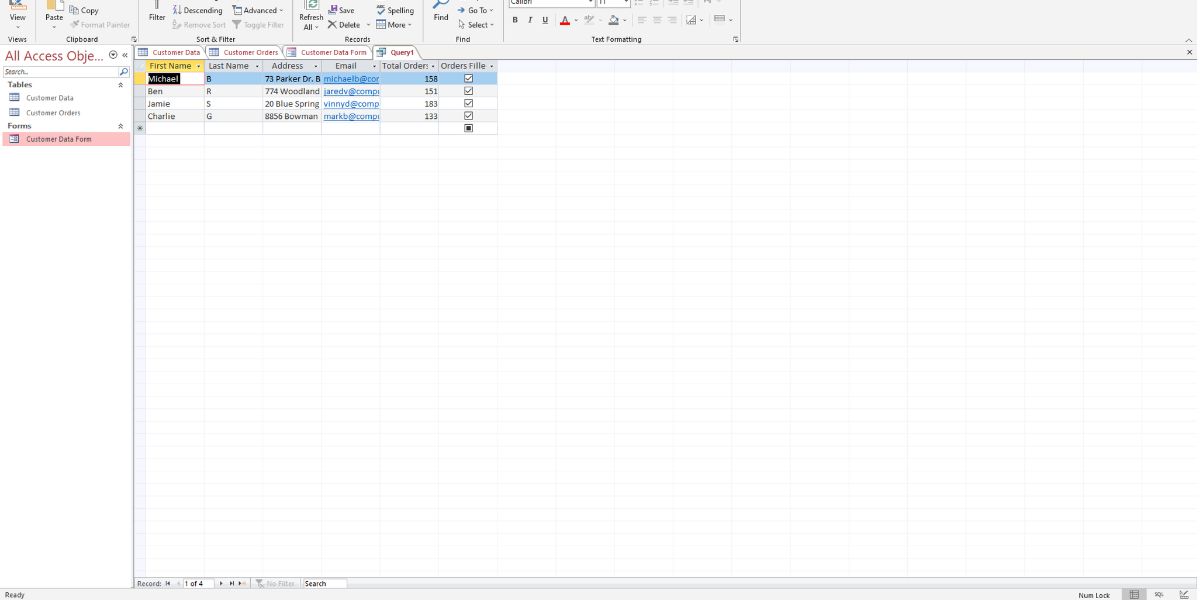
- Switching the database to Datasheet View will execute the query and fetch customer data for filled orders.


5. Add a Report
You can create structured reports for your Access database. Down the line, reports offer vital insights about the project or workflow. Simple steps to create a report:
- Select the table for which you want to build a report.
-
Click on Report from the Create tab of the ribbon menu.

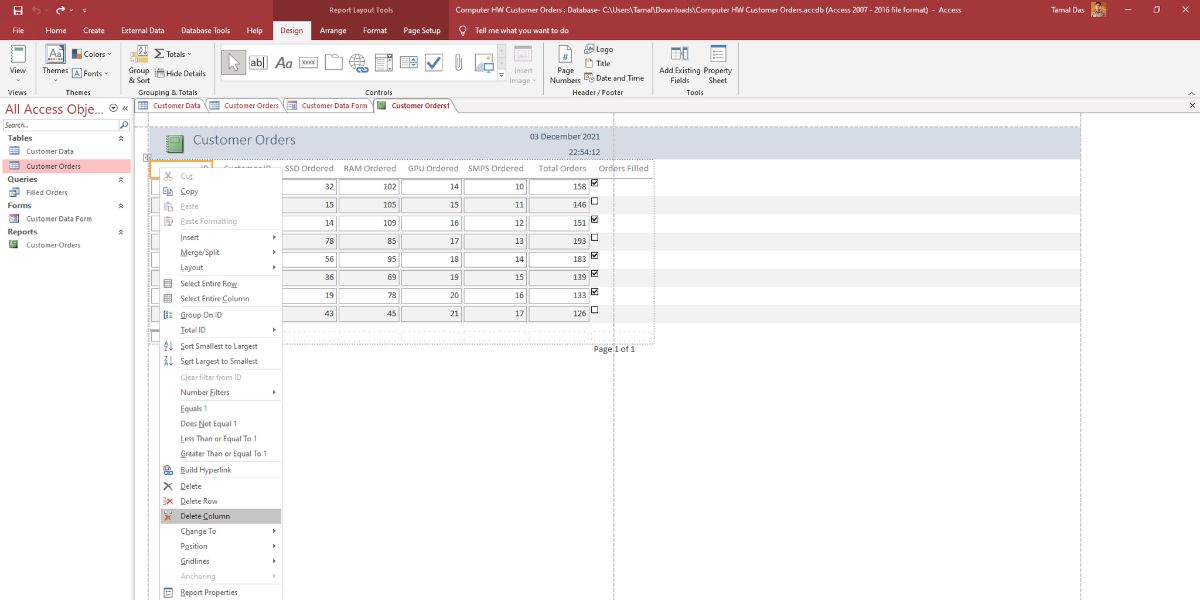
-
Right-click on a field and select Delete Column to remove any fields.
-
In the bottom-right corner, click on Print Preview to visualize your report.
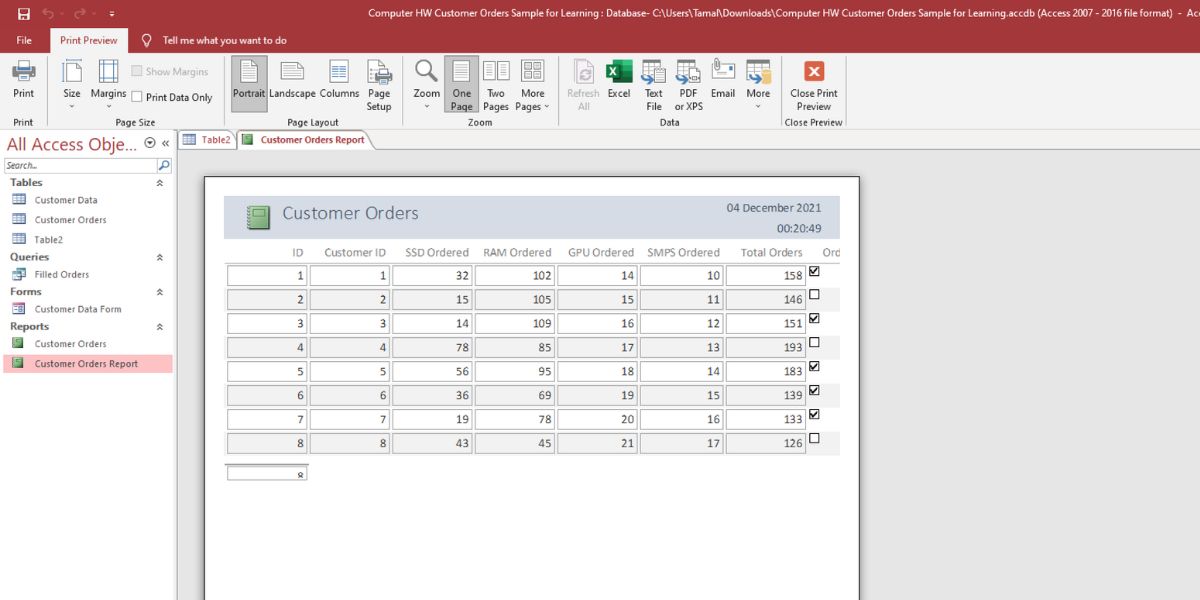
- Close the report, and Access will give you the option to save it.


Use Microsoft Access for Powerful Databases
You can create a fully functional database on Microsoft Access by following the above-mentioned steps. Then use your database to manage a lot of work-related stuff like clients, project data, revenue data, content history, and so on.
Though it has a bit of a learning curve, your efforts will surely bring you better opportunities. You can improvise your workflow with a systematic database. Or, you can put the skill in your resume to hunt for a high-paying job in reputed tech companies.