
Welcome, young scientists!
If you’ve arrived here today, you’re probably looking for easy science experiments for kids that you can do at home.
The only problem? So many experiments require obscure ingredients that are hard to find or require planning.
Good news! There are literally hundreds of simple science experiments & STEM activities you can do at home, with materials you already have on hand.
We scoured the internet and practiced these experiments with our own young kids to test them out and make sure they were good ones. They’re super educational and so much fun for kids of all ages!
Each of these easy STEM challenges and science experiments will take about 30 minutes to complete from start to finish, and they’re a great way to teach simple science concepts that your kids will use in school.
The best part? They each use simple ingredients from around the house like food coloring, dish soap, paper towels, ice cubes, rubber bands, white vinegar, vegetable oil, and baking soda.
So, let’s dive in to our giant list of 100 fun science experiments for kids!
1. Traveling Rainbows

Overview:
This colorful experiment is an easy way of demonstrating capillary action, water travel, and color mixing. Kids of all ages will love watching the color move through the paper towel on its own, and they’ll have a better idea of how plants get their nutrients.
What You need:
- 6 glasses or jars
- Paper towels
- Food coloring (red, yellow, & blue)
2. Homemade Lava Lamp

Overview:
This simple lava lamp experiment is especially a hit with kids ages 4-12 (and beyond!), and it will take their favorite adults back a few decades, too! It’s a fun way to learn about density.
What You Need:
- A clean plastic bottle or glass jar
- Vegetable Oil
- Baking Soda
- Food Coloring
3. Jumping Pepper!
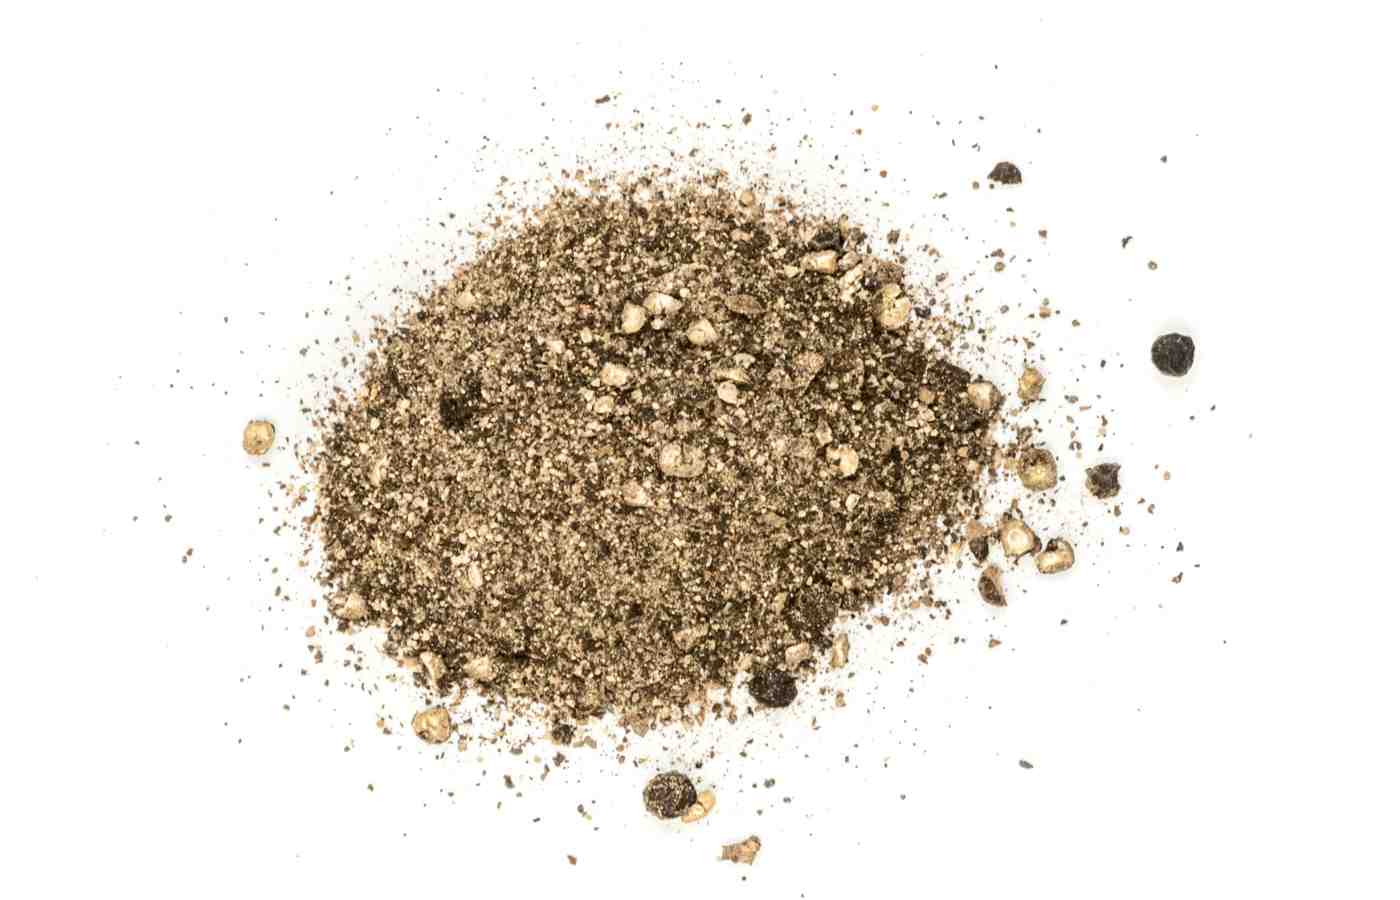
Overview:
Have you ever seen pepper jump? You’re about to! This simple experience using water, soap, and black pepper will get kids of all ages exploring the concept of surface tension.
What You Need:
- black pepper
- a plate or bowl
- water
- liquid soap
4. Invisible Ink
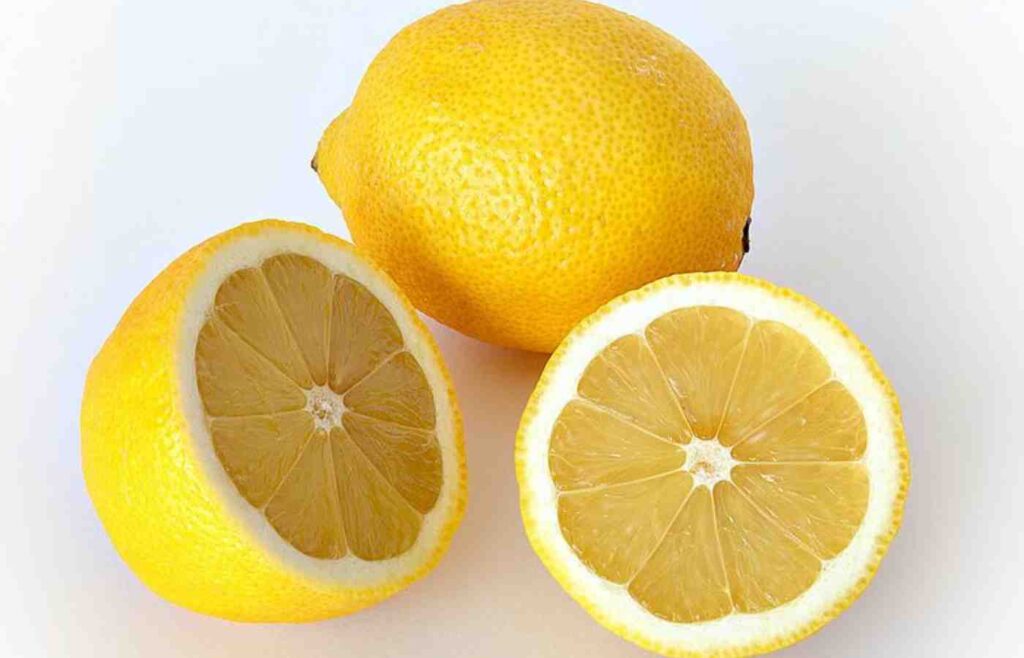
In this fun experiment, your kids can write a secret message with invisible ink that they will learn how to reveal scientifically. Like all of these at-home science experiments, you need only basic materials, and it’s sure to be a big hit.
Materials:
- Cotton swab
- lamp or light bulb
- plain white paper
- bowl or cup
- lemon juice
5. Mini Volcanos
Overview:
This super easy baking soda and vinegar volcano eruption is a real crowd-pleaser for kids of all ages, and your kids will be begging to do it over and over again!
All you need is a few very basic household ingredients, and your colorful volcano will be erupting in no time. It only takes about three minutes to prep.
Ingredients
- Plastic cup
- Water
- 3-4 Tbs of baking soda at least
- 1 tsp of dish soap
- Food coloring (or washable paint if you want to avoid staining)
- 1 cup (8 oz) of Vinegar
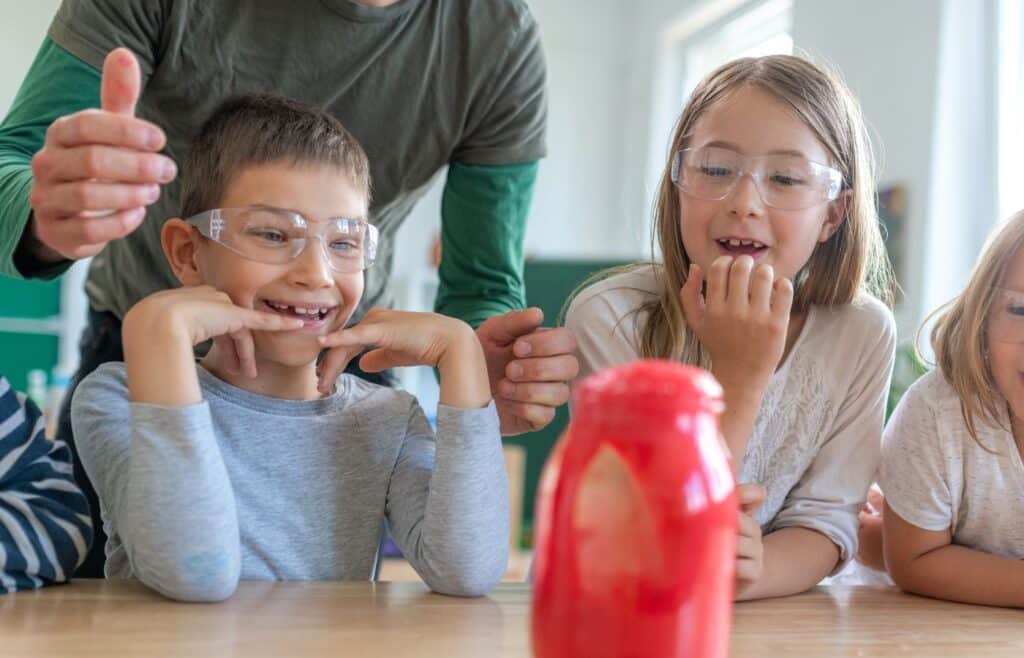
6. Elephant Toothpaste
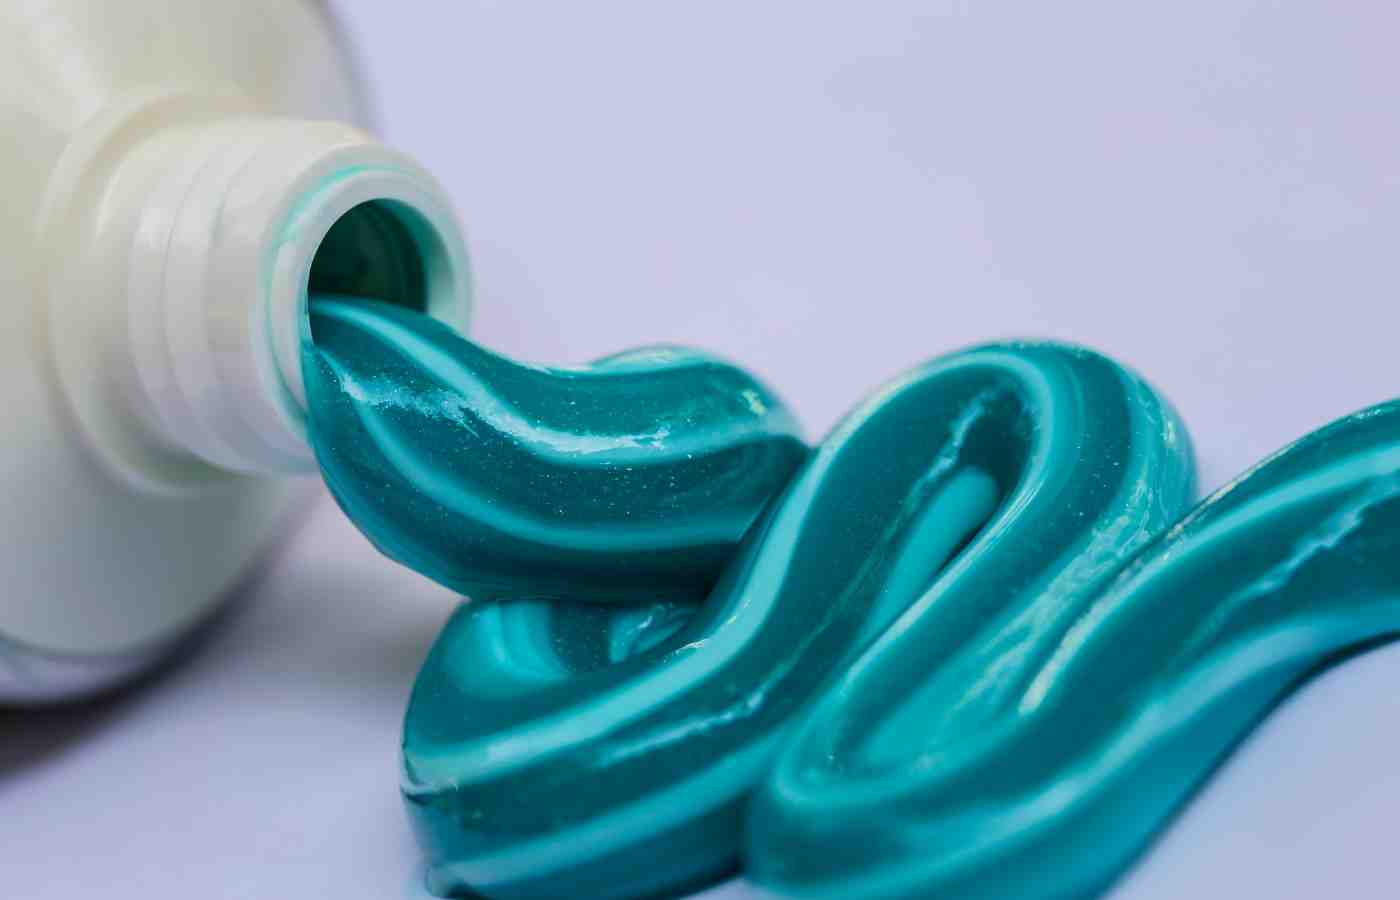
Overview:
Have you heard of the elephant toothpaste experiment yet? It’s a blast! You will need an adult for this experiment. Kids of all ages will love learning about catalysts and exothermic reactions in this simple fun science activity.
What You Need:
- 16-oz plastic soda bottle
- 1/2 cup 20-volume of 6% solution hydrogen peroxide liquid
- 1 Tablespoon dry yeast
- 3 Tablespoons of warm water
- Liquid dish soap
- Food coloring
- Small cup
- Safety goggles
7. Dry Erase Marker Magic
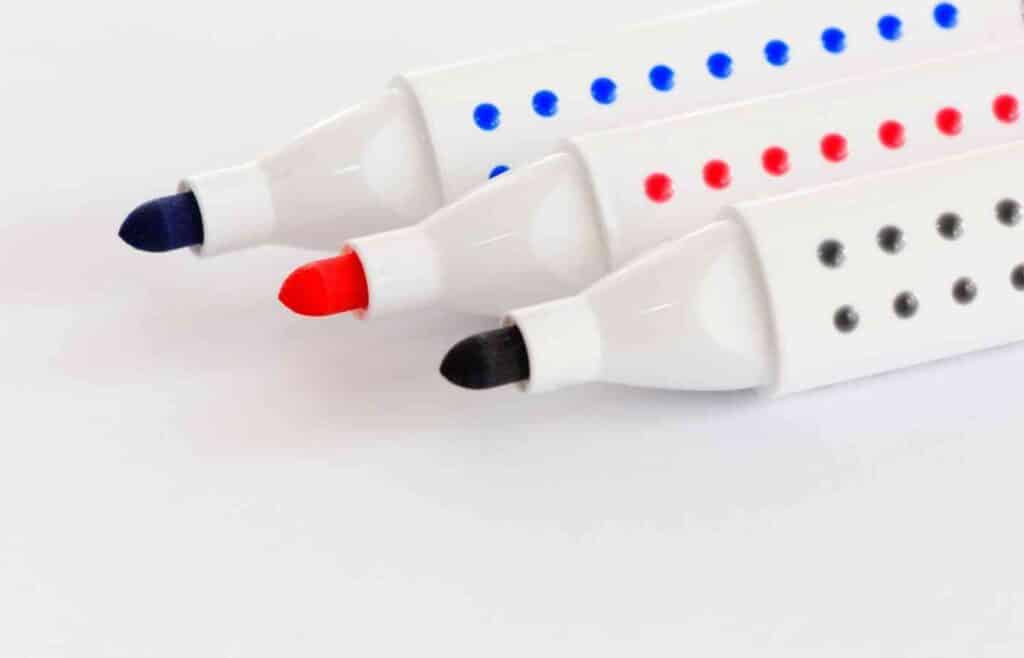
Bring your drawings to life with nothing more than a glass plate, a dry erase marker, and a little water! Dive into this magical and straightforward dry erase marker experiment that will not only wow the kids but also ignite their curiosity about chemistry and physics.
8. Light Refraction Magic
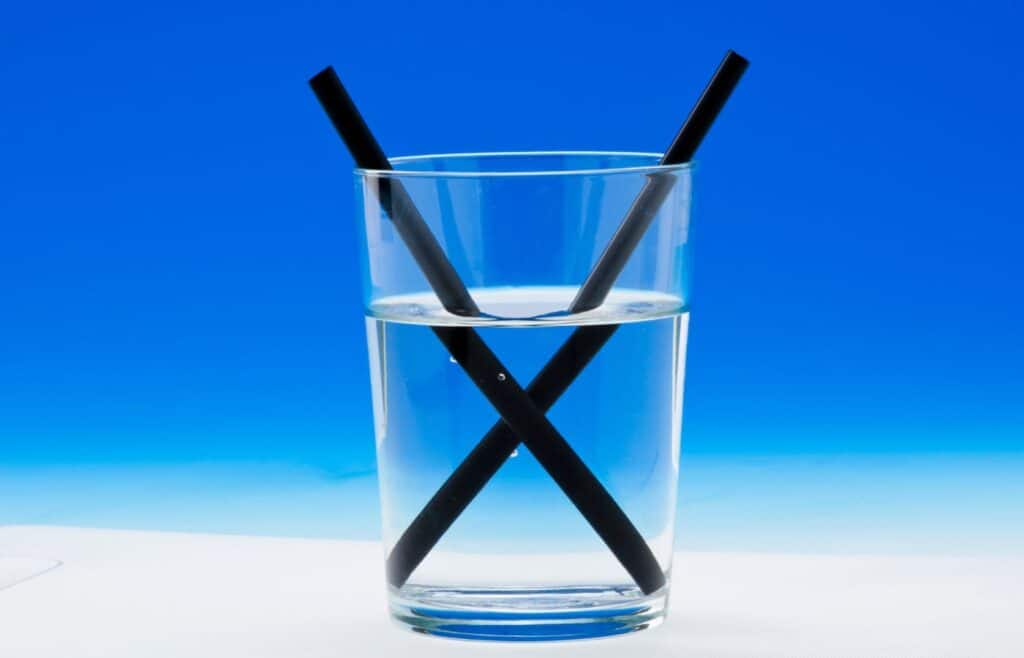
Overview:
This super simple science experiment is really more of a magic trick, and it will teach your kids all about light refraction.
What You Need:
- Piece of Paper
- Marker
- Glass
- Water
9. Skittle Heart Experiment
This visually stunning experiment is not only a treat to watch but also a great way to explore concepts of water solubility and color mixing. Let’s dive into the simple Skittle Heart Experiment that will capture your kids’ hearts.
10. Dancing Raisins

Overview:
Home science experiments don’t have to be complicated. In this very easy science experiment that’s perfect for young kids, you’ll need a few simple ingredients that you probably already have in your household: clear soda, a glass of water, and a handful of raisins. With these simple ingredients, you’ll produce chemical reactions that your kids can watch in real time!
What You’ll Need:
- Clear Soda
- A clear glass of water
- Handful of raisins
11. Rainbow Celery

Overview:
Got some celery in the fridge? Then you can begin to learn about capillary action with a simple and colorful color-changing celery experiment. It’s a really cool project that your kids are sure to remember for years to come!
What you need:
- Celery
- Glasses of water
- Food coloring
12. Homemade Slime
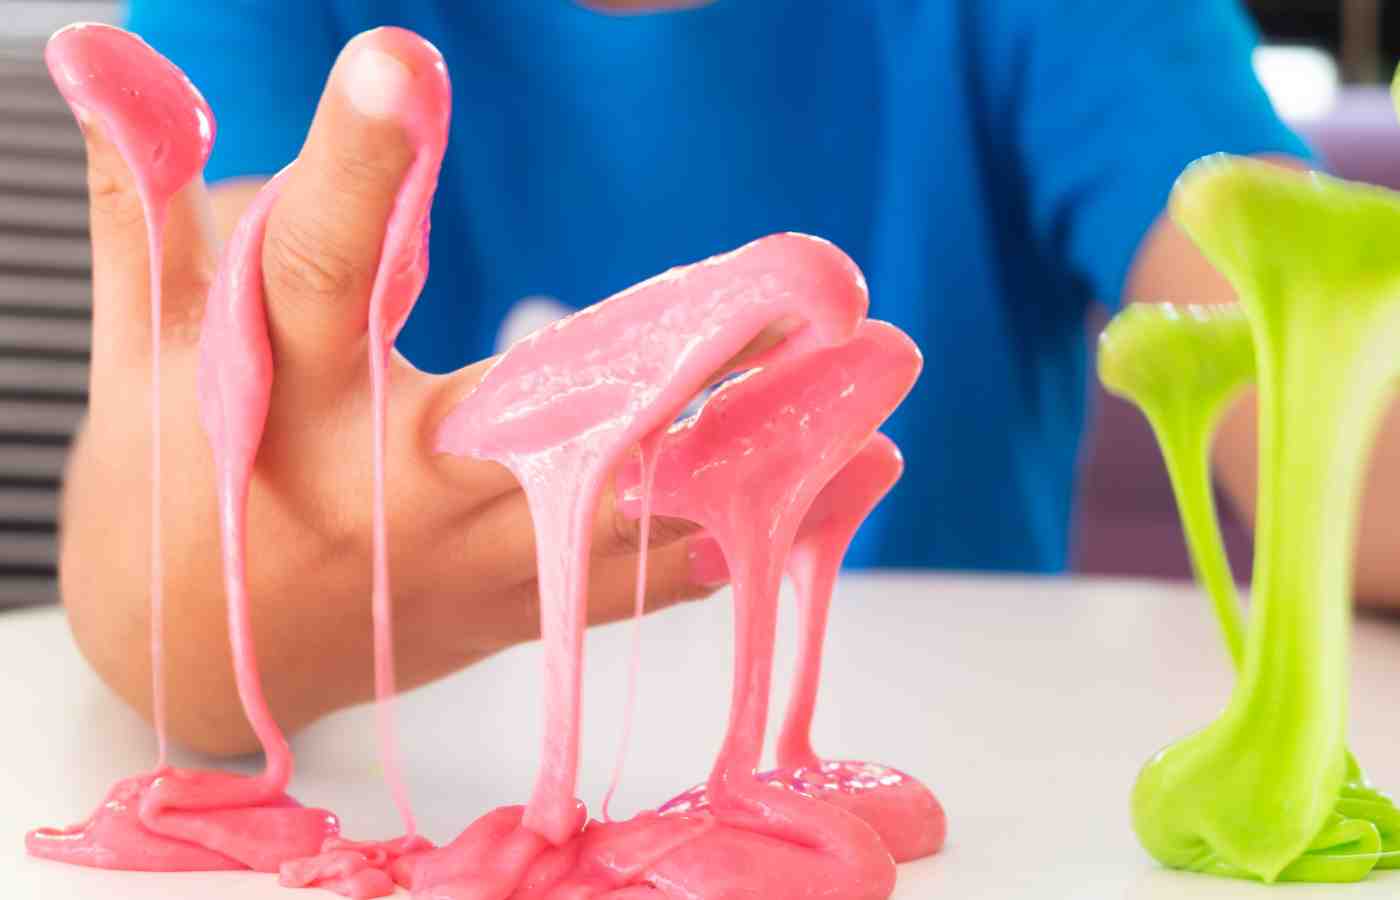
Overview:
What kid doesn’t love slime? This is one of our favorite science experiments because it’s a sure kid-pleaser! In this basic recipe, you can make some of your own right in your kitchen, and have fun squeezing it with your bare hands all day long.
Slime has quickly become one of those classic science experiments that every family should try at least once!
Materials:
- Water
- White school glue
- food coloring
- borax
- two bowls
13. Shiny Pennies
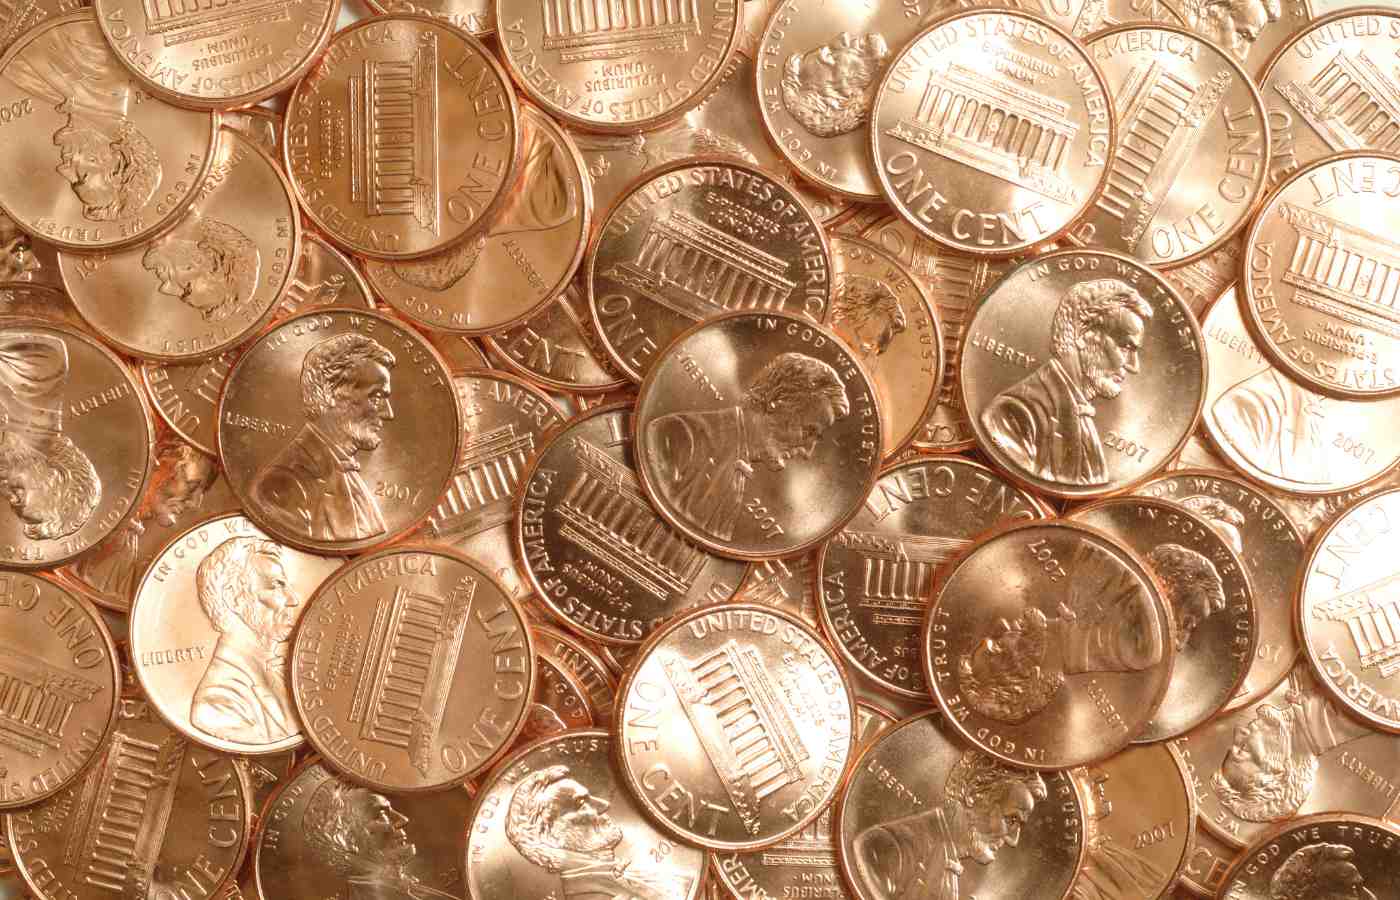
Overview:
You definitely have some dirty pennies lying around your house, so let’s put them to good use in a classic science experiment that even young kids can enjoy. Pennies are copper, and they are often in circulation for years (yuck!), so they often appear very tarnished. In this experience, you’re going to see if soap or vinegar (or other liquids) do a better job at cleaning the exterior of the dirty copper penny.
What You’ll Need
- dirty pennies
- 2 paper cups
- Vinegar
- Dish soap
- Paper towel
- Different liquids from around the house (ketchup, soda, Diet Coke, etc.)
14. Orange Fizz
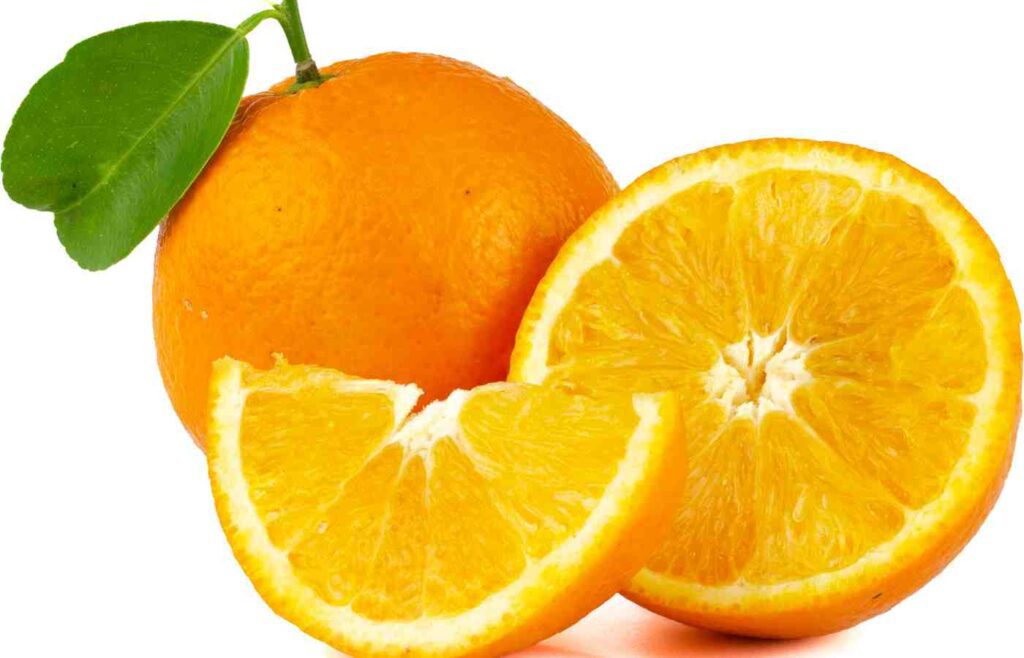
Overview:
Discover orange fizz bubbles popping inside of your mouth! This sensory experiment is really fun for learning about acids and bases. And hardly any materials are needed.
Materials:
- Orange or clementine
- 1/2 teaspoon baking soda
15. Exploding Soap

Overview:
The Exploding Soap experiment is a surefire hit with all ages, and all you need is soap and microwave! (And a little help from your parents.)
Materials:
- Ivory Soap
- Microwave
16. Sink or Float?
Overview:
Kids of all ages – but especially young children – will love this easy science experiment that builds a foundation to understanding density. This is one of our favorite science activities for the little ones!
What You’ll Need:
- Two glasses of water
- Small items from around the house
- A piece of paper and a pen
17. Mixing Impossible

Overview:
This super easy experiment involves mixing equal parts oil and water and adding a drop of food coloring to see what happens. Kids will love watching the food coloring make it through the oil. You will love how easy it is to set up and clean up!
What You Need:
- Several drinking glasses
- water
- vegetable oil
- liquid food coloring
- a toothpick (if you have it)
18. Exploring Colors With Baking Soda / Vinegar

Overview:
In this science activity for kids of all ages, your little scientists will create a chemical reaction, explore color mixing, AND create colorful artwork. Triple win!
What You Need:
- Tray (A baking sheet will do)
- Baking soda
- White vinegar
- Ice Cube Trays or other containers to hold the colored vinegar
- Pipettes or eye droppers
- Liquid watercolors or food coloring
19. Water Cycle In A Bag

Overview:
This is one of the best science experiments to teach your kids about the water cycle, and it’s so easy to do! They’ll watch the water cycle in a bag play out right before their eyes.
Materials:
- Zip lock bag
- permanent marker
- water
- blue food coloring
- clear tape
20. Tie-Dye
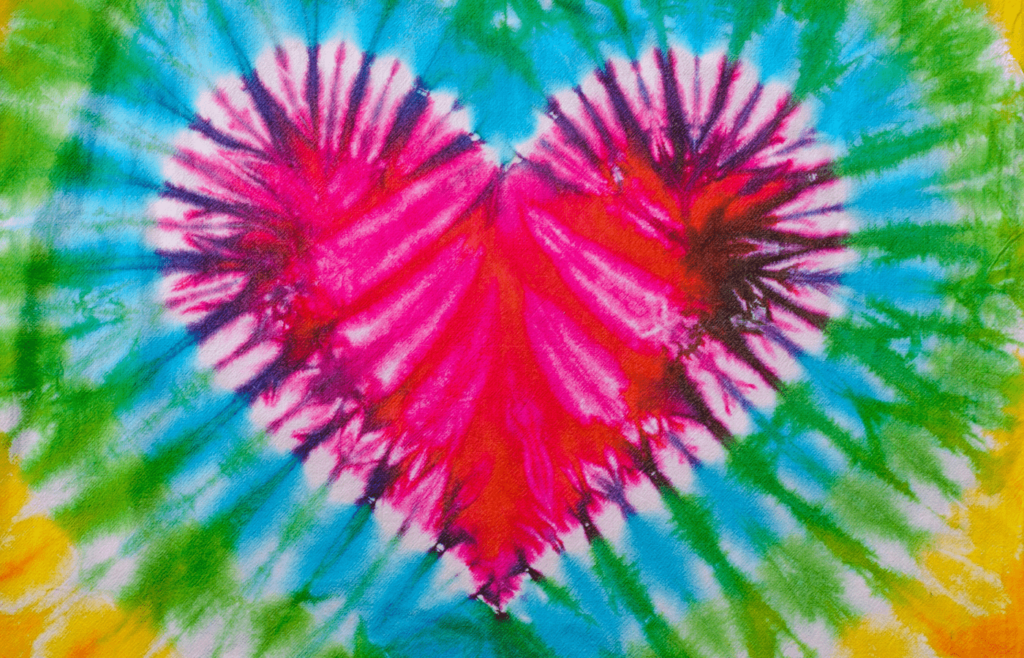
Overview:
Who would have thought that everyone’s favorite t-shirt pattern is actually a great science lesson, too? As your child dyes the shirt, they’ll be observing water solubility and absorption in real time. The dyes are fiber-reactive, which means that a chemical reaction takes places between the dye molecules and fabric molecules so that they actually become one. The dye bonds with the fabric and actually becomes a part of it.
What You Need:
- White T-shirt or pillowcase
- Buckets or bins filled with water
- Tie-dye
- Rubberbands
- Plastic gloves
Here are 10 Easy Tie-Dye Patterns For Kids. To learn how to wash and care for your tie-dye shirt, click here.
21. Static Electricity Hair

Overview:
Want to provide your kids with (literally) hair-raising good time? It’s super simple to teach your kids about static electricity with this easy, no-mess science activity.
What You need:
- an inflated balloon
- a piece of cloth
Steps:
Rub the surface of the balloon with the cloth for at least40 seconds. Then, hold the balloon a short distance above your head and watch your hair stick to it!
What’s Happening:
The balloon gains electrons from the cloth and becomes negatively-charged when you rub it together. Then, when the balloon touches you hair, it attracts your hair, which is positively charged.
22. What’s That Mystery Object?
Overview:
The process of using your sense of touch is very important to the scientific method. In this experiment, you’ll use your sense of touch to see how many different textures you can recognize.
What You Need:
- A grown-up or friend to help
- A blindfold
- A “feely” bag that you can’t see through
Small objects from around the house that have different textures, such as: a plastic bag, a water bottle, a banana, a piece of paper, a cell phone, a rubber ball, a cotton ball, a tooth brush, a washcloth, etc. Try to find objects of different materials like velvet, wool, cotton, leather, metal objects, wooden spoons or toys, pieces of aluminum foil, and other interesting objects and textures.
Steps:
First, put on your blindfold. The next step is to have a grown up or friend put a mystery object in the bag for you to fell. Can you guess what each object is?
23. Sugar Water Rainbows
Overview:
This science experiment is especially meant for older kids, but it can me modified for kids of all ages. Your kids will love this colorful experience about density and buoyancy, and all you need are some common household ingredients.
What You Need:
- food colorings (preferably in rainbow colors including red, orange, yellow, green, blue, purple)
- water
- a clear straw
- salt or sugar
- 6 cups
- tablespoon
Steps:
First, fill each of the cups with the same amount of water.
Next, add the food coloring, one color in each cup, preferably in rainbow order.
Line the cups up next to each other.
In the first cup, do not add any sugar at all.
In the second cup, add one tablespoon of sugar.
In the third cup, add two tablespoon of sugar.
In the fourth cup, add three tablepoons of sugar, and so on.
Stir each mixture until all the sugar is dissolved in each glass.
The next step is to make a sugar rainbow by placing the end of the straw in the first cup (the cup with no sugar), only about a half of an inch.
Cover the top of the straw with your thumb before lifting it out of the water so that the water does not fall out of the straw.
Now dip the straw into the second cup (1 tablespoon sugar). This time, insert it deeper so that the end is one inch below the water level. In one quick move, release the thumb and recap again. Now you should have two layers of color.
Keep dipping the straw into each solution from the one with the least sugar to the one with five tablespoons of sugar. Each time, the straw is inserted half an inch deeper.
What’s happening?
Density is the amount of substance (mass) within the volume occupied by the object. If two cups have the same amount of water (i.e. same volume), the one with more sugar is denser than the one with less sugar.
Buoyancy is determined by relative density. The solution with less density floats above the solution with higher density. That is why the color don’t mix.
Sugary water has higher density than plain water. The solution with more sugar has higher density than the one with less sugar. If you have inserted the straw in the solutions from the least sugar to the most sugar, then the color don’t mix and you have a sugar water rainbow.
24. Painted Nature

Overview:
In this activity, kids will be closely observing natural phenomena, looking for signs of life and growth, and using their senses to experience natural materials. These skills are extremely important scientific foundations.
Steps:
First, have your child search for natural objects in nature. Fill a bag with interesting sticks, leaves, rocks, twigs, pebbles, and anything else you can find.
Next, bring them into the “classroom” or home to closely observe and paint them.
As you paint, you can discuss the natural colors and features of these objects: What is their texture? What do they notice about each object?
Variation:
My kids love “melty crayons”. They can’t get enough of them. Gather several rocks and heat them up in the oven. Then, carefully draw on them with crayons. The heat of the rock will melt the crayon wax and the it will go on like paint.
25. Magnet Dump
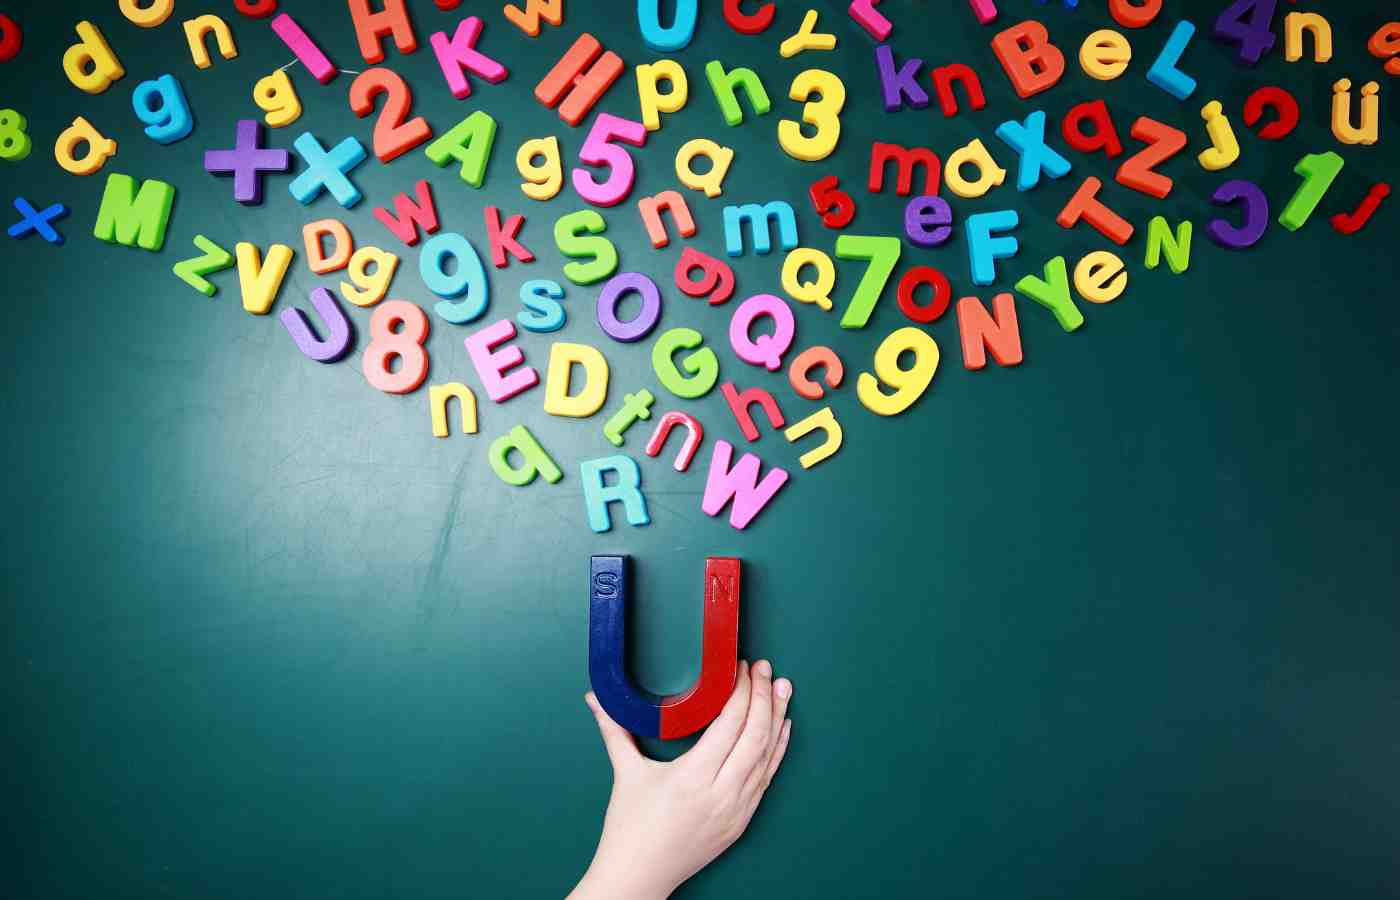
Overview:
This activity is a great introductory magnet activity, and for younger kids, they’ll be practicing skills of classifying and sorting.
Steps:
First, dump out a selection of metal objects onto the table.
Next, ask your kids to help you “clean up” by using the magnets to pick up different objects and sort them into containers.
Discuss which objects are attracted to a magnet and which are not. What patterns do they notice? What other objects would they like to try?
26. Magnet Magic
Materials:
- Clear plastic box (look in your recycling bin)
- Pipe cleaners
- Scissors
- Magnet
This super-easy experiment is a really fun way to teach your child about magnets in a colorful, magical way, and it only requires simple materials from around the house.
First, cut up several pipe cleaners and place them in a clear plastic box. The box does not need to be fancy, just see-through.
For your first time through this demonstration, have your child take a magnet and touch it against the surface of the plastic box. They’ll find that the pipe cleaners are lifted up and move with the magnet!
What’s Happening?
Magnets attract certain types of metal. The pipe cleaners have a thin strip of metal, so the magnet is able to attract those pieces and pull it around the box.
Extension: Next time, think of what other objects could you place in the box? What objects do you predict the magnet could move around?
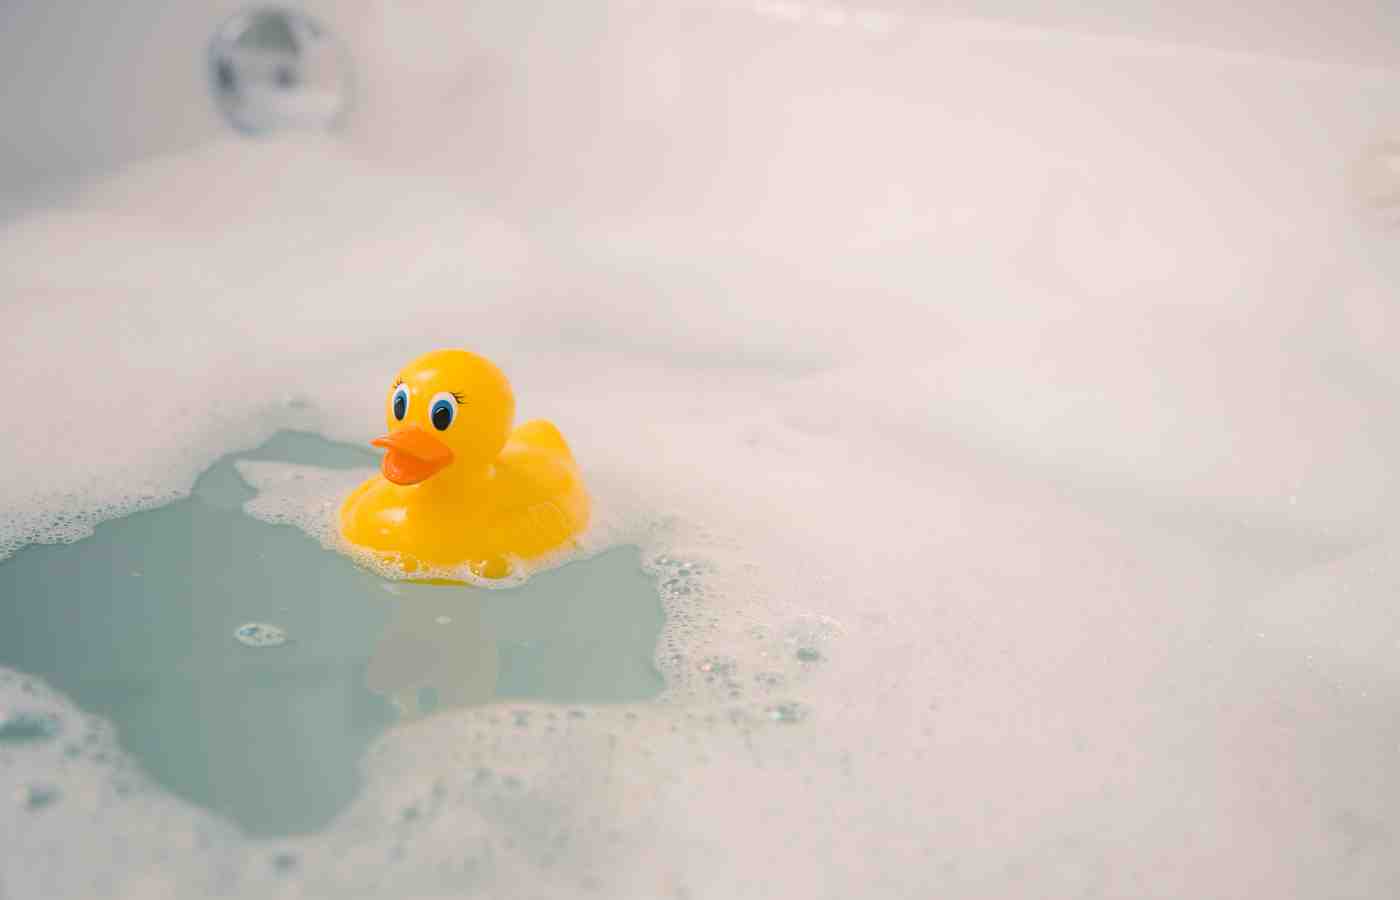
27. LEGO Boats
Overview:
This experiements present a great opportunity to get kids thinking about engineering and design.
Steps:
First, challenge your kids to build their own boat out of LEGO bricks. For an added challenge, only give them a certain number of pieces.
Once everyone has finished building, put the boats to the test in a tub of water.
Add pennies a few at a time to see how many each boat can hold.
Talk to your kids about how weight and design matter. Reflect on good designs and help them understand why they worked well.
28. DIY Parachute
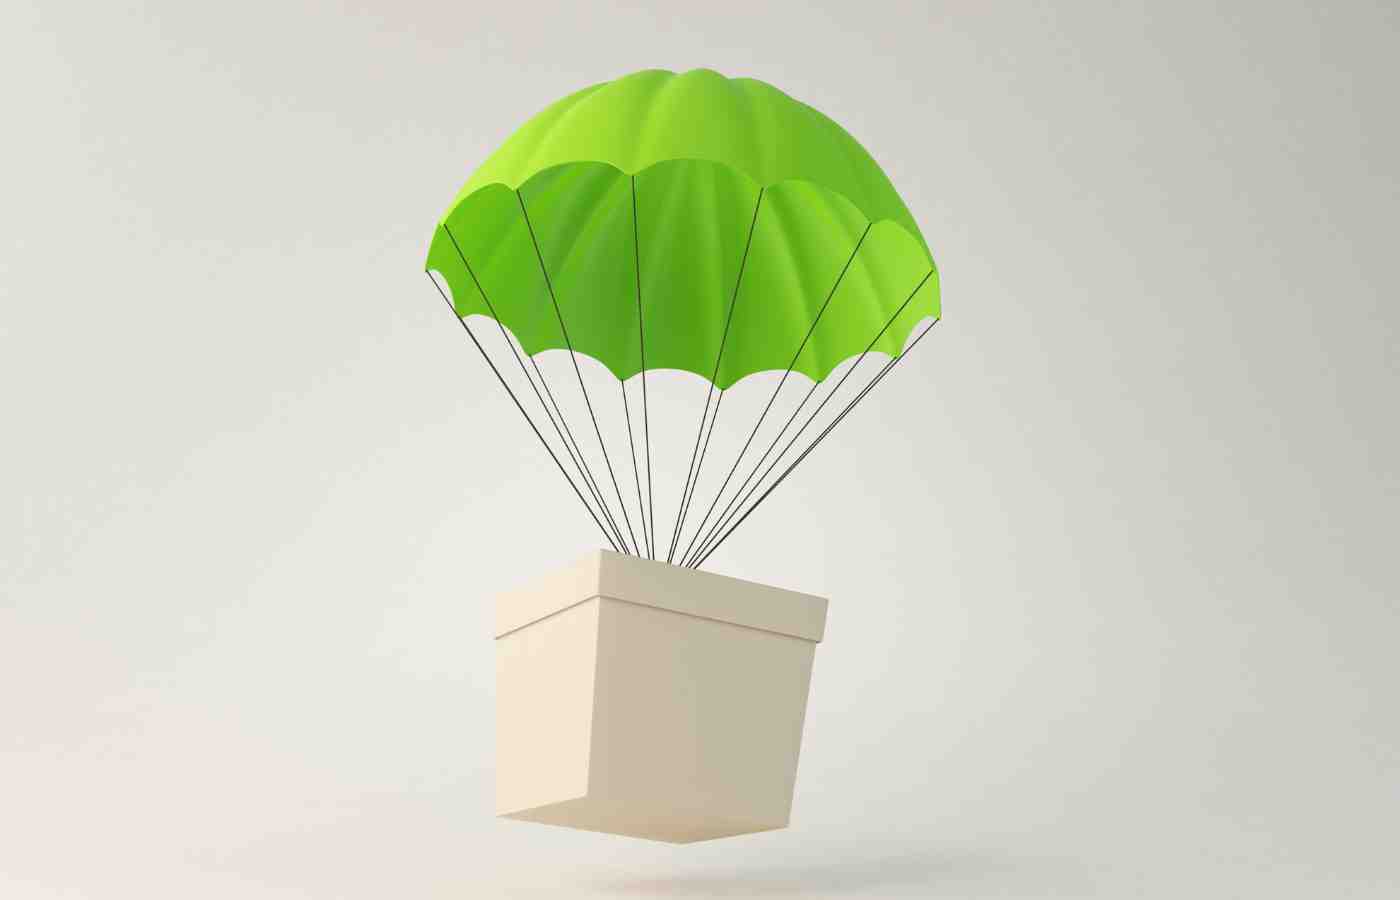
Overview:
You can learn about gravity by making a DIY parachute for a light-weight toy. The parachute is easily made from materials around your house, and you can experiment with different strategies and objects.
Materials:
- Plastic Bag (i.e. grocery bag)
- Yard/String
- Paper Cup
- Scissors
Steps:
First, use the scissors to remove the handles from the plastic bag. Next, poke four holes around the plastic bag so that they are the same distance apart and on opposite sides of the bags.
Then, cut four holes into the rim of the paper cut.
You’ll also need to cut four pieces of yarn, 10-12 inches long. Thread one piece of yarn through the hole in the plastic cup and tie the yarn to the cup with a knot. Repeat with all four strands of yarn in the remaining holes.
Next, thread the other end of the pieces of yarn through the hole in the plastic bag and tie a knot.
Finally, personalize and decorate your cup with stickers, paint, crayons or markers.
Now it’s time to find a toy that is going to take a ride in your parachute. Launch your parachute into the air and see what happens!
Experiment with putting different objects into the paper cup and see how it affects the parachute’s effectiveness. Does the parachute flight time increase or decrease?
You can also try creating the parachute with different materials to replace the paper bag, such as a paper towel or napkin, and see how that affects the performance.
29. Magic Milk Experiment
Materials:
- Full Fat Milk
- Food Coloring
- Dawn Dish Soap
- Cotton Swabs
Steps:
First, pour the milk in a small baking dish until the bottom is covered. Next, fill the milk with drops of food coloring. Glitter is optional!
Then, pour some dishwashing soap into a bowl, and dip your cotton swap tip into the dish soap to coat it. Then, gently touch your cotton swab to the milk and watch what happens!
Milk is composed of minerals, proteins, and fats, which are easy to change. When you add the dish soap to the milk, the soap molecules try to attach to the fat molecules in the milk.
When everything stops moving, you can see where all the fat molecules are.
30. Steel Wool & Vinegar Reaction
This experiment will make abstract concepts like “chemical reaction” and “rusting” become more clear and concrete.
Materials:
- steel wool
- vinegar
- two beakers
- something to cover the beaker (paper or a lid)
- Thermometer
Steps:
First, place the steel wool in a beaker. Then, pour vinegar onto the steel wool and let it soak for about a minute.
After a minute or so, take the steel wool out and shake off any excess vinegar.
Next, wrap the steel wool around the base of the thermometer and then place them both in the other beaker.
Then, cover the beaker with paper or a lid. It’s important that you keep the heat in.
You’ll want to make sure that you can still read the temperature on the thermometer. It’s a great idea to poke a hole if possible through the covering so that the thermometer can fit through it, and you can easily read the temperature.
Make a note of the initial temperature, and observe it for about five minutes.
What’s Happening?
You will see that the temperature on the thermometer gradually rises, and the beaker will likely get foggy. When you soaked the steel wool in vinegar, it removed the protective coating on the steel wool, allowing the iron in the steel to rust.
Rusting is actually a chemical reaction between iron and oxygen (or oxidation). This is the chemical reaction that creates heat, thereby increasing the temperature of the beaker and on the thermometer. This is an examples of an exothermic reaction (a chemical reaction that releases energy in the form of heat).
31. Corn Syrup Viscosity Experiment
Overview
This experiment could not be simpler, and it’s the perfect tool for teaching kids of any age about viscosity.
Materials:
-Corn Syrup
-2 glass containers (one should be smaller than the other)
-cupcake pan or 3 small bowls
-Food coloring
-Dropper
Steps:
First, fill the larger glass container 1/2 to 3/4 full with corn syrup. Then, add the small glass container to the center. Careful! The corn syrup will rise a bit when you do this.
Next, Use a cupcake pan or 3 small bowls and put in a small amount of corn syrup. Mix each one with a food coloring of your choice. You should have three separate colors of corn syrup.
Then, put some colored corn syrup in the dropper, insert the dropper into the clear corn syrup and add the coloring in different places. Do that for each color as many times as you wish.
Now, you can turn the smaller glass jar while holding the outer glass still. The colored syrup will start to spread a bit. Now, switch direction and turn the small glass jar back to its original place. The colored dots return right back to their original form.
What’s Happening?
Corn syrup has a viscosity that is 5,000 times that of water, so they don’t mix in the same way.
32. Homemade Play Dough
Overview:
This is a classic DIY project, and kids of all ages will love it.
Materials:
- 3 cups of flour
- 1.5 cups of salt
- 6 teaspoons cream of tartar
- 3 tablespoons of oil
- 3 cups of water
33. Melting Snowballs
Overview:
This is another acid and base experiment, and it’s fun on a couple different levels!
Materials:
- Baking Soda
- Water
- Vinegar
Steps:
First, form snowballs by adding water to the baking soda. You’ll need about a 1/3 cup per snowball.
Then, place them in the freezer for 15 minutes.
Finally, pour drop of vinegar on the snowballs and watch them sizzle and melt.
Variations:
You can also make a snowman and do the same thing!
34. Paper Airplanes
Overview: There’s no better way for kids to learn about aerodynamics than by making a paper airplane. Wow Fold, a paper airplane website, offers dozens of paper airplane designs and easy to follow instructions.
35. Flying Ping Pong
Overview:
Your kids will love this flying ping pong trick, and there are only two things you need.
Materials:
- Ping Pong
- Hair Dryer
Steps:
First, make sure your hair dryer is on a cool setting. Then, hold the ping pong above the nozzle and turn on the air. When you let the ping pong go, it should float! Next, try it on different settings. Try to see how far you can tilt your hair dryer before the ball drops.
36. Magical Balloon
Overview:
Your kids won’t believe their eyes when you push a needle through a balloon and it doesn’t pop!
Materials:
- A balloon
- A needle
- Scotch tape
Steps:
First, blow up your balloon. Next, take two pieces of scotch tape and make an X on your balloon. Then, with parental supervision, push a needle through the middle of your X.
Leave the needle in and see how long it take for your balloon to finally pop!
What’s happening?
The tape slows down the process of the hole in the balloon widening, so it takes longer for the balloon to pop.
37. What’s That Mystery Smell?

Overview:
Kids of all ages can recognize a lot of different smells, and the process of using your senses is very important to the scientific method.
In this experiment, you’ll use your senses to see how many different smells you can recognize.
What You Need:
- A grown-up or friend to help
- A blindfold
- Small, lidded containers that you can’t see through
- Smelly things from around the house such as bananas, an orange peel, lemons, a cotton ball soaked in perfume, chopped onion, coffee (or a used coffee filter!), rose or flower petals, pencil shavings, vanilla, vinegar, ginger, etc.
Steps:
First, have a grown up put the smelly items in the containers.
Then, write a number on the side of each container.
The next step is to put your blindfold on and have them help you smell each object.
Write down what you think is inside of each container.
Finally, check your guesses! How many did you guess correctly?
38. Wacky Spoon
Overview:
This is more of a science trick than an experiment, but it’s super easy to do at home!
Materials:
Kitchen Spoon
Steps:
Look at your reflection in a large spoon. It will be upside down!
What’s Happening:
A regular mirror is flat and sends your reflection straight back into your eyes. The rounded spoon bounces your reflection back at different angles and turns your reflection upside down.
39. Floating Eggs
Overview:
This experiment will show your child how things float differently in fresh water and salt water.
Materials:
- 2 Egg
- Salt
- Water
- 2 tall drinking glasses
Steps:
First, fill one glass with water. Then, fill another glass with water and add 8 tablespoons of salt. Mix it up.
Next, place an egg in both glasses. One will float and the other will sink.
What’s happening?
Adding salt to the water increases the water’s density which causes the egg to float.
40. Jumping Pepper
Overview:
This simple experiment will demonstrate static electricity right before your eyes.
Materials:
-Plate
-Salt
-Pepper
-Hair Comb
Steps:
Place a tablespoon of pepper on a plate. Then, run a hair comb through your hair. While still holding on the comb, hold the comb over the plate and watch the pepper jump!
What’s happening?
The plastic comb builds up a negative charge as it moves through you hair. The pepper has a positive charge, so it jumps!
Variations:
Try it with other spices and powders.
41. Walking on Eggs
Overview:
Your kids will be astonished to see that they can actually walk on eggs without breaking them!
Materials:
- 6 dozen eggs in their cartons-Drop cloth / newspaper
Steps:
Lay down your drop cloth in case the experiment doesn’t work as expected!
Place the open egg cartons next to each other. Take off your sock and shoes and gently step onto the eggs keeping your feet flat. Then bring up your other foot and carefully walk across the eggs.
What’s Happening?
Your foot is big enough that your weight spreads evenly out across the eggs, keeping them from breaking.
Variation:
You can also demonstrate this concept with a heavy book.
42. Disappearing Reflection
Overview:
Make your reflection vanish! All you need is aluminum foil.
Materials:
-Aluminum Foil
-Scissors (optional)
Steps:
Rip off a large piece of aluminum foil (ten inches should do) and take a look at your reflection. Then, crumple up the aluminum foil. Next, Carefully flatten it back out. Finally, look for your reflection. It’s nowhere to be found!
What’s happening?
When the aluminum foil is smooth, light reflect off of in in straight lines, which enables you to see your reflection. But once you crumple the foil, it has a wrinkled surface that sends your reflection in all different direction, causing it to disappear.
43. Defy Gravity!
Overview:
When you turn over a cup of water, you expect the water to spill and fall. But not always!
Materials:
Clear plastic cup
Water
Playing card or notecard
Steps:
First, fill your clear glass about 3/4 of the way with water.
Next press your playing card or notecard gently on the top of your glass to completely cover the top. Gently rotate the cup upside down. After a few moments, remove the card. The water will stay in place!
Variation:
Try it again, adding something that will float in the water. Repeat the steps, and see what happens!
45. Water Fireworks
Overview:
This totally safe fireworks experiment will be a hit around the Fourth of July or any time!
Materials:
Tall water glass
Small water glass
Oil
Food coloring
Fork
Steps:
First, fill up your all water glass almost all the way with water. In the small glass, pour two tablespoons of oil. Add 2 drops of food coloring to it and mix it around with a fork until the food coloring is broken up into smaller specks.
Then, pour the oil mixture into the water and see the firework expand!
What’s happening:
Food coloring dissolves in water but not oil, causing it to go different directions.
Variations:
Try two colors! Try a different size glass!
46. Bird Feeder Fun
Overview:
In this simple science project, you’ll learn where birds like to have their meals.
Materials:
-Pipe Cleaner
-Cheerios
Steps:
Place cheerios on a pipe clean and make a simple circle. Place it out for the birds to eat.
To experiment, place different bird feeders in different places and see if it makes a difference for how much gets eaten.
You could also make your bird feeder into different shapes to see how the birds prefer it.
47. Rain Gauge
Overview:
It’s super simple to make a rain gauge from a soda bottle and track your area’s rain water!
Materials:
Soda Bottle
X-acto knife (with parental supervision)
Steps:
Cut the top off of a soda bottle and invert the top so that the rain water funnels into the bottle. You may want to secure it with duct tape. Next, place it outside in a spot where it can collect rain water.You’ll want to secure it so it doesn’t fall over. Then, begin measuring the rain water each day!
48. Magic Leak Proof Bag
Materials:
-Ziplock Back
-Water
-Very Sharp Pencils
Steps:
Fill your bag up halfway with water. Carefully poke the pencil through the bag and out the other side. (Don’t push the pencil all the way through so that it comes out the other side!)
What’s happening?
The plastic bag’s molecules form easily around the smooth sides of the pencil forming a seal.
49. Paper Cup Tower
Overview:
Similar to the “walking on Egg” experiment listed above, this activity will wow your children as they discover they won’t crush the paper cups by standing on them!
Materials:
8 paper cups
Cardboard
Steps:
First, set the paper cups on the grounds, spaced evenly. Next, place the cardboard on top of them. Then, try to stand on it and see what happens. Can you make another level?
50. Rubber Band Guitar
Overview:
Tap into your musical side and explore sound with this simple rubber band guitar.
Materials:
Paper or plastic cup
Rubber bands
Steps:
First, wrap your rubber bands of different sizes around the cup so that the rubber bands act as strings over the hole of the cup. Then, pinch the sides of them together as best you can and tap them around the sides of the cup. See what sounds they make, and experiments with rubber bands of various sizes to see what sounds they make!
+50 More Science Experiments We Love:
Kids of all ages will love these cool science experiments that you can do together on the weekend or after school.
These science activities all use simple household items and take about 30 minutes to complete.
51. Rock Candy Experiment – Grow colorful rock candy in a glass!
51. Giant Dish Soap Bubbles – Make a giant bubble with household ingredients.
52. Solar Oven S’mores – Cook up a tasty snack in a solar oven.
53. Layering Liquids – See how liquids can stack on top of each other according to density.
54. Human Sundial – Become a human sundial to learn about solar patterns.
55. Windowsill Trash – Demonstrate how the heat of the sun helps trash decompose.
56. Naked Egg Experiment – Dissolve an eggshell with vinegar and see the membrane below!
57. Balloon Magic – Blow up a balloon without blowing, using vinegar and baking soda.
58. Tornado in a Bottle – Create a cyclone in a bottle in this classic, simple experiment.
59. Egg Teeth – Explore how sugar affects teeth in this easy experiment.
60. Step Through an Index Card – Amaze your kids by stepping through an index card that’s been strategically cut.
61. Frozen Bubbles – Find out what happens when you blow bubbles in freezing temperatures.
66. Make Butter – Shake cream and turn it into butter!
67. Ice Cream in a Bag – Turn simple ingredients into delicious ice cream.
68. Moldy Bread Experiment – See how important it is to wash your hands in the viral science experiment.
69. Map Your Taste Buds – Learn about your taste buds in this easy mapping activity.
70. Make a Rainbow – See how you can easily create your own rainbow.
71. Soap Boats – Explore density with this easy DIY boat-making activity.
72. Egg Drop Project – See if you can build a contraction to protect an egg from breaking.
73. Growing Gummy Bears – Watch gummy bears grow before your eyes.
74. Fingerprinting – Dive into the infinite world of fingerprints with a no. 2 pencil and paper.
75. Homemade Bouncy Balls – Make your own bouncy ball toys with household ingredients.
76. Dancing Corn Experiment – Explore and investigate carbon dioxide by making corn dance.
77. Big Stick Balance – This surprising experiment will teach kids about balance.
78. Upside Down Reflection – All you need is a kitchen spoon to learn about the principles of reflection.
79. Make a Sundial – Learn how to tell time with the sun by making a simple sundial.
80. Exploding baggie – Use a simple chemical reaction to explode a plastic zip close baggie.
81. Flame-Proof Balloon – Use cold water to make a balloon resistant to a fire’s flame!
82. Rotten Banana Balloon – Use that rotten banana in your kitchen to blow up a balloon. You can also try it with a lemon. (Here’s the Lemon Balloon Trick.)
83. Mouth-Foaming Fun – Experience a chemical reaction first hand while brushing your teeth.
84. Foot Fat Experiment – Compare the levels of fat in different foods with this simple experiment.
85. Smashing Seashells – Discover how to easily smash seashells with vinegar.
86. Super Bubble Solution – Find out how you can make giant bubbles with an easy homemade solution.
87. Shaving Cream Rain Clouds – learn about the water cycle with shaving cream. The shaving cream represents the rain cloud and the water is the atmosphere.
88. Water Bending Trick – Learn how to bend water with one simple thing you have lying around your house.
89. Dry Paper Experiment – See how you can magically dunk paper in water and not make it wet.
90. Bending Straw Illusion – Learn about light refraction in this quick and simple experiment.
93. Magic Napkin – Learn about inertia with a napkin and a plastic cup filled with water.
94. Water Fireworks – Create fireworks in a glass of water using this simple experiement with household ingredient.
95. Liquid Sandwich – Learn about density with water, oil, and honey.
97. Talking String – Learn about sound waves and make a string “sing” by using one simple button.
98. Noisy Paper – Create a loud vibration noise with just two pieces of computer paper.
99. Sunscreen and Skin – Learn about the human body and how sunscreen works with this simple experiment using sunscreen and construction paper.
100. Taste Bud 101 – Learn about the taste buds with this fun and interactive experiment.
Looking for more at-home fun ideas? Check out our list of 100 Fun Things To Do At Home >>
So, there you have it!
100 kids science experiments that are super easy to do at home.
These simple science projects are meant to spark the curiosity of your child (and the whole family.)
We hope you loved this list of our very favorite science experiments.
Email us at hello@mkewithkids.com to add your idea.
RELATED POSTS:
10 Best Cold Weather Science Experiments For Kids
Related Post: 100+ Science Trivia Questions for Kids
25 Best Science Books for Your First Grader
100 Best Outdoor Activities For Kids
100 Best Backyard Games & Activities
100 Fun Activities For Kids Who Are ‘So Bored!’
50 Best Fourth Grade Science Experiments
25 Best Games To Play Over FaceTime With Friends
25 Classic Children’s Books To Read With Your Kids
20 BEST Water Balloon Games For Kids
31 Best Educational Websites You Didn’t Know About
5 Ways To Play Hopscotch + Fun Variations (2021)
25 Simple Shape Activities for Preschoolers
25 Simple Spring Activities Your Kids Will Love

Calie Herbst, Editor-in-Chief of Milwaukee With Kids, has spent over a decade combining her experiences as a parent of three to create a hub for Milwaukee’s family adventures.
Her decade-long teaching career in Milwaukee Public Schools and academic background, including a Master’s in Teaching from Marquette University and dual B.A.s in Sociology and Spanish from the University of Wisconsin – Madison, fuel her passion for inclusive and engaging family content.
Calie is also a recognized voice in local media, contributing to WISN Channel 12 News, WTMJ Wisconsin Morning News, Fox 6’s Real Milwaukee, and B93.3.
Discover more about Calie’s journey and editorial approach on her About Page and Editorial Policy Page.


