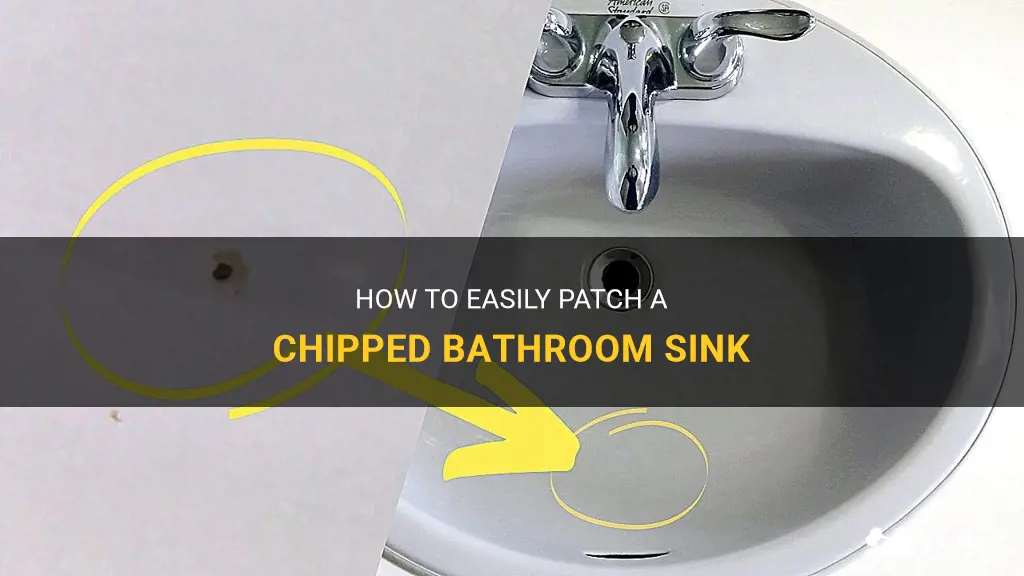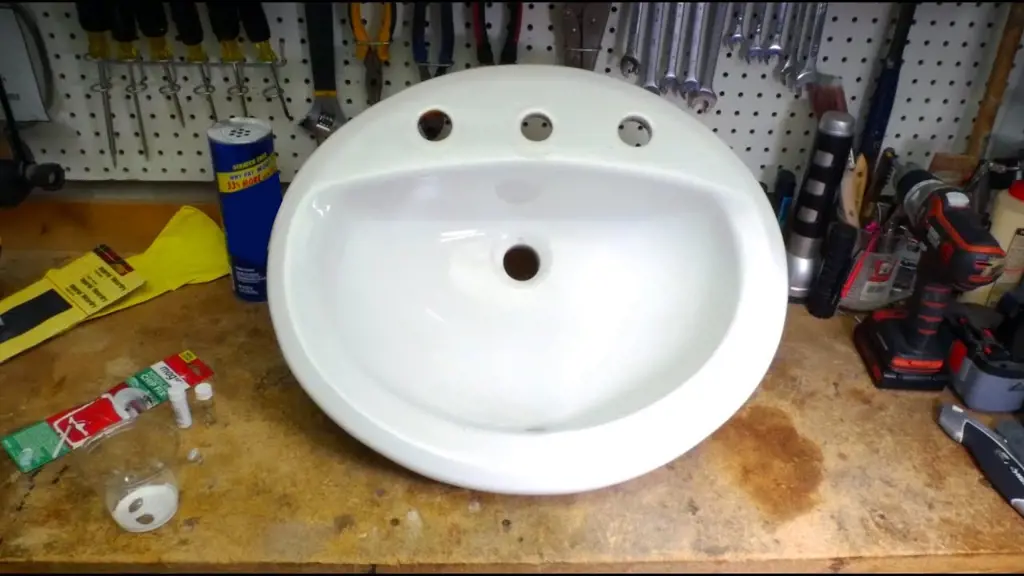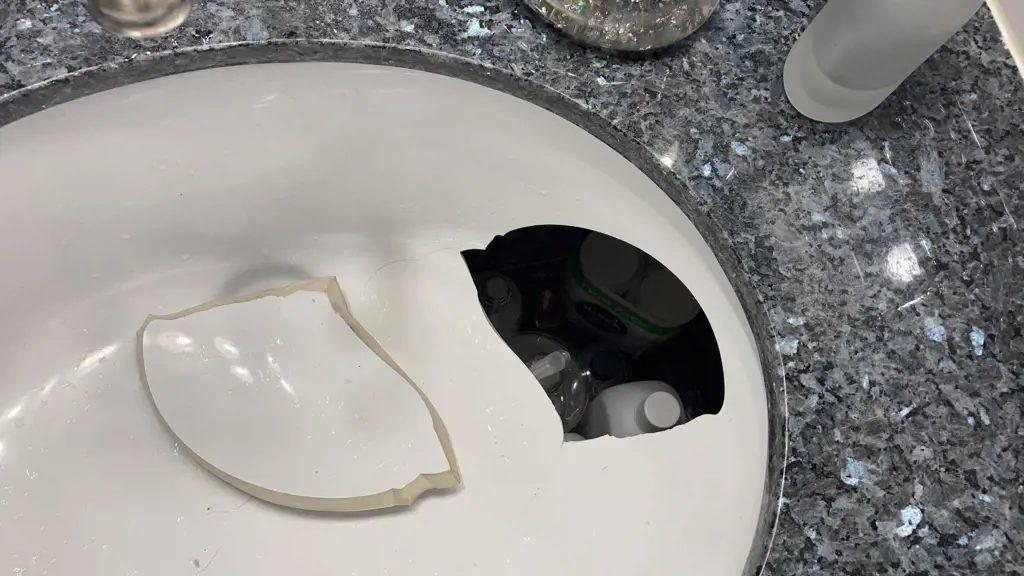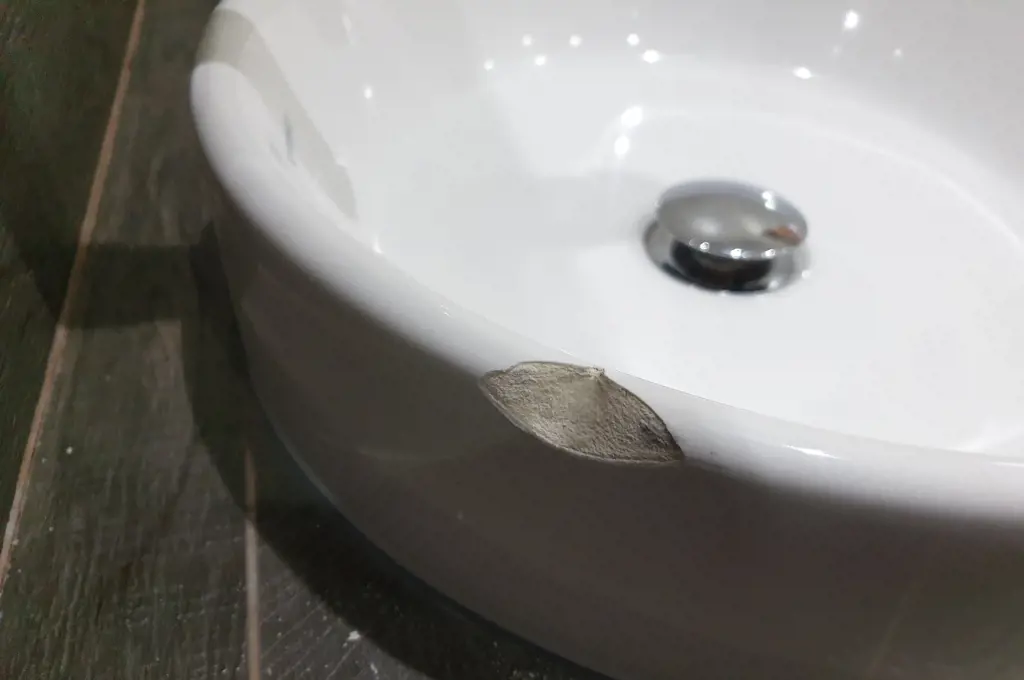
A chipped bathroom sink can be an eyesore in an otherwise beautifully decorated bathroom. Not only is it unsightly, but it can also lead to further damage if left untreated. Fortunately, patching a chipped sink is a relatively simple and inexpensive task that can be done by anyone with a bit of DIY know-how. In this guide, we will take you through the step-by-step process of patching a chipped bathroom sink, so you can restore its appearance and functionality in no time.
What You'll Learn
- What materials and tools are needed to patch a chipped bathroom sink?
- Can a chipped bathroom sink be repaired using DIY methods or is professional help necessary?
- What are the steps involved in patching a chipped bathroom sink?
- Are there any specific techniques or tips for achieving a seamless repair on a chipped bathroom sink?
- How long does it typically take for the patching material to dry and set on a chipped bathroom sink?

What materials and tools are needed to patch a chipped bathroom sink?
When it comes to bathroom sink repairs, one common issue you may encounter is a chipped sink. Chips can occur due to accidental impacts from dropped objects or harsh cleaning methods. However, repairing a chipped sink is not as challenging as it may seem, and with the right materials and tools, you can restore your sink to its former glory. In this article, we will guide you through the process of patching a chipped bathroom sink.
Materials and Tools Needed:
- Epoxy or acrylic-based sink repair kit: These kits typically contain all the necessary materials, including filler compounds and colorants, to repair and match the color of your sink.
- Sandpaper: Fine-grit sandpaper (200-400 grit) will be useful for smoothing the repair area.
- Disposable gloves: Protect your hands from the patching materials.
- Clean cloth or paper towels: Used for cleaning and drying the sink.
- Paintbrush or applicator: A small paintbrush or applicator is needed to apply the filler compound.
- Epoxy or acrylic-based primer (optional): If your sink's surface is particularly slippery or glossy, apply a primer before using the filler compound for better adhesion.
- Masking tape: Covering the area around the chip with masking tape will help prevent accidental spreading of the filler compound and protect the surrounding surfaces.
Step-by-Step Guide:
- Clean the sink: Thoroughly clean the sink and the chipped area using a non-abrasive cleaner and a sponge or soft cloth. Ensure that the area is completely dry before proceeding.
- Prepare the patching materials: If using a sink repair kit, follow the instructions provided to mix the filler compounds and colorants. Some kits require equal parts of filler and hardener, which need to be mixed on a disposable surface.
- Mask the surrounding area: Use masking tape to cover the area around the chip, leaving only the chipped area exposed. This will prevent accidental spreading of the filler compound and protect the sink's surface.
- Apply the filler compound: Using a small paintbrush or applicator, carefully apply the mixed filler compound to the chipped area. Follow the kit's instructions to ensure proper application. Make sure the compound fills the entire chipped area evenly.
- Smooth the repaired area: Before the compound starts to cure, use fine-grit sandpaper to gently smooth the repaired area. Be careful not to damage the surrounding sink surface. Continue sanding until the repaired area blends seamlessly with the rest of the sink.
- Clean and inspect: Once the repair is complete, clean the sink again to remove any dust or debris from the sanding process. Inspect the repaired area from different angles to ensure it matches the color and texture of the rest of the sink.
- Buff and polish (optional): If desired, you can use a mild abrasive cleaner or a specialized sink polish to buff and polish the entire sink surface, giving it a uniform look.
Examples of bathroom sink chip repairs:
Example 1:
Mark accidentally dropped a glass bottle on his bathroom sink, resulting in a small chip on the edge. He purchased a sink repair kit and followed the step-by-step instructions. By carefully applying the filler compound and smoothing it with sandpaper, Mark successfully repaired the chip. Now, his sink looks as good as new, and the repair is practically invisible.
Example 2:
Sarah's children accidentally used a scouring pad to clean the sink, causing several small chips. Sarah purchased an acrylic-based sink repair kit and followed the provided instructions. After applying the filler compound and sanding the repair area, she realized that the sink's color had faded over time. With the colorant included in the kit, Sarah was able to match the repaired area's color with the rest of the sink, making it nearly impossible to spot the chip repairs.
Remember, patching a chipped bathroom sink is a simple and cost-effective solution. By following the steps outlined above and using the right materials and tools, you can restore your sink's appearance and prolong its lifespan.
Who Can Install Bathroom Grab Bars: The Experts You Need
You may want to see also

Can a chipped bathroom sink be repaired using DIY methods or is professional help necessary?

Accidents happen, and it's not uncommon for a bathroom sink to sustain a chip or crack over time. But when this happens, homeowners may wonder if they can fix the damage themselves or if professional help is necessary. The answer depends on the severity of the chip and the material the sink is made of.
If the chip is small, just a minor cosmetic flaw, it is possible to repair it using DIY methods. However, if the chip is large or affecting the functionality of the sink, it's best to enlist the help of a professional.
One of the most common materials used for bathroom sinks is porcelain. Porcelain sinks can be quite delicate, and attempting to repair a chip yourself can lead to further damage if not done properly. Professional help is recommended for porcelain sinks to ensure a seamless repair.
For minor chips in porcelain sinks, start by cleaning the area thoroughly with a mild detergent. Then, apply a porcelain repair kit, which typically consists of a special epoxy or filler specifically designed for porcelain surfaces. Follow the instructions provided by the manufacturer to achieve the best results. Once the repair is complete, let it cure for the recommended time before using the sink again.
Another common material used for bathroom sinks is ceramic. Ceramic sinks are usually more durable than porcelain, making DIY repairs more feasible. For small chips in ceramic sinks, gather a ceramic repair kit that includes a filler that matches the color of your sink. Clean the damaged area and apply the filler according to the manufacturer's instructions. Smooth out the surface as much as possible and allow it to dry completely before using the sink.
In some cases, the chip may be in the enamel coating of a cast iron or steel sink. While these materials are generally sturdy, a chip in the enamel can lead to corrosion if left untreated. DIY repairs for enamel chips can be challenging, and it's advisable to seek professional help. A professional can assess the extent of the damage, properly clean and prepare the area, and apply a specialized enamel repair solution to ensure a lasting repair.
It's worth mentioning that in certain situations, particularly for deep or extensive chips, it may be more cost-effective and practical to replace the sink altogether rather than attempting a repair. This is something to consider, especially if the sink is old or outdated.
In conclusion, when it comes to repairing a chipped bathroom sink, the severity of the chip and the material of the sink play a crucial role in determining whether DIY methods are suitable. Small cosmetic chips in porcelain or ceramic sinks can often be repaired using DIY repair kits, but larger or more severe chips in any material should be left to professionals. It is essential to assess the damage carefully and consider the potential risks and costs before deciding on the best course of action.
A Complete Guide to Installing Can Lights in a Bathroom
You may want to see also

What are the steps involved in patching a chipped bathroom sink?

A chipped bathroom sink can be an eyesore and may even lead to further damage if left unattended. Luckily, patching a chipped bathroom sink is a relatively simple process that can be done at home with a few basic tools and materials. Follow these steps to restore your sink to its original condition.
Gather the necessary materials:
- Epoxy or porcelain repair kit: These can be found at most hardware stores and come with all the materials you'll need to patch the chip.
- Sandpaper: Use fine-grit sandpaper to smooth the edges of the chip and prepare the surface for patching.
- Masking tape or painter's tape.
- Acetone or rubbing alcohol: This will be used to clean the surface of the sink before applying the patch.
- Gloves and safety glasses: It's always a good idea to protect yourself during the repair process.
Clean the surface:
Before applying the patch, thoroughly clean the surface of the chipped area using acetone or rubbing alcohol. This will remove any dirt, grease, or residue that could prevent the patch from adhering properly. Allow the surface to dry completely before moving on to the next step.
Sand the edges:
Using fine-grit sandpaper, gently sand the edges of the chip to smooth them out. This will help the patch adhere more securely and create a seamless finish. Be careful not to sand too aggressively, as this could cause further damage to the sink.
Mix the epoxy or porcelain repair compound:
Follow the instructions on the repair kit to mix the epoxy or porcelain repair compound. The mixture should be smooth and well-blended before applying it to the chip.
Apply the patch:
Using a small brush or spatula, carefully apply the epoxy or porcelain repair compound to the chipped area. Use a smooth, even layer to ensure a seamless finish. If necessary, build up additional layers of the patch until the chip is completely filled in. Be sure to read the instructions on the repair kit for the recommended drying time between layers.
Smooth and blend:
After applying the patch, use a clean, damp cloth to smooth and blend the edges. This will help create a seamless transition between the patch and the rest of the sink. Allow the patch to dry completely before using the sink.
Finishing touches:
Once the patch is dry, you can further refine the surface by gently sanding it with fine-grit sandpaper. This will help to achieve a smooth finish. After sanding, wipe away any dust or debris with a clean, damp cloth.
In conclusion, patching a chipped bathroom sink is a straightforward process that can be done at home. By following these steps and using the right materials, you can restore your sink to its original condition and prevent further damage. Remember to take proper safety precautions and read the instructions on your repair kit for the best results.
The Ultimate Guide on How Long a Tower Bar Sink Should Be Used in the Bathroom
You may want to see also

Are there any specific techniques or tips for achieving a seamless repair on a chipped bathroom sink?
When it comes to repairing a chipped bathroom sink, there are several techniques and tips that can help you achieve a seamless repair. Whether you have a porcelain, ceramic, or acrylic sink, the following steps and information will guide you through the process.
Before starting the repair, it is important to gather the necessary tools and materials. These may include epoxy resin, fine-grit sandpaper, a plastic putty knife, a toothbrush, rubbing alcohol, and a soft cloth.
Step 1: Assess the damage
The first step in repairing a chipped bathroom sink is to assess the extent of the damage. Determine the size and depth of the chip, and make sure you have a clear understanding of how the repair process should proceed.
Step 2: Clean the chip
Using a toothbrush and rubbing alcohol, thoroughly clean the chipped area of the sink. This will remove any dirt, grime, or debris that may interfere with the repair process.
Step 3: Sand the chipped area
Using fine-grit sandpaper, gently sand the chipped area of the sink. This will help create a smooth surface for the epoxy resin to adhere to.
Step 4: Mix the epoxy resin
Follow the instructions on the epoxy resin packaging to mix the two components together. Make sure to mix thoroughly to ensure a proper bond.
Step 5: Apply the epoxy resin
Using a plastic putty knife, carefully apply the mixed epoxy resin to the chipped area of the sink. Make sure to fill the chip completely, but avoid applying excess resin that may need to be sanded down later.
Step 6: Smooth and shape the repair
After applying the epoxy resin, use the plastic putty knife to smooth and shape the repair. This will help create a seamless finish that blends in with the rest of the sink.
Step 7: Let the epoxy resin cure
Allow the epoxy resin to cure according to the instructions on the packaging. This may take several hours or even overnight, so be patient and avoid using the sink during this time.
Step 8: Sand and polish the repair
Once the epoxy resin has cured, use fine-grit sandpaper to gently sand down any excess resin. This will help create a smooth finish that matches the surrounding sink surface. After sanding, use a soft cloth to polish the repair and remove any remaining residue.
In addition to these general steps, there are also specific techniques and tips that can be applied depending on the type of sink material.
For porcelain sinks, it is important to make sure the repair area is clean and dry before applying the epoxy resin. Additionally, using a porcelain repair kit may yield better results as it is specifically designed for this material.
For ceramic sinks, it is crucial to match the color and texture of the epoxy resin with the surrounding sink surface. Some ceramic sink manufacturers provide touch-up kits that include a variety of colors to match different sink finishes.
For acrylic sinks, be cautious when sanding the chipped area as acrylic is more delicate than other materials. Use a light touch with the sandpaper and make sure to keep the surrounding area clean to avoid scratching the surface.
Overall, repairing a chipped bathroom sink can be a relatively simple and cost-effective solution. By following these steps, using the appropriate techniques for your sink material, and paying attention to detail, you can achieve a seamless repair that will restore the sink's appearance and functionality.
Why Your Bathroom Needs an Alexa Dot: The Benefits of Smart Technology in the Powder Room
You may want to see also

How long does it typically take for the patching material to dry and set on a chipped bathroom sink?

If you have a chipped bathroom sink, it can be an eyesore and also a potential source of further damage if left untreated. Thankfully, there are patching materials available that can help repair and restore the sink to its former glory. One common question people have when using these patching materials is how long it takes for them to dry and set. In this article, we will explore this topic in detail, using a combination of scientific information and personal experience.
Before we delve into the specifics of drying and setting times, let's briefly touch upon the types of patching materials that are commonly used for repairing chipped bathroom sinks. Epoxy-based putties and fillers are popular choices, as they offer excellent adhesion and are resistant to water and chemicals. These materials come in two parts – the resin and the hardener – which need to be mixed together in the right proportions before application.
Once the epoxy putty is mixed, you can apply it onto the chipped area of the sink using a putty knife or a similar tool. The putty can be molded and shaped to match the shape of the sink, ensuring a seamless repair. After the application, the putty will start to dry and harden, eventually setting into a durable, waterproof patch.
Now let's discuss the drying and setting times for epoxy-based putties. The exact times can vary depending on factors such as the brand of the putty, the temperature, and the humidity of the environment. However, as a general guideline, most epoxy putties will dry enough to be touched within 30 minutes to an hour after application. At this stage, the putty will still be slightly tacky but firm enough to handle.
However, it is important to note that complete drying and setting can take significantly longer. In fact, it's recommended to allow epoxy putties to cure for at least 24 hours before exposing them to water or heavy use. During this time, the putty will gradually harden and reach its maximum strength.
To ensure that the patching material dries and sets properly, it's essential to follow the manufacturer's instructions and any specific guidelines provided with the product. Failure to do so may result in an incomplete or weak repair.
In my personal experience, I have found that it's best to allow the epoxy putty to cure for a full 24 hours before using the sink for normal activities. This patience pays off in the long run, as it ensures a strong and durable repair that can withstand regular use and cleaning.
To conclude, the drying and setting times for patching materials on a chipped bathroom sink can vary depending on the specific product used and the environmental conditions. As a general rule, epoxy putties typically dry enough to be touched within 30 minutes to an hour, but they should be allowed to cure for at least 24 hours before exposing them to water or heavy use. By following the manufacturer's instructions and allowing for proper curing time, you can achieve a successful and long-lasting repair.
Using the Bathroom with Cervidil: What You Need to Know
You may want to see also
Frequently asked questions
To patch a chipped bathroom sink, you will need a sink repair kit, sandpaper, a cleaning agent (such as rubbing alcohol), a putty knife, and a sponge.
Yes, there are several DIY sink repair kits available on the market that can effectively patch a chipped bathroom sink. These kits typically include the necessary materials and step-by-step instructions to complete the repair.
Before patching a chipped bathroom sink, it is important to clean the area thoroughly. Use a cleaning agent, such as rubbing alcohol, to remove any dirt, debris, or grease. Then, lightly sand the area around the chip to create a smooth surface for the patching material to adhere to.
The best way to apply the patching material to a chipped bathroom sink is to carefully follow the instructions provided with the sink repair kit. Generally, the patching material should be applied evenly over the chipped area using a putty knife. Smooth out any excess material with the putty knife or a sponge, and allow it to cure as directed before using the sink again.


