For my ISS project I wanted to concentrate on period costume. I want to create a costume as historically accurate as possible so rather than designing my own character costume I would like to choose a historical figure and try to recreate their outfit. I want to look at a period which I haven’t studied before and therefore have chosen women of the 1700’s.
I have briefly looked at a selection of art of the era and would like my chosen portrait to include…
- Panniers – A hooped skirt, the style of which is very distinctive to the 18th century
- Embroidery – I have only ever done snippets of embroidery and would like to take on a larger embroidery project
- Authentic patterns and materials – this will have its limitations but I will try my best
I now need to look closely at portraits and fashions of the period and select a number portraits of historical figures to look into before I make my final decision of the costume I would like to recreate.
Before I headed back to Edinburgh I visited the Victoria and Albert museum in London. They have a lot of examples of embroidery of the period as well as some beautiful court mantua dresses. I have decided to concentrate on goldwork embroidery as my specialist skill for this project, this is a specialist area of embroidery created using metal threads and is featured in many paintings of the 1700’s.
Click on each image for information on its date


I have looked at a lot of paintings from the 1700’s and have picked out a few that have drawn my attention. Some look to complicated and would be pricey to construct but I have included them here anyway. I want to challenge myself this year however. Here are some I have short-listed…
These are some of paintings I came across on my search before I decided I wanted to look at goldwork…

Elisabeth Christine of Prussia by Antoine Pesne early 1750’s

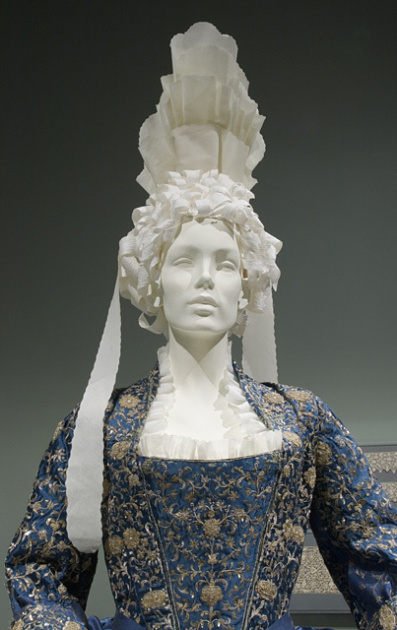
Madame de Saint-Maurice by Joseph Siffred Duplessis 1776

Maria Luisa of Parma by Laurent Pécheux 1765

Marie Rinteau by François Hubert Drouais 1761

Maria Christina Duchess of Sachsen-Teschen by Martin van Meytens

Maria Josepha of Bavaria, artist unknow, circa 1740

Wilhelmine von Bayreuth by Antoine Pesne

Le Bal Paré by Antoine-Jean Duclos 1774
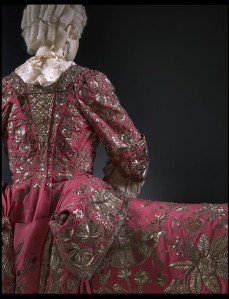
And here are a few that feature goldwork embroidery…

Sophie Marie Gräfin Voss by Antoine Pesne 1746

Augusta of Saxe-Gotha by William Hogarth 1736

Augusta of Saxe-Gotha by Jean-Baptiste van Loo 1742

Maria Amalia of Saxony by Louis de Silvestre 1738

Maria Carolina of Austria by Martin van Meytens

Maria Theresia of Austria by Gabriello Mattei, date unknown

Queen Elisabeth Christine of Prussia by Antoine Pesne 1739

Maria Anna von Sachsen by Georg Desmarées 1765
Before I take on the large task of a huge goldwork embroidery piece I need to try out some embroidery first. There are many types of goldwork thread. Thread can be made from real gold, silver or copper plate or metal imitation. Here are some of the main varieties, they all come in a range of sizes No. 9 being the smallest and No. 1 the largest…
Smooth Purl – A tightly coiled spring with a high shine surface which is either cut into small lengths called chips and stitched like beads or couched down
 Rough Purl – Also a tightly coiled spring but with a duller surface which is either cut into small lengths called chip and stitched like beads or couched down
 Pearl Purl – A heavier thread that has a twisted appearance, usually couched on in longer length

Check Purl – A spangley angular twisted thread, this can be cut into chips and sewn like beads or lengths can be couched
 Plate – A high shine stiff ribbon-like metal strip. This can be folded into a zig-zag like pattern to be stitched on
 Jap – Gold or silver wrapped around a core of threads. This is always couched down and is often used to fill in large areas, thread ends are taken through to the back of the fabric unlike purls
 Cords and braids – Come in various shapes and sizes, the majority are synthetic and can be stitched in many ways
 Embroidery yarn and threads – Both hand and machine embroidery thread can be used and come in a multitude of colours and styles

There are a few other essential materials used for goldwork, these are as follows…
Frame – a frame is essential to keep the fabric taught and achieve the correct tension as well as keeping both hands free for embroidery
Needles – Fine crewel needles are needed for couching and particularly for stitching chips as the hollow threads are small. A large chenille needle if needed for taking threads e.g. jap through to the back of the fabric
Threads – Maltese silk or twisted sewing silks are best for couching. In modern goldwork often design incorporate coloured embroidery threads
Beeswax – Threads are run over the wax before use to coat them making them stronger and less prone to twisting
Padding – Often goldwork if padded, this gives the work texture and helps the play of light on the threads. Felt, string or kid leather can be used for this and can be glued or stitched
Cutting board – This is needed for cutting chips (beads) of purl and should be made from felt or velvet. The fabric board stops the coils jumping and skidding around
My First Goldwork Sample
Now I have looked into the basics of goldwork I can create my first sample. I visited the Grassmarket Embroidery Shop to pick up some supplies. Buying goldwork thread is confusing as you never really know how much length wise you are going to get. It is sold by weight, silver is cheaper than gold however so I decided on trying out the silver first. The shop stocked many of the different threads. I decided to use purl as many of my historical findings contain a lot purl threads.
Heres what I bought…
A bag of No.6 Smooth Purl
A bag of No. 4 Smooth Purl
7” Interlocking Bar Frames
6” Interlocking Bar Frames
White Felt
I made up my 7”x6” frame and stretched my fabric over it. I used a calico backing with a tightly woven purple fabric. It is essential the fabric used for the embroidery is tightly woven due to the fineness of stiches. This was pinned taught to my frame with drawing pins…

My first attempt was a really basic design. I just wanted to get a feel of cutting the right length chips and having a good at felt padding. These were my felt shapes, the smallest was sewn down first then the next size then the largest on top…

I could now start my goldwork. I marked the size of my chips by denting the wire coil with my nail, as I have not yet made myself a cutting board I used a plastic pot and lined it with calico to catch my chips. I stitched the outer ‘leaves’ of my design first at an angle. I found applying them at an angle catches the light better. Then the middle section I sewed straight. I am pleased with my first attempt, the design isn’t as raised as I hoped so I will use more padding next time but I will be sure it all gets cover as you can see little bits of felt fluff poking out. Also a couple of my chips were cut slightly to long causing them to buckle but this will hopefully all be sorted out with little practise!


I have also bought some Check purl from ebay so will have a play around with that soon as well

I am hopefully going on a two day goldwork embroidery course at the Grassmarket Embroidery Shop this should give me some rewarding skills and I can then apply them to this project. I will keep a record of my progress here as part of my goldwork research and sampling.
I have been trailing through hundreds of paintings trying to find ‘the one’ I want to recreate with all of my criteria. Here are a selection of the ones I have found which contain goldwork, some are way to complicated and intricate for my time and budget but I wanted to include them anyway…

Henriette of Brandenburg-Schwedt by Georg Lisiewski 1747


(All above) Maria Theresia 1717-1780

Marie-Josephe d’Autriche by Louis de Silvestre 1719

Duchess Elisabeth Mecklenburgh-Güstrow by ?

Princess Rakoczi by Nicolas de Largillierre around 1720

Anna Korolina Orzelska by Antoine Pesne around 1730

Barbara of Portugal by Jean Ranc around 1735

Friederike Luise of Prussia by ? 1734

Sophia Dorothea Maria of Prussia by Antoine Pesne

Princess Amalia von Preussen by Antoine Pesne

Portrait of Lady Caroline Darcy, Countess of Ancram by Enoch Seeman before 1745

Christine Charlotte von Württemburg-Winnental by Jan Kupecký and Bernhard Vogel 1745

Elisabeth Therese of Lorraine, Queen of Sardinia by ?

Countess Kirstina by Olof Arenius

Madame Adelaide by Jean-Marc Nattier 1756

Friederike of Saxe-Gotha-Altenburg by ? around1750

Princess Maria Teresa, Duchess of Massa and Carrara by Bianca Spina 1750

Portrait of Maria Antonia of Furstenberg by ?

Marquise de Caumont la Force by François Hubert Drouais 1767

Princess Louisa of Stolberg by ? 1772

Maria Francisca Benedita by Miguel António do Amaral 1773
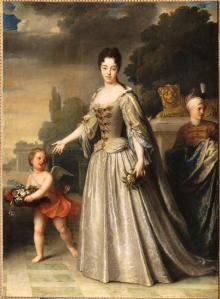
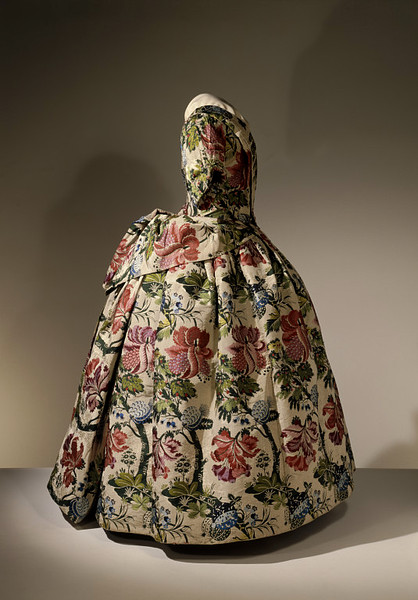
Now I had my brief of 1700’s portraits including goldwork I was on the hunt for a portrait to recreate. After scouring galleries, books and the internet I finally came to a decision. My chosen painting was of Elisabeth von Mecklenburgh-Güstrow 1668 – 1738, artist unknown. I have found very little information about her but have discovered a small amount about her family history…

NAME – Elisabeth of Mecklenburg-Güstrow
BORN – 1668
DIED – 1738
FATHER – Gustav Adolph, Duke of Mecklenburg (26 February 1633 – 6 October 1695)
MOTHER – Magdalene Sibylle of Holstein-Gottorp
MARRIED – Heinrich, Duke of Saxe-Merseburg ( 2 September 1661 – Doberlug, 28 July 1738)
CHILDREN -Maurice (, 29 October 1694 – 11 April 1695)
– Christiana Fredericka (17 May 1697 – 21 August 1722)
– Gustava Magdalena (2 October 1699 – 3 October 1699).
Elisabeth was one of 11 children, 10 girls and one boy. Her father was a Duke and the last ruler of Mecklenburg-Güstrow as his only son predeceased him meaning the end of the Mecklenburg-Güstrow line after his death. His wife, Elisabeths mother, was left widowed with a small court however the family’s glory and significance died out with its last duke. Elisabeth however was not subjected to this degolification as she married Heinrich, Duke of Saxe-Merseburg on the 29 March 1692. Heinrich was regarded as a patron of the arts by his people and had a great love of hunting, he regarded craftsmen highly and commissioned them to build two three-story wings connected with a wooded gallery’s with tented roofs to there summer residency, Schloss Spremberg, an early Baroque castle which started out as a Romanesque tower in 1100. There home is now used as Lower Lusatian Heath Museum, music and art school and the county library.


Elisabeth’s mother Elisabeth’s husband

Schloss Spremberg Castle, Elisabeth’s summer residence
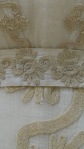
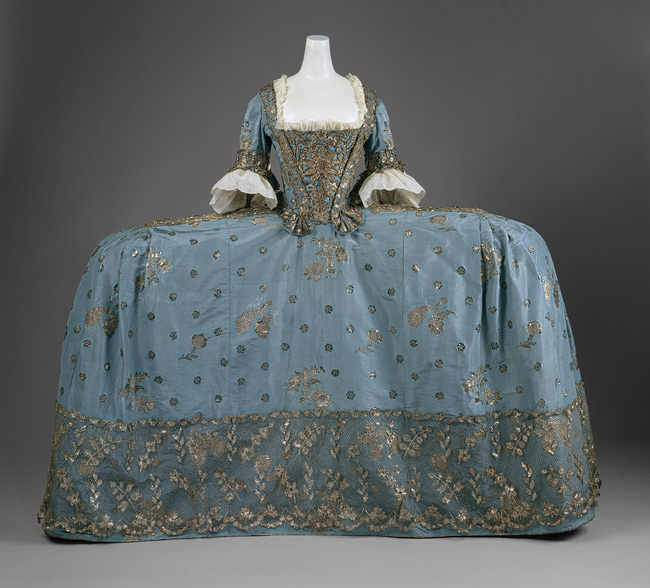
From this information I have collected we now know Elisabeth was a Duchess, she came from a wealthy background and married into one and this is reflected in her clothing. Colour was a status symbol, bright colours were very difficult to achieve with the natural dyes which were all that were available in the 1700’s. The dye of Elisabeth’s deep indigo blue dress would have been shipped over from India and was very popular and fashionable for a while as well as being very costly. Her ermine fur cloak and the metalwork embroidery which contains real silver is another portrayal of high rank and a power dressing statement. Now I have chosen my portrait I can look into fabrics of the era and start ordering my materials.
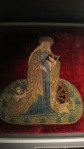
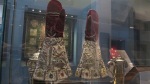
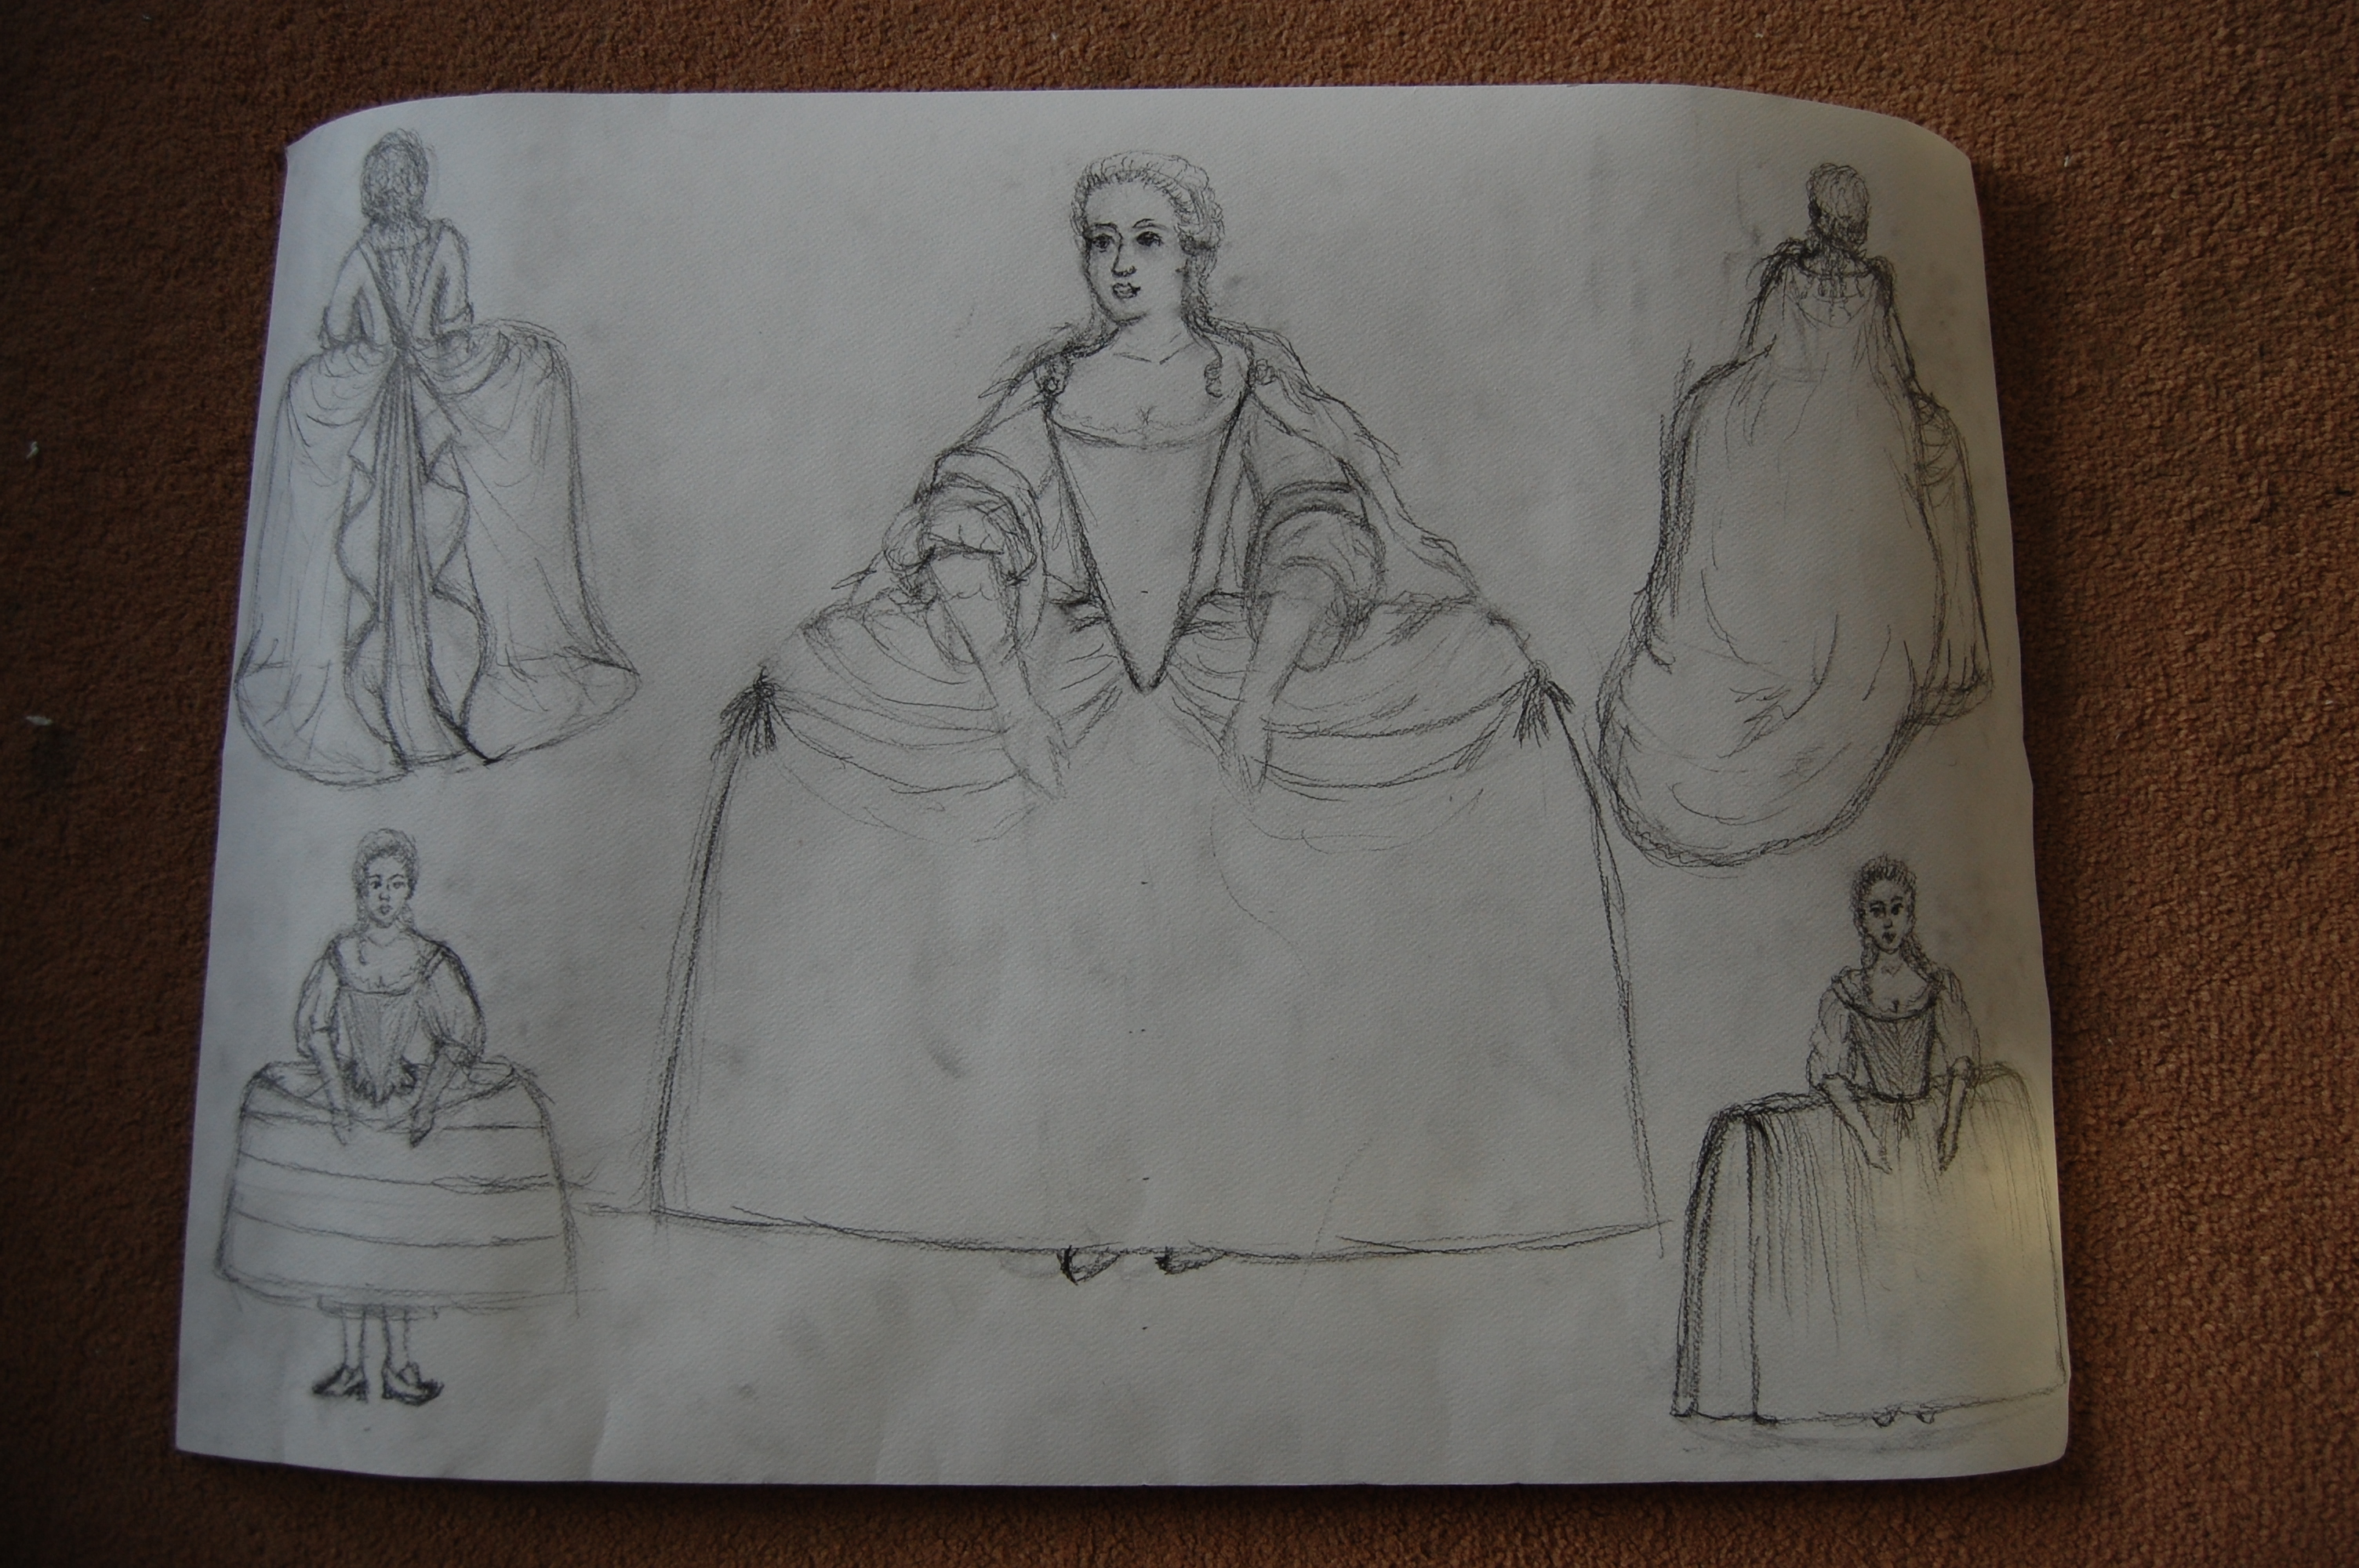
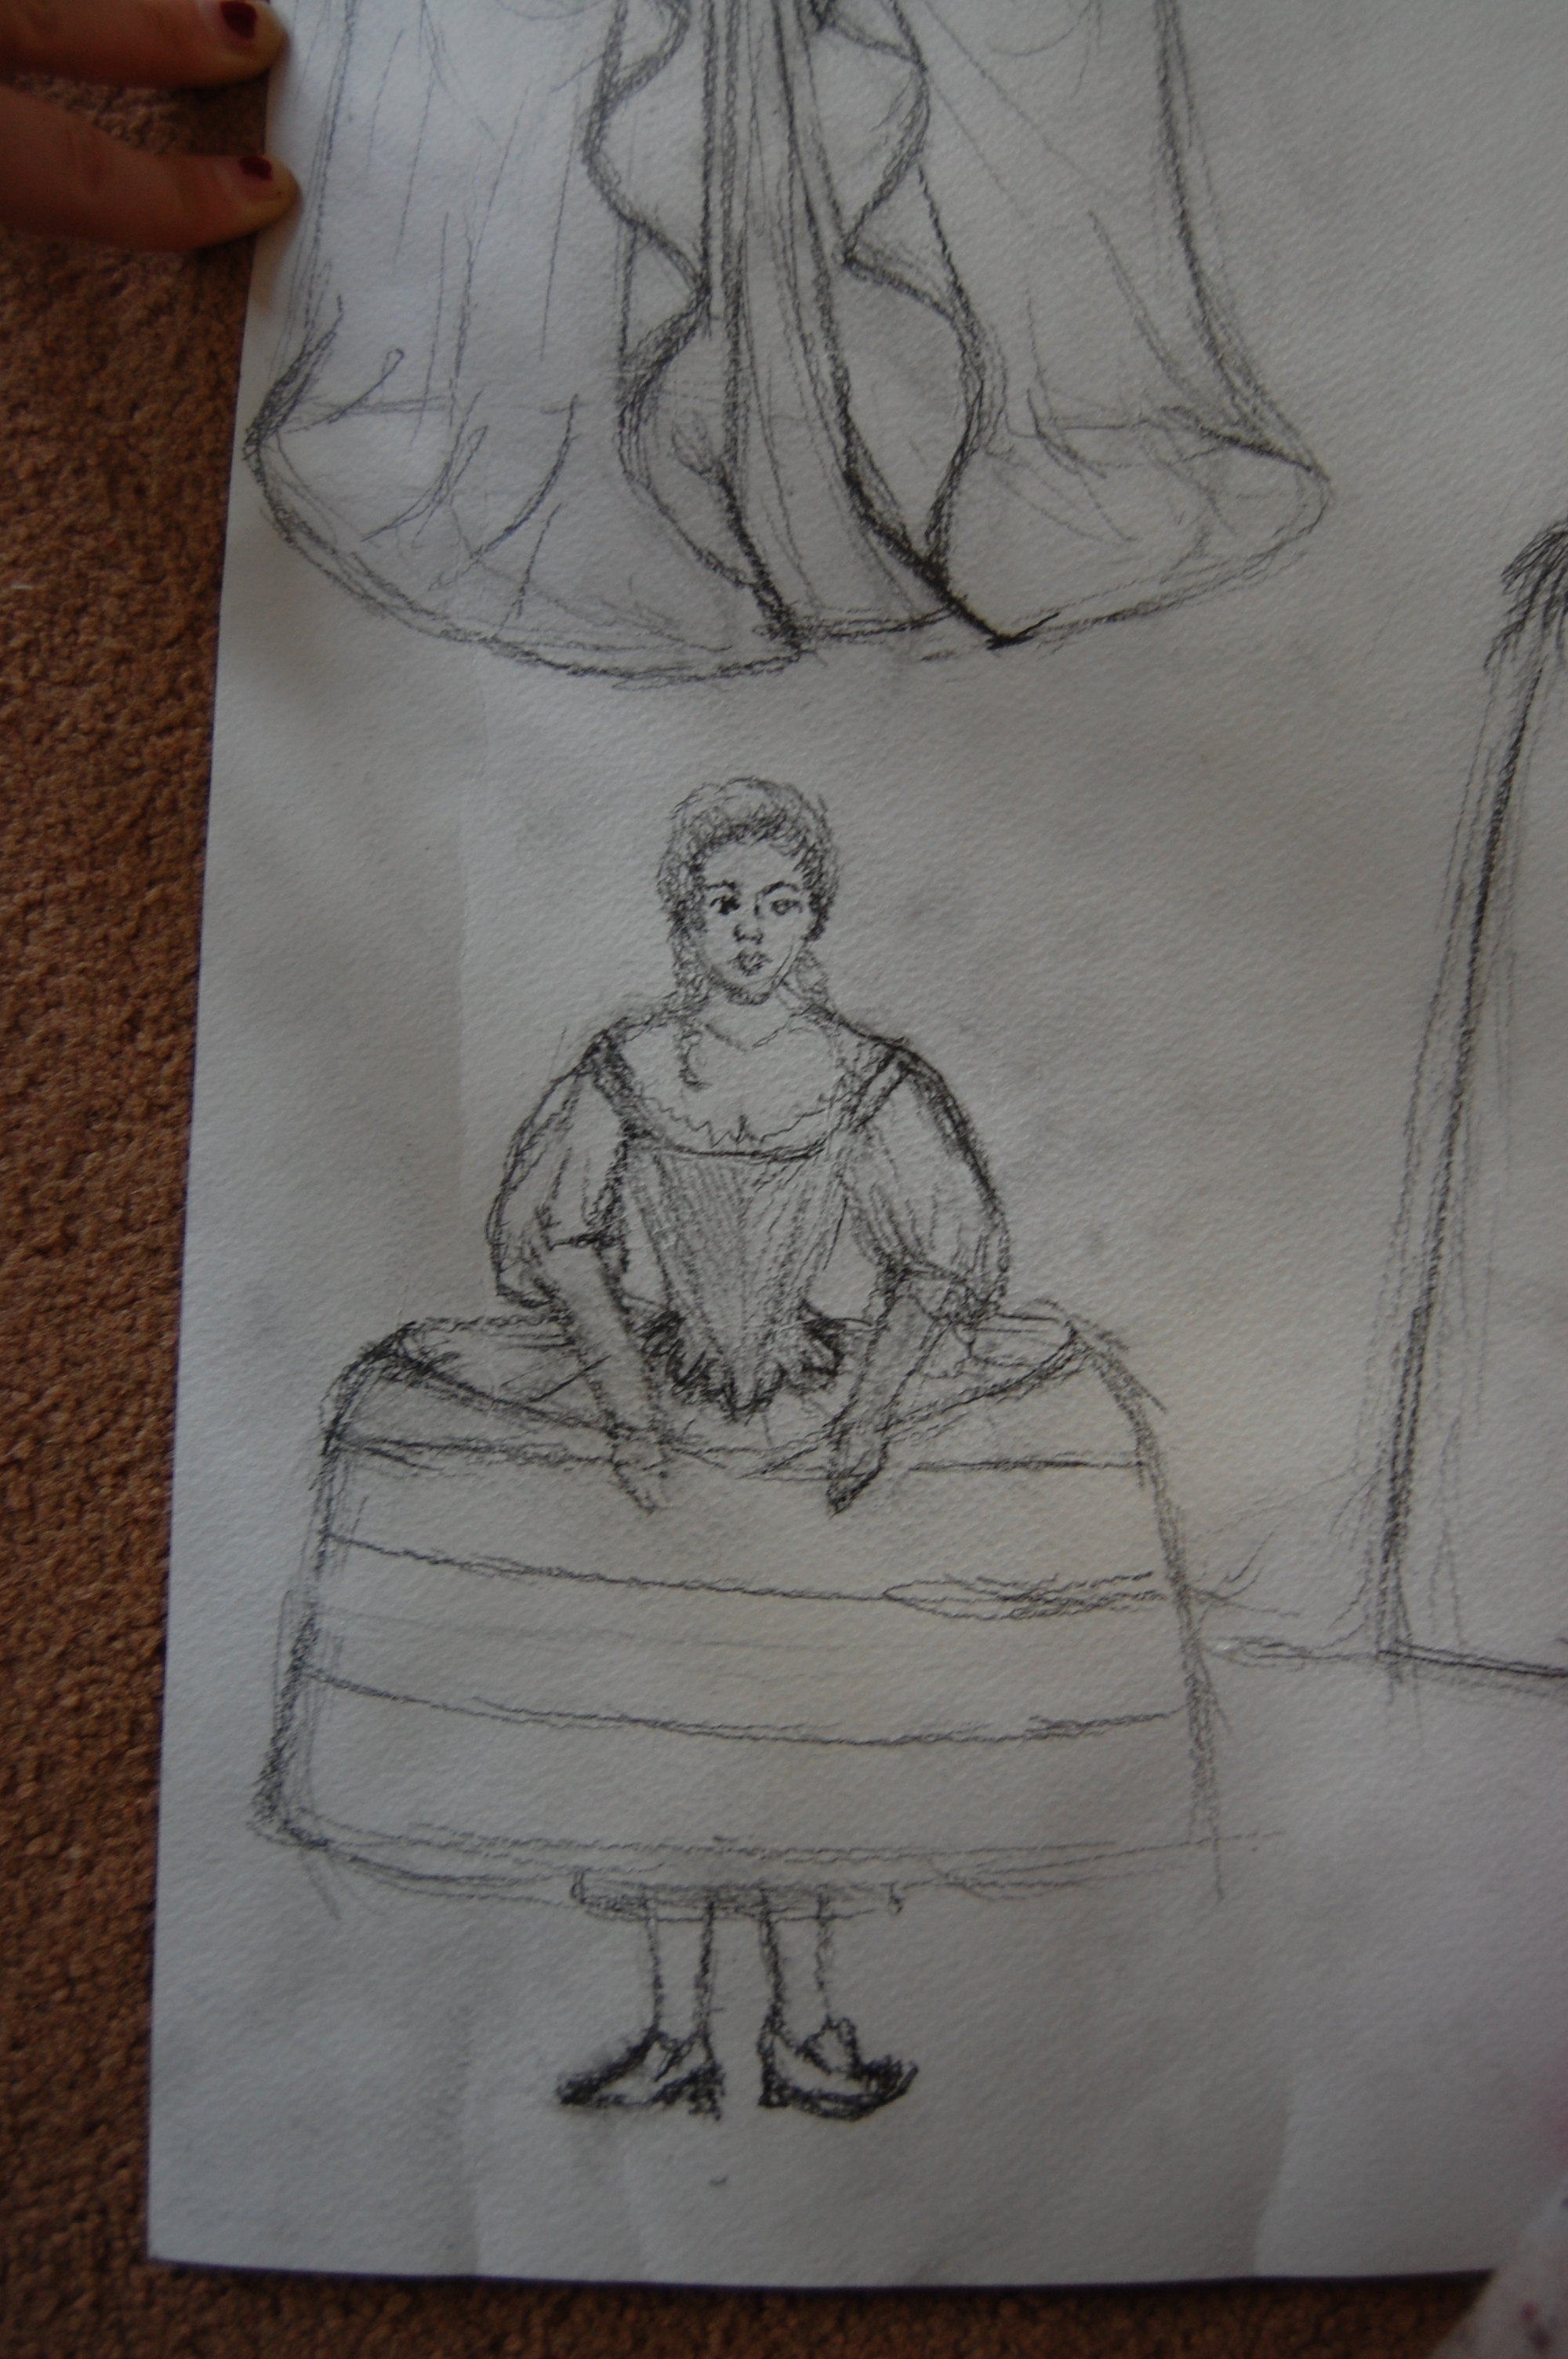
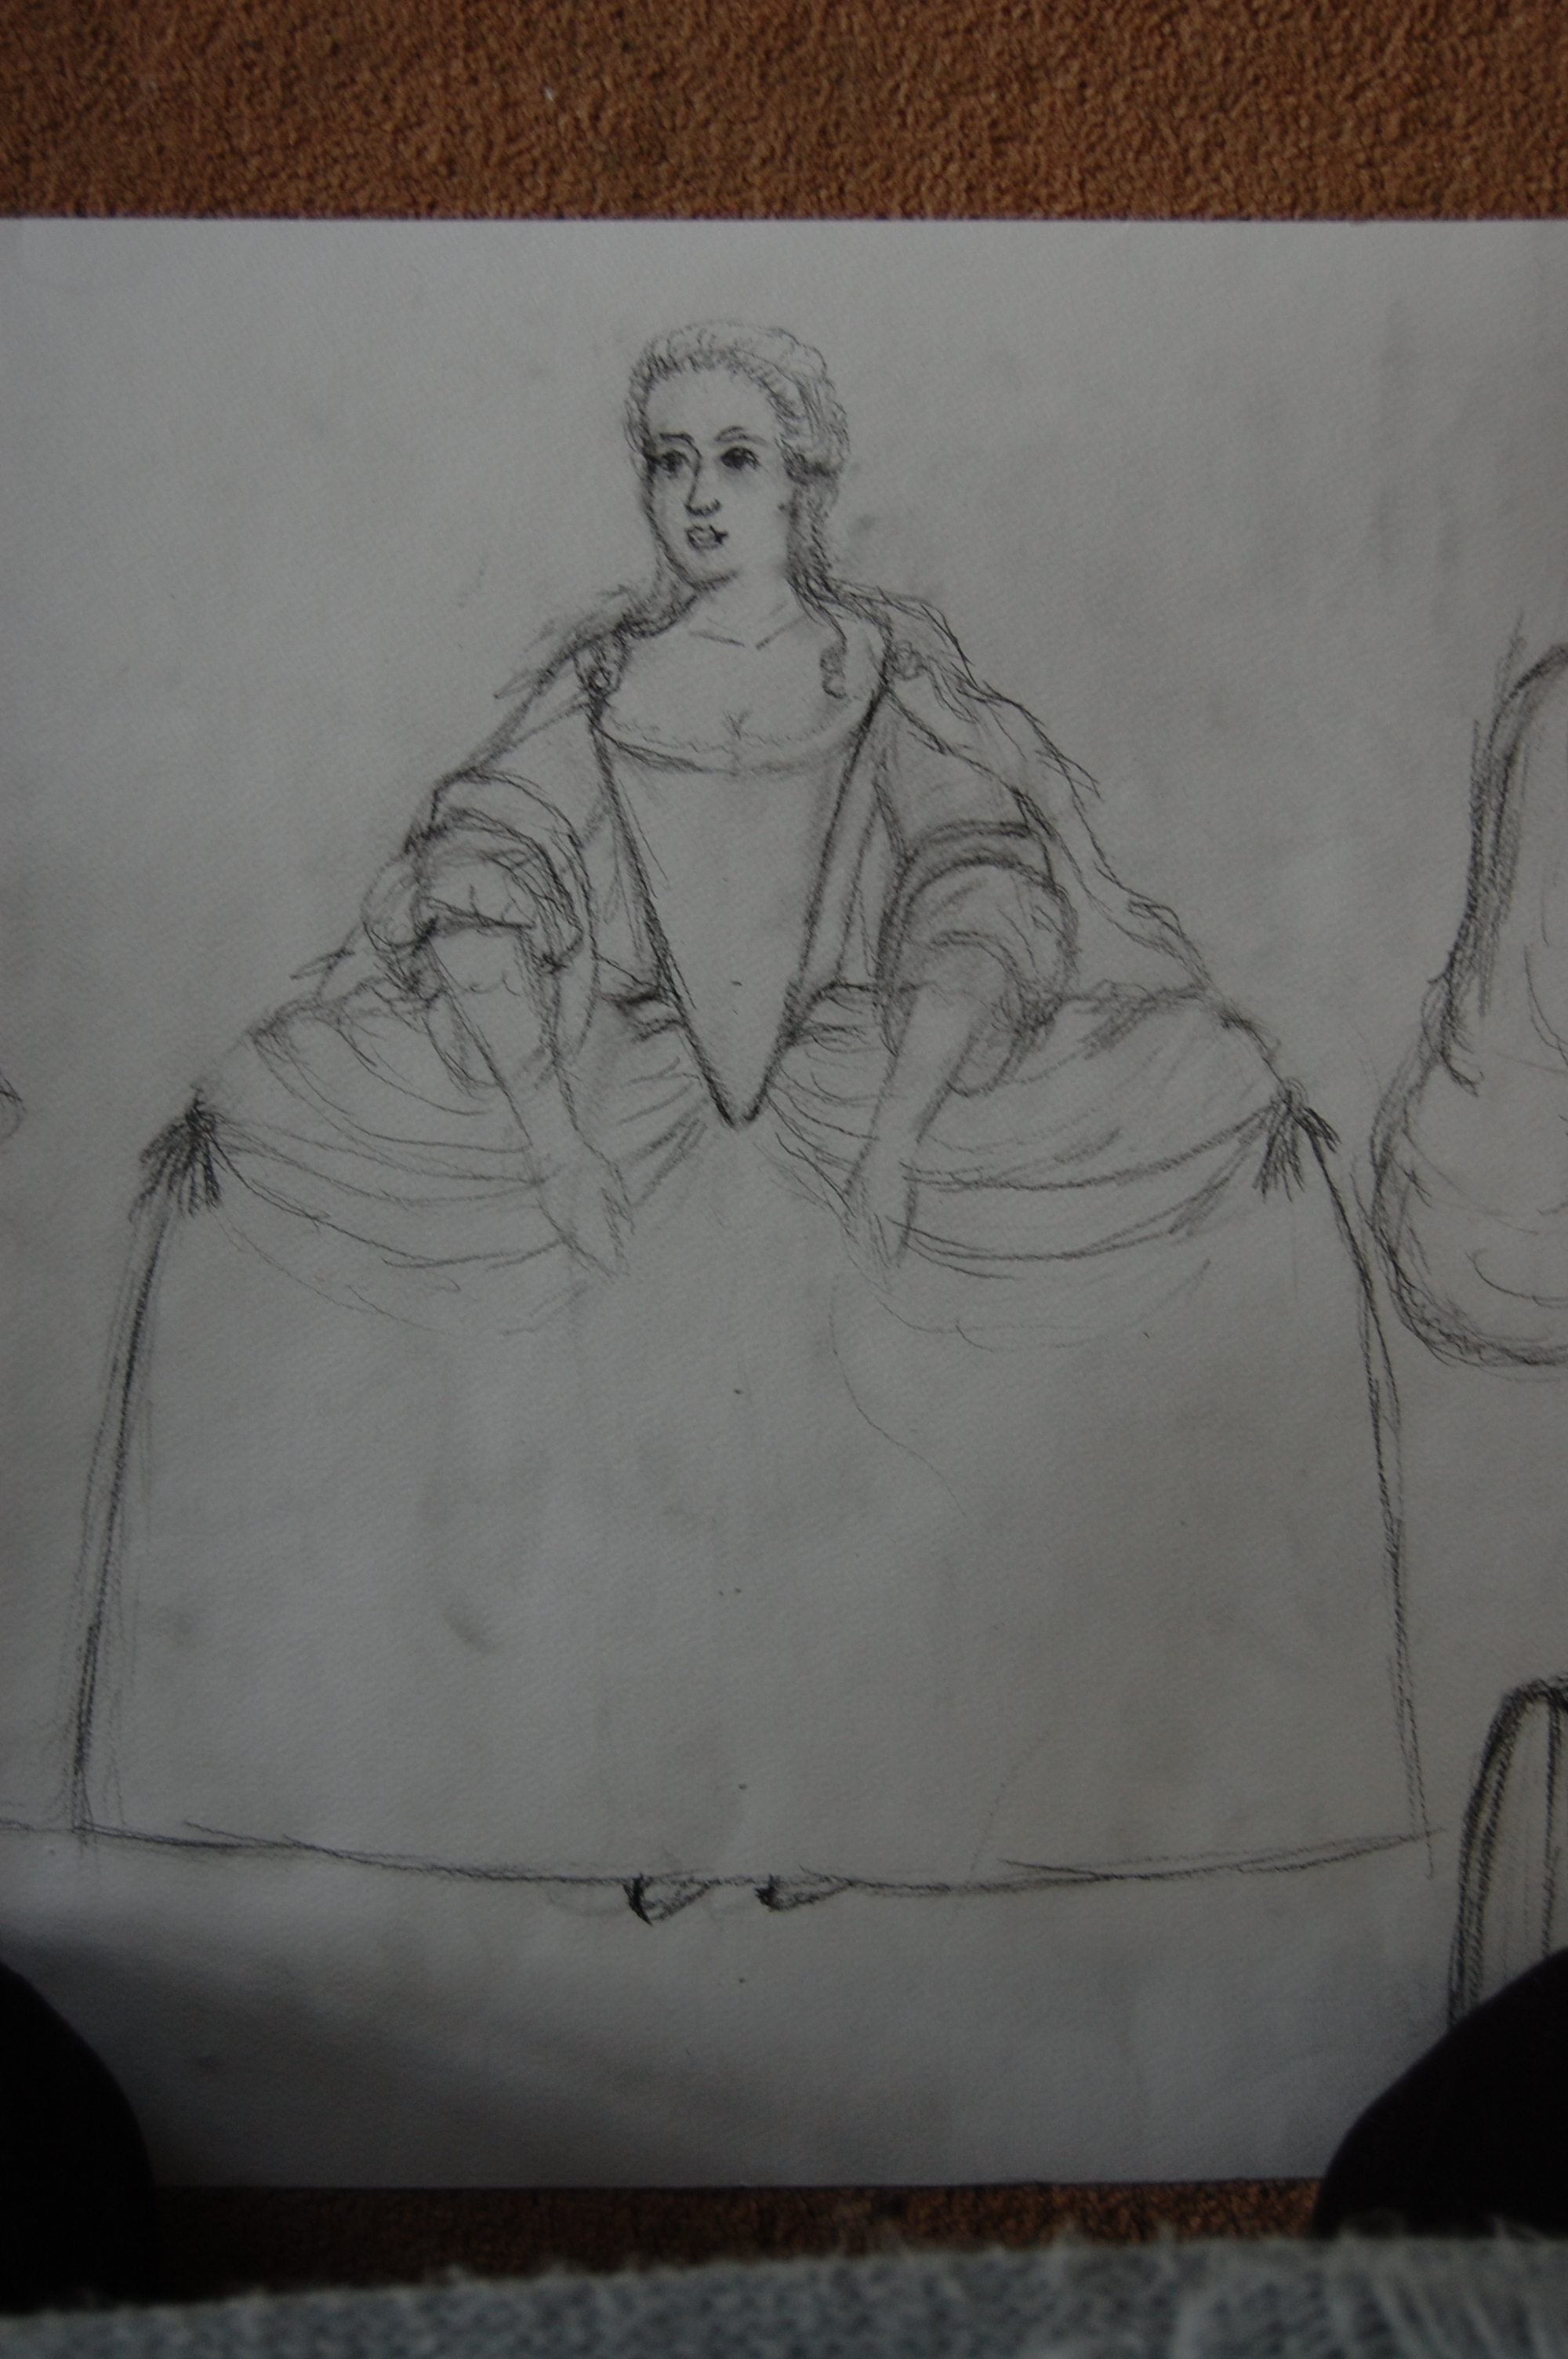
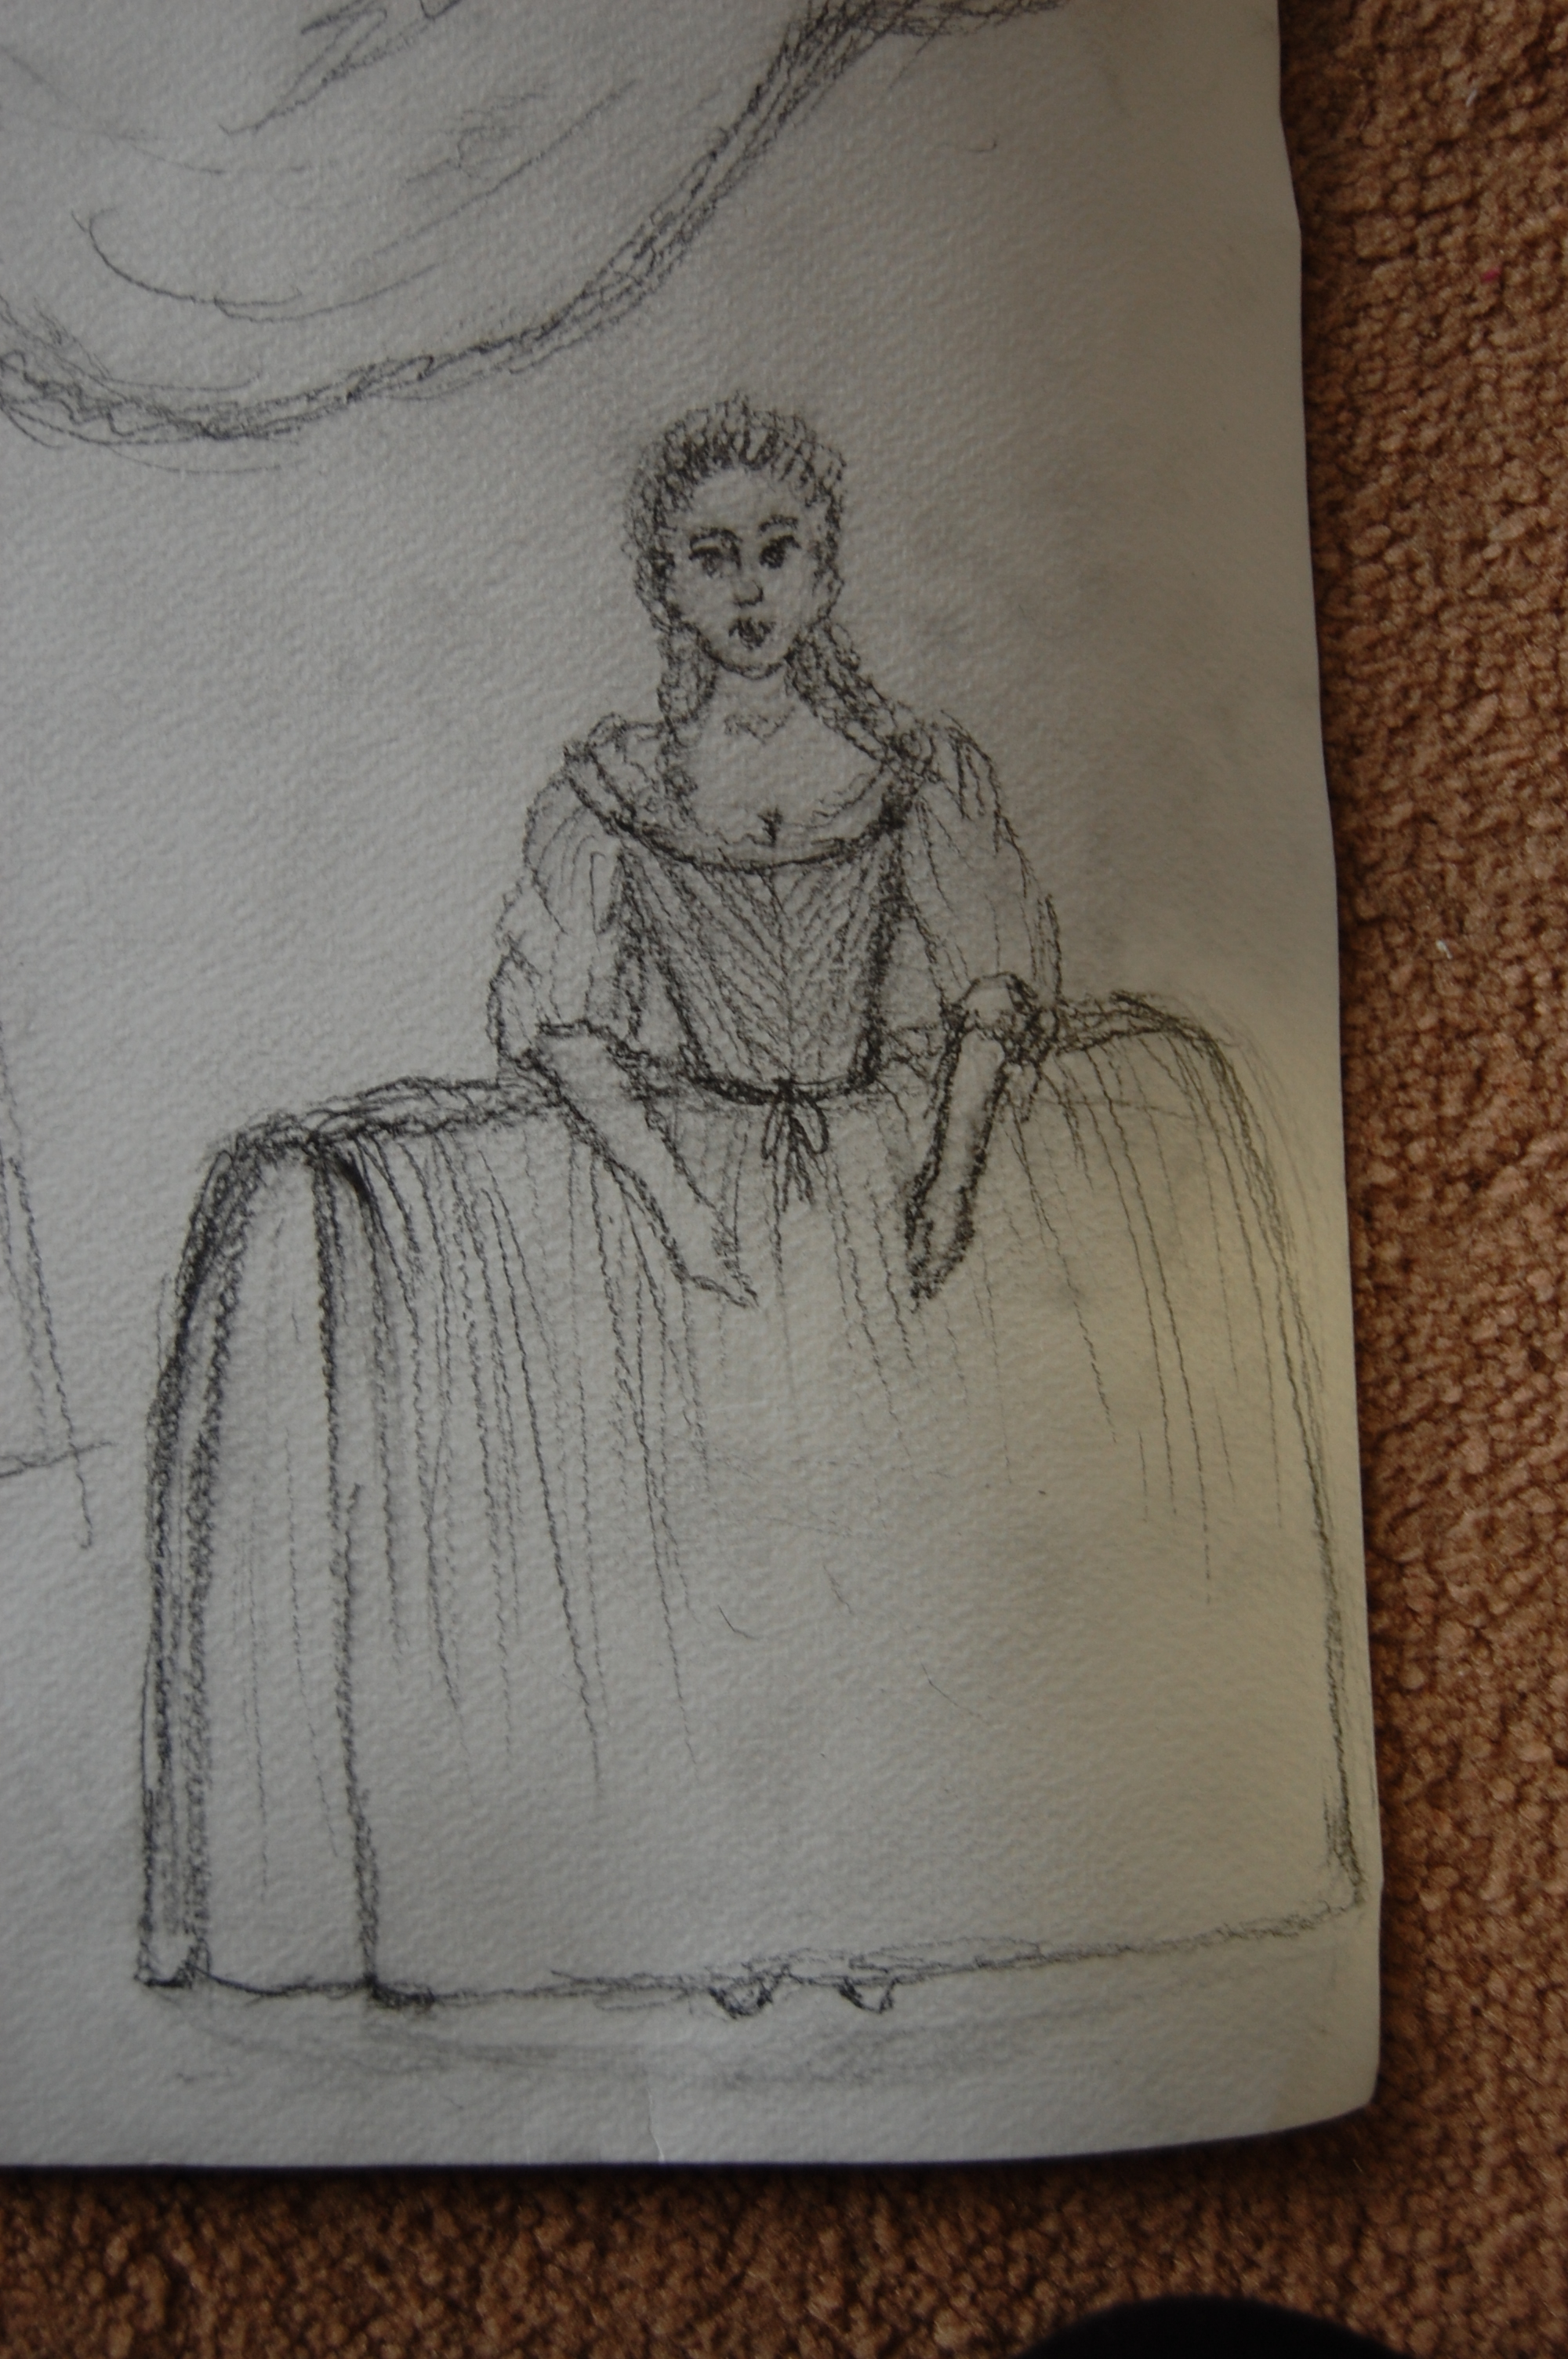
After choosing my portrait I wanted to go and have a look at some 18th century art. I was on the look out for paintings that contained goldwork and distinctive styles of the era. I also visited a special temporary exhibition about Catherine the Great, this contained a lot of surviving 18th century garments, lots of which included goldwork. Unfortunately I was unable to take photographs but you can see my sketch book for some sketches from the gallery’s.
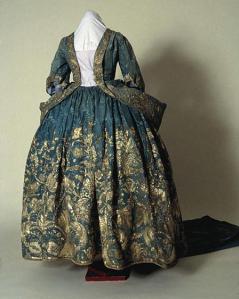
The most challenging garment to transfer to a paper pattern was the gown. While researching and looking at existing example of garments both first hand in museums such as the V&A, London, and the National museum of Scotland, Edinburgh, at online museum collections e.g. The Metropolitan Museum of Art, New York, which hold a vast assortment of 18th century costume and within reference books I could not find anything that resembles Elisabeth’s gown or many of the other portraits I have looked at. In the portrait her gown appears not to have any seams or joins at the front. This was my first problem as almost every example of a gown I had scene from the 18th century was closed or fastened at the front. My first thought was the dress could have been a Robe à l’Anglaise, these usually closed at the centre front and though it may have been possible that the embroidery was hiding the close, however with further research I concluded the l’anglaise style was not right. Its sleeves are fitted, its neckline slightly square and its bodice plainly decorated. The Robe à l’Anglaise was a development of the Robe à la Française or sacque back gown as it is also known, the main distinctive feature of this gown being the large pleats that hang from the centre back, the development to the Robe à l’Anglaise being that these pleats were stitched down onto the bodice rather than let loose to drape. These are also sometimes named Watteau pleats after the artist Antoine Watteau due to his fascination with painting the dress style. The Robe à la Française was usually worn with a stomacher and had fitted sleeves sometimes flounced cuffs unlike Elisabeth’s dress. Another factor to consider is the dates do not fit. We can judge my her age and style that Elisabeth’s portrait was painted at the beginning of the 18th century whereas the fashions of robes la Française and à l’Anglaise were popular between the 50’s to 80’s.
Countess de Mailly 1698

Met museum late 17th century


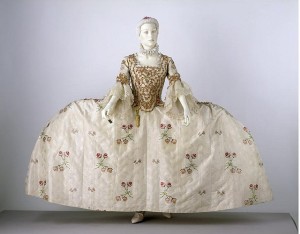
I then decided to look further back into history and find out about the styles at the end of the 1600’s in the hope that that would lead me to an answer. I found that the leading style from the 1680’s into the 1700’s was a robe called the Mantua. Elisabeth was alive 1668 to1738 meaning the Mantua was the prominent style for the majority of her adult life. Its first form was a coat-like robe with cuffed elbow length sleeves worn over boned stays with straps and a back lace fastening. Skirt of the robe was open and drawn back over the hips to reveal the gathered petticoats worn underneath. By the 1690’s the top of the mantua was opened and the decorative stomacher panel was introduced
LACMA 1700’s

Met museum 1708


. The style was so popular at this point that dressmakers became known as mantua-makers. The mantua adapted to the changing skirt shapes and was adjusted to be worn over panniers, its draped skirt progressively got smaller until it was only a hanging pleated flap that was swept back over the hips of the panniers.
1709 duchess of burgundy 1730-40
1735-40

1740’s

1740-45

1744


1748-50
1750
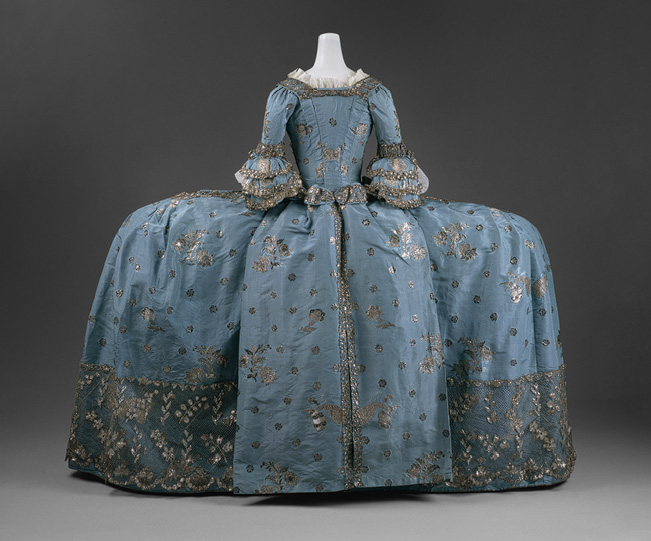
Court-Mantua-Kensington-Palace 1750-1760

1772 Sophia Magdalena of Sweden coronation


Elizabeth Charlotte Holstein-Gottorp wedding dress 1774


The sleeve style of large cuffs and the decorative stomacher of the Mantua matched that of Elisabeth’s garb however there was still the problem of the almost off the shoulder neck line. The majority of portraits I have looked at from the first half of the 18th century all have this feature although none of the existing examples do. Another thing I noticed about early 1700’s portraits is the extreme sloping of the shoulders, after looking in to the history of art at this time I discovered that the elongated slanting and exposure of the shoulders was considered the pinnacle of beauty and femininity at this time. Therefore the gowns stylised appearance when painted was not necessarily what I would have actually looked like in the flesh. This solved my problem of finding a pattern for my dress.
Now I had chosen a portrait I could start designing the rest of Elisabeth’s dress. I decided on large panniers for the bases of the skirt with draping over the hips, a distinctive style of the mantua.


My first priority is the underwear. In the 18th century the ladies silhouette was framed by her underwear. Many garments were worn under the outer clothing, each adding another shape to the silhouette. Here are some examples of ladies at their ‘toilette’ from historical paintings and drawings…


The first layer was the chemise/shift. This has been worn throughout history since the middle ages. The 18th century shift usually came to just below the knee, short enough to be hidden by the petticoats. It was worn to protect the clothes from the unwashed body. Lace often adorned the low cut neckline which peeped out over the stomacher. Flounced lace cuffs draped out from the dress sleeves of upper class women which seemed to be a part of the chemise but these were often detachable for easy of washing. The chemise was usually made from linen or cotton and sometimes had a drawstring neck and sleeves…


Stockings were made of knit, silk or cotton dependant on season and class. They usually came over the knee but tied just below at the narrowest part of the leg. Some paintings of the period depict the stocking tied above the knee however this was only to give the sitter more sexual appeal as this showed more of the leg. They were fixed in place with a ribbon, cord or strap. The upper classes often had richly embroidered stockings.


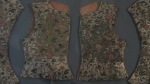
Stays, now called corsets of the period were almost all fully boned. However versions of stays called jumps were worn by working women and only contained around four bones. Jumps also laced at the front for ease of dressing and had laced straps and sometimes detachable sleeves. Formal stays however moulded the body into the fashionable silhouette; this included a flattened front with the bust pushed high and quite exposed and a synched in waist. Stays with the most support were cut very high at the back and had straps to create perfect posture and support for the bust. Formal stays of the period almost always laced at the back, the women that would wear them would have someone on hand to help lace her in. The majority had tabs at the bottom, the whale bones were taken all the way down into these tabs. This relieved tension from the waist making the corset much more comfortable for the wearer.


Now women carry around handbags to keep hold of their personal item but in the 1700’s women often wore pockets. These where not built into their clothing but were tied separately around the ladies waist over her stays. They were accessible from slits in her skirt, petticoat and side hoops. She would store things like money, jewellery, handkerchiefs, snuff boxes, mirrors and combs, scents and practical items such as needles, scissors and thimbles in her pockets. The contents of them were valuable so ladies often slept with their pockets under there pillows at night. When worn the strings of pockets were often cut and stolen by pickpockets. There is a brilliant a link explaining more about them here https://cawhittaker.wordpress.com/wp-admin/post.php?post=113&action=edit


Hooped skirts have been various shapes throughout history. During the 1700’s side hoops later referred to as panniers became normal attire. At the beginning of the century skirts were worn over domed or bell shaped hoops these began to be extended at the side and flattened at the front and back ending up the familiar style we associate with ladies of the 1700’s. The skirts were first made as one whole structure however they were then split and worn in two side hoops, this style was much easier to walk in however the skirts did get so wide that ladies would have to walk through doorways sideways to accommodate their huge dresses.


