Quick Links
Key Takeaways
To format your USB flash drive to FAT32 format, open File Explorer or Disk Management, right-click your drive, choose "Format," select "FAT32" from "File System," and choose "Start" or "OK." To do that from Command Prompt or PowerShell, run the "format /FS:FAT32 X:" command replacing "X" with your drive letter.
Formatting your USB flash drive using the FAT32 file system is as easy as selecting a few options or running a command on your Windows 11 or Windows 10 PC. We'll show you both ways to accomplish the task, so your drive is formatted in your preferred format.
Formatting your drive with any file system erases all the data stored on the drive. Make sure you've backed up your important files before proceeding to reformatting your drive.
Should You Format Your USB Flash Drive With FAT32?
There are many reasons to format your drive in FAT32 format. The most common one is that your drive will work with many more devices than if it was formatted in another file format, say NTFS. Nearly all the devices support FAT32.
A good example here is that you can add data to your drive from your Mac machine if your drive was formatted in FAT32. You can't do that with an NTFS-formatted drive.
While there are pros to using the FAT32 format, a few cons exist as well. You can't store an individual file larger than 4 GB on a FAT32-formatted drive. Also, the built-in graphical formatting options on Windows only let you format your drives in FAT32 if they're 32 GB or less in storage capacity. (However, there's a command-line method and a third-party app to format drives larger than 32 GB in FAT32 format.)
How to Format Your Thumb Drive to FAT32
Formatting a USB drive in FAT32 is as easy as selecting a few options in File Explore or Disk Management, or running a few commands from Command Prompt or PowerShell. We'll show you all these methods below.
Using File Explorer
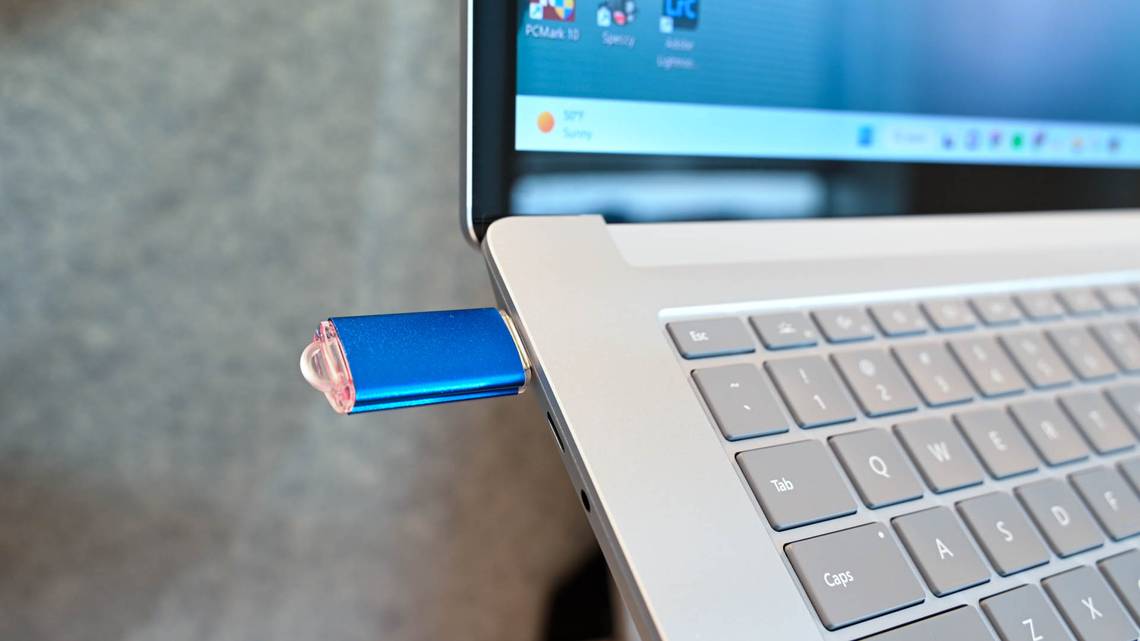
To format a drive in FAT32 format with File Explorer, first, plug your drive into your Windows PC. Then, open File Explorer by pressing Windows+E.
In File Explorer, right-click your drive and choose "Format."

A "Format" window opens. Here, click the "File System" drop-down menu and choose "FAT32." Optionally, configure other options. Then, click "Start."

When your drive is formatted, it will be in FAT32 format.
With Disk Management
Disk Management is another graphical tool you can use to format your drives. To use it for your USB flash drive, right-click your "Start" menu icon and choose "Disk Management."
On Disk Management's main window, right-click your USB drive and choose "Format."

In the "Format" window, select the "File System" drop-down menu and choose "FAT32." Then, click "OK" to start formatting your drive.

Disk Management will display a message when your drive is formatted.
Using Command Prompt
If you like running commands, you have a command you can use in Command Prompt to format your drive in FAT32 format.
To do that, first, open the "Start" menu, find "Command Prompt", and select "Run as Administrator." In the "User Account Control" prompt, choose "Yes."

On the Command Prompt window, type the following command replacing X with the letter of your USB flash drive. Then, press Enter.
Make sure to enter the correct drive letter or you'll end up formatting another drive on your PC.
format /FS:FAT32 X:

When your drive is formatted, close Command Prompt.
With Windows PowerShell
PowerShell is another way to run commands on your Windows PC. You can use this tool to format your drives as well.
To do that, open the "Start" menu, find "PowerShell", and click "Run as Administrator." In the "User Account Control" prompt, choose "Yes."

In PowerShell, type the following command replacing X with your drive letter. Then, press Enter.
Make sure the drive letter is correct or you'll end up erasing another drive's contents.
format /FS:FAT32 X:

When your drive is formatted, close the PowerShell window.
Your USB flash drive is now ready to be used in FAT32 file format. Enjoy!