

In the last Reaper tutorial, we covered hardware MIDI devices, and monitoring. In this tutorial, we'll be setting up Virtual Instruments and FX. Because we need both of these in a big, bad way... Right?
Step 1 - Setting Up Instruments
One thing that you may have found confusing about Reaper in the last tutorial is the fact that Reaper is not designed to distinguish between MIDI tracks and audio tracks. Thankfully, in the virtual instrument department, Reaper is much friendlier.
In a new Reaper project, I've elected to go up to the Track Menu. Within this menu, you'll notice the good ol' “Insert virtual instrument on a new track...” option sitting there waiting for you:

Go ahead and select this sub-menu and delight in the fact that Reaper has a dedicated Virtual Instrument track option.
Once selected, a Menu will appear listing all of your various instrument plug-ins (you lucky person, you!). But before you get to selecting and getting rid of this window, let me point out a few things:
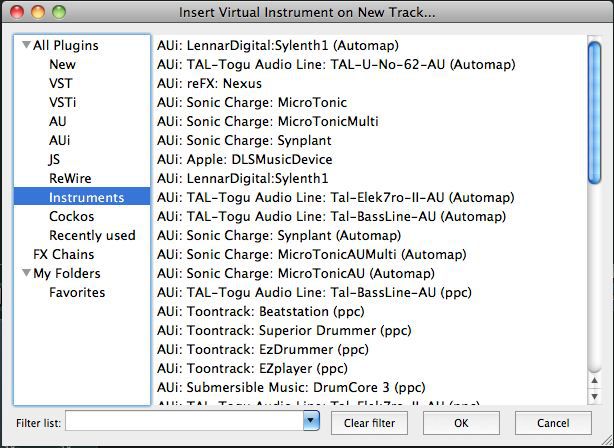
On the left-hand side of this menu are several list options to speed up your ability to find certain plug-ins. And this should not be discounted.
Step 2 - Plugin List Options
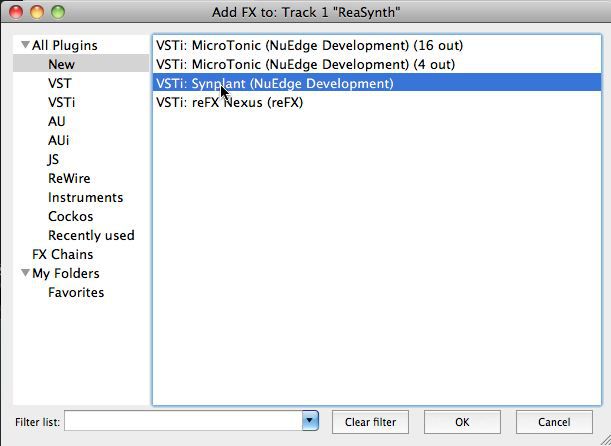
For example: Reaper will list new plug-ins that have recently been installed on your system. This is easily underestimated, but let me pose a scenario: can you remember specific times where you installed a new plug-in, only to be confused later in trying to find said plug-in? The various categories under 'All Plugins' take care of that annoying scenario. If you're not sure where to look, simply select 'New', and rely on Reaper to show you what's new to your system:
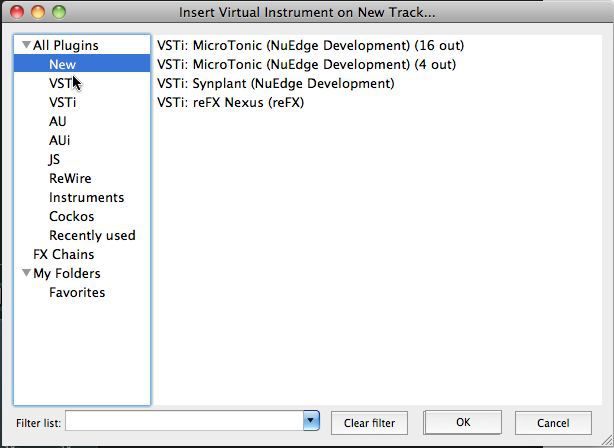
Additionally, you have the option to sort by only VST plug-ins, VSTi (VST Instruments), AU, and AUi (Audio Unit Instruments), Cockos (Cockos has created an instrument or two as well as FX), and JS (Jesusonic Plug-ins).
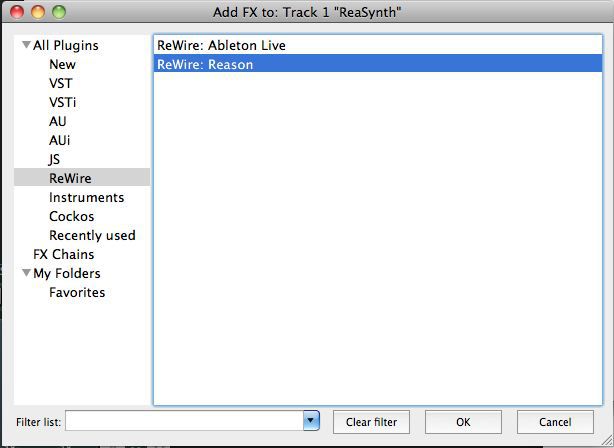
What is particularly handy to me, being a ReWire jockey from Hell, is the ReWire list. Selecting ReWire allows me to quickly access applications like Reason and Ableton Live, which can run along with Reaper in real time. Wow, try saying that 3 times fast!
If you happen to double-click on any one of these options, Reason, Ableton Live, or any other ReWire application you select will instantly start. There's no having to dig around through your dock, applications folder, or however you do it normally.
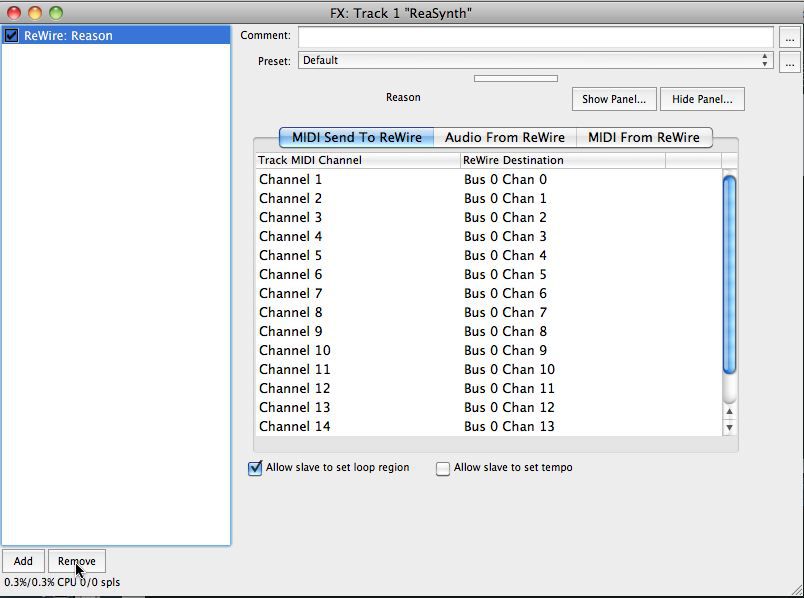
Once a ReWire application has started, it is synced with Reaper. If you choose to remove it from your project, Reaper will actually shut the program off for you. I was particularly impressed with this small bit of polish, as I'm used to having to do this all manually—meaning I have to shut off Reason with Command-Q.
In our next Reaper tutorial, we will be going more in to ReWire. For now, let's move on to more virtual instrument goodness hosted by Reaper itself.
Step 3 - Starting the Virtual Instrument
Okay, I'm going to start one up. Hold on to your hats. I'll select the 'New' filter in the Add FX menu. Here I'll select Synplant from Sonic Charge. A great instrument that I highly recommend. I'll simply double-click on it within this menu. If you don't have Synplant, choose a synth that you do own!
And the instrument appears!
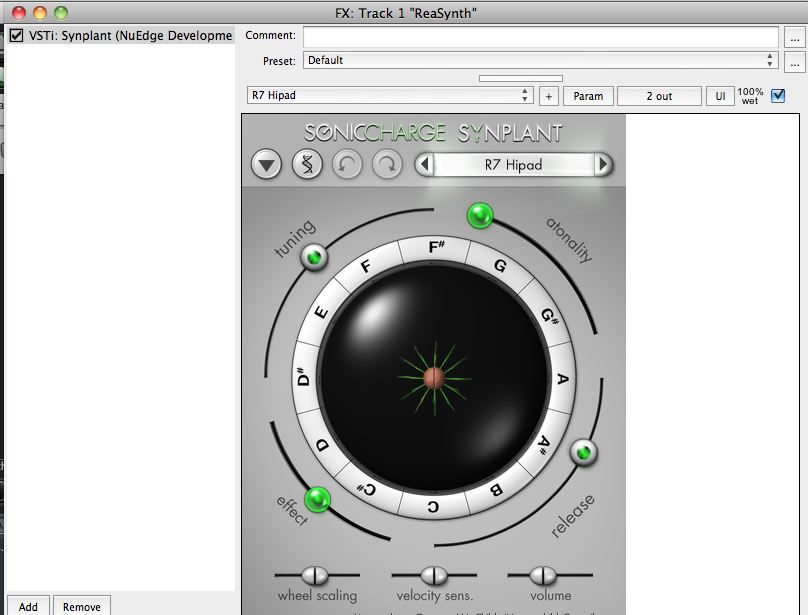
Within this menu, you get wonderful insights as to how much CPU this plug-in is using, the ability to add comments to a patch, output possibilities, etc. In the lower left corner of the Instrument window, you also have access to the 'Add' and 'Remove' Buttons. In reference to the Remove button, if you decide you'd rather use a different synth, simply remove the current one you have selected, and then use the Add button to select another one.
At this point, if you try to play your synth, it should be working. If not, you'll need to check your MIDI settings in Reaper, Part 1.
Step 4 - Adding FX
Now that we have a synth ready to go, it might be nice to add an FX plug-in onto it as well!
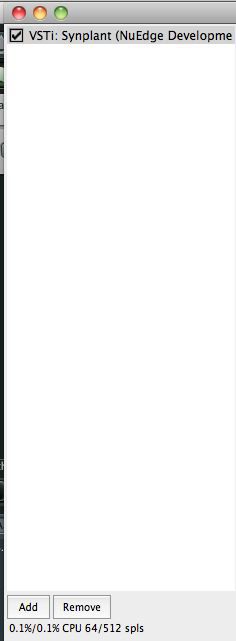
This can be easily done from within our current menu, the one that we used to instantiate our instrument plug-in. Press the Add button in the lower left corner of this screen.
Now, we can add another plug-in to this track. I'm going to press the AU filter list and select 'Apple: AUDelay'. You'll now notice that the AUDelay is available underneath Synplant in my list, and since it's already selected, I can see the plug-in's GUI. From here, I can edit the Delay settings, etc.
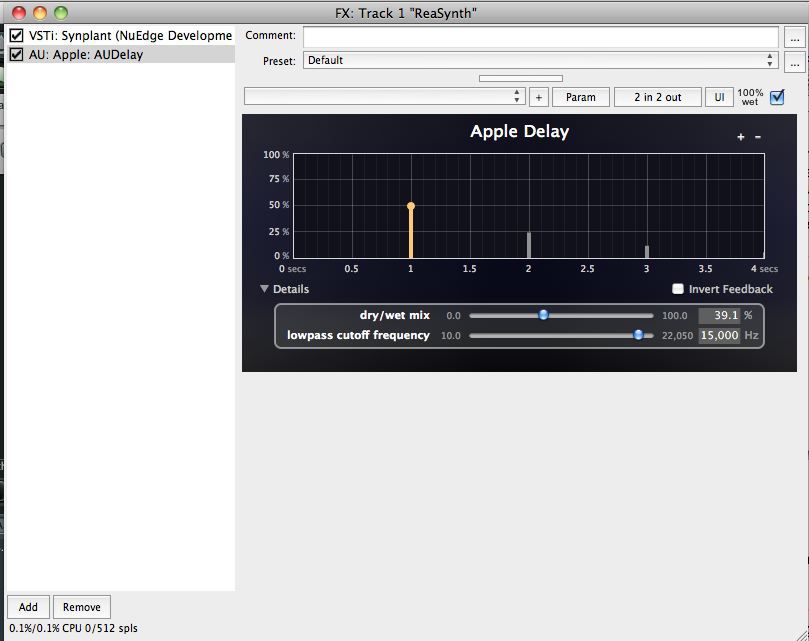
If I decide that I'd like to bypass this effect, I can simply uncheck the box next to its name in the list. Now the effect is off, but can be re-enabled if I need it.
By clicking on the Add button again, I can also add more FX plug-ins to this track. This is helpful in building up crazy, thick instrument patches that blow the mind...or instruments that sound like they are being played in a sewer (yeah, it's an art).
Conclusion
All in all, Reaper is really easy to use where virtual instruments are concerned, and with this wonderful way to stack FX, there should be nothing keeping you from making some wonderful synth parts for your songs.
In the next tutorial, we're going to get into a full-on ReWire scenario between Reaper and Reason. Make sure to check back soon!

Discussion
What kind of video tutorials for Reaper would you like to see? An overall 101 style?
I started learning Reaper shortly before Pro Tools 9 was released. When I was able to install a functional (as in ADC, etc) version of PT on my laptop, I became complacent.
Now I'm looking at Reaper v4 with great curiosity. I think it would be awesome to have a 101 tutorial that teaches the basics, but still digs in deep enough for experienced users to get something, too.
It's been fascinating to watch as MacProVideo has matured along with its users. You guys have really stepped it up, and that's why I'm a subscriber.
I think that's a great idea for a MPV Reaper 4 101. We've got so many titles in production right now... I'll pass this on to SteveH as an idea... I know that it's something that's been on our radar for a while...
Thanks for your kind words about macProVideo.com. We always love getting feedback. You can be sure we're pushing forward to bring more excellent content via our video tutorials and free tips, tricks and reviews via The Hub too!
Best
Rounik
p.s. watch out for Part 4 of this Reaper series - coming soon!
Want to join the discussion?
Create an account or login to get started!