Easy drawing ideas for beginners.
Whether you’re just starting out putting pencil to paper or are a more seasoned sketcher, looking for new challenges, we’ve put together some easy drawing ideas for you to try.
Our guide features step-by-step guides on drawing simple subjects, including animals and people. We’ll also run through drawing techniques to improve your skills, tips on keeping motivated and 30 new ideas you can try when you’re stuck for the next subject to draw.
What you’ll learn:
- What to draw: step-by-step guides.
- How to draw a bird.
- How to draw a dog.
- How to draw a wolf.
- How to draw a horse.
- How to draw a rose.
- How to draw a face.
- How to draw eyes.
- How to draw a nose.
- How to draw a mandala.
- 30 more ideas of things to draw.
- 7 drawing techniques for beginners.
- How to keep inspired and motivated.
What to draw: step-by-step guides.
To help get you started, we’ve selected some simple objects you can try and sketch. Whether it’s with pen and paper or using Adobe Sketch, we’ll run through them step-by-step, so you can learn the basics first.
Remember, practice makes perfect. You might not nail the detail first time around, so keep trying to get the final drawing right.
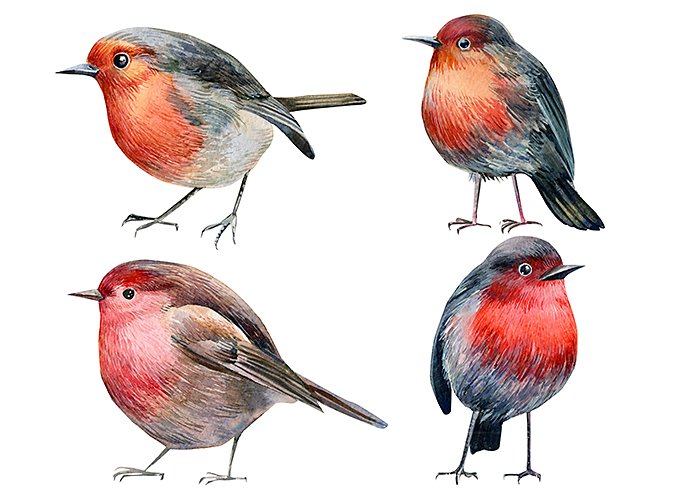
Before you start, it’s worth downloading a few reference photos of each of the following objects from Adobe Stock. Keep this open in a window on your computer or tablet, then it’ll give you something to mimic with your own drawing.
How to draw a bird.
1. Start by drawing a large oval or teardrop for the body – if you choose a teardrop, the point of the shape should face away from where the head will be.
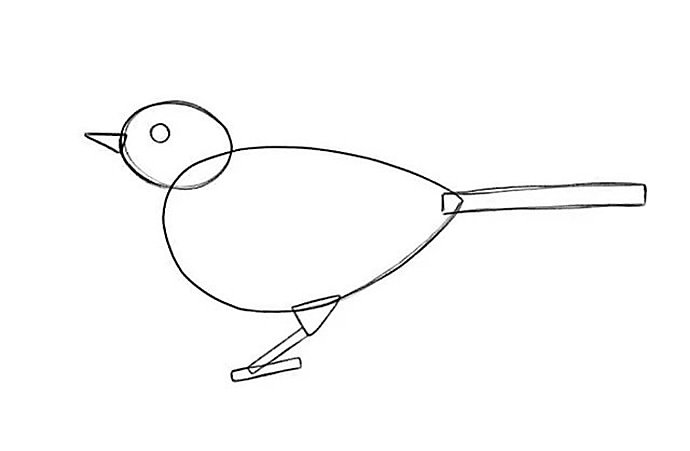
2. Create a circle that is half the size of the oval, to draw a bird’s head.
3. Divide both of these shapes into quarters.
4. Sketch a couple of curved lines for a neck, to attach the head to the body, then add a triangular beak and tail.
5. Sketch downwards from the centre point in the oval body to add legs and feet.
6. Add a z-like shape at the top-left of the oval, to add shoulders – where you’ll draw wings later.
7. Use your reference photo to add the full outline of the bird and build the body structure from there.
8. Finally, draw in the additional layers, including wings and lines for feathers. If digital sketching and adding colour, try using the watercolour brushes in Adobe Fresco.
How to draw a dog.
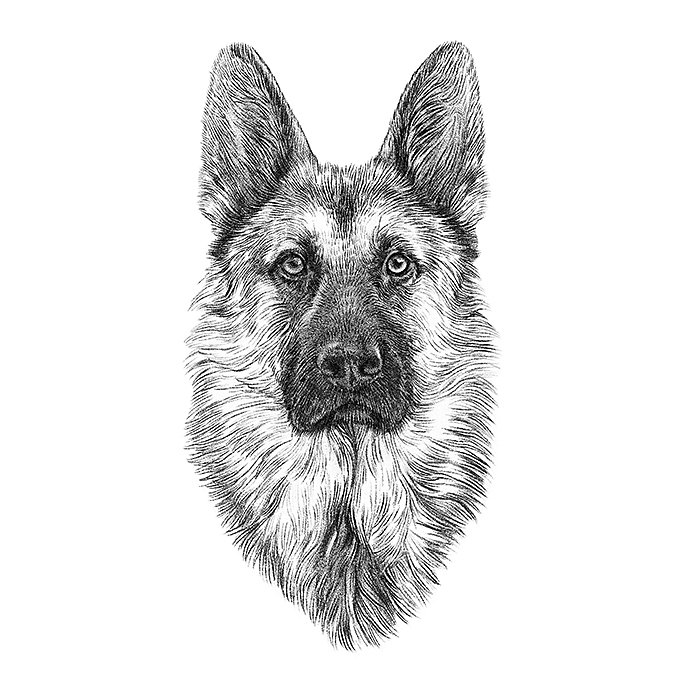
1. If you’re drawing a dog looking face-on, start with an oval shape for its snout.
2. Above this, draw an upside-down u-shape, for the head, then a small oval or triangle for its snout.
3. Draw the ears next, which will either flop down the sides of the head in a half-oval shape or point upwards in a triangle shape.
4. Inside your upside-down u-shape, draw two spots for eyes and two arches above for eyebrows. Pay close attention to the eyes, capturing these accurately is the key to creating a compelling illustration of a canine.
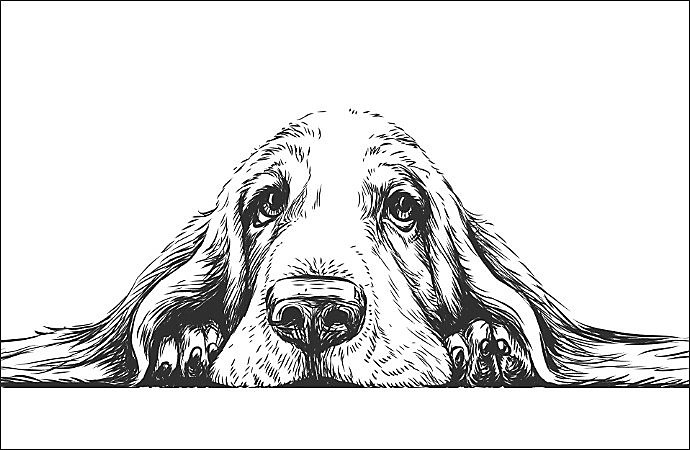
5 From the nose, draw a line downwards that curves at either side, for the mouth.
6. Add front legs, as they look on your reference photo, then draw a u-shape behind them, to make the body.
7. Finally, sketch two u-shapes either side of the bottom of the body, for back legs, then add the tail. You can flesh out your drawing in more detail, using the reference photo.
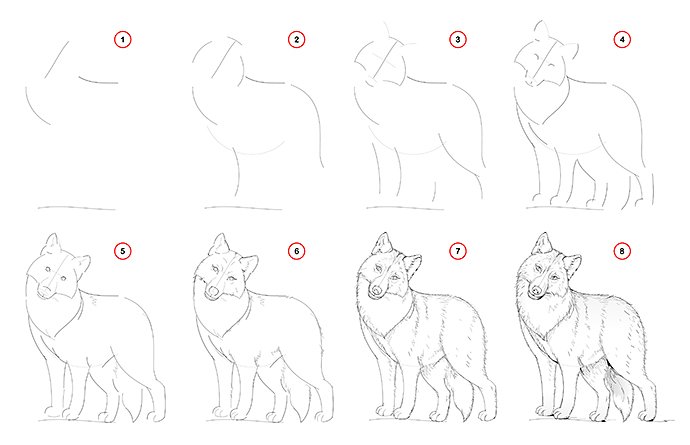
How to draw a wolf.
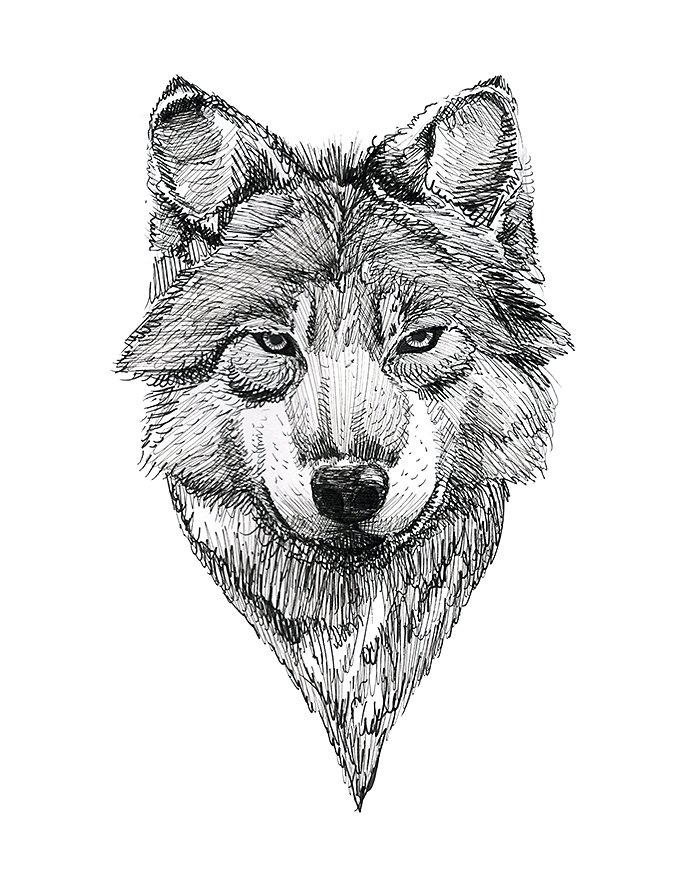
1. This will be a similar composition to sketching a dog, so follow those steps, but with the following changes.
2. Wolves’ faces are slightly leaner, so the wolf you’re drawing should have a slightly narrower oval for a snout.
3. When drawing eyes, they need to be closer to the front of the face, likewise, when you are adding eye colour, it will generally be lighter.
4. The body will be slightly leaner and taller, which means when drawing the u-shape to form it, it needs to be thinner and longer.

5. Legs will also need to be lengthier, so draw longer lines when adding them.
6. Wolves’ ears are pointier and will face upwards, so you’ll need triangles to form these, close to the top of its head.
7. Their fur will be more rugged when you’re sketching out this detail.

1. Start by creating a simple line guide. Draw a slightly curved line for the back leg, an opposing line for the body, then add a guide for the neck and head.
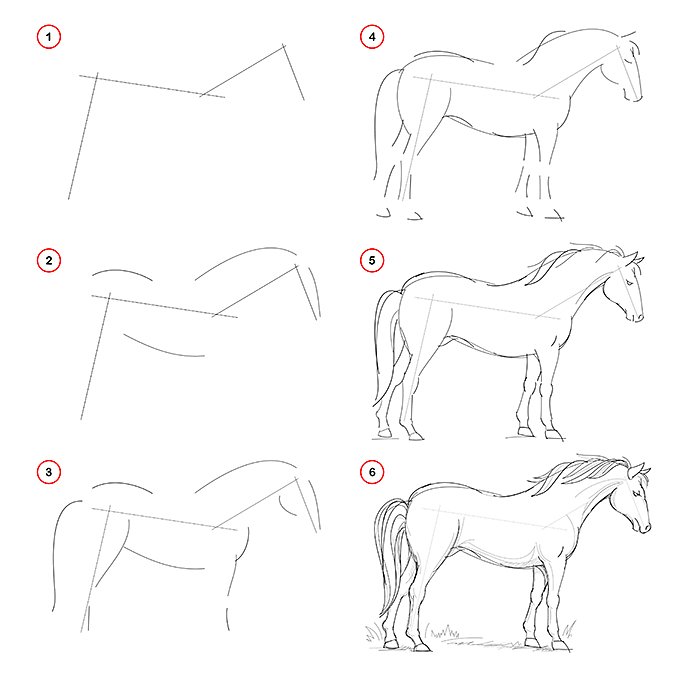
2. Next, add several different semi-circles that will form the horse’s torso, main body and upper back legs.
3. Draw two circles that form the top of the head, and the other a slightly smaller one that will be for the mouth – then connect these with lines.
4. Add ears by sketching gently-curved triangles at the top of the head.
5. Move onto the legs, which should be made up of several different circles, which will reflect the knees and the slightly thicker upper thigh.
6. The front legs of a horse will look different to the back, so study your reference photo to get that shape right.
7. Connect these circles by lines to create the leg outline, then connect your body circles to mimic the body shape of a horse.
8. Add extra layers, drawing the horses’ mane, tail and hooves, to complete the sketch.
How to draw a rose.
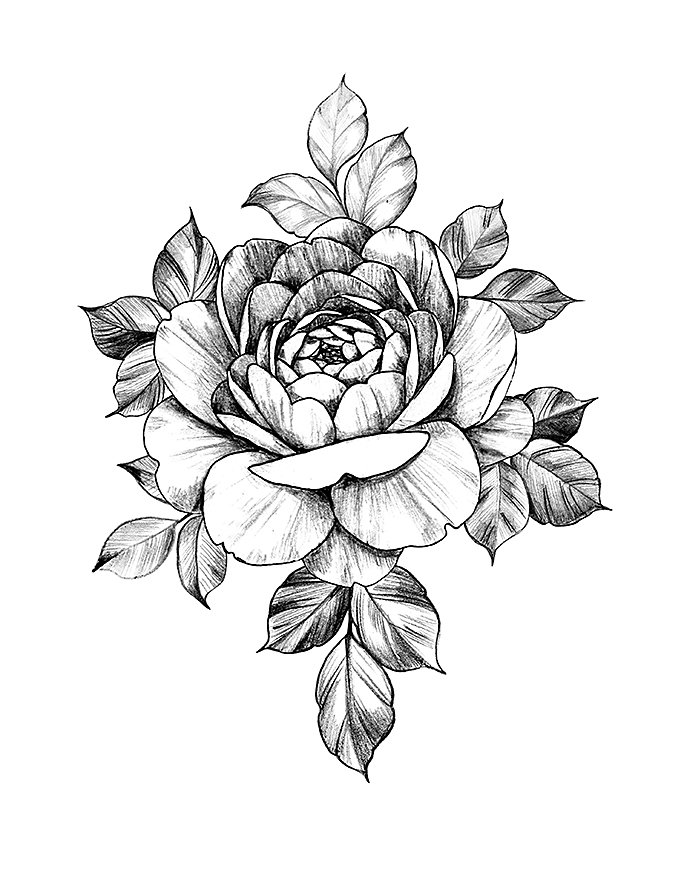
1. Create an open topped egg-shape in the middle of the page, as the inner bud of the flower, then add an opening oval at the top.
2. Draw your rose with mini-petals inside this opening oval, then create a heart shape that includes the opening oval inside it.
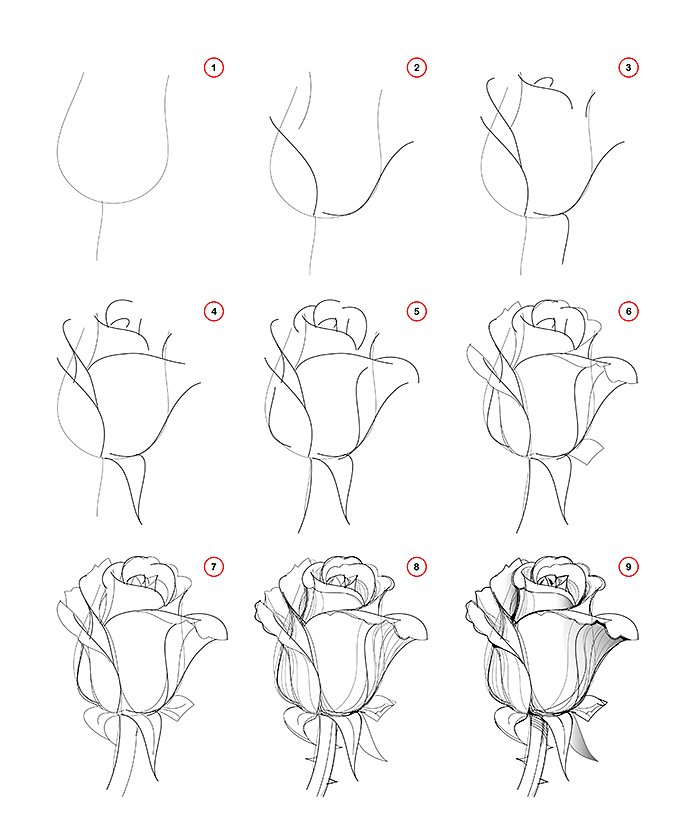
3. Add another larger heart, to encompass the smaller heart and inner petals each time.
4. Repeat this several times, to mimic the appearance of petals opening with each layer.
5. With each layer, start to add details to the petals, such as the faint lines that display its texture.
6. Sketch a ‘cup’ of petals to go around the outside of the inner bud, starting with smaller ones, then eventually make them bigger.
7. Finally, add a stem at the bottom, as a cylinder shape, that connects to the rose – you can include smaller details, such as thorns, to this.
How to draw a face.
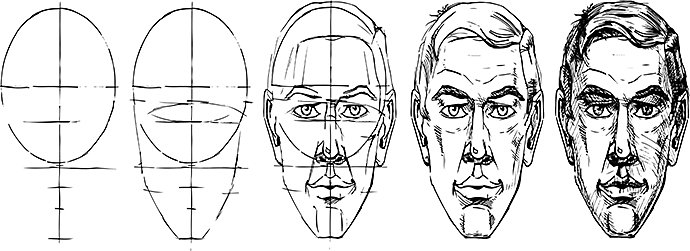
1. Begin your face drawing with a large circle for the upper half of the head, then a horizontal line for the chin and jawline.
2. Draw a vertical line through the middle of the face and add eight horizontal lines to split the face into different portions.
3. On your central line, draw in your eyes, then sketch two vertical lines down from the inner edge of the eye, to the next horizontal line.
4. In-between these two lines, draw in your nose, according to your reference photo.
5. Just above the eyes, add in eyebrows, using a thicker pencil or digital pen.
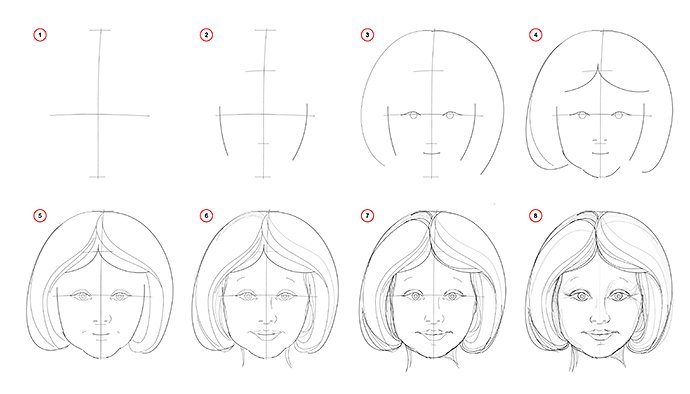
6. Draw a line down from the centre of each eye, towards the horizontal line that is one section below the nose.
7. From each of the vertical edges of these lines, draw in the lips.
8. Add in the ears, which should start just above your central line and stretch down to the bottom of the nose.
9. Finally, add detail into the hair, as it appears in your reference image.
How to draw eyes.
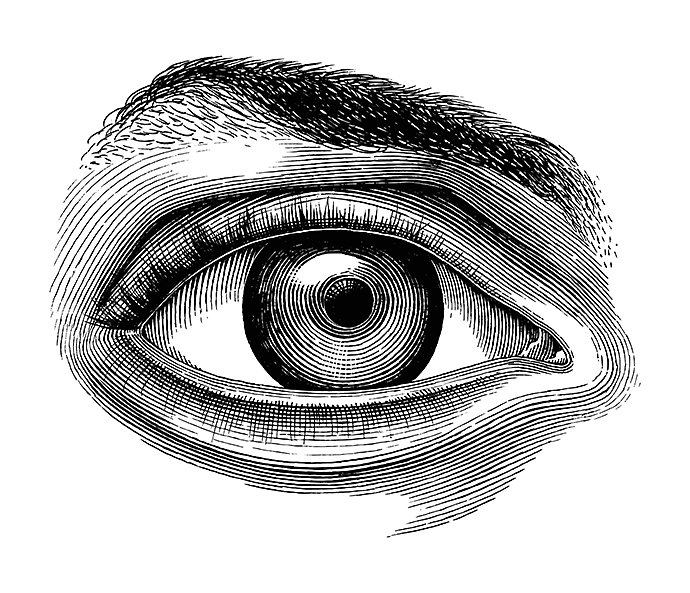
1. Use the outline of a head, as detailed in the drawing a face section, to draw your eye, and space your eyes one eye-width apart, either side of the nose.
2. Draw a circle for the full eyeball, most of which will be obscured by eyelids.
3. Add a smaller circle in the middle of the eyeball to create the iris, then an even smaller one inside that for the pupils.
4. Sketch curved lines over the eyeball, revealing only the iris.
5. Add extra lines around this for the eyelid folds and tear ducts in the corner of the eye.
6. Finally, add eyelashes on the upper part, starting from the right edge of the eyelid, then lower lashes, beginning a just below where the lower lid touches the eyeball.
How to draw a nose.

1. Sketch a circle, which will form the ball of the nose and draw two slightly curved vertical lines either side of it.
2. Draw a horizontal line into the circle’s middle and add two triangle-like shapes either side of the circle, for the nostrils.
3. Shade a U-shape around the circle and vertical lines, to create extra nose shape.
4. Then, shade in the nostrils, to give a more natural curve to them.
5. Add in two mini-circles at the bottom of the nostrils.
6. Then draw the nose how it looks in your reference photos, softening the harder sketch lines you drew earlier and shaping it accordingly.
How to draw a mandala.

1. Draw a dot in the centre of your piece of paper, then draw a cross of equal lengths.
2. Add in three dots on each line. The first should be half an inch from the centre, the second an inch from that and the third 1.5 inches from that one. Repeat this for each line.
3. Draw another cross, at a 45-degree angle, the same length and with identically spaced dots on it.
4. Connect these dots by drawing three separate circles.
5. Start to add fine details – one idea could be to draw teardrops, petals and circles to create a symmetrical design.
6. Shade in any details around those shapes for a colourful mandala drawing design.
30 more ideas of things to draw.
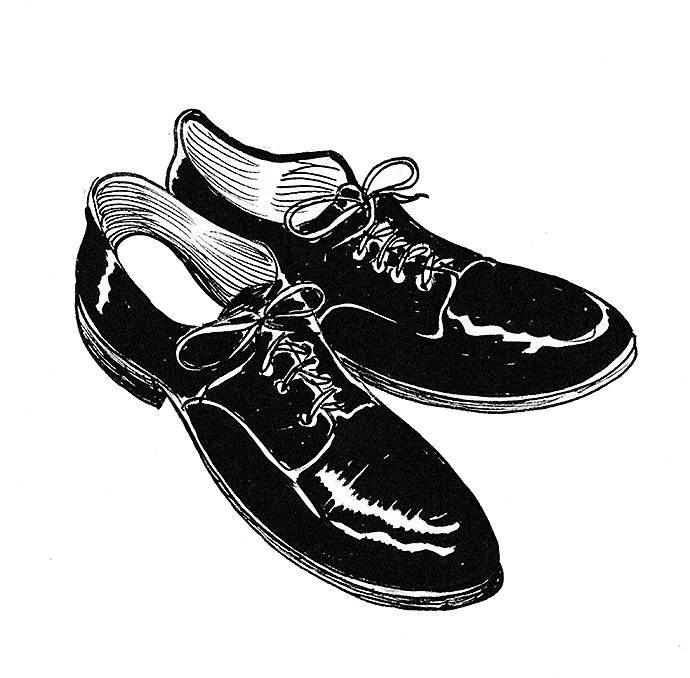
1. Pair of shoes – find your oldest pair to capture all their creases and wear and tear.
2. Seashell – sketch the unique grooves and details, to have a go at still life drawing.
3. Clouds – tilt your head and start experimenting with curved lines in the sky above.
4. Book/album cover – recreate your favourite novel or album cover.

5. Yourself as a cartoon – try a different kind of self-portrait to create yourself on-page.
6. Bridge – capture the structure of the bridge itself, as well as the landscape surrounding it.
7. Table and chairs – classic still life, where you can focus on nearby objects too.
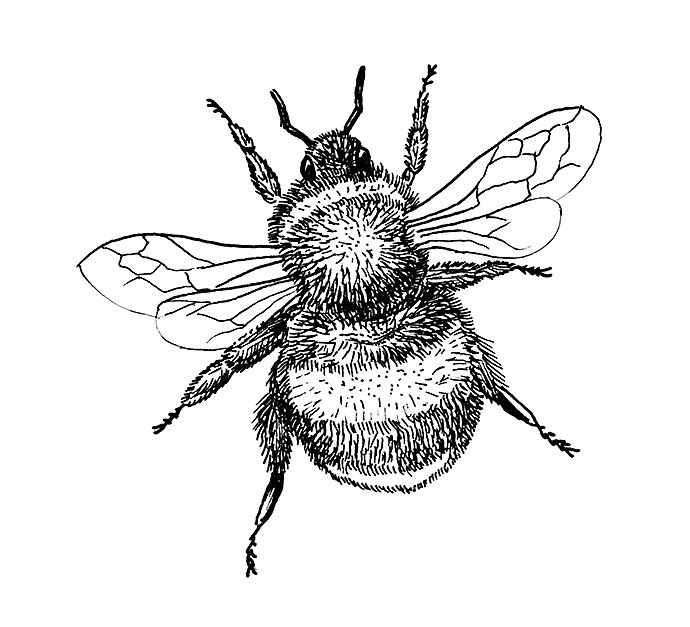
8. An insect – a unique subject, drawing an insect can help you get better at sketching tiny details.
9. TV setup – we spend most of our lives in front of our TVs, so why not draw your home setup?
10. Piano – perfect for introducing you to 3D drawing, with tons of detail to capture.
11. Space rocket – capture this awesome structure with all its fine details.
12. The moon – sticking with the space theme, capture its crevices, grooves and shadows.
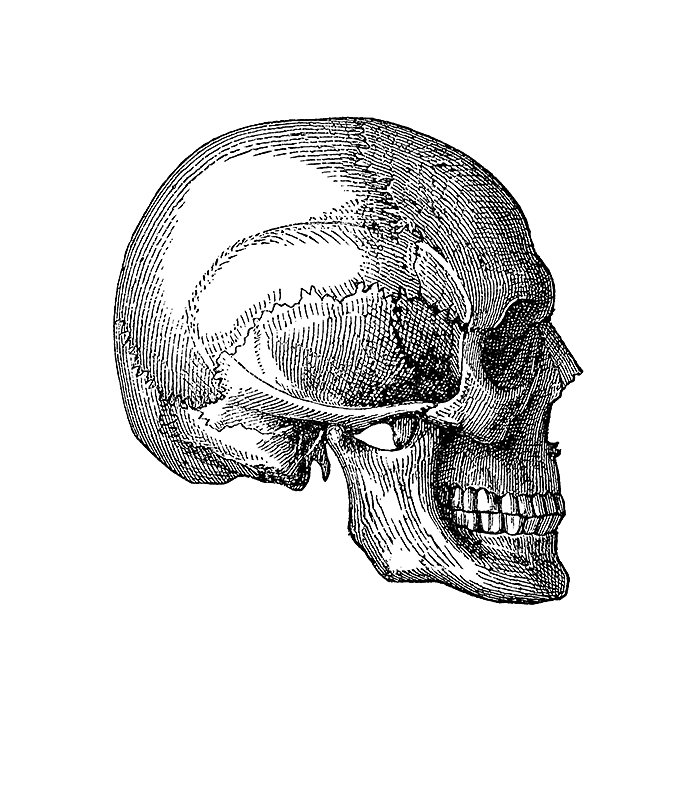
13. Skull – another fantastic way to get used to sketching shadows – perfect for Halloween-themed compositions.
14. Leaves – whether scattered on the floor in an autumnal scene or living on a branch.
15. Lightbulb – recreate the bulb itself, but also the light that shimmers from it.
16. Kitchen – draw still life in your kitchen space, capturing the details of appliances and objects in the space.
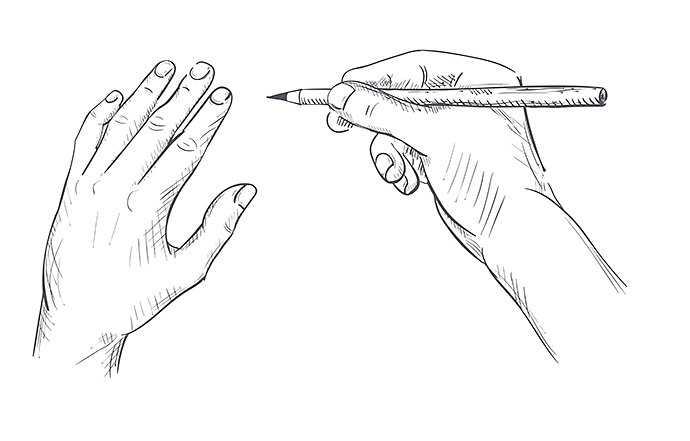
17. Hands – recreate the lines, marks and creases in your hands, to get used to drawing the human form.
18. Robot – a mixture of squares and circles, robots can be a fun thing to draw.
19. Bouquet of flowers – this will help you start focusing on the small details of each petal.
20. Tech around your home – this could be a pair of headphones, a video game controller or TV remote.
21. Wine bottles – capture both the sleek outline of the bottle and any intriguing labels too.

22. Car – head to your garage to sketch the intricate outlines of your vehicle, along with more delicate details of wheels, trims etc.
23. Garden bench – step into your garden or to your local park to draw a bench and anything surrounding it.
24. House – while you’re outside, sketch the exterior of your home – windows, doors and all.
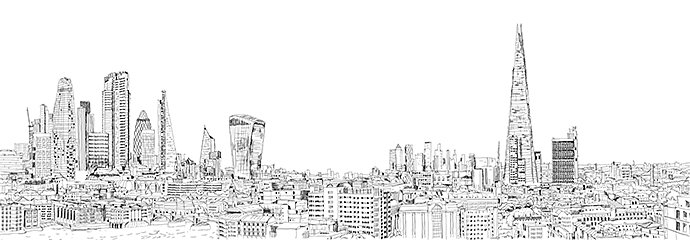
25. City skyline – pick your favourite cityscape and try to emulate its outline – whether during the day or at night.
26. Cartoon character – choose your favourite character, hit pause when they’re on screen and mimic their appearance.
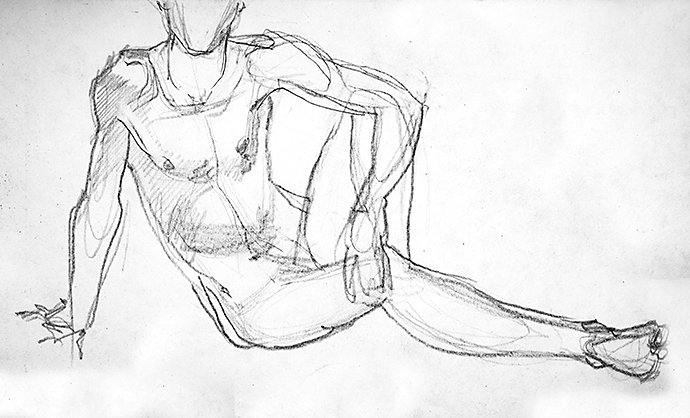
27. Human body – when you’re ready to try something more advanced, capture the human form in full.
28. Bowl of fruit – gather what you have and to focus on an outline first, detail later.
29. Kitchen cupboard – open it up and sketch what’s inside, it’ll get you used to capturing many different-shaped objects.
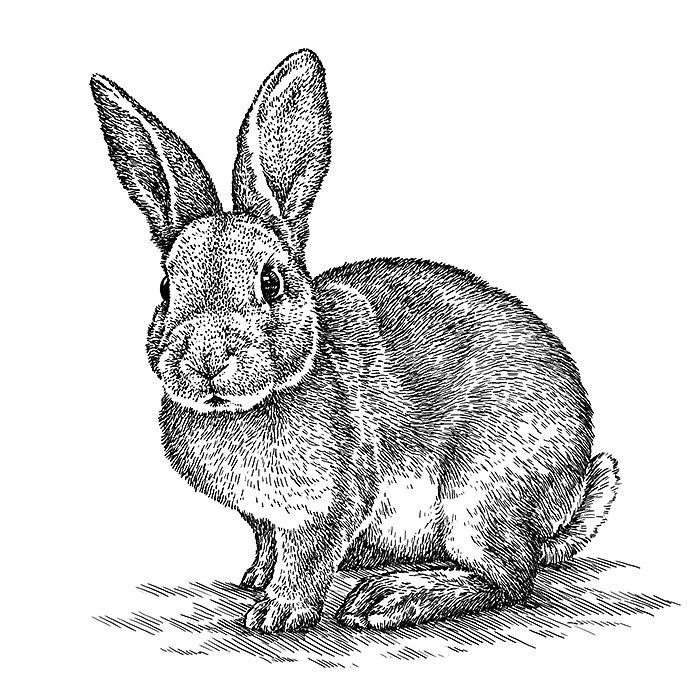
30. Family pet – if you can get your cuddly friend to sit still long enough – or take a photo and use it for reference.
7 drawing techniques for beginners.
Getting your technique just right can take time if you’re learning to draw. But these tips should help you find your own style and refine it over time. If you’re already comfortable with your skills, they’ll help you brush up on the fundamentals.
1. Find your drawing style.
Whatever you’re drawing, whether it’s your favourite anime character, a flower in your back garden or houses on a city street, the principles of drawing stay the same.
- Pay attention to shapes – they’re building blocks that give a drawing structure.
- Take your time – don’t rush, this will only cause mistakes and add time in the long-run.
- Practice – like anything, you’ll only get better by repeating and trying it again.
Using these rules, you can start to refine your own style over time. You might find that pointillism is your thing, cartoons are your forte, or line drawings might suit your skills.
2. Start with basic shapes.
Basic shapes are an essential starting point when drawing any object, especially when turning a 3D object into a 2D drawing.
“You’re not just drawing what you see in front of you. You’re drawing the other side as well.”
Lucas Elliott, Artist.
To create that depth, break down whatever you’re drawing into:
· Circles
· Rectangles
· Triangles
You can then smooth these edges out later on, to create a more realistic final image. To get this part right, imagine how the figure would look in 3D and from every angle – like it would in real life.
3. Study reference photos.
When you’re just starting out, keep a picture of what you’re drawing in front of you. It’ll give you something to mimic and help you better understand how to draw the outlines and small details of your subject.
“Look at reference images. The more you learn about a subject, the better.”
Kevin Jay Stanton, Artist
To find a huge collection of imagery, search Adobe Stock for inspiration you can use for your next sketch.
4. Set rules for yourself.
When you’re learning the basics, it can be tempting to skip to the more advanced stuff. But it’s important to nail the fundamentals first and master a skill first, before moving onto something more complicated.
For instance, as you fill your sketchbook and are experimenting with colours, start with a limited colour palette. This will help you figure out how colours work together and won’t distract you with all the possibilities out there.
“Picking a colour that I love, then two more that look nice with it really improved my colour sense. When a rule doesn’t serve you anymore, start to break it.”
Kevin Jay Stanton, Artist.
5. Follow your passion.
It’s good to step outside your comfort zone and try drawing as many subjects, using different drawing styles, as possible. But it’s equally as important to find and focus on sketching what you love.
Drawing is all about fun. If you’re interested in drawing manga, for instance, try to create as many of your favourite characters as possible, to expand your skills in that area.
“Really pay attention to how they’re drawn. You’re drawing from someone else’s sketch, focus on how they build their lines. If creating from real life, pay close attention to the object and the space around them.”
Lucas Elliott, Artist.
6. For larger compositions, make a grid.
When you graduate from small-scale sketches and want to create bigger drawings, gridlines are a lifeline. They can help you figure out where different objects belong, as they appear naturally.
“If you have a photo or illustration that’s broken down into quadrants, you can start with one small section and finish that first. Then, you can move onto the next one. Just makes sure you are still connecting it to the previous section, so they still relate to one another.”
Lucas Elliott, Artist.
7. Keep experimenting and evolving your style.
Here are a few tips on staying inspired and creating new compositions – ready to fill your sketchbook with amazing drawings.
- Take a look at your surroundings. The world is your canvas. Cliched, but it’s true. Take a look around your home or enjoy a walk outside and look around you – there are subjects you can sketch everywhere.
- Don’t be afraid to daydream. When you’re not thinking about ideas or forcing yourself to come up with a new composition, inspiration can sometimes strike. Take a moment to allow thoughts to fill your head and your next creation could arrive.
- Check out your contemporaries. A new idea is always influenced by something that has gone before. Look at what other artists are/have been doing. That includes classical artists, current stars and other beginners, to see what they’re creating.
How to keep inspired and motivated.
Here’s some expert advice to help encourage your creativity to run wild and keep you on track when looking for creative things to draw.
“Focus on a style that you’re most intrigued by. If you’re a beginner, there’s no shame in copying as much as possible.”
Ethan Young, Graphic Novel Writer and Artist.
“Draw what’s in front of you. No matter what you do, your act of trying to capture it will help.”
Chris Kindred, Editorial Artist.
“A lot of what people point to with my artwork is faces, but that used to be a thing I didn’t like drawing. I started doing an exercise where I focused on drawing different facial features and expressions … it definitely helped me.”
Mildred Louis, Artist.
“At first, because things don’t always come naturally, it can be discouraging and frustrating. But that’s always how it goes when you’re learning something new. Practice, practice, practice, and don’t give up.”
Jen Bartel, Illustrator and Comic Artist.
Keep on learning and explore the world of illustration by discovering our illustration tips.
You might also be interested in…

How to become a professional illustrator.
Get tips on portfolio creation and art presentation to help you kick off a new career.

Get tips on how to draw this challenging bit of human anatomy.

Get an introduction to the illustration style of Japanese comics.

Learn more about creating art and illustration with this versatile file type.