
Connecting Electronic Drums to Your Computer
In this guide, we’ll walk you through how to connect your electronic drum set to your computer. That means we’ll show you how to connect it, update your DAW settings, and then record electronic drums via MIDI and audio. Follow the sections below to get started.
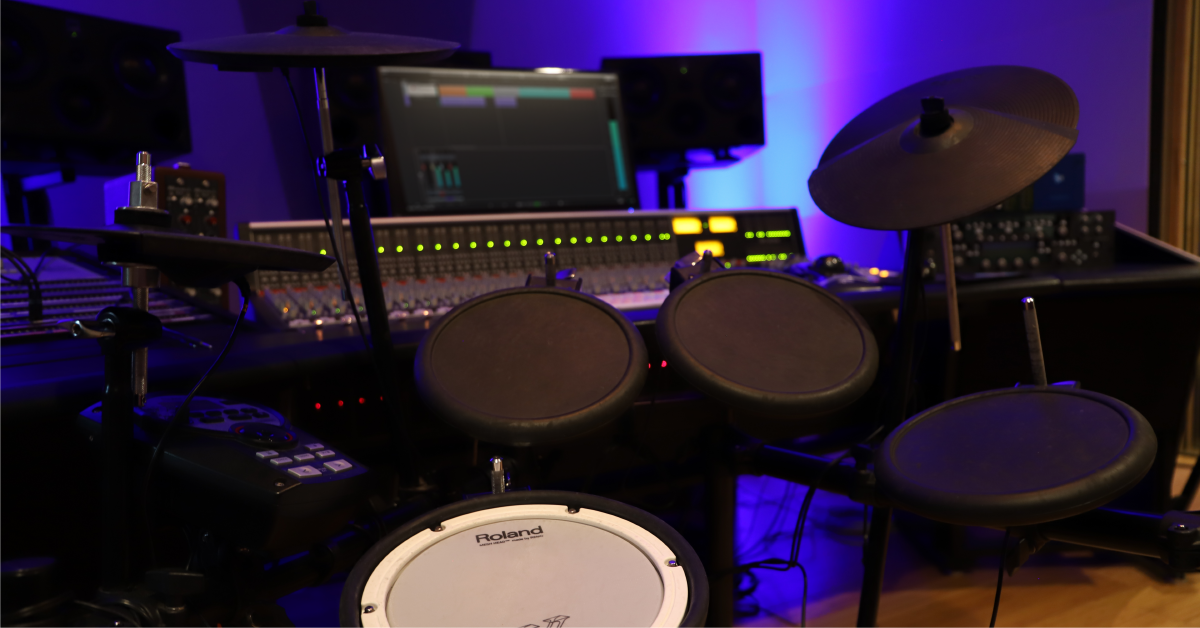
Electronic drum setup and connections
Before using and recording your electronic drums in a DAW, you’ll need to connect them to your computer and install its driver software. After the module has been configured, connected, and properly installed, you’ll be able to enable it as a MIDI controller and then start recording electronic drums.
Electronic drum modules can connect to your DAW or virtual instrument via USB or MIDI. USB is the most common because it will often power the module and carry MIDI messages to and from your computer. That’s handy but does take a USB port, so if you’re running out, you might consider getting a powered USB hub. While passive hubs can work, we’ve had the best luck with powered hubs.
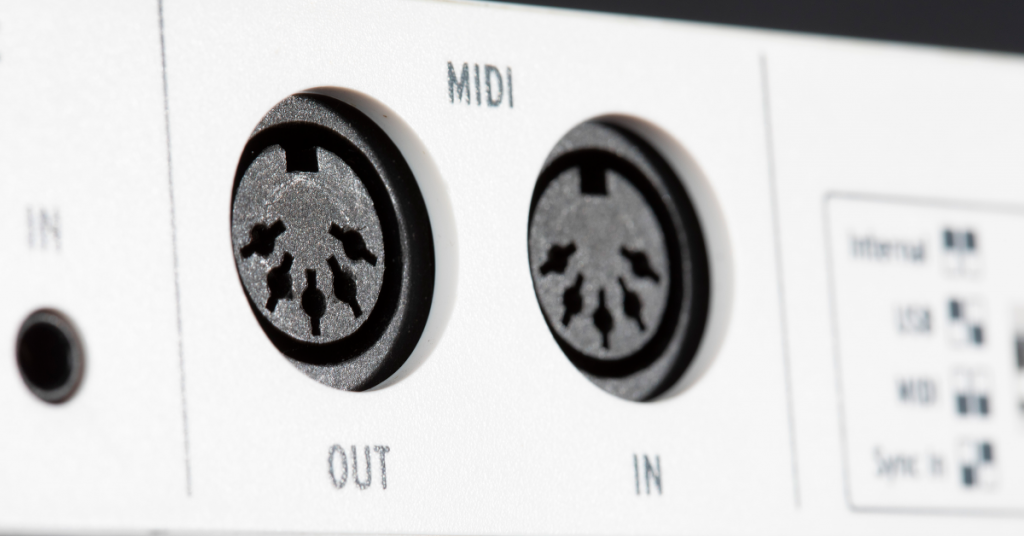
Another way to send MIDI data from your drum module is via MIDI cables. They won’t provide power to the module, but if your interface has MIDI ports, it’s an excellent alternative to using up another USB port. Just connect the MIDI OUT on the module to the MIDI IN on your interface.
How to connect the electronic drum module to your computer
While some drum modules are class-compliant, others require special driver software for it to work correctly. If your electronic drum set came with an installation guide, use that to install the drivers and firmware. Follow these steps to get your module connected to your computer. Once done, you can set it up within your DAW software or standalone virtual instrument.
- Visit the manufacturer’s website and download the latest version of the drum module’s driver software for your operating system.
- Open your downloads folder and launch the installer file. If the driver has been delivered as a .zip file, follow these instructions:
- PC: Right-click the .zip file, select Extract all…, and then click Extract. Double-click the .exe file and follow the on-screen instructions.
- Mac: Double-click the .zip file to decompress it (this may already be done for you). Double-click the .pkg file and follow the on-screen instructions.
- Connect the drum module to your computer either with a USB cable or an audio or MIDI interface via MIDI cable.
- If you’re connecting the drum module via MIDI cable, make sure that you connect the cable from the MIDI OUT port on the module to the MIDI IN port of the audio/MIDI interface.
MIDI out and USB ports on a module.
Enable the module in your DAW
Once the drivers have been installed, the next step is to update your DAW’s MIDI settings to communicate with your drum module. This means enabling its input and output ports so it can send MIDI data onto a track. Follow these steps to enable the MIDI ports on your drum module.
- Launch your DAW and navigate to the MIDI settings window.
- Locate the drum module and enable its MIDI Input and Output ports. Suppose the drum module is connected to a MIDI interface or MIDI port on an audio interface via MIDI cables and not USB. In that case, you’ll need to enable that device’s MIDI input and output ports.
- Hit a drum pad and look at the MIDI or Output meter within your DAW to confirm it’s triggering as it should.
Drum module not showing up?
If you don’t see your drum module or interface listed as an available MIDI device, confirm that everything is connected correctly, the correct drivers are installed, and if your module has firmware, it’s up to date. If it’s still not being detected, check out our guide on resolving MIDI connections on PC and Mac.
Learn more about how to troubleshoot and resolve MIDI issues on PC and Mac!
Recording electronic drums in a DAW
Once your module is connected and enabled within your DAW, it’s time to start recording your electronic drums. You have a lot of flexibility when recording with an electronic drum module because you can record MIDI, audio, or both simultaneously. No matter which you choose, you first need to create a track(s) and update the DAW’s inputs and outputs so you can record.
Recording electronic drums as a MIDI instrument track
When recording electronic drums as a MIDI track, you can rearrange notes and quantize them, so they match the track’s tempo, among other things. MIDI doesn’t make sound, so you must route it to an instrument track. Follow these steps for routing and recording your electronic drum module to a virtual instrument.
- Create a MIDI or instrument track within your DAW.
- Update the MIDI track so the drum module is set as the input, and the virtual instrument is set as the output.
- Hit a few pads to confirm you’re getting both MIDI and audio signal.
- Record-enable your MIDI track and press record.
Not seeing MIDI being recording?
If you dont’t see any response when recording your electronic drums, check that your MIDI input and output are set correctly and that you’ve created the correct type of track.
Enable the module then record on a MIDI instrument track.
Recording electronic drums as an audio track
If you don’t have access to a drum virtual instrument, recording your module’s sounds to an audio track is a great alternative. To record the sounds, though, you’ll need TRS to TRS cables and an audio interface. Follow these steps to record the samples from your module onto an audio track.
- Connect two TRS cables from the Main Outs on your drum module’s back to two inputs of your interface.
- If your interface only has one input, connect a cable from your drum module’s L output to the input on your interface.
- Create a Stereo audio track and update the input routing to match the input(s) you’ve connected to your module.
- Record-enable the audio track and press record.
Select the audio input then record.
No audio input or output?
If you’re not seeing input or output, make sure your audio interface is set as the primary audio device, that the correct physical input(s) and output(s) are selected. If the issue remains, check out our troubleshooting guides for PC & Mac.
Learn more about how to troubleshoot audio interface issues on PC!
Learn More
Learn more about how to troubleshoot audio interface issues on Mac!
Learn MoreRecording electronic drums as an audio and MIDI track
By recording your module as both an audio and MIDI track, you can keep the MIDI track as a backup if you need to make any edits or if you want to use alternate sound samples at a later point. Follow these steps to record audio and MIDI from a drum module at the same time.
- Create one MIDI track which is routed to the virtual instrument.
- Create one Audio track that is routed to the input(s) you have your module connected.
- Record-enable both the MIDI and Audio tracks, then press record.
When you need help, Sweetwater has the answers!
Our knowledge base contains over 28,000 expertly written tech articles that will give you answers and help you get the most out of your gear. Our pro musicians and gear experts update content daily to keep you informed and on your way. Best of all, it’s totally FREE, and it’s just another reason that you get more at Sweetwater.com.

