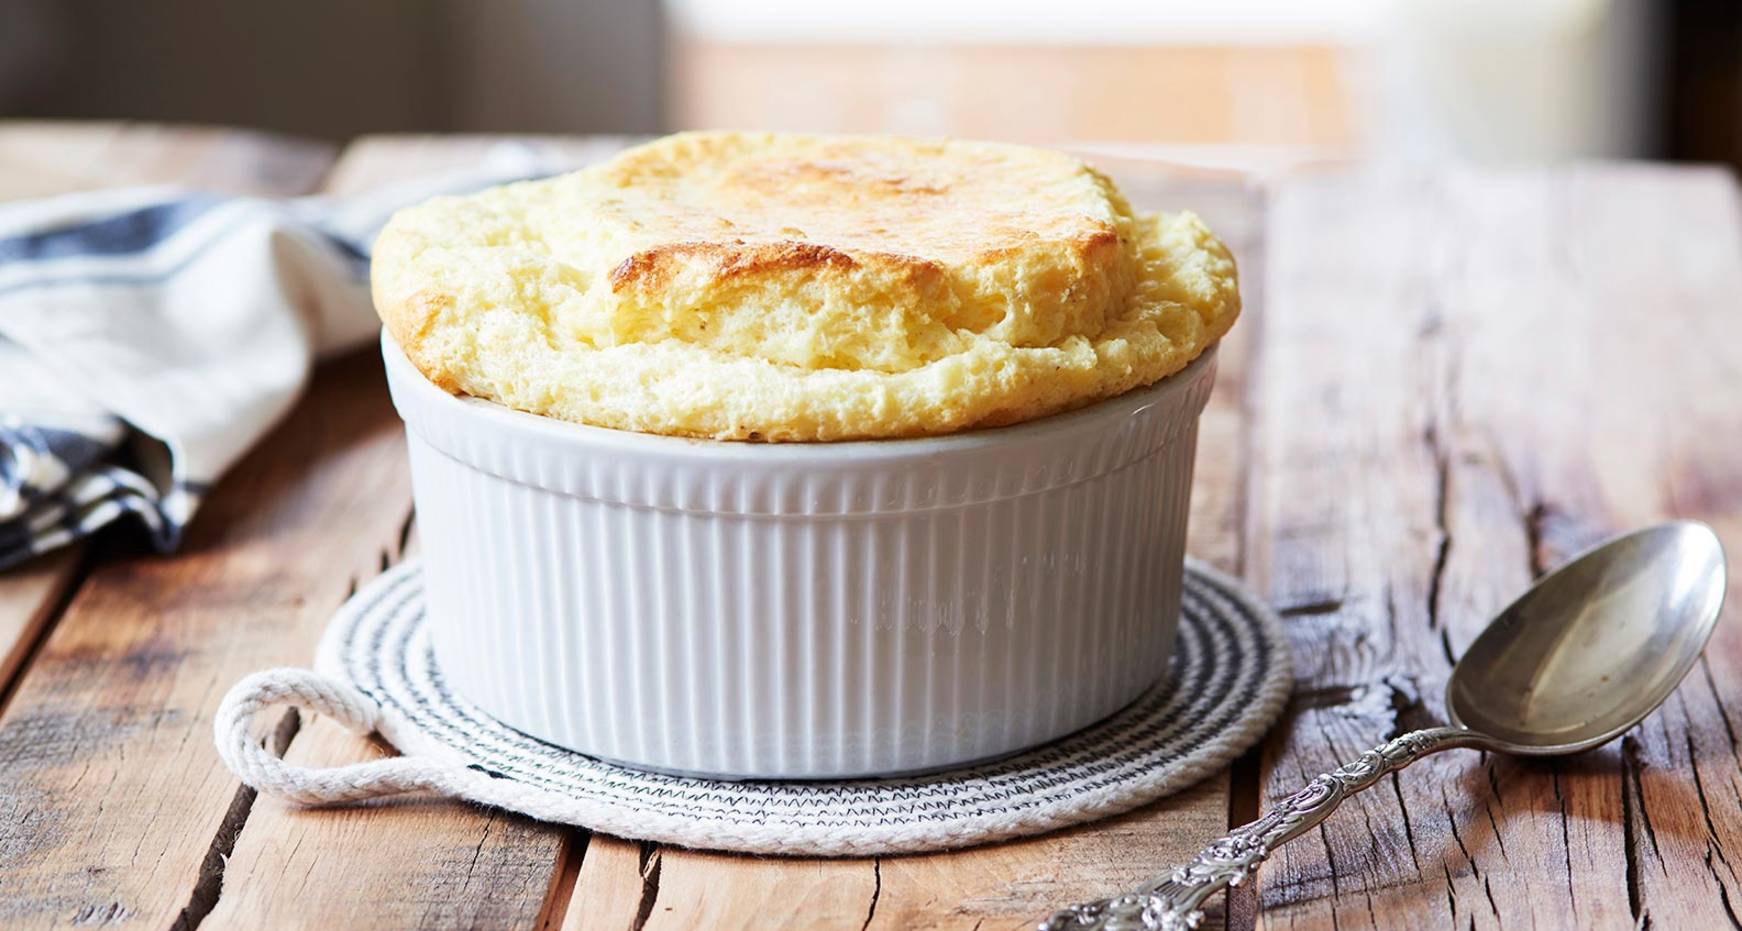
Last-Minute Scalloped Potatoes

For a decade or more, this has been my go-to potato side dish for summer barbecues all the way to holiday dinners. It’s not so much that this is a secret recipe, but more the fact that no one guesses this begins with frozen diced potatoes — you know, hash browns.
But that’s your secret, right? After you pour the frozen taters into the skillet, you add Parmesan, garlic, and cream, so that elevates the recipe a lot. And you let it bake enough to create a crusty, crispy, cheesy ring around the pan that is delicious along with the warm and gooey interior. Top with a little extra cheese and run under the broiler, or finish it with a layer of buttered bread crumbs that you let cook until golden before serving. This is one of the fabulous sides in my book, Skillet Love!
LAST-MINUTE SCALLOPED POTATOES RECIPE:
Makes: 8 servings | Prep: 5 to 10 minutes | Cook: 46 to 51 minutes
1 bag (32 ounces) diced frozen hash brown potatoes
1/2 cup grated Parmesan cheese
3 cloves garlic, minced
Salt and freshly ground black pepper to taste
2 cups heavy cream
1 tablespoon grated Parmesan
1/4 cup shredded Gruyere or sharp white cheddar, for the top, if desired, OR 1/2 cup soft bread crumbs tossed with 1 tablespoon melted butter, for the top
Place a rack in the center of the oven, and preheat the oven to 400 degrees F.
Empty the bag of hash browns into a 12-inch skillet. Stir in the 1/2 cup Parmesan, garlic, salt and pepper to taste, and cream until combined. Cover the skillet with a lid or with foil, and place the skillet in the oven. Bake until the mixture is bubbly, about 45 to 50 minutes. Remove the skillet from the oven.
Turn off the oven and preheat the broiler. Uncover the skillet, and scatter the tablespoon of Parmesan and the Gruyere on top, and place the skillet under the broiler until the cheese melts and turns golden, no more than 1 minute. Remove and serve at once. OR, forgo the cheese, and scatter the buttered bread crumbs on top about 10 minutes before the potatoes are done. Return the skillet to the oven, and bake until golden brown.