Comment notification emails can play an important role when retaining visitors. How a message comes across demonstrates professionalism and commitment to the experience. Managing the comment notification email in WordPress helps improve the visitor’s impression of your site.
While the system does have a basic ability to govern over the comments, it doesn’t support a lot of features visitors like. It simply doesn’t have the best functionality when it comes to the comment section. Luckily, you have access to several plugins to improve the feature.
In this tutorial, I’ll show you how to manage those email notifications for comments in WordPress. Depending on the plugins you chose to install, there is actually quite a bit that can be done.
Many of the options I’ll list below require an install of certain plugins. These provide enhanced abilities to the site, and I urge you to learn how to install plugins if you don’t know already. Don’t worry, it’s very easy.
Using WordPress for Comment Notifications
WordPress already has several functions when it comes to the comment section. While it’s not perfect, it does offer some control to help fine tune the system to suit your needs.
Go to Settings and click, “Discussion.”
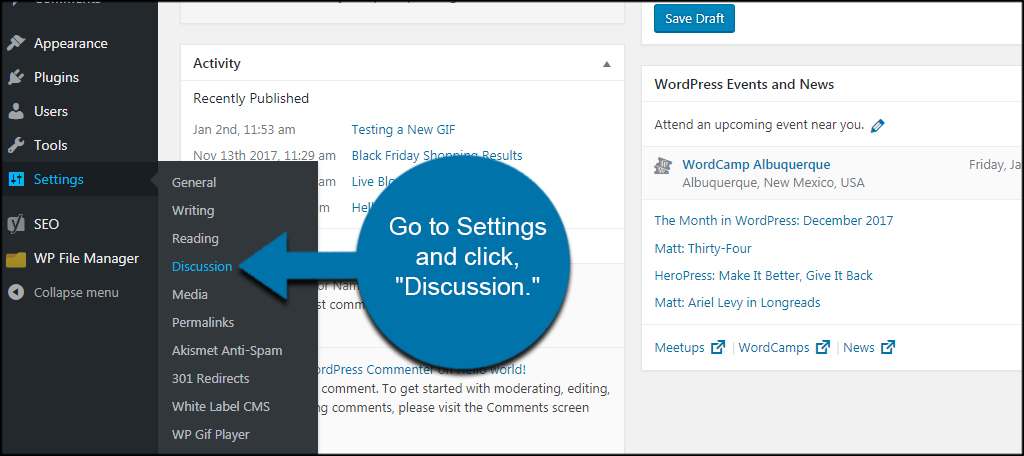
In the discussion settings, you can modify how notifications and comments are handled. Things like approval, moderation, registration only, comment blacklists and more can be changed quite easily. You also have control over avatars and using Gravatar to show commentor images.
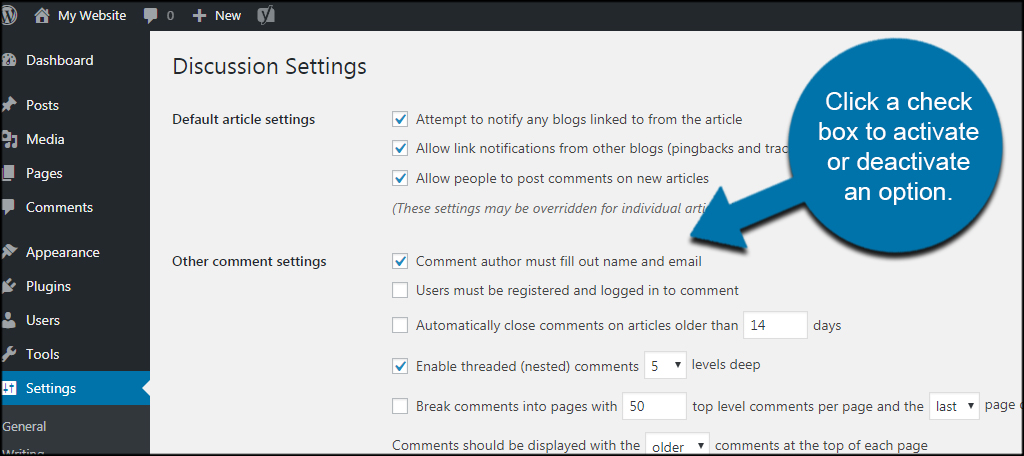
When you want to change an ability, click a check box to activate or deactivate the option.
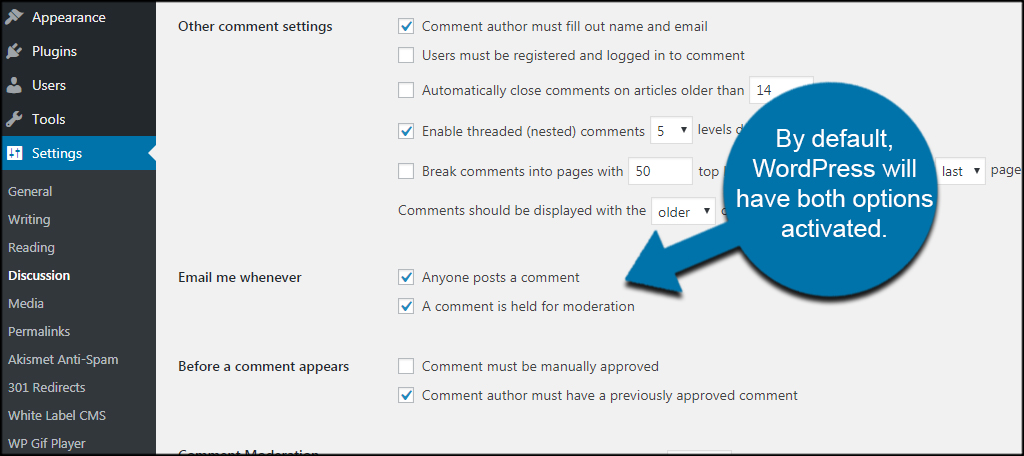
Let’s take a look at the “Email me whenever” option. These two control when you receive a message regarding the comment section. By default, WordPress will have both options activated. This means you’ll receive an email when someone posts a comment or if a comment is held for moderation.
This part is very limited, and it doesn’t really benefit users all that much.
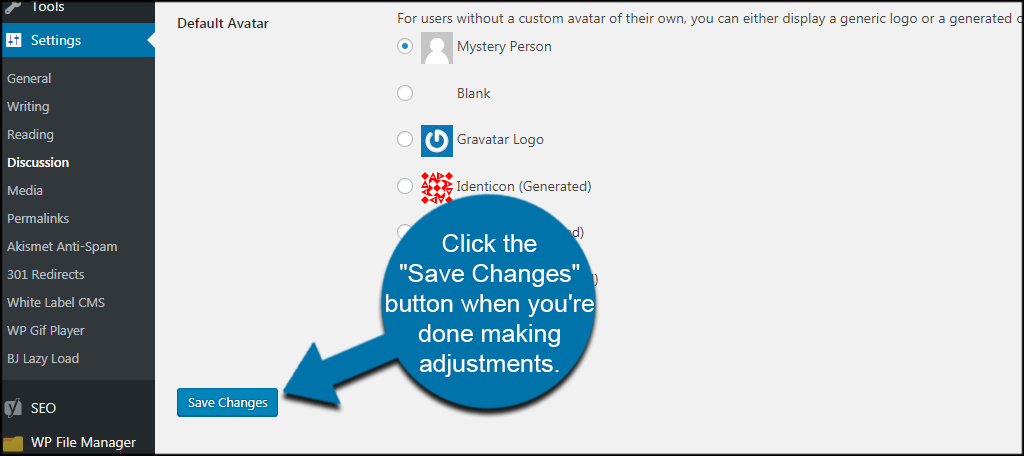
Click the “Save Changes” button when you’re done making adjustments.
Now that you have a bit of background for the comment section, let’s take a look at some plugins to make it better.
Comment Approved
When a person leaves a comment, he or she doesn’t get an approval message from WordPress. This is a lost opportunity as an approval email could lead to the visitor returning.
Install and activate the “Comment Approved” plugin.
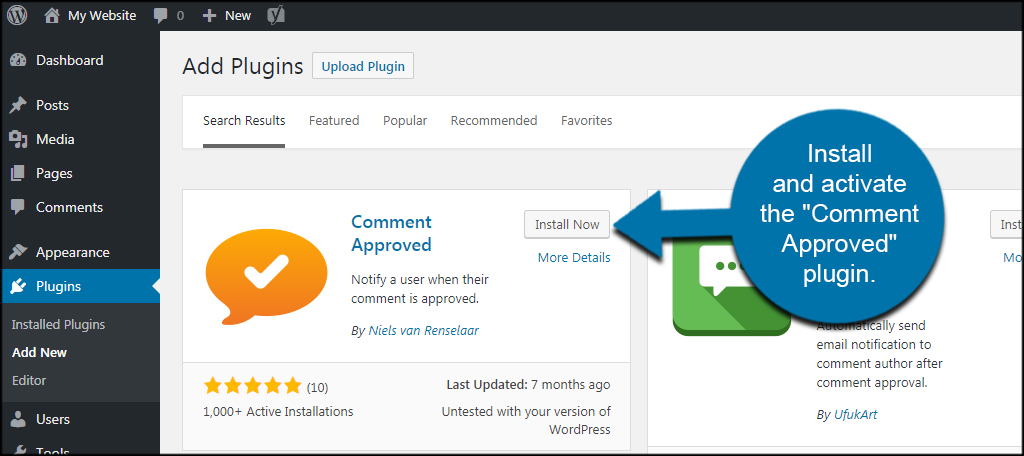
The Comment Approved plugin is a small tool that sends a notification to the commentor when his or her message is approved. It comes with the ability to customize the approval message so you can add your own flare.
When someone leaves a comment, a new option will be available next to the submit button. It will allow visitors to choose whether they receive a notification or not. By default, this option is unchecked. However, you can set it to be checked automatically in the plugin’s settings.
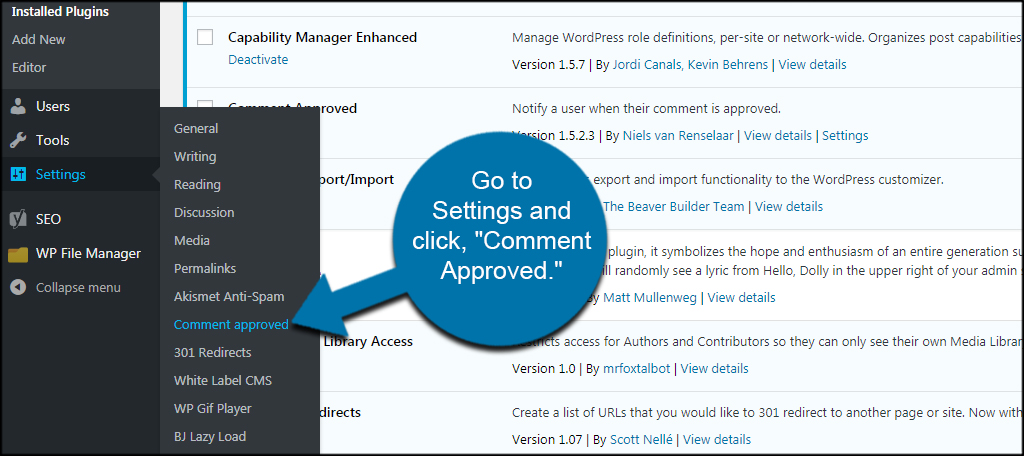
When you want to make changes to the approval message or want to disable the notification, go to Settings and click, “Comment Approved.”
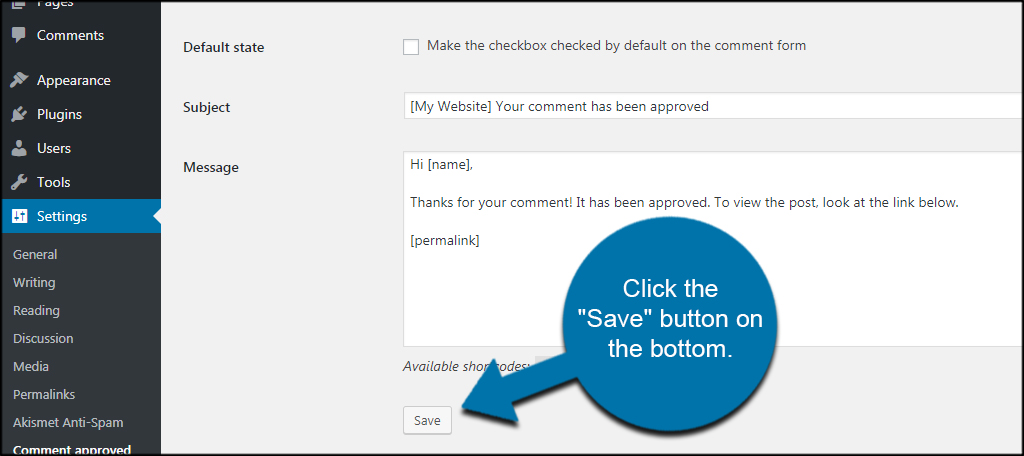
After making your adjustments, click the “Save” button on the bottom.
Subscribe to Comments Reloaded
By default, WordPress does not inform commentors if someone leaves a reply on your website. This is where the Subscribe to Comments Reloaded plugin comes into play.
This plugin comes with a wide range of abilities such as a rich text editor for subscription emails, auto purge, subscription manage and enabling the default check box.
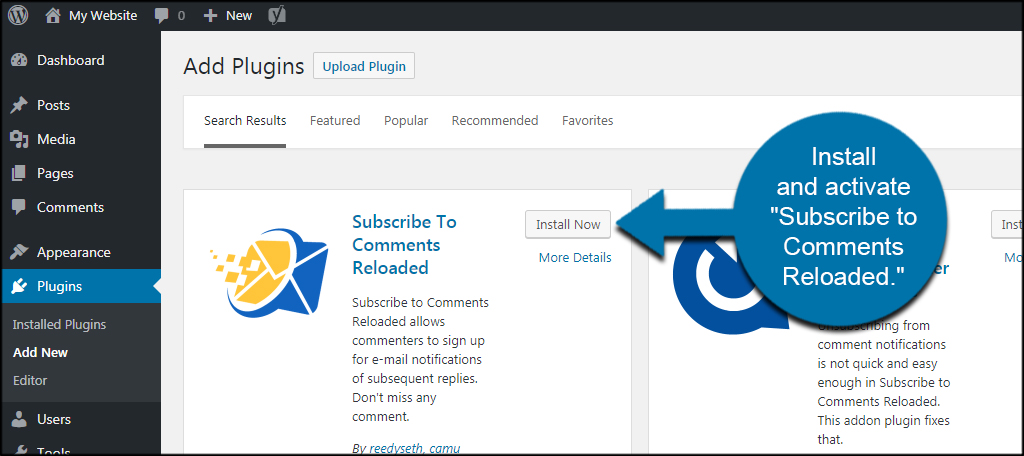
Install and activate, “Subscribe to Comments Reloaded.”
Click the “StCR” icon in the left admin panel of WordPress.
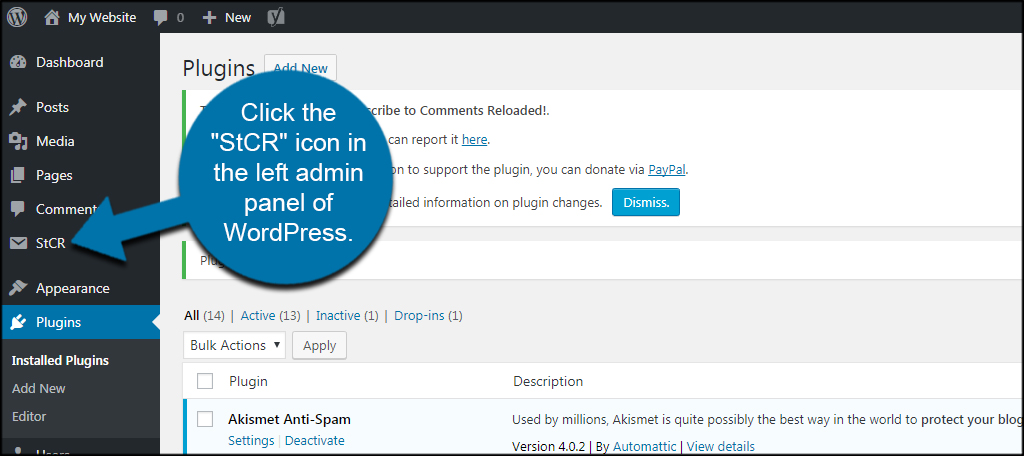
From this dashboard, you can control the various aspects of the notifications for comments.
Click the “Comment Form” tab on the top.
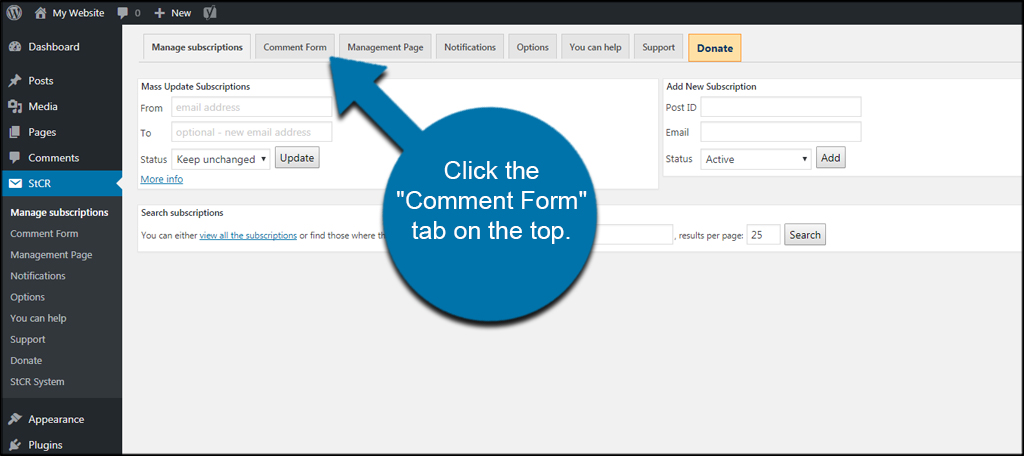
In this section, you can customize the layout and appearance for the comment form and its subscription option. By default, StCR has the subscription notification check box enabled.
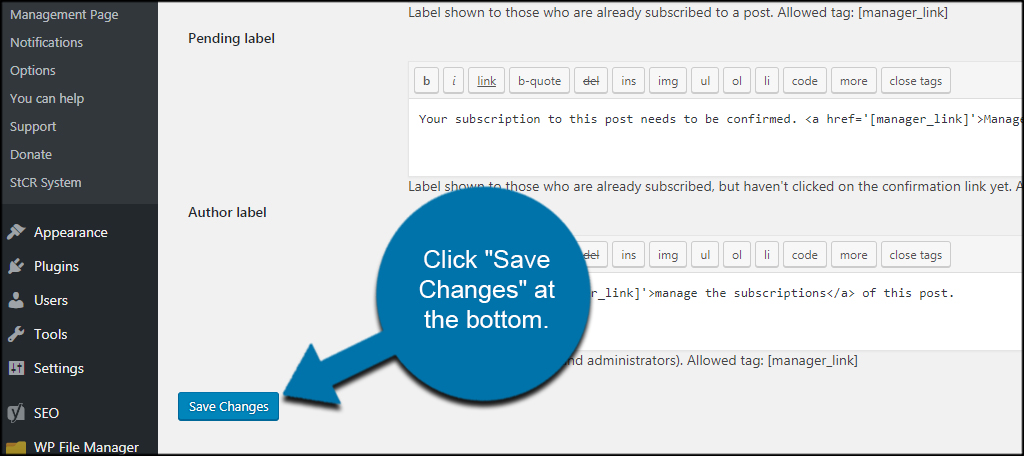
I suggest customizing the messages visitors receive regarding the notification to fit your site. Once complete, click “Save Changes” at the bottom.
Explore the StCR plugin and all its abilities. You have access to a lot of customization that will enhance how people interact with the content of your site.
Better Notifications for WordPress
Better Notifications for WordPress is a great way to expand what you offer on your site. Although the premium version offers more tools, the free version is quite useful to address some of your issues.
It’s probably not a bad idea to give the plugin a try.
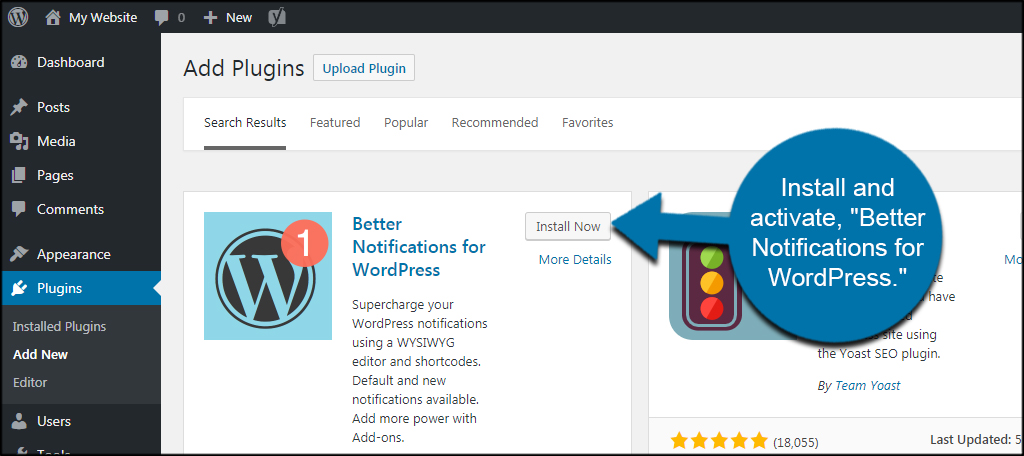
Install and activate, “Better Notifications for WordPress.”
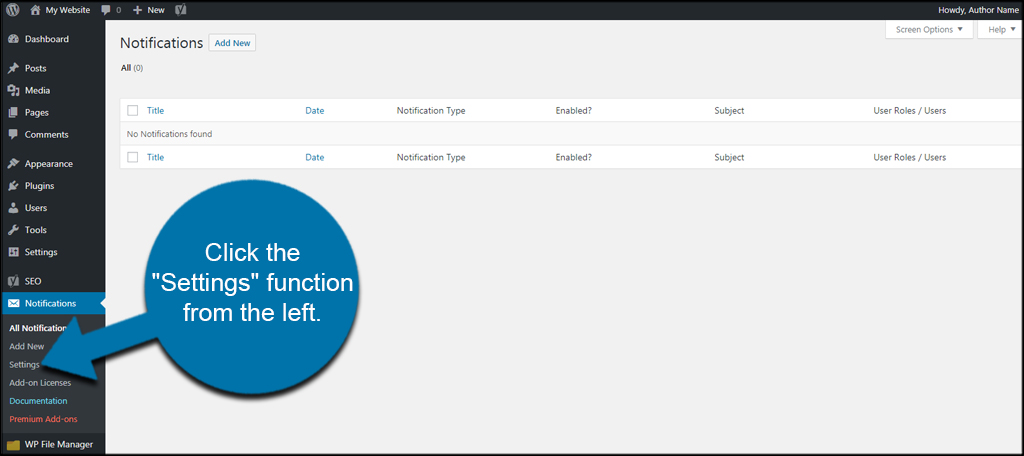
Click the “Notifications” tool in the left panel.

This will show you all the notifications that are enabled on your system. Click the “Settings” function from the left.
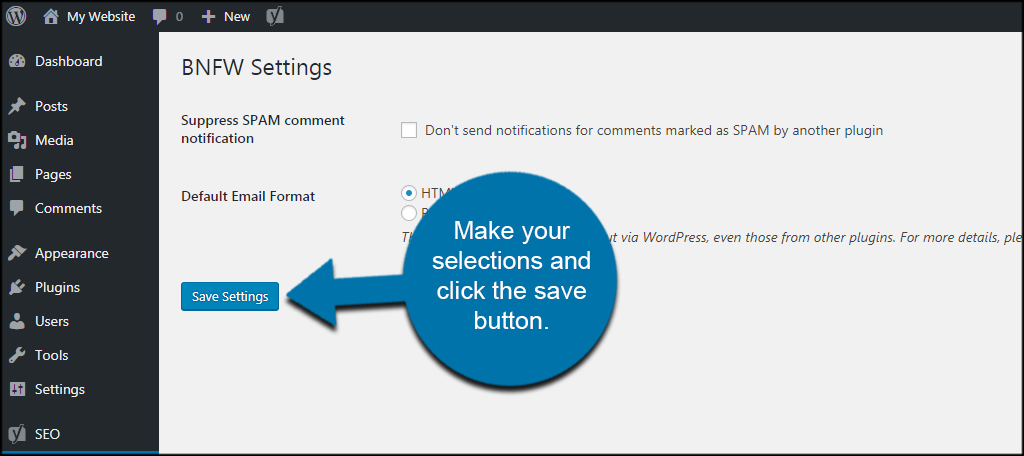
Currently, you only have two options available in this area: SPAM notifications and default email format. Make your selections and click the save button.
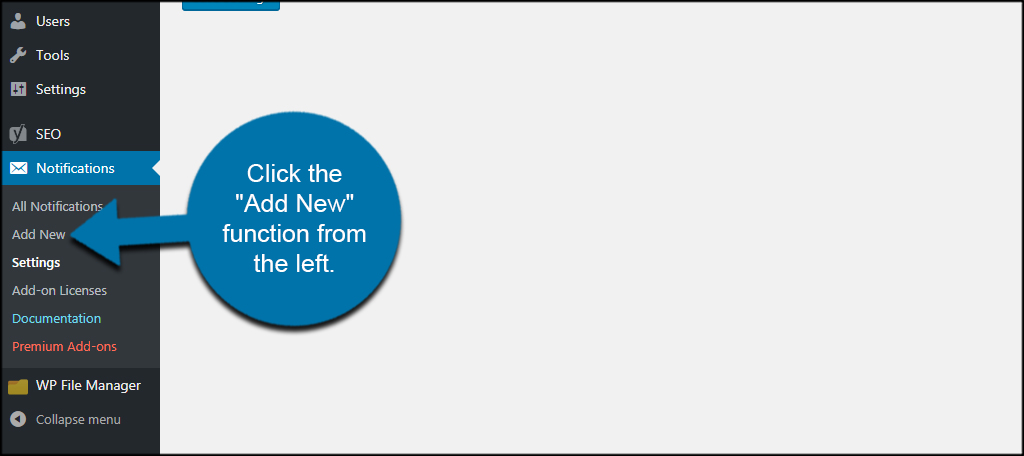
Let’s take a look at how to create a new notification. Click the “Add New” function from the left.
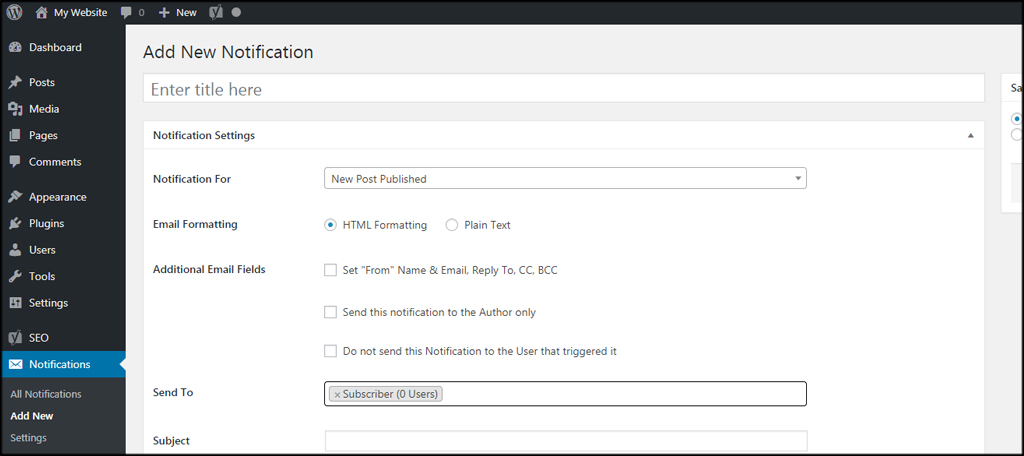
In this screen, you can choose who the notification is for, add email fields, include images or GIFs and customize the message. You can even choose which WordPress user roles to send the message to.
For example, you can change the “Notification for” option to “New Post Published” and set the “Send to” Subscriber. Now, subscribers will get a notification any time a new post is published.
You’ll have to spend a bit of time going through the different triggers and setting up your custom notifications. However, it has great potential to engage your audience and is worth the effort.
WP Mail SMTP
While WordPress has a decent method of sending messages, not every system is compatible with PHP mail. A lot of the time, messages from this method of email get caught in spam filters as well as several other issues.
The best way to avoid situations like this is by using an SMTP server to send WordPress messages and notifications.
Perhaps one of the best tools to use for this is the WP Mail SMTP plugin. With this tool, you can use your own web hosted email account or set it up through services like Gmail.
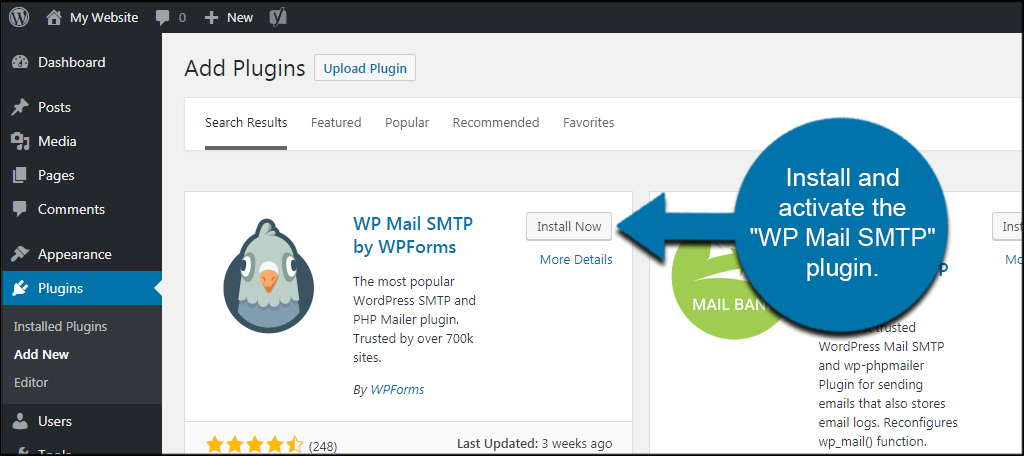
Install and activate the “WP Mail SMTP” plugin.
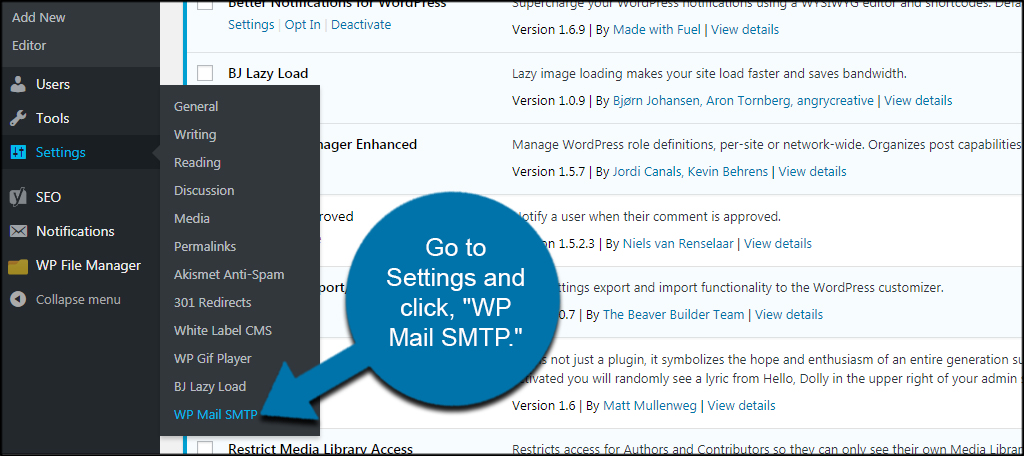
Go to Settings and click, “WP Mail SMTP.”
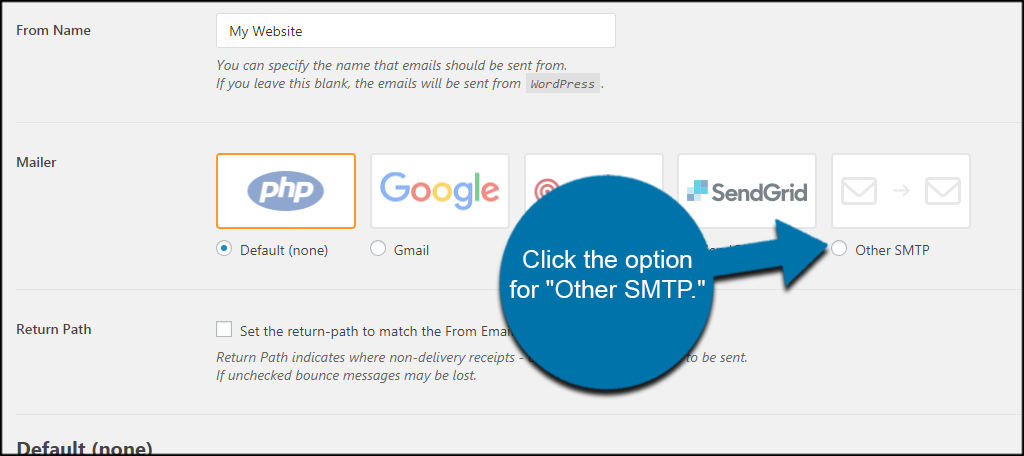
Click the option for “Other SMTP.”
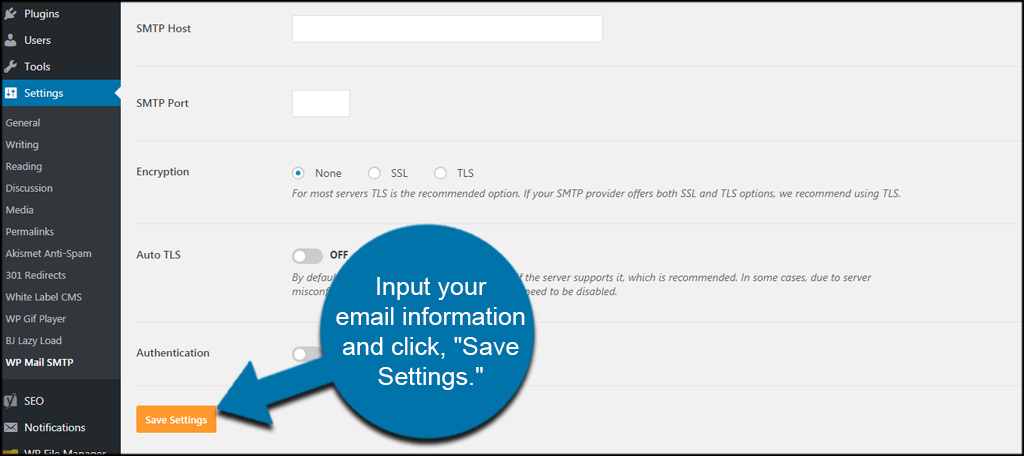
Input your email information and click, “Save Settings.”
Expanding What You Offer
The comment section has potential to drive return traffic to the site. Being able to offer a platform to control it helps give people a reason to come back. Using the right WordPress notification plugins for your site can do just that. Expand what you offer and keep the audience engaged.
What kind of features for visitors do you put on your site? How often do people utilize your comment section?
Hello,
I am looking for a plug-in which allows the email notification received by the author when a new comment is added to be edited. I would like to include buttons in this email which allow the author to reply to the comment within the email, rather than having to log back into the website and find the comment in order to reply. Is this possible? Do you have any suggestions for finding the solution to this problem? Thank you.