How to Remove Background of a GIF Animation?
GIF or Graphics Interchange Format refers to a short-animated picture without the sound. It is a series of images combine into a single file that will loop continuously or for a certain amount of time. However, not every GIF file will be created with a transparent background. Many users will want to have a transparent background GIF that they can merge with other GIFs. When it comes to removing the background of a GIF file, it isn’t as simple as it sounds. In this article, we will provide you methods through which you can easily remove the background of any GIF file.

Method 1: Using the Online Image Editing Site
There are many online sites that provide editing tools for GIF files. Every site is different and uses different effects for editing. Some replace the color of the background with transparency and others will simply remove the selected area. Depending on your GIF, you can try the site that helps in better editing. In this method, we are using the Online Image Editing site just as an example to demonstrate the idea of editing GIFs online. You can always check different sites with different tools for removing the background.
- Open the browser and go to the Online Image Editor site. Click on the Choose Image button and select the GIF file that you want to edit. You can also upload GIFs from the URL.
Note: You can also simply drag and drop the GIF file over the Choose Image area.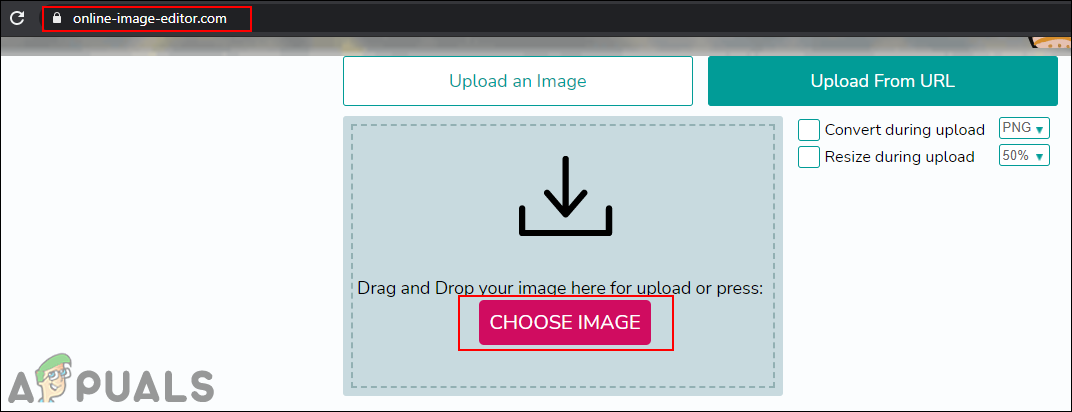
Uploading GIF on site - Now click on the Advanced option and then choose the Transparency option. Now choose one of the options on the left pane and then click on the GIF area.
Note: In our case, Transparent Area was selected, so we just clicked on the background color.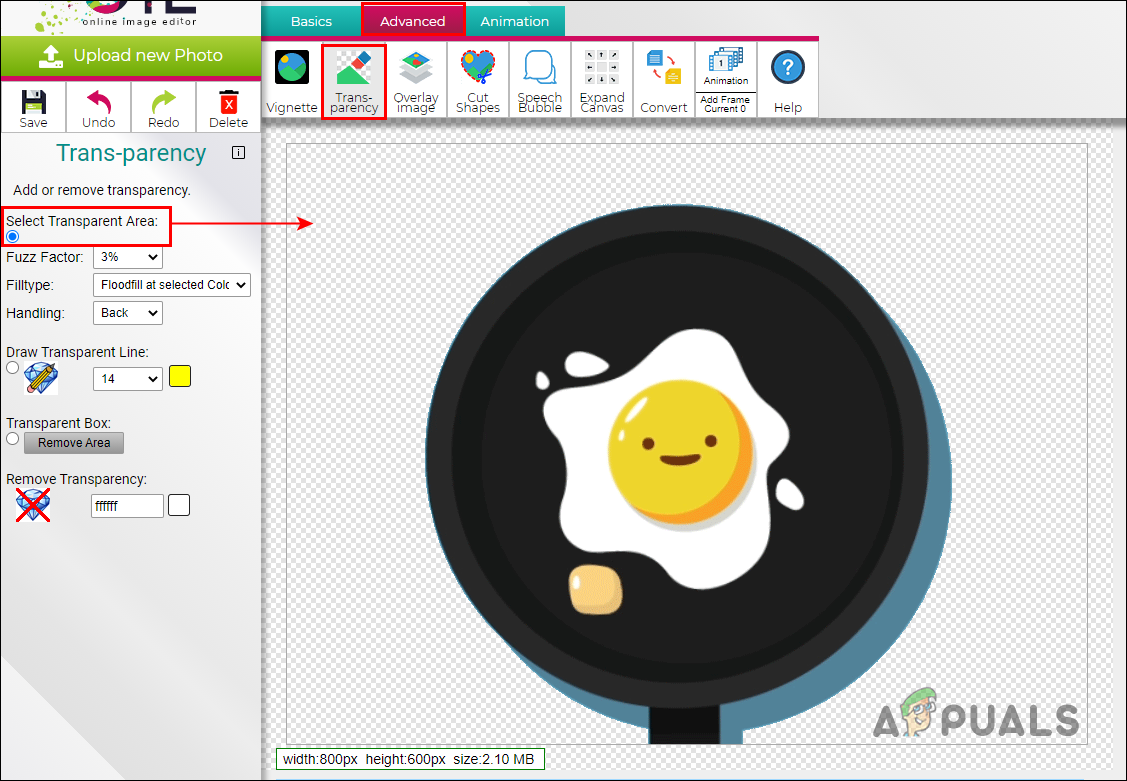
Making the background transparent - It will take some time and then remove the background. It really depends on the type of GIF that you are trying to edit.
- Finally, you can click on the Save button and then click on the Folder icon to download the GIF file to your system.
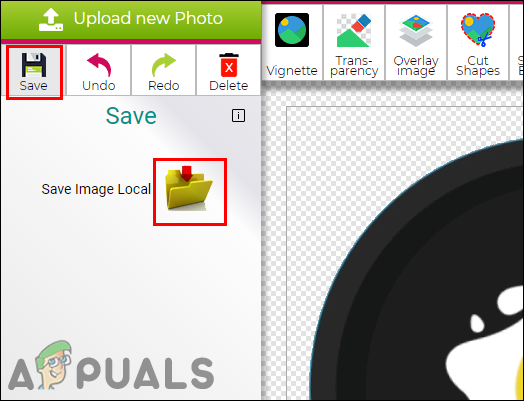
Saving GIF to system
Method 2: Using the Adobe Photoshop
Photoshop is one of the famous image editing programs know all around the world. As we know GIFs are a series of images combined, so we can separate them in Photoshop to edit each frame separately. If you don’t have Photoshop, then you can use the GIMP program which works pretty much similar to Photoshop. Follow the below steps to make a transparent background of a GIF:
Note: if the frames in the Timeline are shown correctly after doing all the editing in the layers, then skip the step 5 and 6.
- Open your Photoshop application by double-clicking on the Shortcut or searching it through the Windows Search feature.
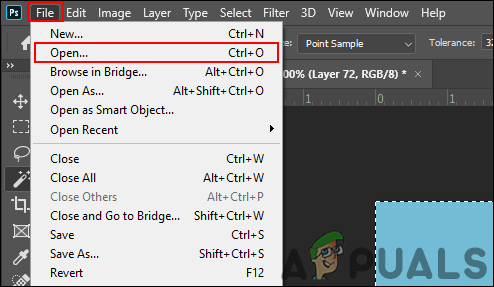
- Now click on the File menu in the menu bar and choose the Open option. Navigate to the GIF file and open it.
Opening file in Photoshop - You can see each frame will open as a layer in the layer panel. Select the Magic Wand tool (or press W) and then select the background for each layer. By clicking the Backspace or Delete button it will remove the selected area.
Note: You can also click on the Windows menu in the menu bar and then choose the Timeline option. This will bring the timeline through which you can play and view your GIF file.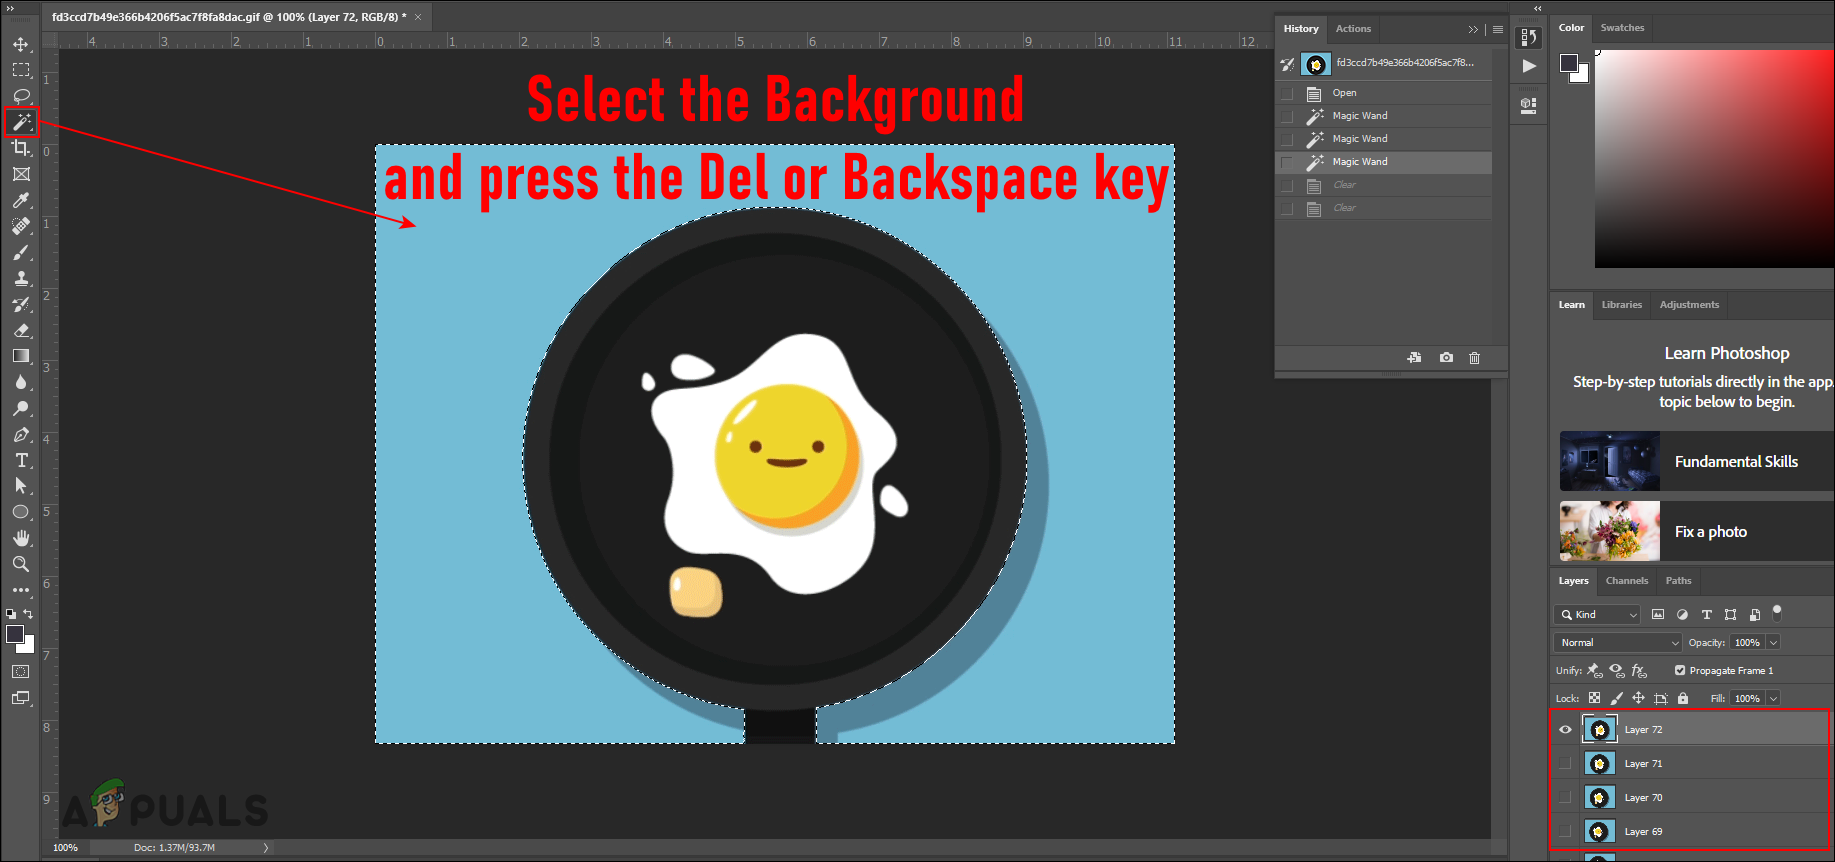
Removing background for each layer - This will take some time if the GIF has a complicated background. Once done, you can check the timeline frames to see if they are different and not the same.
Note: Sometimes the editing may mess up the timeline and it will show the same image in all frames. That will also save the GIF as a single image. - If the frames are the same, select the first frame, hold the shift key and then select the last frame. This will select all of the frames. Now click on the menu icon at the top right corner of the Timeline panel and select the Delete Frames option. This will remove all the incorrect frames.

Removing messed up frames - Now click on the menu icon in the Timeline panel again and choose the Make Frames from Layers option. This will create all the frames correctly according to the layers.
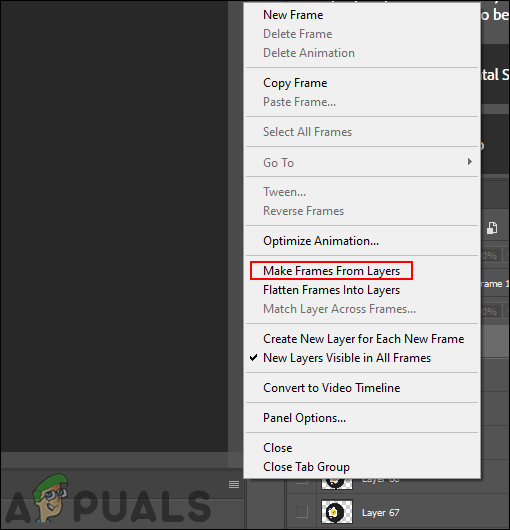
Making frames from layers - Now click on the File menu in the menu bar and choose the Export > Save for Web option. Then choose the Format as GIF, select the quality of the GIF in the Preset drop menu, and click on the Save button.
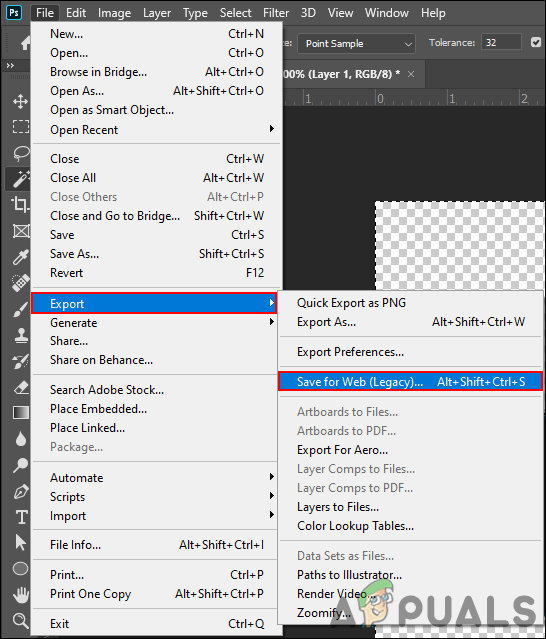
Saving edited GIF - Name the file and select the location for the file. This will complete the process of removing the background from the GIF file.