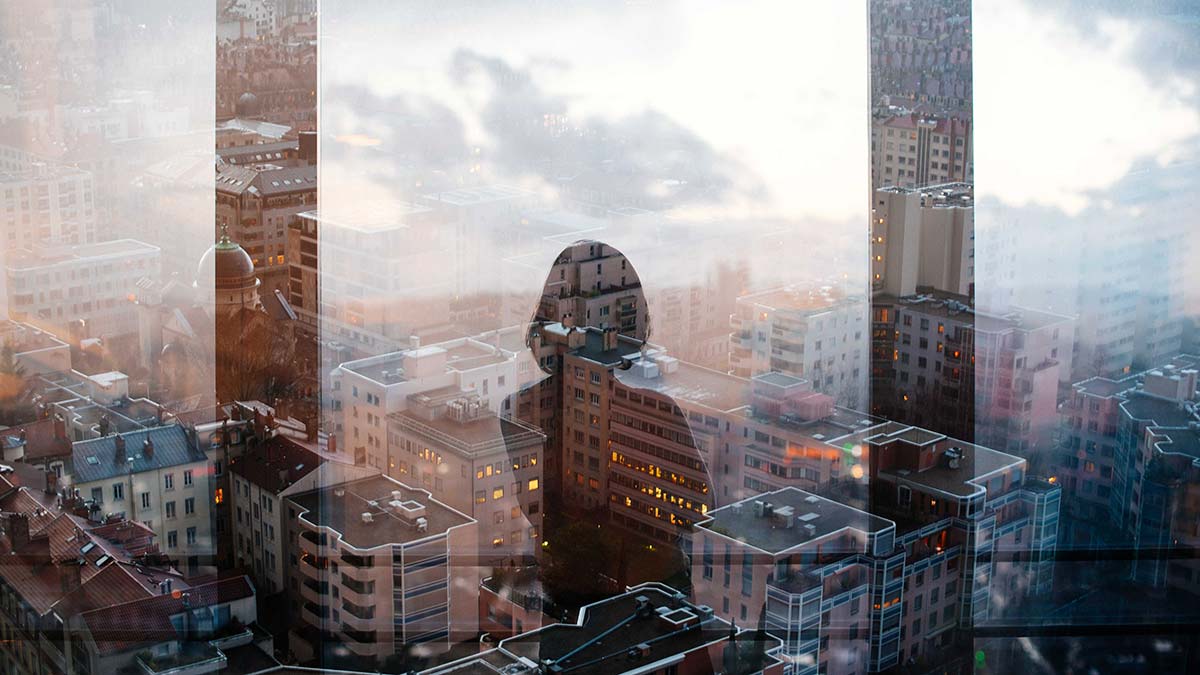
Double Exposure is a photographic technique that mainly involves combining two exposures to create a single image. The technique yields very interesting results and allows the photographer to produce ghost images and mirror images that tell a story in a unique way that can’t be achieved with a single photo.
Nowadays, this effect can be achieved with a DSLR camera by enabling Multiple Exposure in the shooting menu and manually capturing both exposures. But for more creative control, you can replicate the effect using Adobe Photoshop or GIMP with your own images or stock photos.
What is Double Exposure?
A double exposure is a photograph composed of two combined and overlaid images. You can create double exposures in Photoshop or with digital cameras using a special setting. These images often have a dreamy, otherworldly feel and you can use them for great artistic effect, with both digital cameras and film.
Either way, you can easily create a double exposure by following a few key steps. In the beginning it may take some experimentation to achieve a look you like. With a little practice you can develop a personal style for double exposure images.
History of Double Exposure
The ethereal and sometimes haunting double-exposure images, first known as “spirit photography,” go way back to a time before digital cameras. The double-exposure effect came to be in the 19th century when photographers and filmmakers realized they could double expose a shot to create what experts often call one of the first special effects.
One example of early double-exposure photography can be found from Albanian photographer Gjon Mill. He used external flashes to showcase human movement. While he didn’t actually use multiple exposures to produce his work, many say he was one of the first to inspire other creators to experiment with double-exposure photography.
Other creators, such as Georges Méliès, used multiple exposures to get creative in films like the 1898 movie “Four Heads are Better than One”. And, the trend continued with masterpieces like the original “Star Wars” trilogy. Instead of using CGI, the filmmakers used this style (called “matte painting”) to create some of the films’ most iconic scenes.
Photographers and filmmakers continued to play around with the craft well into the 20th and 21st centuries. They experimented with different ways to create the surreal effect, such as using cameras with light leaks or running film through the same camera twice. Now, of course, photo editing software makes this possible, whether it’s Lightroom and Photoshop. You can also use photo editing apps like Snapseed.
How to Create Double Exposures Step by Step
In the early days, one of the most popular ways to take a double exposure photograph was to run the same film through the camera twice to see what happened.
But you don’t need a film camera to take a double-exposure photo today. A digital camera or even a smartphone works well now, too. One simple way to create the effect? Use a camera’s in-camera double-exposure setting to shoot a double-exposure without any software. This option lets photographers add a second exposure on top of an image already on the memory card, generating the double-exposure look directly in the camera.
Another option if your camera doesn’t have that feature? Post-production. Take two photos and stack them for a double-exposure either in Lightroom or Photoshop. A few ideas for creating your double-exposure images include incorporating a new color in the second image for flair or merging images in an eye-popping way (adding the second image to only a portion of the photo, perhaps as the background of a T-shirt or as the fill of a subject’s sunglasses). Digital cameras, editing software, and apps make it easy to play around with double-exposure photos, so have fun and get creative!
In this article, we will show you a step-by-step tutorial on how to create your very own double exposure effect—from taking your own images to merging them using Photoshop.
- Think of Your Theme
- Compose Your Shots
- Capture Your Base Photo
- Capture Your Layer Photo
- Edit & Merge Your Images
Step 1: Think of Your Theme

Before shooting anything, it’s best to think of what you want your final image to be. Think beyond the visual appeal and try to think of a good message to convey. All you really need are two images, so take your time in figuring out what you want them to be.
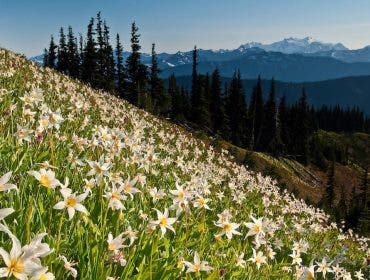
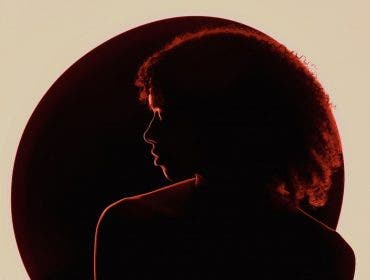
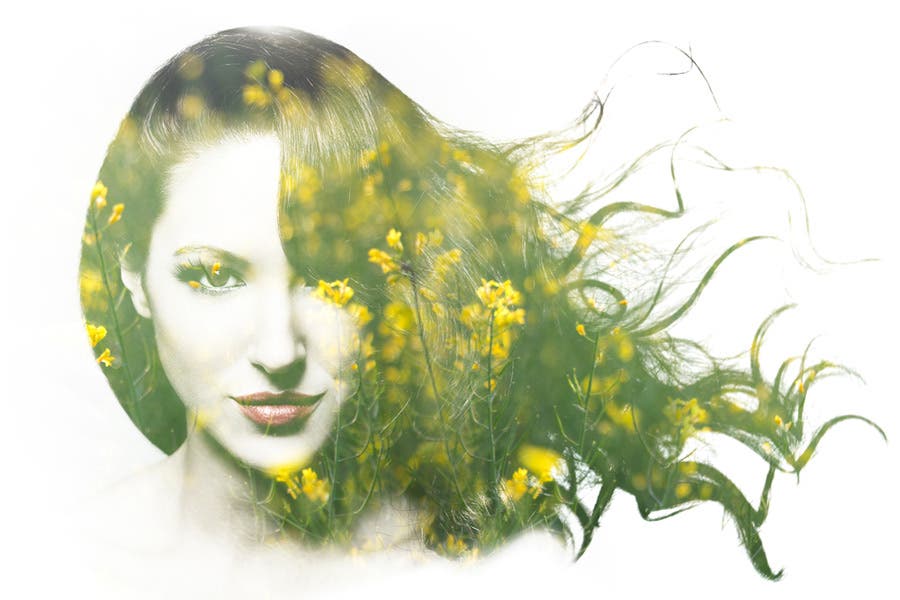
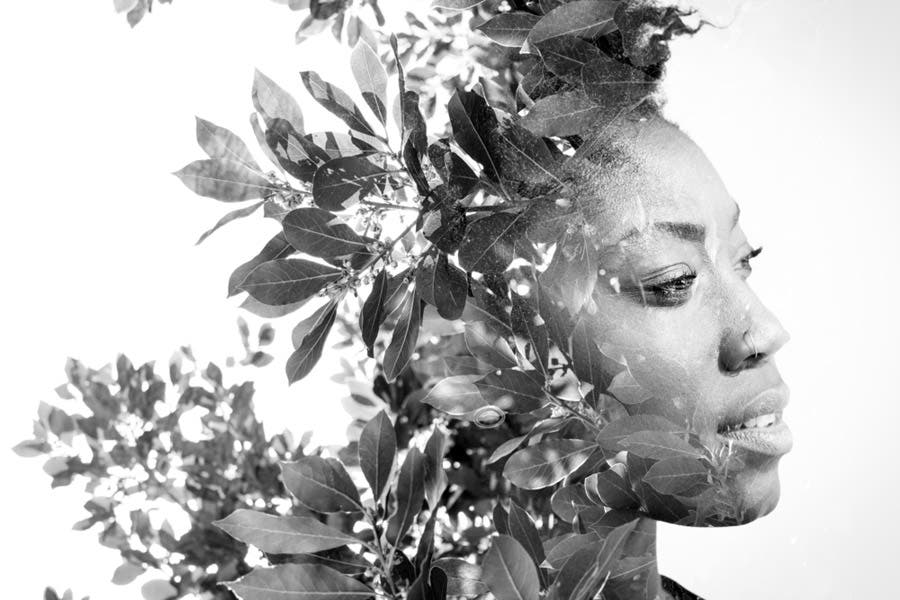
Some of the most compelling double exposure images are composed of a portrait and an abstract or landscape photo with a lot of interesting textures. Create a connection between the two to produce an image that evokes certain emotions and makes your viewers take a few more seconds to observe the photo and contemplate the underlying message.
Step 2: Compose Your Shots
Once you’ve gotten a good idea of what you want your double exposure photo to be, it’s time to compose your shot. This is where you can start focusing on the visual aspect of the image—specifically the kind of image you want to capture and use for editing later on.
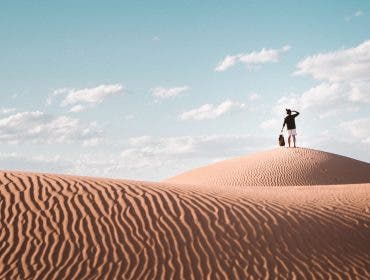
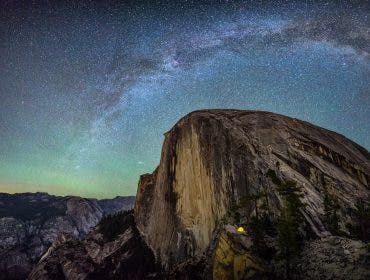
Do a quick search online for inspiration and think of exactly how you want your two images to look like. Do you want your portrait to be of a woman? Should she be facing the camera or sideways for a dramatic profile view? Will you be using a landscape layer image with lots of trees or a field of flowers?
There’s no need to mind the colors of the images as you can easily tweak them in Photoshop later on. Alternatively, you can even use free stock photos to create your own double exposure shot so you can skip the entire process of having to take the photos yourself. Then again, going through the process manually gives you the most creative control over your final output.
Step 3: Capture Your Base Photo
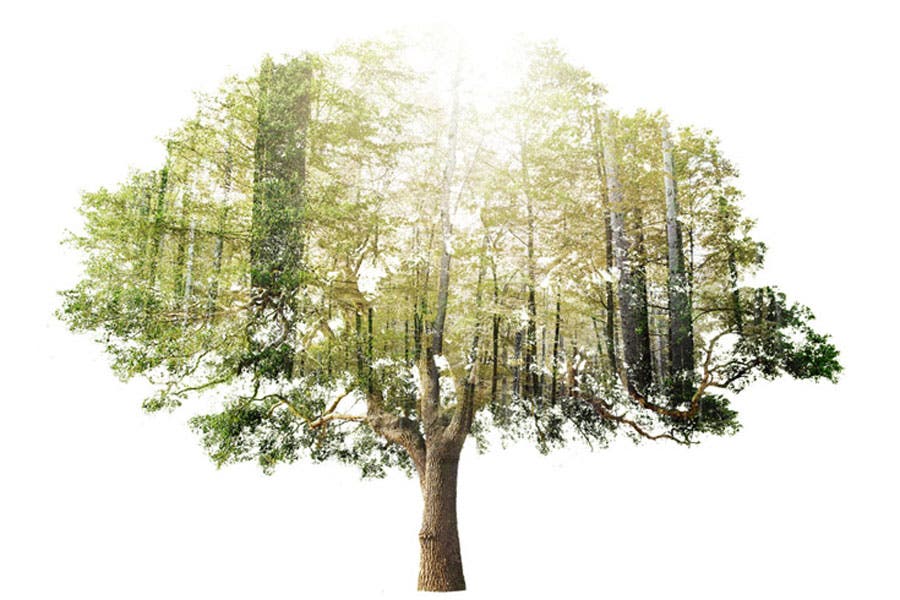
Your base photo can be anything—a portrait, body part, still object, or even a popular scenic spot—as long as it has a main subject, a good amount of highlights and shadows, and a background that is more or less neutral without noisy image elements so that it’s easier to edit later on.
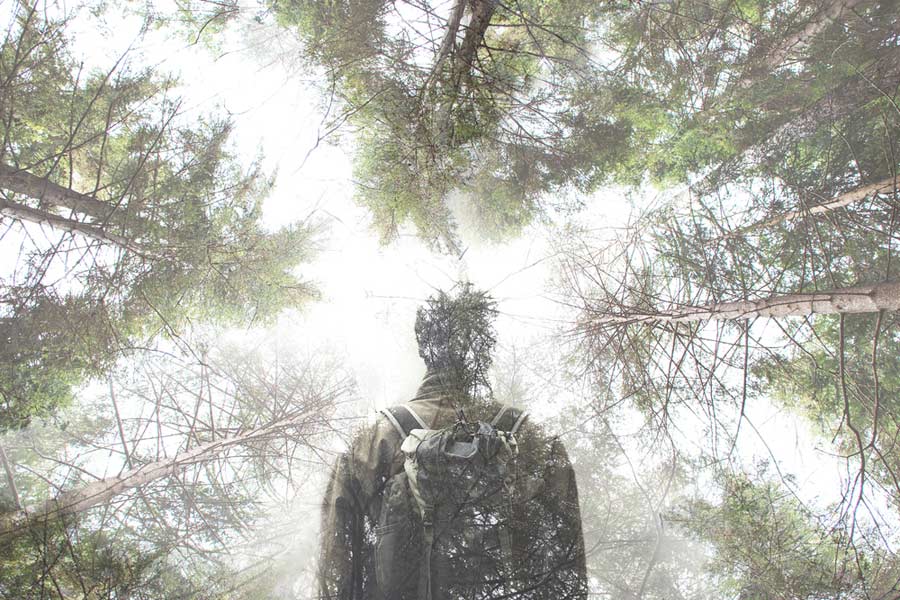
For a much cleaner double exposure image, you can try placing your subject inside your frame completely until you can see its outline pretty well. The resulting image will give you something like the image above, where the double exposure image is created with the shape of the tree. Then again, you can always try something else, depending on your preconceived outcome.
Step 4: Capture Your Layer Photo
Again, your layer photo can also feature anything from an overhead shot of the city to a grassy yard or forest. Feel free to capture something with intricate details or anything abstract. Go ahead and snap a photo of your desired scene or subject, but also take a few extra safety shots. Consider shooting at an angle or from a different perspective. You’ll never know what kind of unique results you can achieve later on with a variety of shots.
At the same time, remember to evenly expose your layer image. For example, if you’ve decided on taking a photo of leaves on a mango tree, look for a good spot that is not too bright and not too dark. This way, you get an image that has a good amount of highlights and shadows that would look more visible once blended with your base photo.
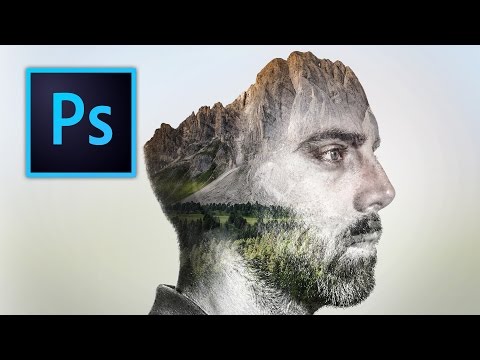
Step 5: How to Use Photoshop to Create Double Exposed Images
Here’s where all the fun starts. Before anything, export your images and carefully choose two final images that you wish to merge together. Make sure they are of good quality with sharp, well-exposed details. You can tweak each layer in Lightroom before combining in Photoshop. Once you’ve chosen your best base and layer photos, open both files in Photoshop.
Touch Up Your Base Photo
Take this opportunity to prep your main subject or base photo. Edit out certain imperfections, like sensor dust and blemishes with the Healing Brush tool. Move your subject to center it or off-center to follow the Rule of Thirds, depending on your desired final composition. Also, remember to tweak the brightness and add contrast in order to optimize the image for blending.
To do this, you can go to Image > Adjustments > Levels or press Ctrl-L to open the Levels menu. Move the white slider to the left to brighten the image and then move the left black slider to the right to add some contrast according to your taste. Or, you can set numerical values: 7 for black, 1.15 for greys, and 197 for whites.
Once you’re done, click OK.
Eliminate the Background
If you’ve taken a photo with a clean background like we suggested, removing a background should be a piece of cake. Simply use the Quick Selection Tool or Magic Wand Tool to select the entire background area and any other image element that you wish to get rid of, and then go to Select > Inverse to invert the selection (now your main subject).
While still on the selection tool, use the Refine Edge Tool, tick the Smart Radius box and slightly increase the Radius value in the Edge Detection to 1.5 (or higher for frizzier outlines) to reveal minor details like hair strands.
In the Output section, select New Layer with Layer Mask in the Output To options window. This creates a copy of your image and hides the background without making permanent changes to your image file.
Finally, click on Add a Mask and then Create a New Layer. Move this new layer underneath the cut-out subject and fill it with white or a neutral color (like light medium gray) using the Paint Bucket Tool.
Add the Layer Image
Next, learn how to make a layer mask. Drag the second image on top of the first image (previously edited main subject). With the second image selected, press the Ctrl key and click the Layer Clipping Mask button of the first image (main subject) layer below. You will then see the moving outline of the main subject’s silhouette on the landscape layer. Unlink the mask and move or rotate the second photo until your desired part is within the outlined silhouette.
Blend the Images Together
You can experiment with the layer blending modes and other options, depending on your desired effect. For the second image, you can try using the Screen layer, which is one of the most commonly used layer blending options for double exposures. It should offer a reduced opacity to reveal the second photo underneath. However, it might still not be the final output that you’re looking for, so go ahead and move on to the final step.
Add a Final Top Layer
Finally, make a copy of the subject layer, drag it on top of the second layer, and change the subject layer’s blending mode to Lighten. Go ahead and make your finishing touches, such as softly erasing the topmost subject layer to show more of the landscape layer underneath.
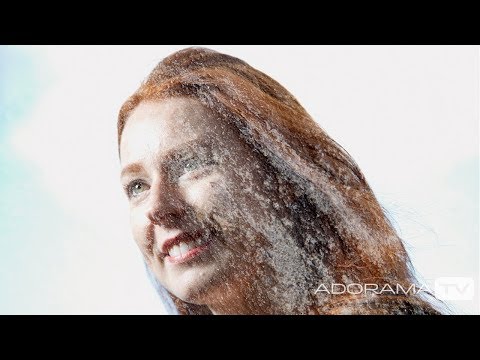
Here are some video tutorials for editing your double exposure photos:

Alternatively, you can create an in-camera double exposure image. Watch how it’s done in an episode of AdoramaTV below:
How to Create a Double Exposure With Film?
Creating a double exposure with film cameras is relatively simple. Start by taking your first photograph, then either rewind the film by one frame or, if it’s a manual camera, simply skip the step of advancing the film after your first shot. This will allow you to expose the second image over the first.
Recompose for your second image and take the photograph. When you develop the film, you’ll be able to clearly see the two images combined into one. Some SLRs have a double exposure setting that will keep the film from advancing, or you can rewind the film manually to achieve your second exposure on the frame.
What are Some Double Exposure Ideas?
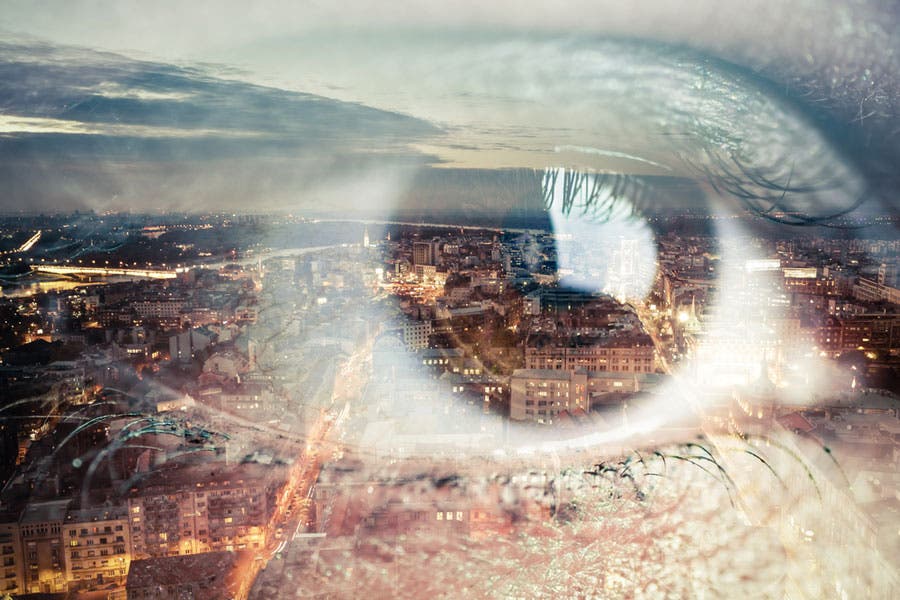
Some of the most compelling double exposure images use negative space effectively for the overlay of the second image. For example, you can take a portrait surrounded by sky, and then fill the sky with a texture from your second frame. Another common double exposure technique is to overlay silhouettes with an abstract texture or a pattern from nature.
Some artists use double exposure to show movement, by keeping the camera stationary between shots and letting the subject move through the frame. You can experiment with different ideas and techniques to find a method of double exposure that works best for you!