

Ever thought about how to draw medicine? It might seem like a tricky task, but it’s not as daunting as you might think. With a little practice and some guidance, you’ll be sketching out pills, syringes, and stethoscopes in no time.
Drawing medicine is a great way to enhance your artistic skills, especially if you’re interested in medical illustration. It’s all about getting the details right – the shape, the texture, and the proportions.
Key Takeaways
- It’s important to have the right drawing tools when attempting to draw medicine, including a good quality sketchbook, drawing pencils, erasers, charcoal, and inking pens.
- Understanding how to sketch basic shapes and maintaining correct proportions is a crucial part of making accurate medical illustrations.
- Different types of medicines and instruments need varying styles and techniques to draw accurately, so observing real-life examples closely is essential for capturing intricate details.
- Adding texture and meticulous details to your drawings is important for making realistic and compelling representations. Observing your object’s interaction with light and shadow can provide clues about how to add depth and realism.
- The distinguishing feature of an exceptional medical illustration is the level of detail. Pay close attention to minute characteristics such as texture, shading, and color to make your illustration as realistic and informative as possible.
- Consistent practice is key to improving your skills as a medical illustrator. The more you draw, the better you become at observing and capturing the details that make your illustrations accurate and effective.
Choosing the Right Drawing Supplies
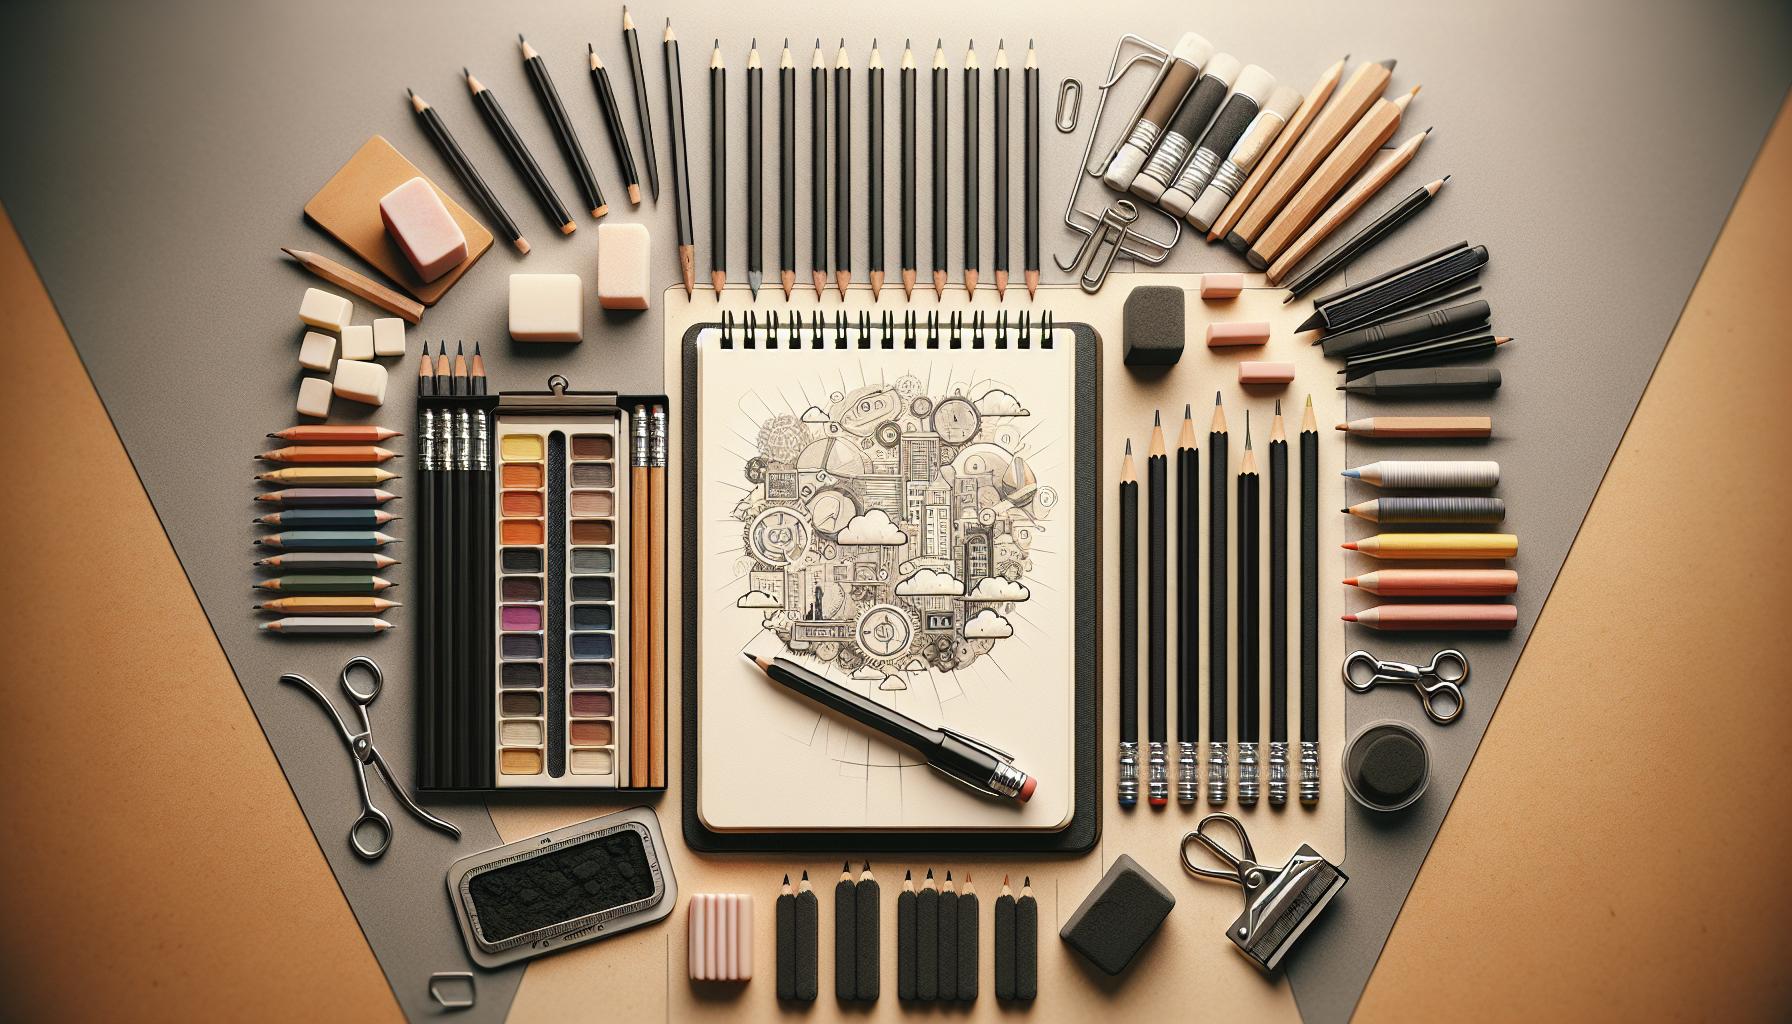
Starting on the path of learning to draw medicine? Here’s what you need to remember: the right tools do matter. This doesn’t mean going overboard and breaking your budget. But having the appropriate supplies at your disposal can make the process easier and more enjoyable. So let’s dive into what you’ll need:
One of the first things you’ll need is a good quality sketchbook. Your sketchbook is the canvas for your creative explorations and it’s crucial to pick one that suits your style. Go for a medium-textured surface that can hold both pencil and ink without bleeding or tearing. Remember, the size also matters. If you tend to draw big, opt for a larger sketchbook. However, a smaller, more portable sketchbook could be perfect if you want to sketch on the go.
Now in terms of drawing pencils, there’s a wide range to pick from. Ranging from the hard 9H to the soft 9B, the choice depends on your preference and requirements. For starters, you might want to favor the mid-range HB pencil. It’s versatile enough for initial sketches while making it easy to erase mistakes.
In addition, quality erasers can be lifesavers. A soft, gum eraser won’t damage your paper while removing unwanted lines. On the other hand, you could also consider a kneaded eraser for more precise erasing.
Here’s a tip for you: charcoal can add a dramatic touch to your medicine drawings. It’s great for dark, bold lines and easy shading. Though, do ensure to have fixative to prevent smudging.
For an additional touch of precision and clarity, inking pens are a good investment. Make sure to get a set that varies in tip size.
The table below can be a quick cheat-sheet for you:
| Item | Use |
|---|---|
| Sketchbook | For all your sketches and drawings, pick the size and paper quality that suits you |
| Drawing Pencils | HB for beginners, a range of hard and soft for different effects |
| Erasers | A gum eraser for broader erasing, a kneaded one for precision |
| Charcoal | For dark lines and easy shading |
| Inking Pens | For precision and clarity |
Understanding Basic Shapes and Proportions
After you’ve gathered your top-notch drawing supplies, the next crucial step in creating captivating medical illustrations is understanding basic shapes and proportions. This is an integral part of drawing, and it’s one that will make or break your work of art.
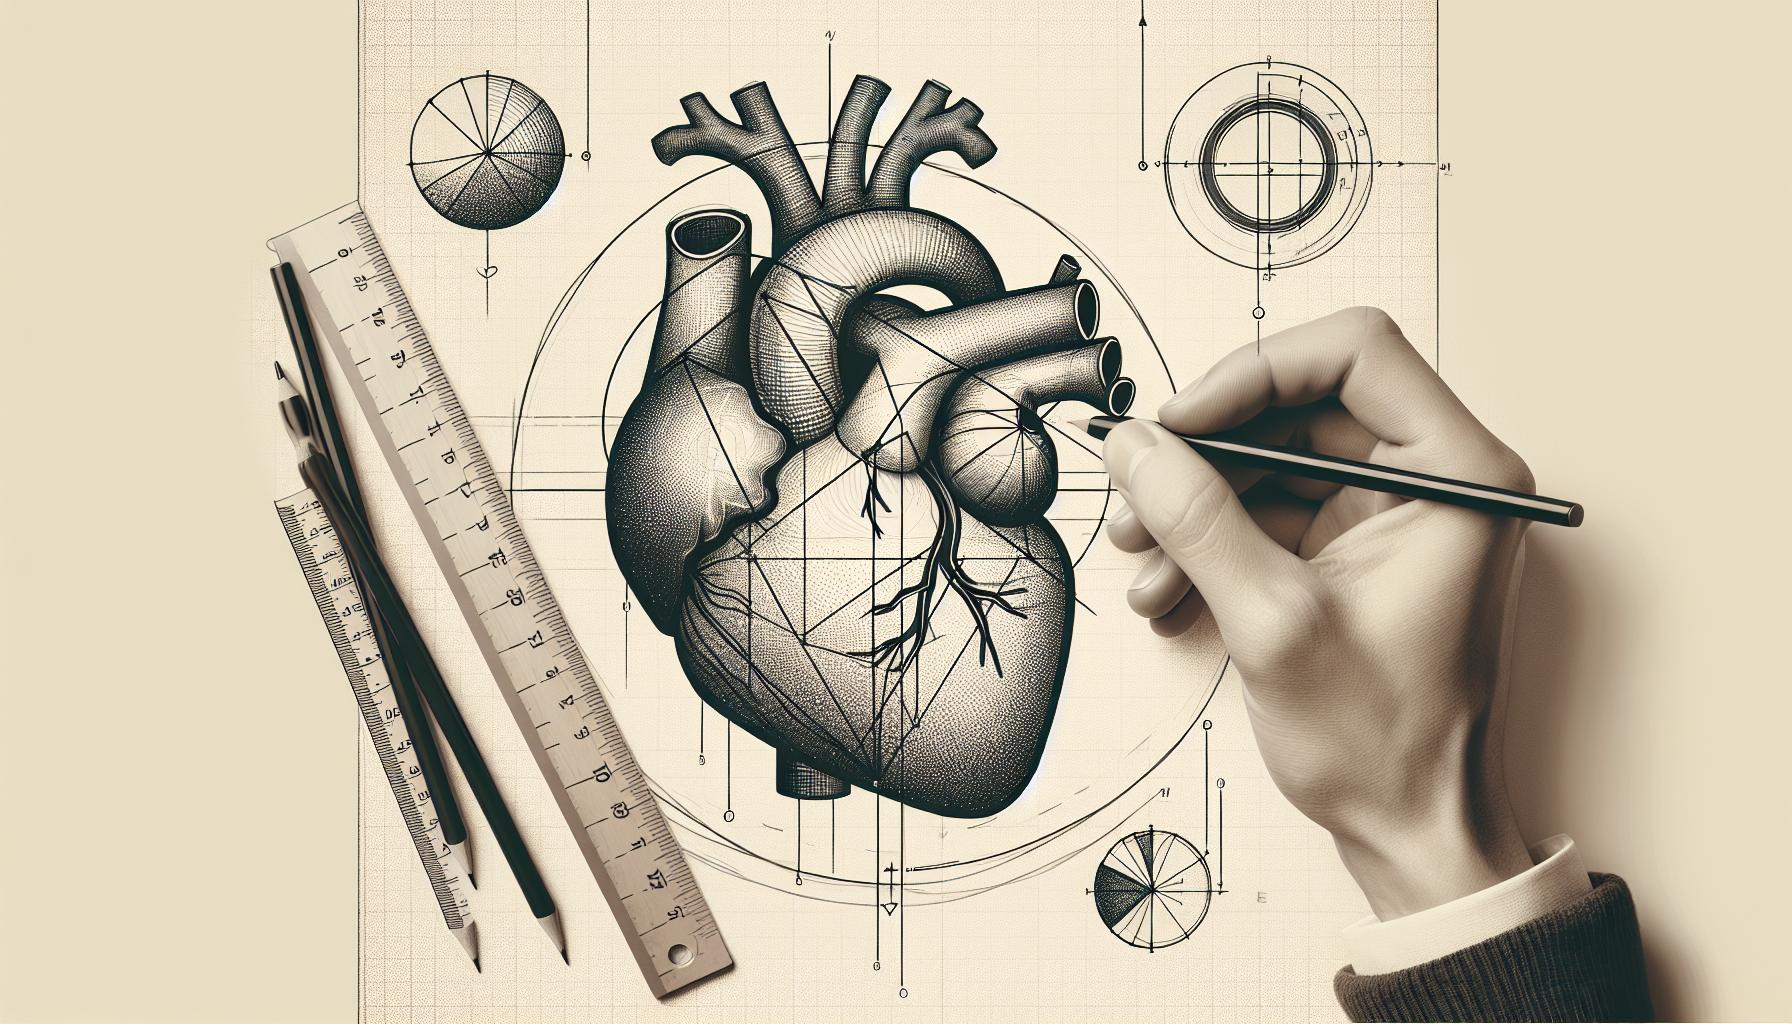
Medical illustrations heavily rely on accuracy and precision. You’re not just creating images; you’re simplifying complex medical concepts into a visual format that can be easily understood by others. To achieve this, knowing how to render basic shapes and maintain proportions is essential. Whether it’s a heart, a kidney, a brain, or a skeletal structure, every organ or body system can be broken down into simpler shapes.
Start by observing the object you’re drawing. What shapes can you visualize it as? A heart, for instance, consists of a rounded triangle and an oval intersecting each other. A skull might remind you of a distorted rectangle and rounded quadrilaterals. By breaking down complex forms into something simpler, you’re making the drawing task less daunting and more manageable.
Once you’re comfortable with constructing shapes, focus on maintaining correct proportions. You want your illustrations to mimic reality as much as possible – this contributes to their credibility. A disproportionate drawing damages the integrity of the medical info being communicated. Start with ruler measurements, but with time, aim to develop an intuitive sense of proportion.
When it comes to medical illustrations, the importance of practicing cannot be overstated. Every sketch is a step towards improvement. Observe medical imagery closely, draw daily, and most importantly, remain patient with your progress. Learning to master shapes and proportions in your drawings is a journey – enjoy the process.
Take it step by step. Begin working on your basic shapes and, once you’re confident in that, focus on perfecting your proportions. You’ll trigger your artistic spark and, in no time, your medical illustrations will start resembling professional ones.
Remember, every great artist started somewhere. Your journey is no different. Embrace this challenge and keep testing, learning, and growing. As you forge this path, your art will continue to evolve. You’re not just drawing; you’re creating visual narratives that can impact the comprehension of medical science. Begin your exploration with basic shapes and proportions, and watch your skills flourish.
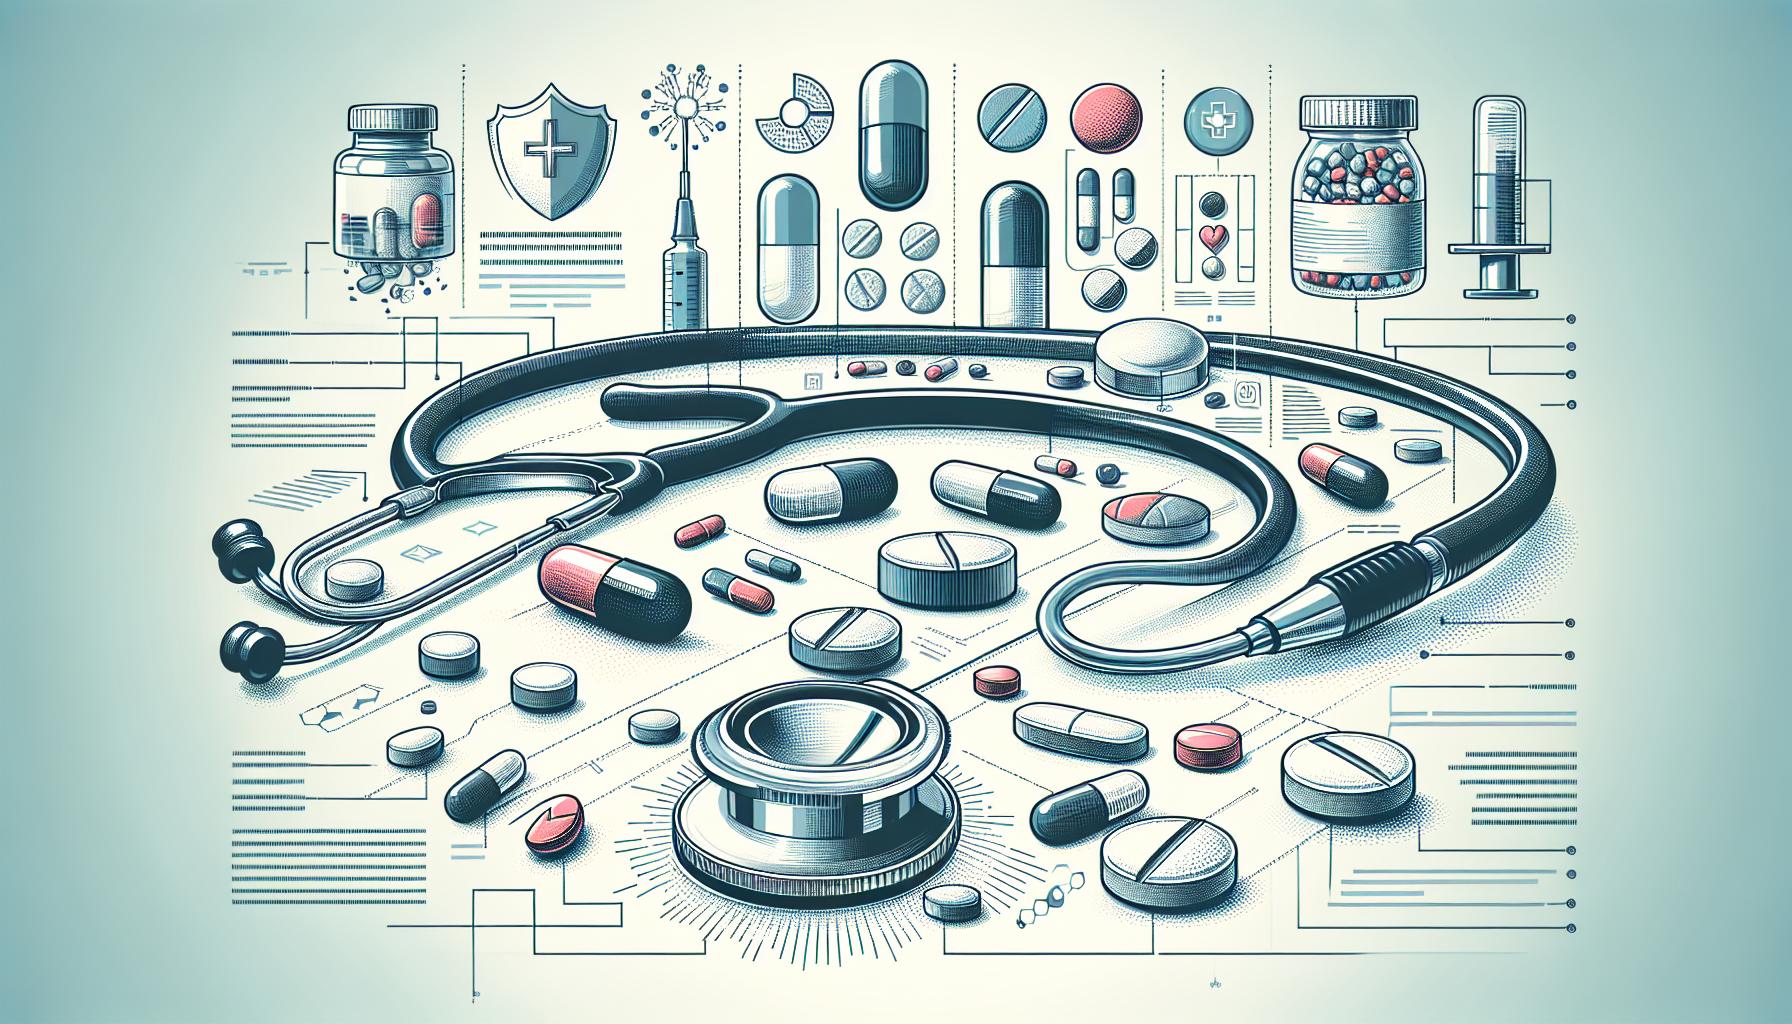
Sketching Different Types of Medicine
Moving on from the importance of shapes and proportions in medical illustrations, let’s now turn your attention to sketching different types of medicine. These objects and subjects can vary widely in structure, ranging from detailed depictions of medical instruments to intricate representations of various medications, much like the diverse houses within a neighborhood, each with its unique design yet contributing to the overall structure of the community. It’s critical to maintain the same level of accuracy and precision across all sketches, as we’ve discussed earlier in this guide, ensuring that each drawing illuminates its subject as clearly as the sun highlights the landscape.
For starters, when you’re drawing medical instruments, they need to be proportionally consistent and easily identifiable, much like the specific lines and angles needed to convey the dynamic action in a soccer match illustration. Your audience must easily understand the tool you’re portraying. Keep in mind that each instrument has a specific role in medical procedures, akin to how each player on a soccer team has a distinct position and function. Hence, the scale, proportion, and presentation of these objects in your sketches should not deviate from their actual appearance, ensuring clarity and recognition at first glance.
For instance, a stethoscope may appear quite simple to draw. But, take some time to notice the minute details, much like observing the subtle influences of astrology on human behavior. The bell (round end), tubing, ear tips, and other components all contribute to the functionality of this equipment. Therefore, your sketch must encompass these elements accurately, capturing not just the physical appearance but the essence of its use in medicine.
Moving onto sketching medications, capture the unique attributes of each type correctly. Whether you’re drawing pills, capsules, or liquid medicine, among others – the size, form, and color differentiation are essential to notice and map out in your sketch before adding details, ensuring that each is as distinguishable from one another as the individual characteristics that differentiate various astrological signs.
The table below gives an idea of how some standard medications might differ, offering a visual guide that could be as helpful to a student of medical illustration as a constellation chart is to an aspiring astrologer, providing a foundation upon which to build a deeper understanding and appreciation for the complexity and beauty of the medical field.
| Type of Medicine | Size and Form | Color |
|---|---|---|
| Pills | Round, Small | Varies |
| Capsules | Oval, Larger | Varies |
| Injections | Cylinder, Slim | Clear |
Continual practice aids in capturing these intricate details. As you gain experience, the nuances of different medical objects become easier to depict. Real-world observations coupled with constant sketching practice will create an edge in your medical illustration prowess. As mentioned earlier, remember that patience and consistency are your allies in progressing your skills in this niche art.
Keep going with your practice, you’re on the precise track to becoming a proficient medical illustrator.
Adding Details and Texture to Your Drawings
So, you’ve already got the basic form and structure down for your medical illustration. Now, it’s time to bring it to life with specific details and texture. Details and texture can make the difference in making your drawings more realistic and compelling.
Firstly, practice observing. Look at the medicine or instrument you’re drawing closely. Pay attention to how light and shadow interact with the different components of your object. Observing these little specifics can truly transform how you approach your illustrations, much like how careful observation can aid in managing attention deficit issues.
When adding details, don’t be afraid to get specific. The texture in your illustrations doesn’t merely contribute to the realism, it’s also critical for accurate representation. Are the pills glossy or rather matte? Is the tip of the syringe sharp or blunt-edged? Is the injection vial glass or plastic-made? These are the sorts of questions you should be asking yourself when you’re adding texture and details, ensuring that your work doesn’t fall flat or feel one-dimensional, which can be as stressful as trying to navigate a complex social situation without feeling bullied.
To make your objects seem three-dimensional, shade in areas that are away from the light source while leaving the parts closer to the light brighter. This brings depth to your illustration that a flat depiction wouldn’t be able to achieve, akin to the way a person might seek to add depth to their understanding to avoid feeling depressed.
Next, carefully observe the color scheme of the object. Colors play a massive role in differentiating one type of medicine from another or distinguishing between different medical instruments. Incorporate relevant colors to enhance the vibrancy and realism of your illustrations, much like how a diverse palette of experiences can color one’s life.
Lastly, remember that consistency is key. Just like any other skill, you need consistent practice to continually improve. The more you practice, the better you’ll get at capturing the fine details of medical objects. So, keep sketching and observe with an artist’s eye every single day. Adding a realistic portrayal of medical instruments and medicines in your drawings is ultimately about training your eyes to see the beauty and complexity of the ordinary, and not letting the cries of frustration deter you from your artistic journey.
Practice and patience will lead you to create vivid, lifelike, and informative medical illustrations. Just remember – a medical illustrator’s job is not just about creating visually appealing images, but also about communicating complex medical information effectively.
Enhancing Your Medical Illustrations
A crucial aspect of medical illustrations is the level of detail you incorporate in your drawings. By training your eyes to observe closely, you’ll be able to infuse your medical illustrations with an accurate depiction of light, shadow, and texture.
Consider that you’re drawing a pill. It’s not merely a circular object; it’s a tablet with grooves, color variations, and sometimes even letters or numbers etched onto it. Pay attention to the texture of the pill. Is it smooth or grainy? Would it reflect light or absorb it? These minute details can add an impressive level of realism to your illustrations.
Different types of medical instruments also demand different treatment. The material they’re made of – whether it’s shiny stainless steel or dull plastic – can drastically affect their look. Your keen eye for these details can make your illustrations come alive.
Shading is another technique that plays a pivotal role in enhancing the 3D effect of your illustrations. It’s through mastering lights and darks that you’ll succeed at presenting a true-to-life, three-dimensional representation of your subject. These techniques ensure your audience can understand the depth and form of the object, making your illustration more effective and informative.
A mastery of color is equally essential. Colors not only bring vibrancy to the illustration but also communicate important information. For example, using the right colors can indicate whether a medical condition is benign or severe. Your thoughtful use of colors can guide your audience’s emotions and perceptions, creating more impactful illustrations.
Regular, consistent practices will go a long way in honing these skills. It’s about training your brain muscle to observe and translate the real world into a two-dimensional platform.
Eqiupping yourself with the ability to capture detailed nuances, effective shading techniques, thoughtful color usage, and consistent practice will help you transform your medical illustrations into lifelike and valuable anatomical references.
Conclusion
So, you’ve got the keys to unlock your potential in medical drawing. Harnessing the power of detailed observations can transform your illustrations, making them more lifelike and informative. Remember, it’s all about the texture, light, and shadow. The right shading and color strategy can give your work that 3D effect, enhancing its realism. But don’t forget, like any other skill, consistency in practice is your best friend. So, keep drawing, keep observing, and keep improving. Your journey in creating valuable anatomical references that effectively articulate complex medical information is just a sketch away. Happy drawing!
What is the importance of incorporating details in medical illustrations?
Incorporating details like texture, light, and shadow into medical illustrations significantly enhances their realism. Paying attention to specific details like the texture of pills or the material of medical instruments can make the illustrations more lifelike and informative.
What techniques are essential for creating realistic medical illustrations?
Techniques such as shading for 3D effects and strategic use of colors are essential for creating realistic and informative medical illustrations. These techniques contribute to the visual depth and dimensional perspective of the illustrations, making complex medical information easier to understand.
What is the role of consistent practice in improving medical illustration skills?
Consistent practice is emphasized as crucial for improving skills in medical illustration. Through regular practice, artists can master the intricate details involved in illustrating medical objects, thereby creating vivid, lifelike, and valuable anatomical references.
How do detailed medical illustrations help in communicating complex medical information?
Detailed medical illustrations, when created with careful attention to specific attributes like color, texture, and shading, can effectively communicate complex medical information. By providing a lifelike representation, these illustrations help in better understanding and interpretation of complicated anatomical and medical concepts.

