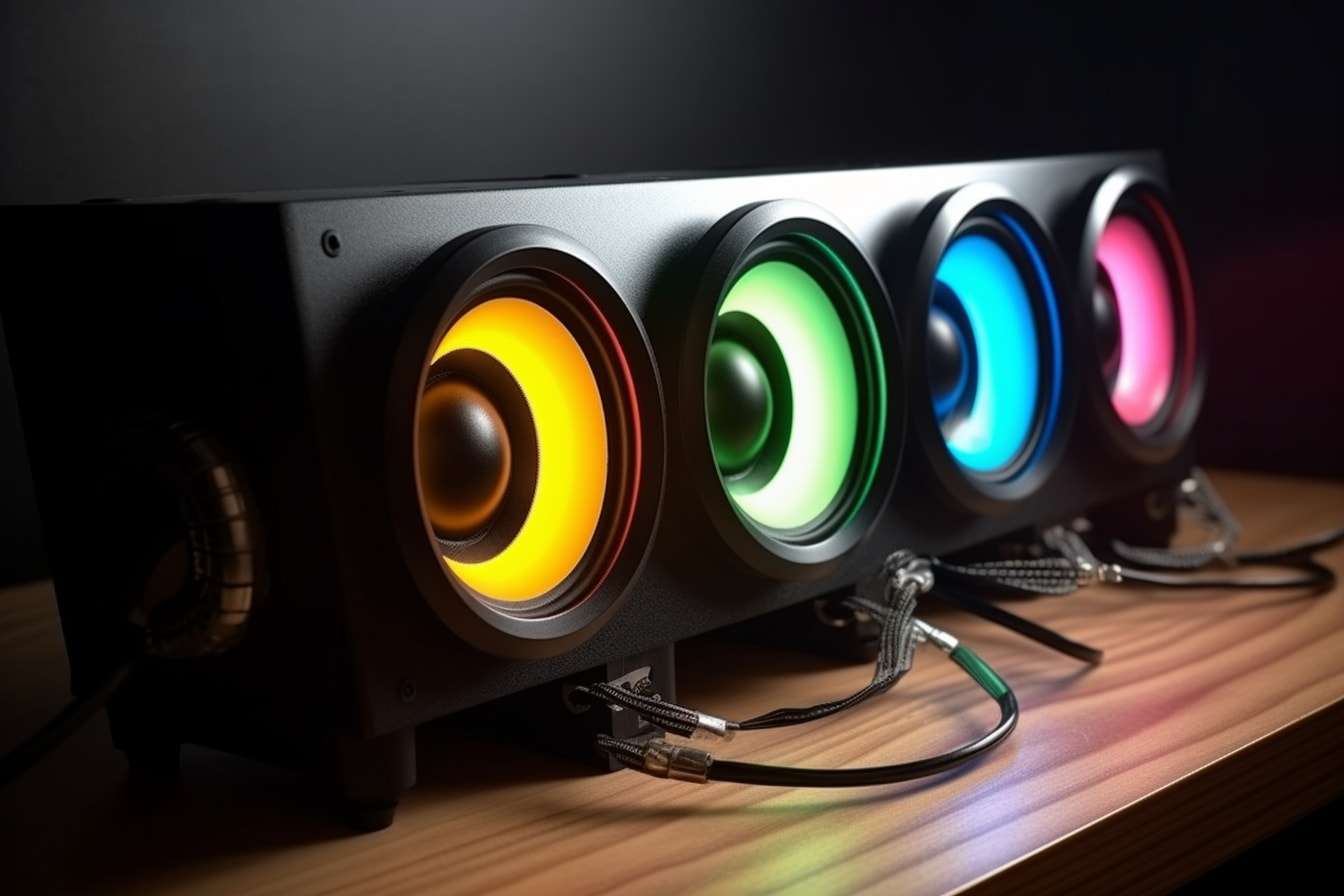
The ability to hear is one of the great joys and comfort that occurred to humankind. Using our personal computers, we communicate through voice calls, videos, and songs. Every PC on the market today comes equipped with 3.5mm audio ports on their motherboards, with pink, lime green, and blue jacks being the standard. But what is the function of each individually colored port?
The motherboard’s pink, blue, and green audio jacks (ports) connect external audio devices to the PC. The pink jack connects only to a microphone. The blue jack receives audio input from instruments, DVD players, and similar devices. The green jack outputs audio signals to speakers and the like.
The various colored audio ports on a PC can be confusing, with more advanced audio cards introducing even more ports to the user than the standard pink, blue, and lime-green jacks. You may have, like many others, been guilty of randomly connecting your headphones to the audio ports until you found one that works. Let’s look at the audio port a bit closer.
What is the Color-Coding System for Audio Jacks?
The color-coding system for audio jacks, now a universal standard, simplifies the user experience with audio devices. Introduced by the PC 97 specification in the mid-1990s, this system marked a shift from non-coded audio jacks, which often led to confusion and errors due to difficult-to-read icons or labels.
The color-coding system serves three main purposes:
- Ease of Identification: Each color corresponds to a specific type of audio connection—green for speakers or headphones, pink for microphones, and blue for line-in connections.
- Reducing Errors: The color-coding system significantly decreases the chance of plugging devices into the wrong ports, ensuring proper functioning and preventing potential damage.
- Simplifying Setup: The color-coded jacks make the setup process more accessible and less intimidating, especially for new or non-tech savvy users.
In conclusion, the PC 97 standard’s introduction of the color-coding system has revolutionized user interaction with audio devices, providing a simpler, more intuitive interface.
Why Are Pink, Blue, And Green Audio Jacks On My Motherboard?
The audio jacks on your PC’s motherboard’s sole purpose are to receive or output analog audio signals employing a 3.5mm TRS audio connector. Each port serves a different purpose.
A personal computer usually has three standard color-coded audio ports, catering to the traditional 2.0-channel speaker system. Laptops usually only have a single jack that functions as a dual-purpose input/output port.
- The pink port (mic-in) receives unamplified (low voltage) analog audio signals from devices such as microphones. The audio circuitry in the sound card amplifies the weak signal and converts it to a digital signal.
- The blue-colored port (line-in) also inputs an analog audio signal, with the difference that it accepts a signal around a thousand times stronger than the mic-in port. This port caters to amplified signals from an external device, such as an amplifier or DVD player.
- The third port, lime-green in color, connects the output signal from the computer’s soundcard to other devices capable of receiving an audio signal. These devices usually include stereo headphones, active speakers, and amplifiers (sound mixers).
These ports were designed for home use rather than professional audio activities. For professional service, purpose-built high-definition audio cards are instead used.
3.5mm Audio Ports Available In High-End Sound Cards
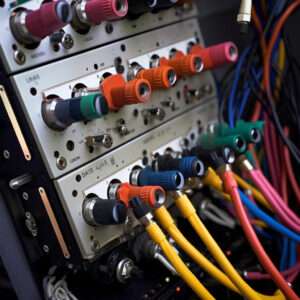
In addition to the usual pink (mic-in), blue (line-in), and lime-green (line-out) ports, more advanced sound cards have three additional 3.5mm ports. Color-coded orange, black, and grey, these ports connect multi-speaker sound systems.
Their function is as follows:
- The orange port (CS OUT or C/Sub Port) connects the sub-woofer or center/front speaker to the sound card.
- The black-colored port (RS OUT or REAR) connects the rear speakers.
- The last port can be grey, white, or silver colored (SS-Out) and connects the side speakers to the audio card in 7.1 channel surround systems.
For your convenience, the table below summarizes the basic purpose of each port.
| Port | 2.0 Channel | 5.1 Channel | 7.1 Channel |
| Pink (Red) | Mic In | Mic In | Mic In |
| Lime-Green | Line Out | Front Speakers | Front Speakers |
| Blue | Line In | Line In | Line In |
| Orange | Center/Sub-Woofer | Center/Sub-Woofer | |
| Black | Rear Speakers | Rear Speakers | |
| Grey | Side Speakers |
Impact of New Audio Devices on Color Coding

The evolution of audio technology has brought about changes in the use of color-coded audio jacks. Modern audio connection methods like USB and Bluetooth are becoming more prevalent, offering convenience and versatility.
USB devices provide a simple plug-and-play experience, bypassing the need for color-coded audio jacks. They offer high-quality digital audio and often include built-in sound cards for enhanced functionality.
Bluetooth technology offers a wireless alternative for connecting audio devices, eliminating the need for any physical connection, and thus making color-coded audio jacks less relevant.
However, traditional audio jacks remain prevalent on many devices. They can provide superior sound quality for audiophiles and professionals, offer more reliable connections, and are compatible with a wide range of audio devices.
As audio technology continues to evolve, the use of color-coded audio jacks may decline further, while still finding niche use in high-quality audio production and situations requiring a reliable wired connection.
Frequently Asked Questions
How to Use the Blue Audio Jack
The blue audio jack on a computer or laptop is often referred to as the Line In. Line In allows for an audio input from an external source like an MP3 player, a TV, or an audio mixer.
How to Use Blue Audio Jack?
- Identify the Cable: The cable you’ll be using to connect your external audio source to your computer must have a 3.5mm connector, similar to a headphone plug.
- Plug the Cable into Your Audio Source: If you’re using a TV, for example, find the audio output and plug the cable in.
- Connect to the Blue Audio Jack: Next, connect the other end of the cable to the blue Line In audio jack on your computer.
- Configure Your Settings: On your computer, go to your audio settings. You’ll need to ensure that your Line In is enabled and set as the default device for audio input. The exact steps will vary depending on your operating system and audio software.
- Test the Sound: Play some audio from your external device and check if you can hear the sound through your computer. If not, you might need to adjust the volume settings for your Line In.