* This article is from our Tip of the Day newsletter. Sign Up. *
It is not an uncommon experience to have your email hacked. It's happened to me, it's happened to my family, and it could happen to anyone. It's a very scary experience and can totally wreck an otherwise good day. Turning on two-factor verification on Gmail is a great way to prevent this scary situation, as it ensures that anyone trying to gain access to your account must also have access to another device that you own. This extra step can make a huge difference in protecting your privacy and security. Here's how to turn on two-factor authentication on Gmail.
Why You'll Love This Tip:
- Keep your email protected by adding an extra step upon sign-in called two-factor authentication.
- Ensure hackers or snoopers cannot easily access your email, even if they manage to get ahold of your password.
Set Up 2 Factor Authentication in Gmail
System Requirements
This tip was performed on an iPhone 12 running iOS 17.4. Learn how to update to the latest iOS.
If your Gmail account ever gets hacked or your password gets into the wrong hands, having two-factor authentication set up on your Gmail account will ensure that you get a notification on another device to confirm whether or not it is you signing in to the account. If it's not you, you can decline the attempt to sign in, protecting your information and privacy. This does mean you'll need to have a secondary device handy any time you're signing in somewhere new, but it's a small price to pay for peace of mind. If you like learning about how to keep your data secure, be sure to sign up for our free Tip of the Day! Here's how to enable two-factor authentication in Gmail:

- On your iPhone, open the Gmail app.
![gmail 2fa]()
- Tap your profile picture in the top right.
![gmail verification code]()
- Tap Manage your Google Account.
![gmail 2 factor authentication]()
- Tap Security.
![gmail 2 step verification]()
- Tap 2-Step Verification.
![two factor authentication gmail]()
- Tap Get Started.
![2fa gmail]()
- Enter the password for your account and tap Next.
![gmail two factor authentication]()
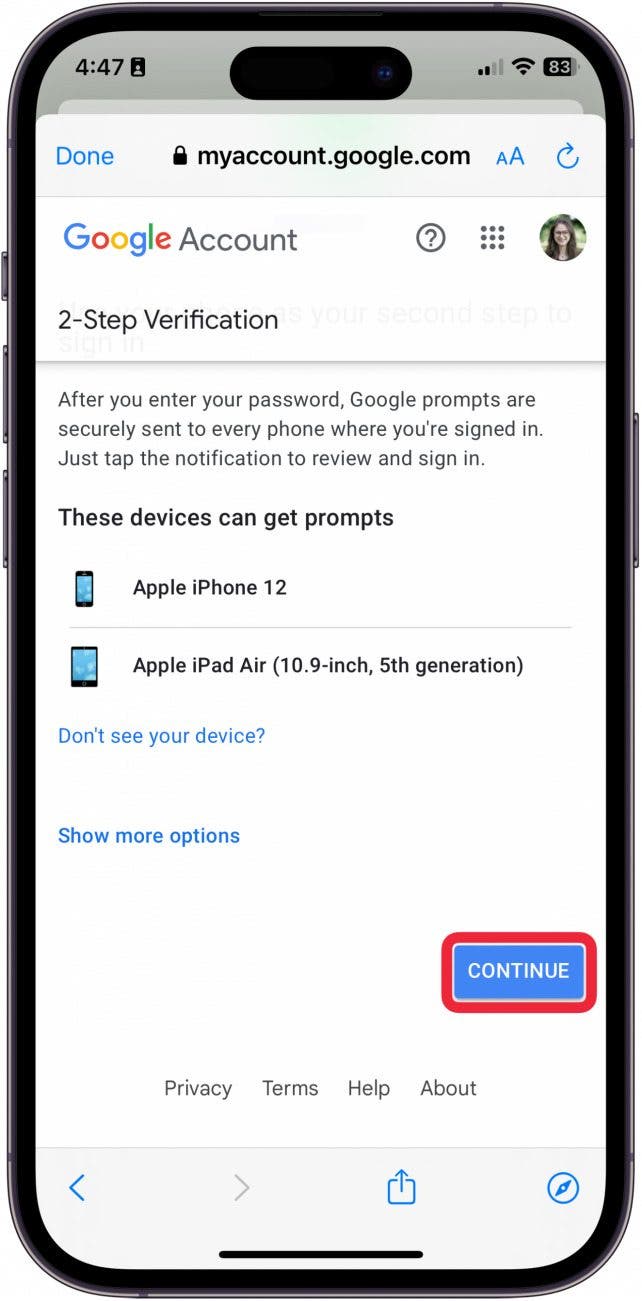
- Review the devices you have already associated with your account and tap Continue.
![gmail 2 factor]()
- Next, you will need to enter your cell phone number as a backup option. Tap Send. You will promptly receive a text with a code. Enter it into the authenticator.
![two way authentication gmail]()
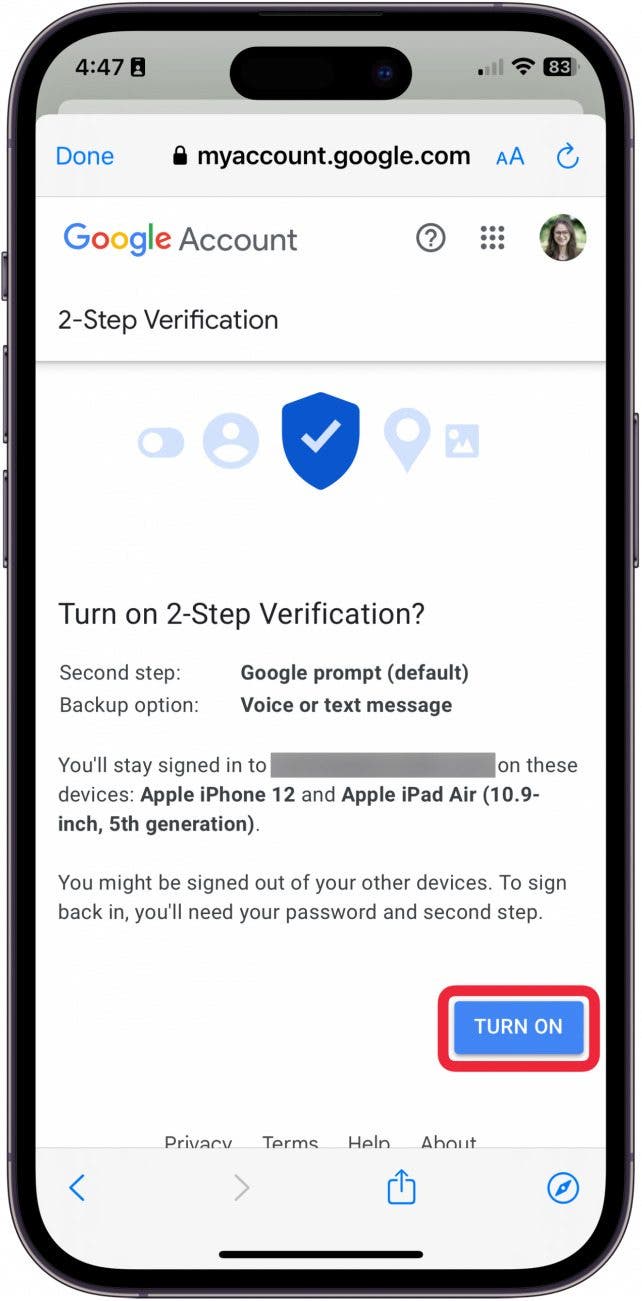
- Tap Turn On.
![gmail dual factor authentication]()
- Tap Done.
![2fa on gmail]()


2-Step Verification in Gmail
To know what two-factor authentication will look like when you attempt to sign in to your Gmail account, follow the steps below.
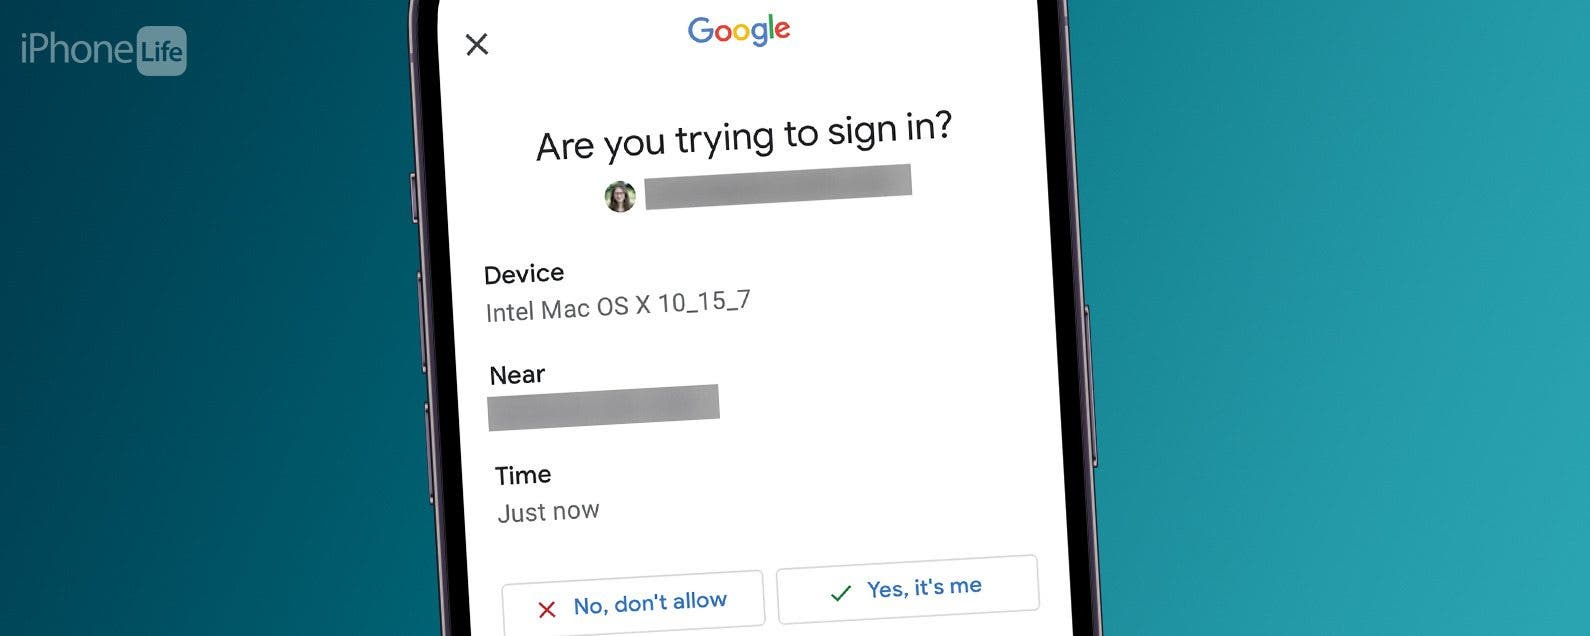
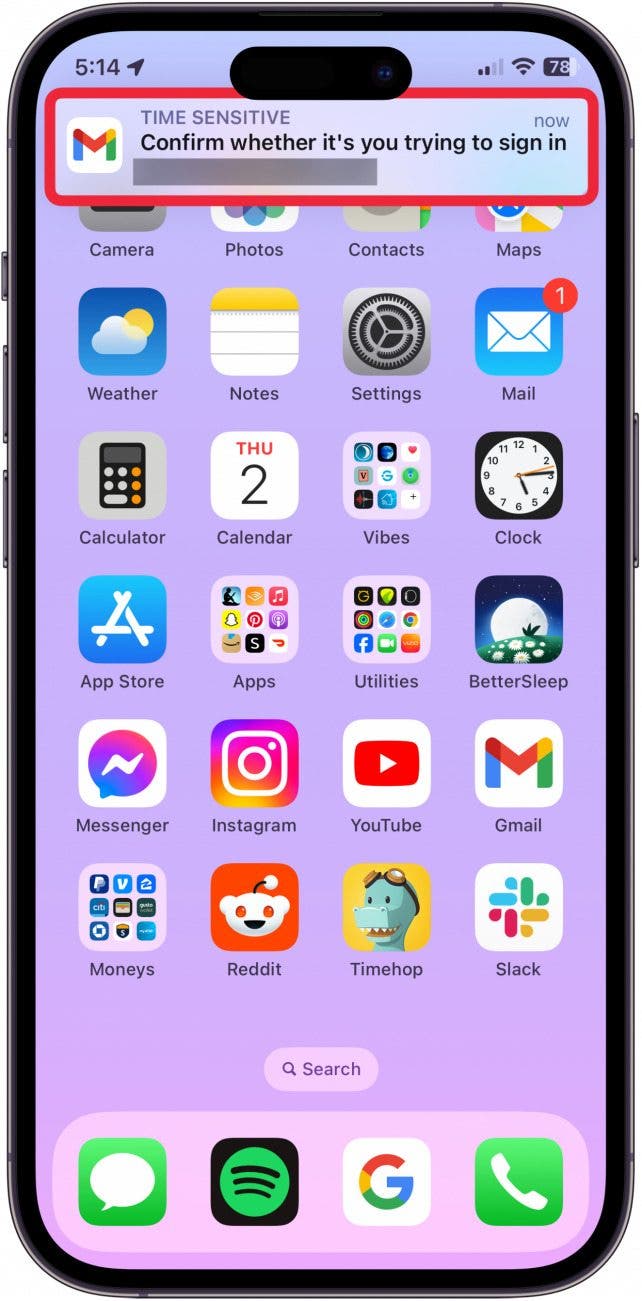
- First, you'll receive a banner notification from Gmail alerting you that someone somewhere is attempting to sign into your Gmail account. Tap the banner notification.
![second factor authentication gmail]()
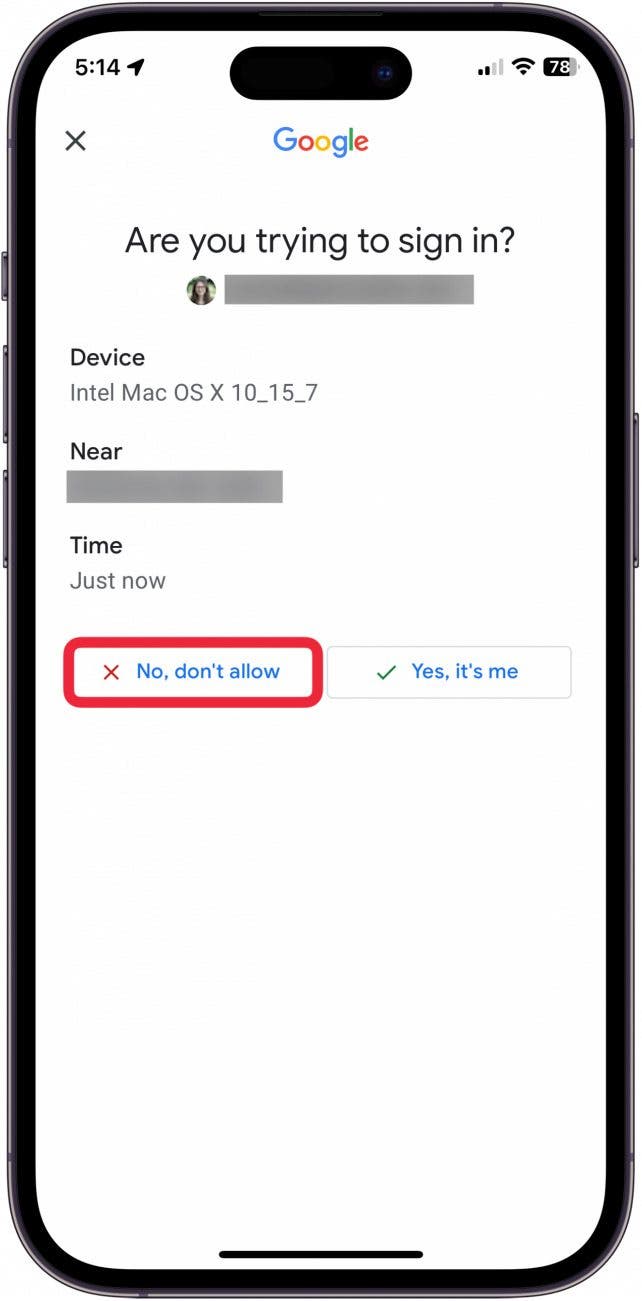
- From here, you can tap Yes, it's me to confirm it's you (if, indeed, it is you trying to sign in to your account).
![gmail two factor]()
- Or, you can deny the person access to your account by tapping No, don't allow. Make note of the device to ensure it's not just a family member signing in on a different computer.
![gmail secondary authentication]()

And that's how simple it is to protect your Gmail account with two-step verification! Sometimes, you might see two-factor authentication referred to as 2FA or MFA for multi-factor authentication.