
11 minutes
Whether you’re looking to promote an exciting new brand or want to outfit your family for Instagram photo ops at a family reunion, there’s always a good reason to print your own custom T-shirt. Yes, you probably already own a large collection of comfortable, versatile tees. But, there’s always room for more, so why not make your own?
In this step-by-step T-shirt print guide, we’ll review the ins and outs of printing a T-shirt, including determining your quantity and budget, selecting a printing method, and choosing the right fabric. We’re here to get you on your way to printing your new favourite tee for friends, family or business!
Step 1: Get a design
You can’t print a T-shirt without a great design. So make sure you’ve got a design that tells your story, fits your brand or just looks really cool. Start by asking yourself what you want your shirt to say about you or your brand. Who’s the target group you’re trying to appeal to? Take your time creating a design that reflects your brand identity, whether it features an illustration, a logo, a slogan or a combination of all three.
It’s crucial that you spend some time to make sure your T-shirt design is perfect before you move on to printing. Does it have the right proportions? Do the colours work well together? Is the text legible?

A cute breakfast T-shirt design by Alice Z. via 99designs by Vista.
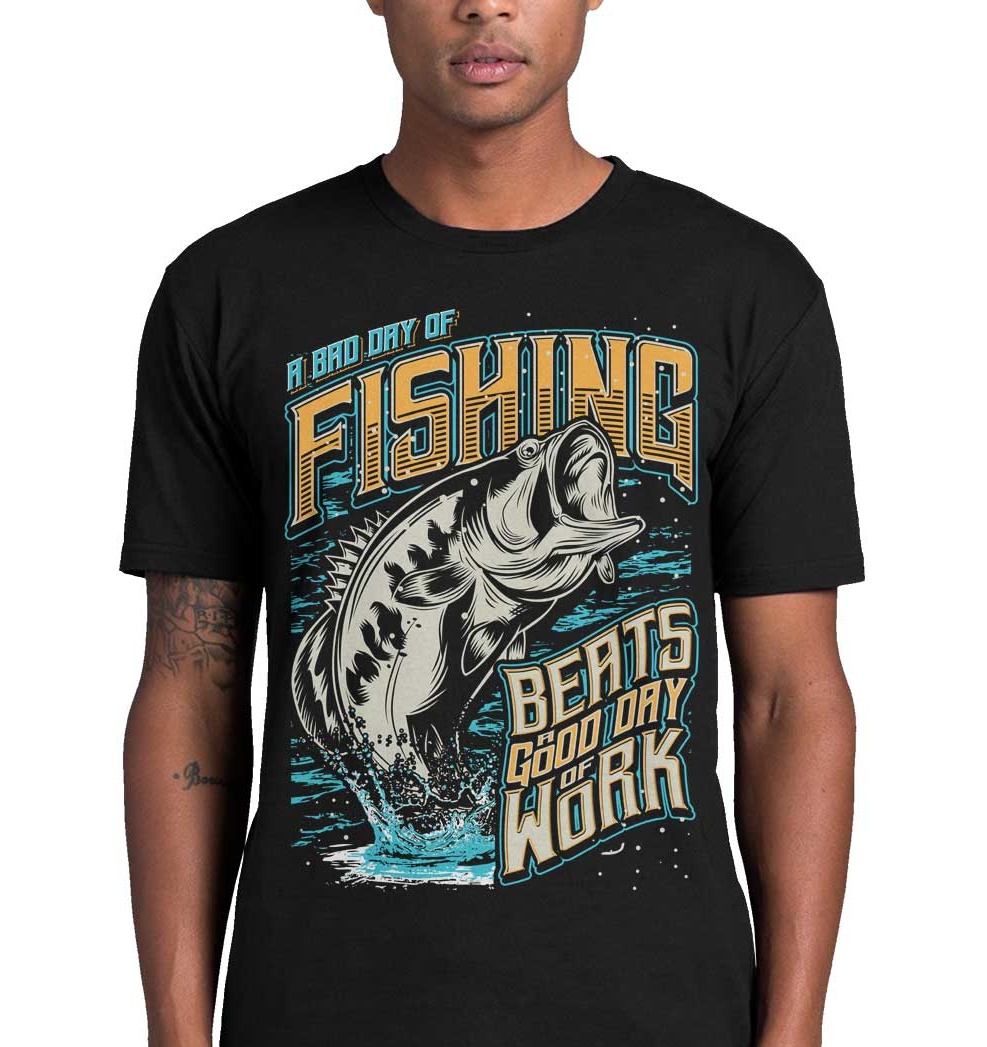
Also remember that your design needs to work with whatever T-shirt colour you choose: A design with dark colours won’t show up well on a dark blue or black T-shirt. So, if you know you want to print on black T-shirts, your design needs to use lighter colours and vice versa.
Don’t have a design yet? Check out our ultimate guide to T-shirt design, which covers everything you need to know to design a T-shirt you’ll love. You’ll learn how to pick the right style, imagery, colours and typography, so you’ll end up with the perfect T-shirt design.
Pro tip: Working with a professional designer, like using one of VistaPrint’s design services, is the easiest way to get a stellar T-shirt design that is guaranteed to look amazing on the finished printed shirt.
Step 2: Know your quantity and budget
Before you get too deep into the printing process, identify your estimated quantity and budget. As with any type of printing, ordering a large quantity will likely reduce the cost per item. Ordering in bulk is a smart plan, especially if you’ll be selling the shirts.
In addition to quantity, identify which sizes you’ll need and how many of each. If you’re printing merchandise shirts, keep in mind that some sizes are more popular than others, but it’s always important to have an inclusive range. Depending on your manufacturer, certain sizes can be pricier than others.

T-shirt design by noodlemie via 99designs by Vista.

T-shirt design by merci dsgn via 99designs by Vista.
Having your quantity and budget set in stone is an essential step towards narrowing down your printing method. Some methods are ideal for printing in bulk. Others have a higher cost per shirt and are better for small orders.
How much does T-shirt printing cost?
Printing a single T-shirt usually costs between £10 and £30, depending mostly on the thread count. Printing in bulk typically brings the cost per shirt down, to anywhere between £5 and £10. Prices for T-shirt printing vary depending on the printing technique you’re using, the quality of the plain T-shirts you’re printing on and the quantity you’re ordering. You can get big discounts on bulk orders.
Step 3: Choose your printing method
When it comes to printing a T-shirt and deciding on the right method, differences in cost, appearance, production time and materials will all come into play. Let’s cover these important details with three popular printing techniques:
Screen printing
Screen-printed tees can be made by hand or by machine. Either way, this method is the gold standard for T-shirt printing. The printer will make original screens of your T-shirt design, allowing you to print in bulk.

Screen printing

Via CaliPrints
Pros: Screen printing is reliable, affordable and high-quality. This method is ideal for large orders.
Cons: A new screen is required for every new colour or design revision. Colourful designs end up being pricey.
Best for bulk orders and printing bright colours on dark shirts.
Vinyl graphics
T-shirts with vinyl graphics are created through transfer printing. The result is a different look and texture from screen printing—one that feels bolder and more dimensional. Vinyl is often considered to be more durable than ink.

Vinyl graphics

Via BlueMaize
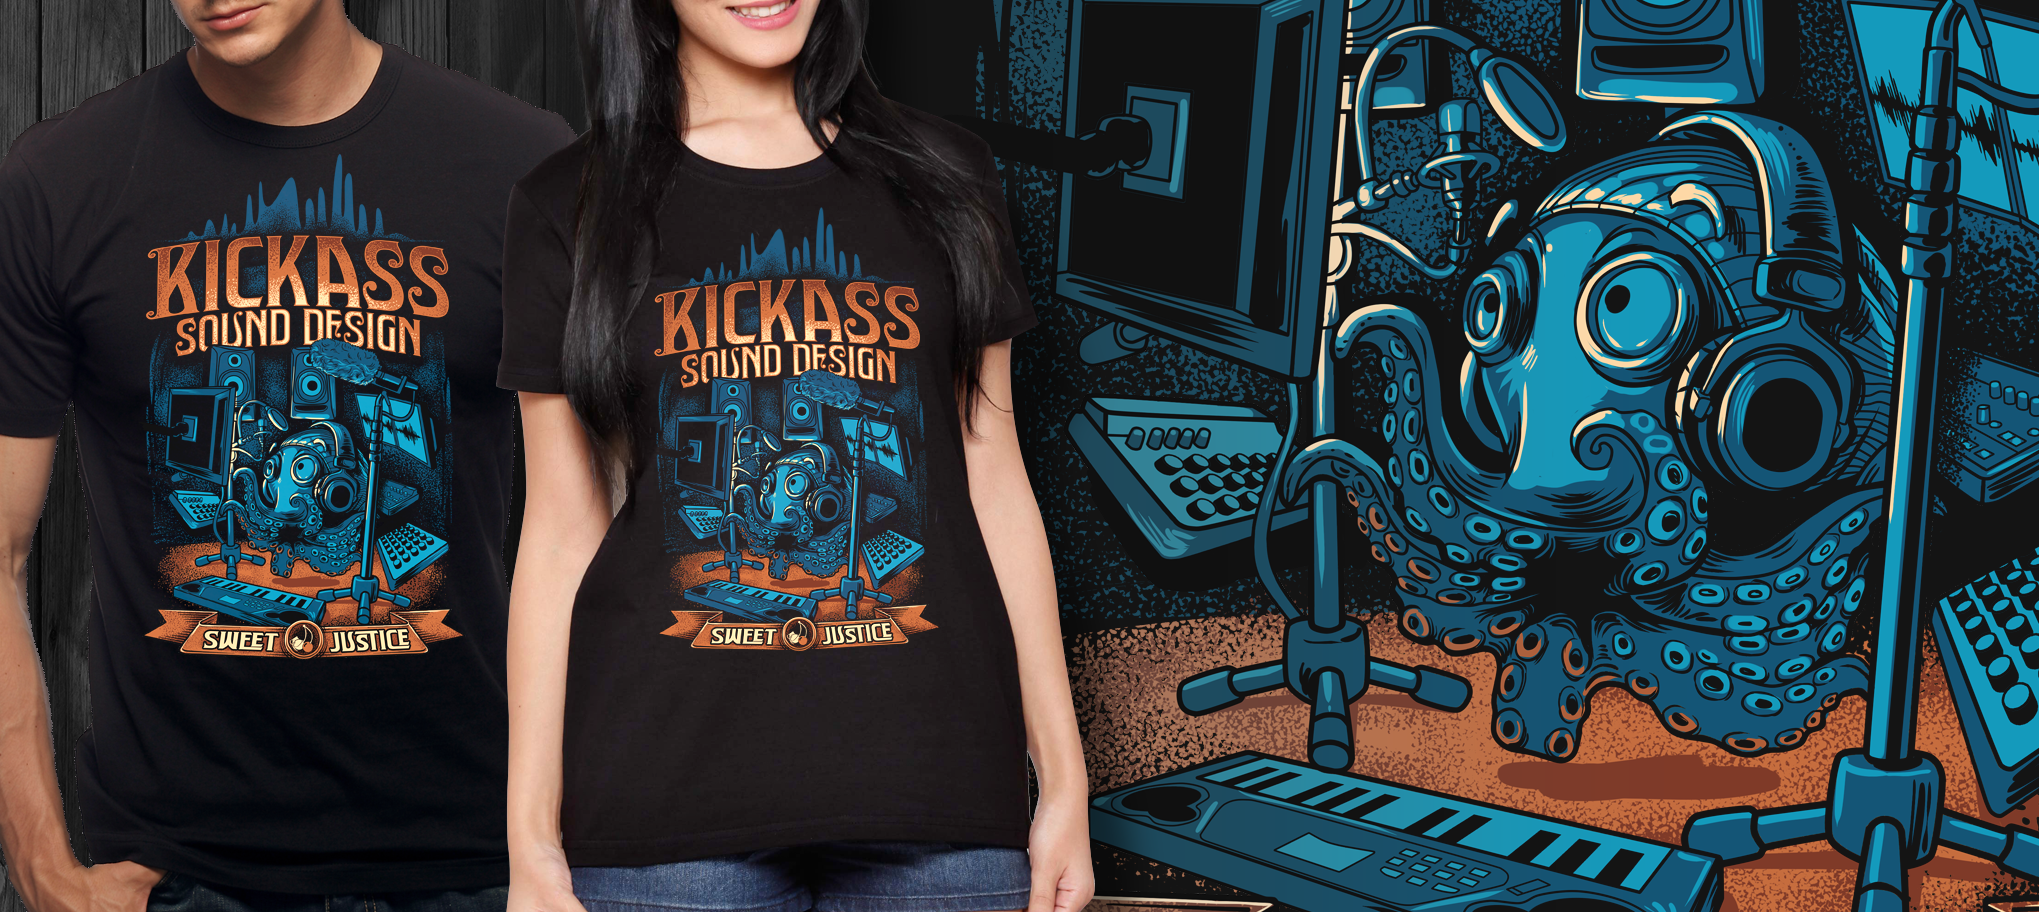
Pros: The bright colours and durable materials work best for T-shirt designs that you really want to stand out.
Cons: Much like screen printing, each additional colour adds to the cost. Because each graphic must be transferred shirt by shirt, vinyl printing is not a great option for large orders.
Best for simple graphics and short-run orders that include basic shapes and/or text-based designs.
Direct-to-garment
Direct-to-garment (or DTG) printing is a newer option that uses inkjet printers. This method sprays ink onto the garment—like inkjet printing on paper, but with fabric.
Direct-to-garment

Via Printaura
Pros: The DTG method allows for highly customisable designs with intricate detail and many colour choices. Bring on the colour!
Cons: This works best for shirts in small batches. The more you’re printing, the less viable it becomes. Also, dark-coloured garments are a no-go.
Best for small-quantity orders that require high amounts of detail.
Step 4: Find a printer
Once you’ve settled on your design, budget and printing method, it’s time to find a printer. There are many options to choose from (both locally and online), so we recommend taking the time to explore the possibilities. If you’re printing locally, request samples of actual, finished shirts, not just design images. Most printing companies love visitors! Stop by their shop to see and feel their work.
The right printer needs to offer the printing technique that makes your design look its best. T-shirt design by diwaz via 99designs by Vista.
If you decide to go with an online printing company, read reviews of previous customers and give their customer support a call to see if they’re the right fit for your project and printing needs.
As you select your printer, always keep your timeline in mind to make sure you can have the order ready in time. For an online order, remember to factor in the printing time as well as the delivery time.
The following factors will influence which printer to choose:
- printing techniques they offer and whether they work for your design
- cost for plain T-shirts plus printing
- printing time
- T-shirt cuts, sizes, materials and colours they offer
- quantities you can order
- support and proof options
Step 5: Choose a fabric and shirt type
Plain and simple: a T-shirt should be comfortable. Keep this in mind as you explore fabric options for your new design.
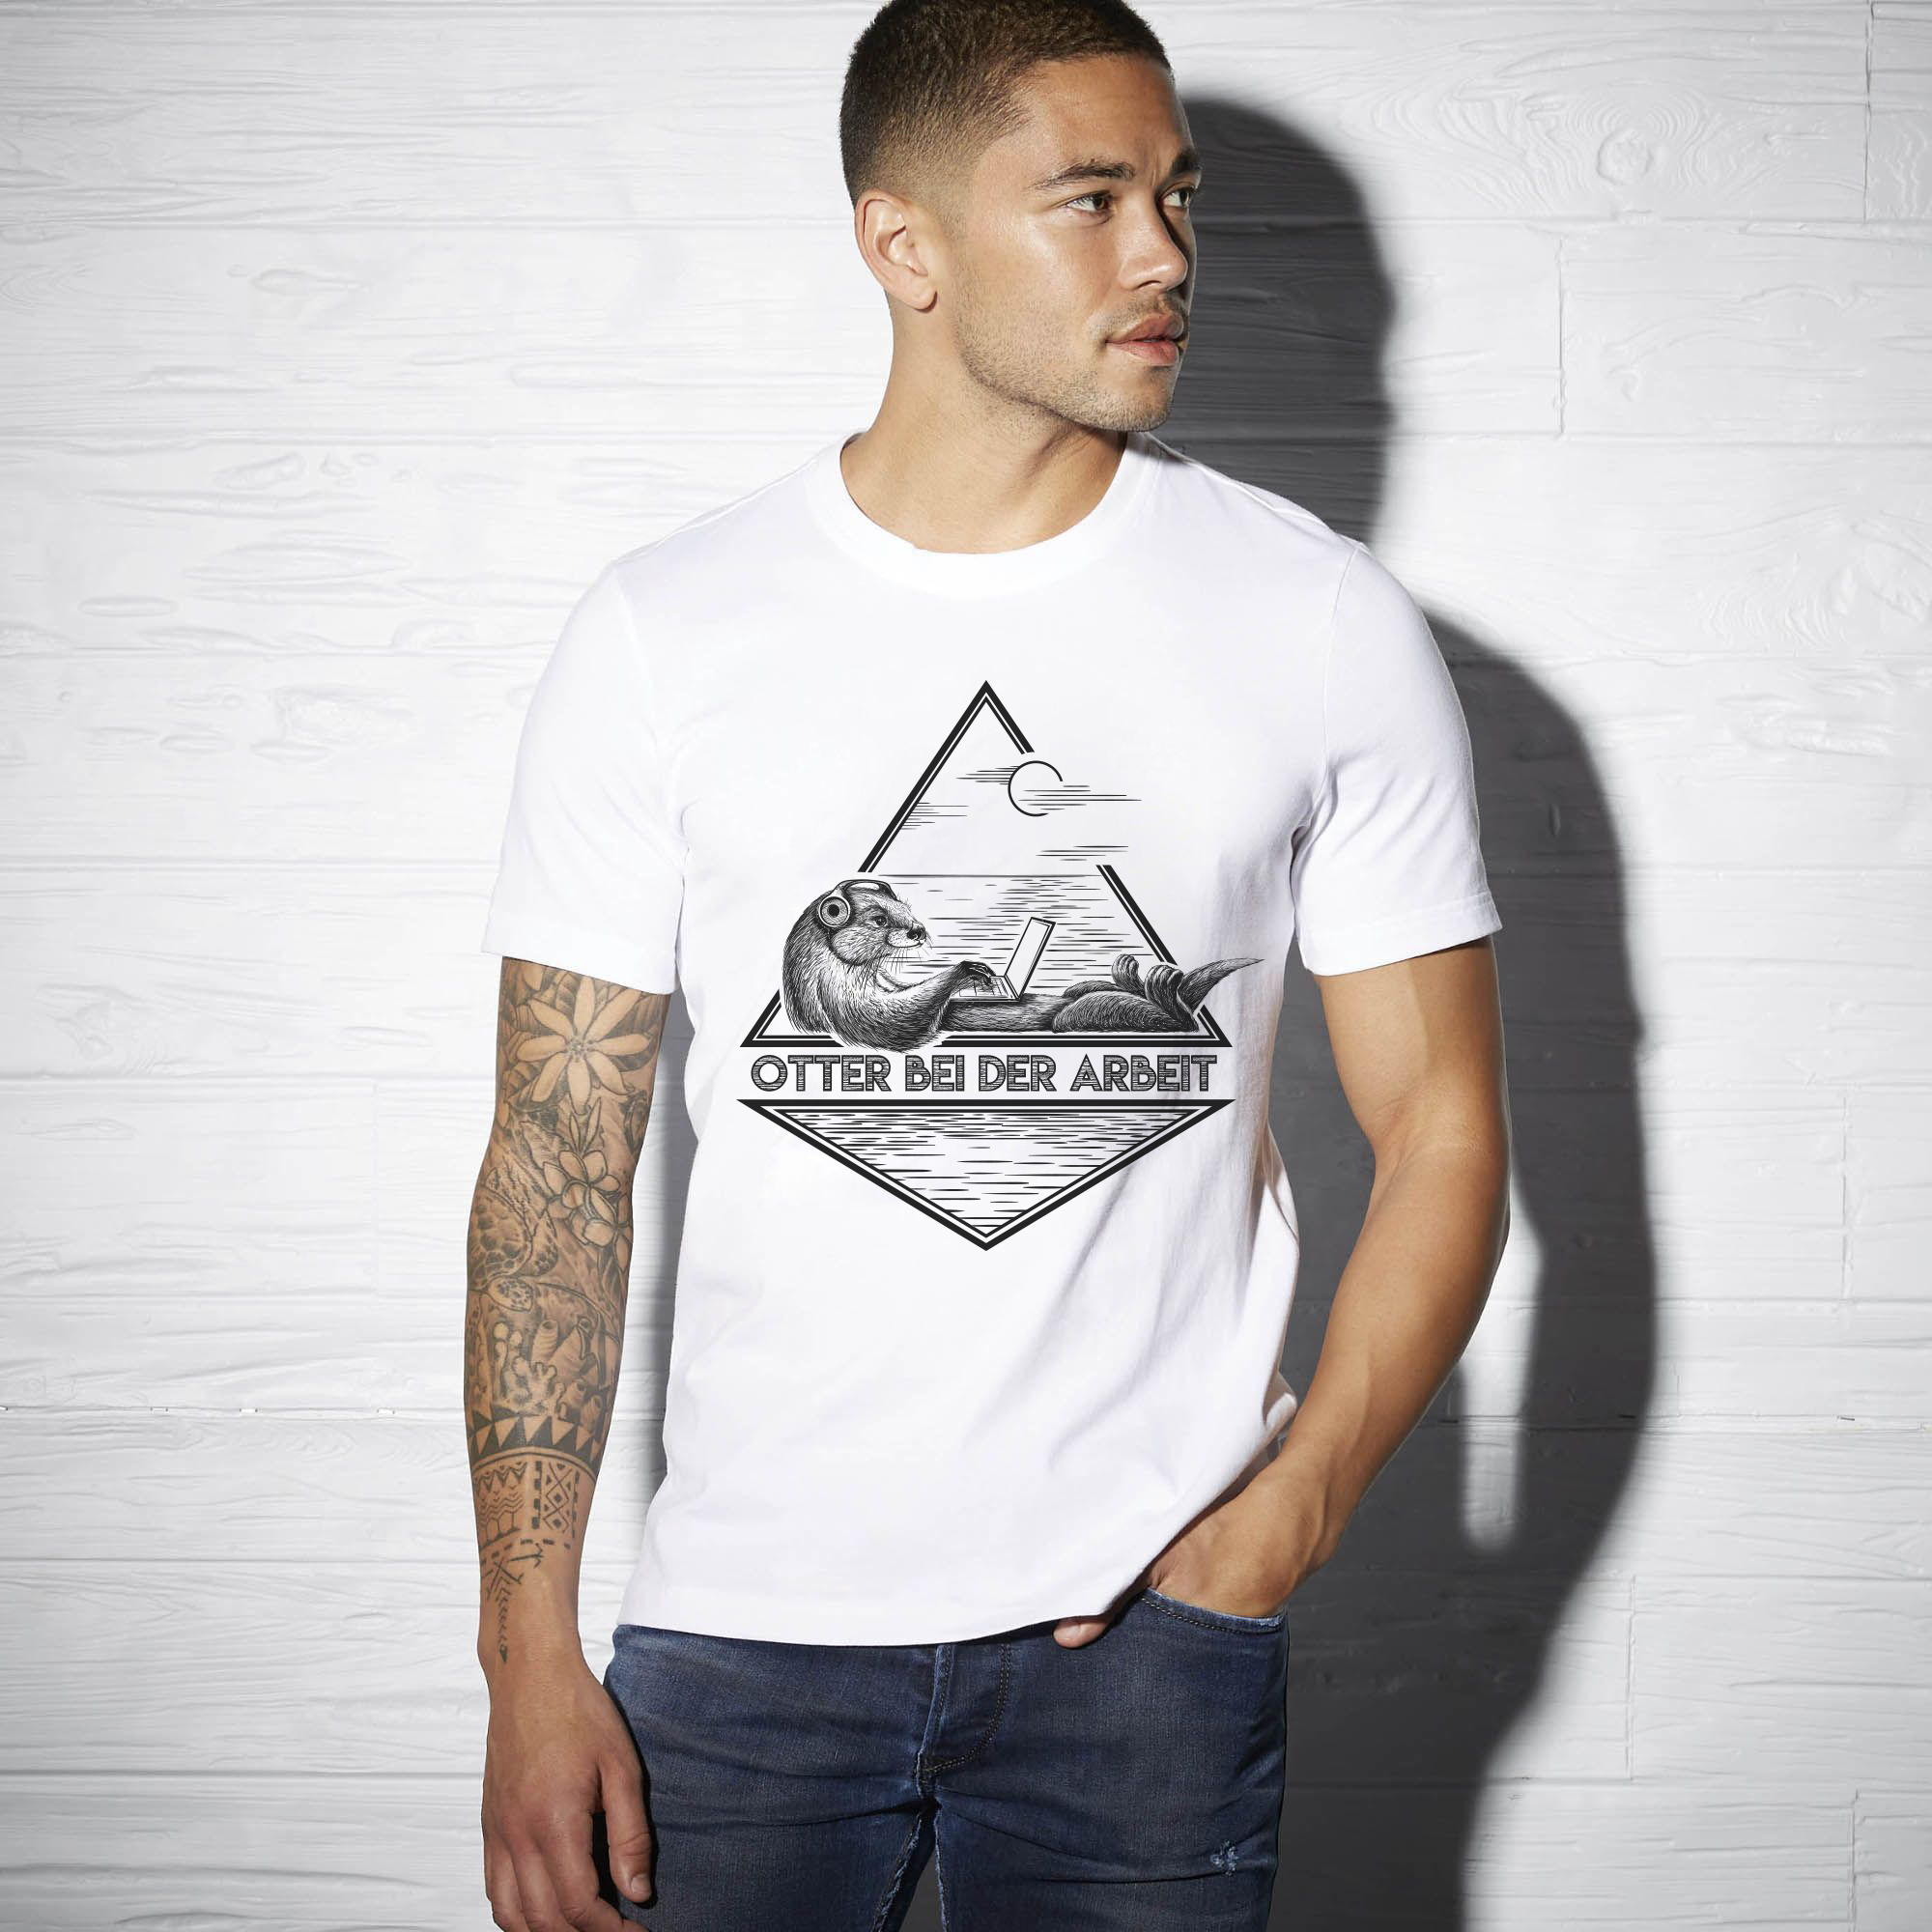
The white short-sleeve crew neck is a classic, fail-safe choice. T-shirt design by Konstantin Kostenko via 99designs by Vista.
An incredibly popular option is 100% cotton. It’s versatile, easy to wear and even easier to wash. For a softer and more breathable alternative, try a 50% polyester and 50% cotton blend, a crowd favourite and often cheaper than pure cotton.
Work with your printer to determine which fabrics will work with your quantity and budget.
In addition to selecting a fabric, you’ll need to settle on a shirt type.
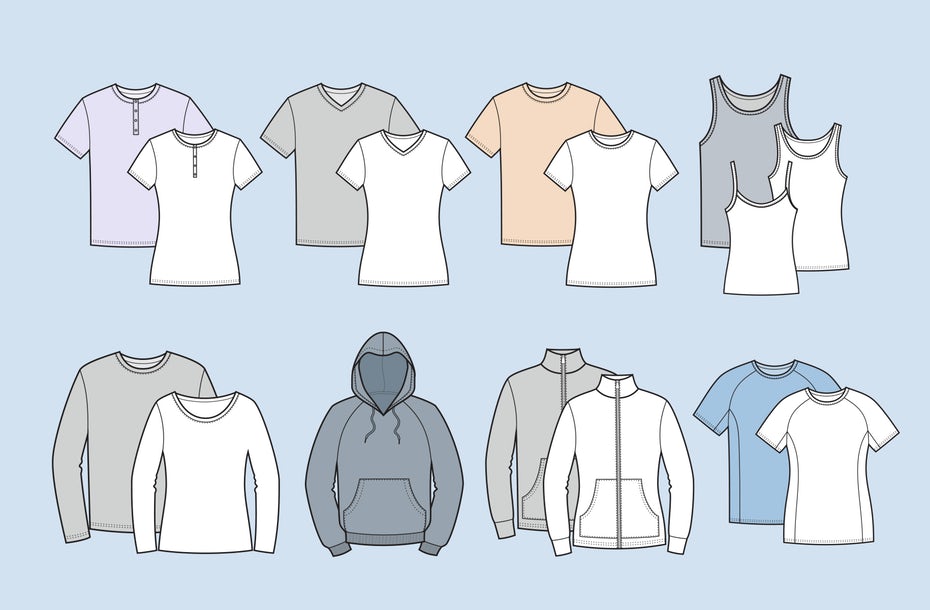
There are so many different styles, types and cuts out there. Pick the one that works best for your audience.
Think about your audience and intended goals before deciding on the right type of T-shirt. What’s the style and cut your target group would like best? What colours will they prefer? When and where do you want them to wear it? When in doubt, go with the short-sleeve crew neck in white, black or grey. It’s a fail-safe bet.
Step 6: Submit your files
When the prep’s ready, you’ll need to send your design files to your printer. Communicate directly with your printer and ask them about specific file types, colour requirements and file sizes. Ask in advance in order to avoid any miscommunication down the road. Relay this information to your designer so they can supply you with your final files.
Make sure you submit your design files in vector format so your shirt turns out the way it should. T-shirt design by XZEQUTEWORX™ via 99designs by Vista.
What is the right file format for T-shirt printing?
You will need to submit your T-shirt design in vector format. This will likely be an AI, PDF or EPS file. Any of these formats will work, but if you’re unsure which one to send to your printer, choose a PDF since it’s the most versatile. Your designer will provide you with a file in one or several of these formats (depending on the program your design was created in, such as Adobe Illustrator or InDesign etc.). You’ll need a separate file for each T-shirt design you’re creating.
Additionally, you might need the specific colour codes, if your printer does custom colours. Make sure you have the Pantone or CMYK colour codes so that everything turns out looking like you want.
Step 7: Check your proof
A printer should always send you a proof before a shirt gets printed, especially if you’re placing a bulk order. This can be a digital proof or a test print of the shirt itself. This is your last chance to make any changes, so review it very carefully. Check the words, the numbers, the colours, the alignment…everything!
When reviewing, it can be helpful to show the proof to an impartial third party who will provide a fresh perspective on any potential errors.
Step 8: Get your shirts!
Once your shirts have been printed, pick them up and do one final check. Ensure that you’re satisfied with the end product and thank your printer for the hard work. If possible, leave a review about your experience. Now enjoy your amazing new shirts!
You’re teed up for the perfect T-shirt printing
We’ve covered it all, from quantity and budget to T-shirt printing methods and finding the right fabric. Now, it’s time for you to get started! Identify your goals and get down to business.
Author: Aviva M.Cantor
