Upload Files to Google Drive from Google Forms
Last Updated :
02 May, 2024
Google Forms is a free service that lets you create surveys, quizzes, and more. Google Drive is cloud storage for your files. By combining these two, you can easily collect files from respondents.
This article will guide you on uploading files to Google Drive from Google Forms. You’ll learn how to create a form with a file upload question and automatically store the uploaded files in your Drive.
How to Upload Files to Google Drive from Google Forms
Step 1: Open Google on your default web browser.
Search for Google on your device’s default web browser.
Open Google on your default web browser
Step 2: Open Forms from Google Workspace apps
Click on FORMS from the 9-dot menu bar at the top right corner of the Google homepage.
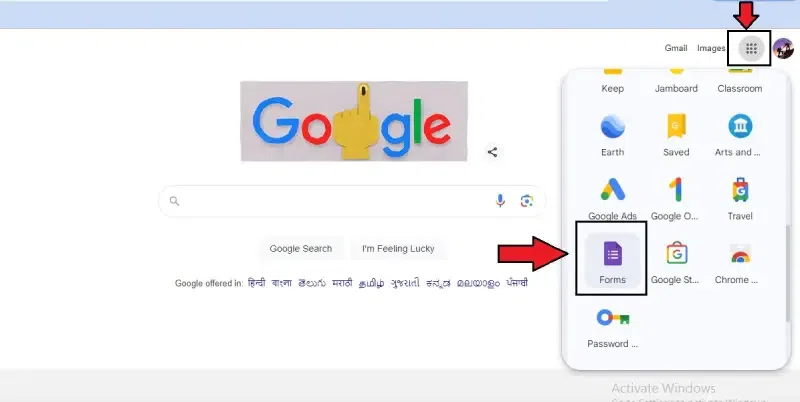
Open Forms from Google Workspace apps
Step 3: Open a Blank form and rename it
Select a blank form from the window and rename it to Upload files to Drive.
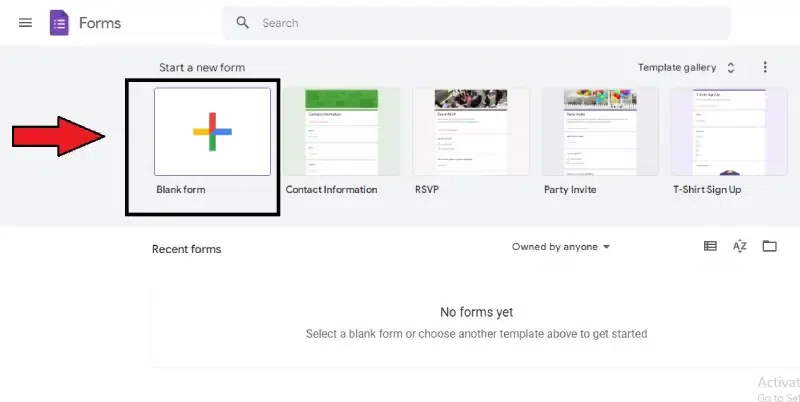
Select a blank form from the window
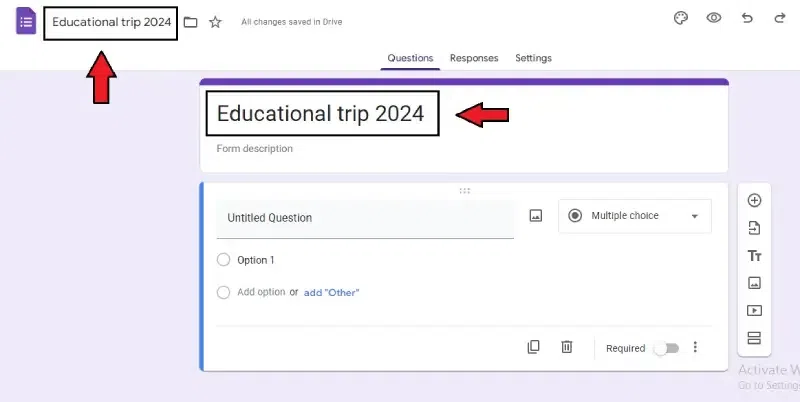
Rename the Blank form
Step 4: Give the untitled question a name
In the box given below, rename the question as needed.
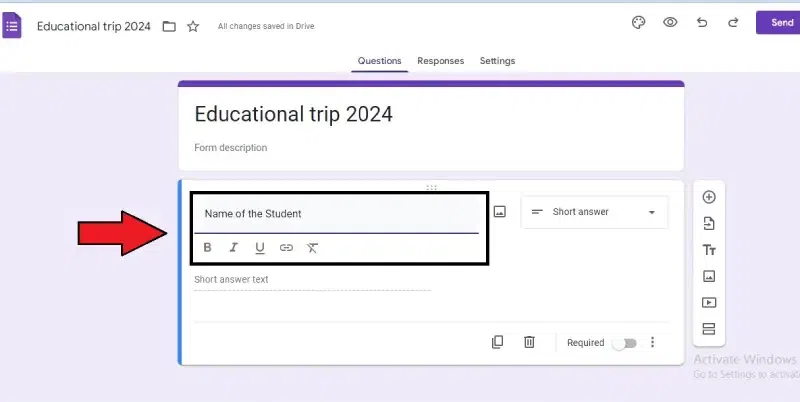
Give the untitled question a name
Step 5: Add options to the question
By clicking the “add option” or “add other,” you can add various options.
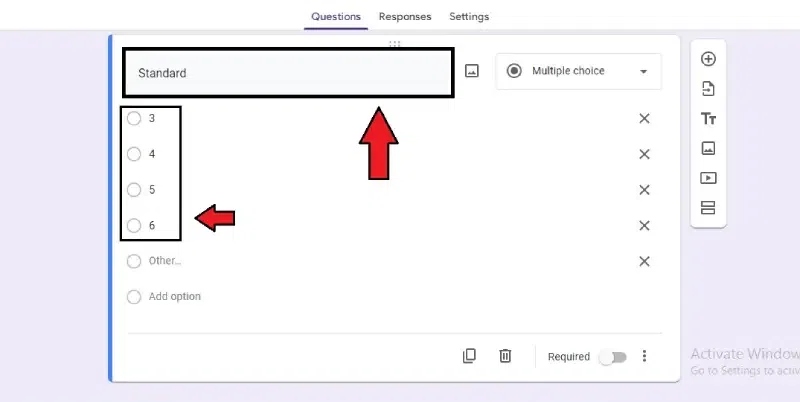
Add options to the question
Step 6: Click the required symbol
There is a Required button in the bottom right corner. To make the question required, click Required.
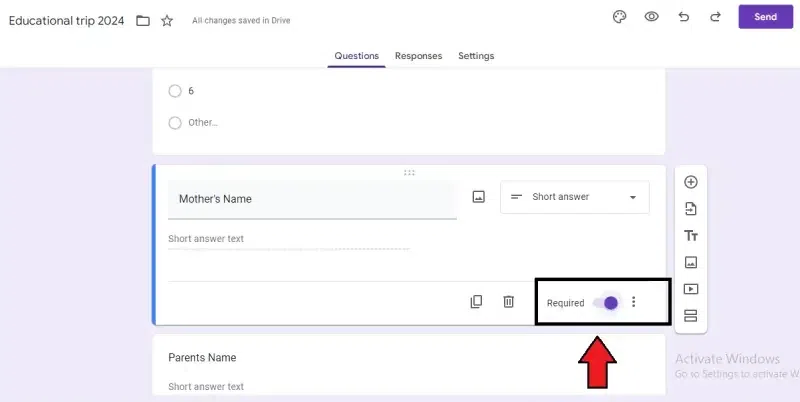
Click the required symbol
Step 7: Click Add Symbol on the top right corner
If you are done with your question, click the add symbol in the vertical bar on the right side of the page.
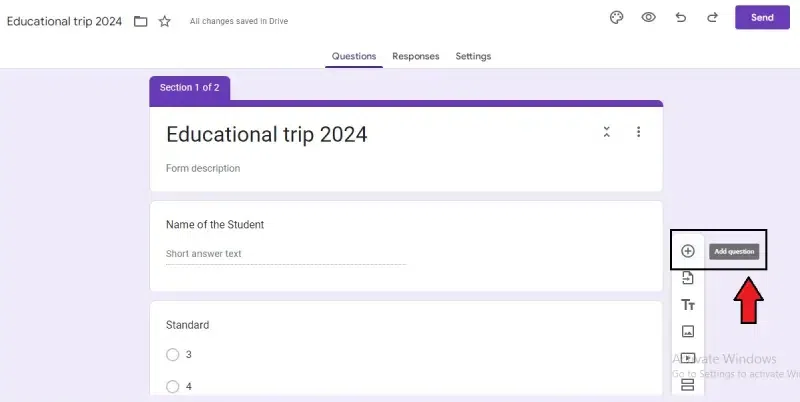
Click Add Symbol on the top right corner to add questions
A new box will appear for your next question. To upload the file in the form, here are the following steps:
Step 1: Select the file upload option and continue
You can see a list of various options after clicking on the multiple-choice option at the top right corner of the box. Click and choose the File Upload option. A new box with permission will be asked; click continue.
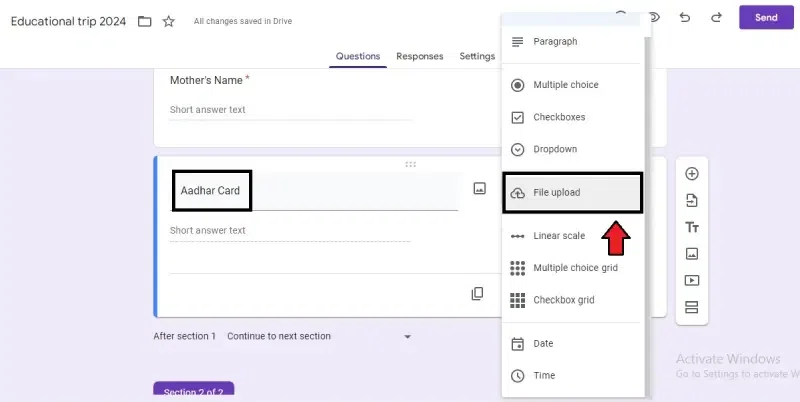
Select the file upload option
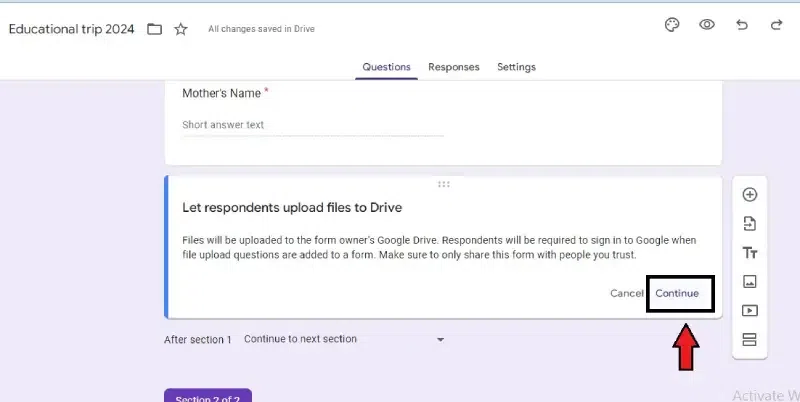
Click on “Continue”
Step 2: Enter the details of the files to be uploaded
Two questions will be asked regarding the file, the size of the file, and the number of files to be uploaded. Choose and continue.
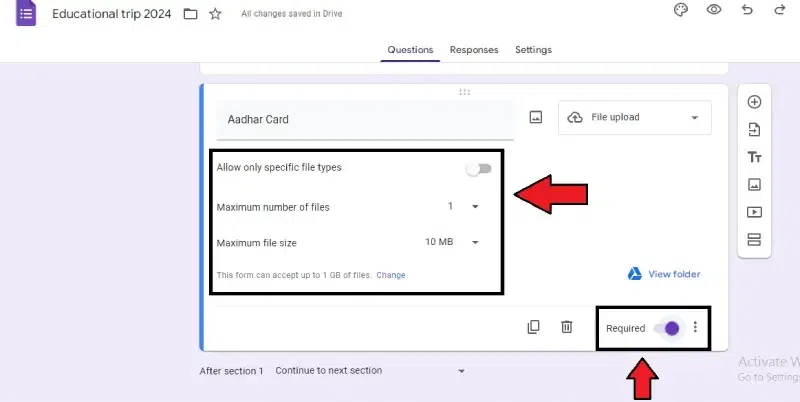
Enter the details of the files to be uploaded
Step 3: Click the required symbol
There is a Required button in the bottom right corner. To make the question required, click Required.
Click the required symbol
Method 1: Create the Apps Script
Step 1: Open the script editor in the form
Three dots are given in the top right corner of the form. Click “More” to open the dialogue box. Select “Script editor” from the options.
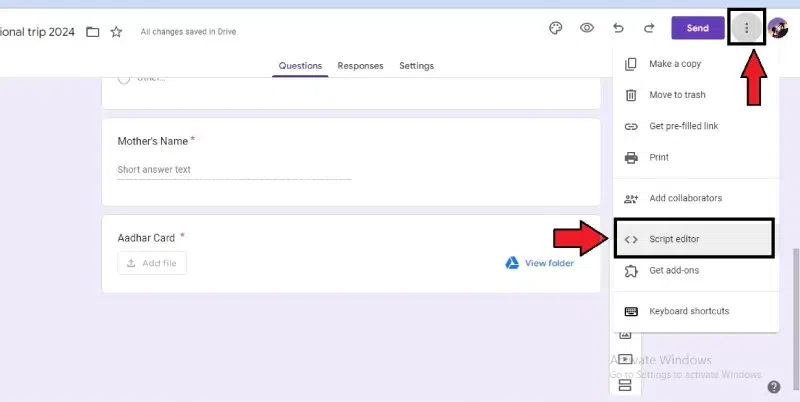
Open the script editor in the form
Step 2: Click the untitled project on the top
Click the untitled project name at the top of the window.Rename the project to “Upload files to Drive”.
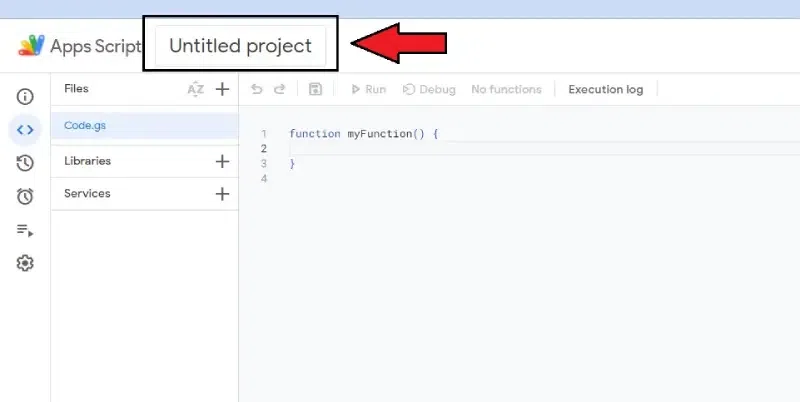
Click the untitled project on the top
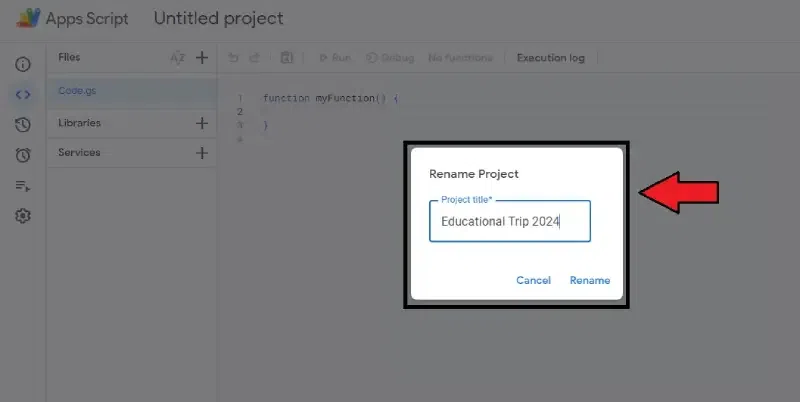
Rename the project
Step 3: Create another file in the Apps Script
This step is optional, both code sections can be placed in the same script file. If you prefer separation, follow these steps:
- Click on “File” in the menu bar.
- Select “New” and then “Script file”.
- Name the new file “Setup”.
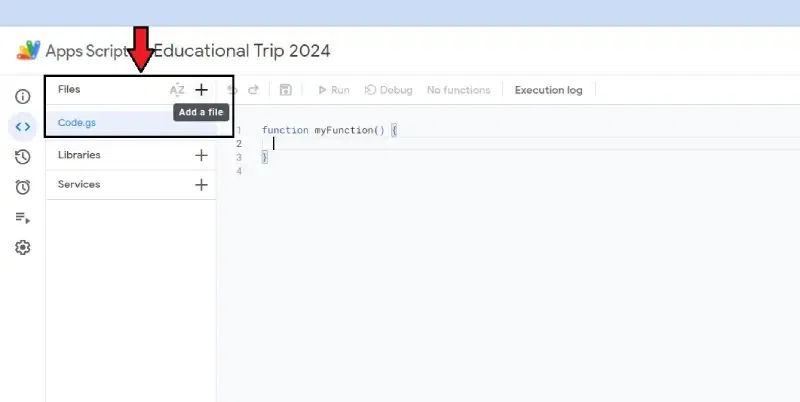
Create another file in the Apps Script
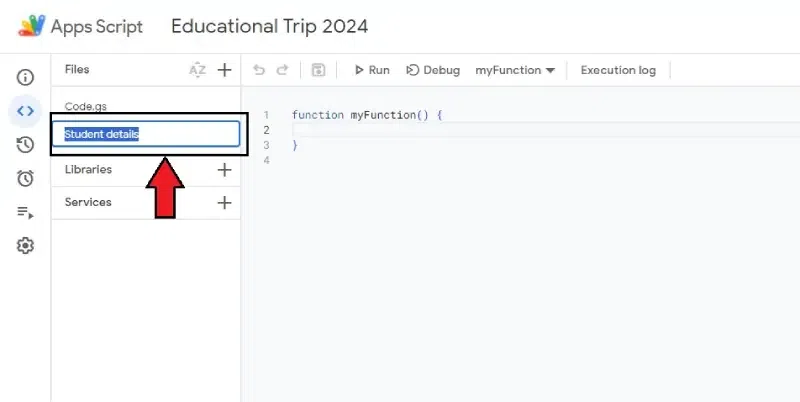
Name the file Setup.
Step 4: Replace the last content with the given one
Replace the content of both script files with the following content:
// Replace “Form Name” with the ID of your form.
var form = FormApp.openById(‘YOUR_FORM_ID’);
var folderId = ‘YOUR_FOLDER_ID’; // Replace with the ID of the folder in Google Drive where you want to store the files.
// This function is triggered every time the form is submitted.
function onFormSubmit(e) {
var responses = e.response.getItemResponses();
// Loop through each form response.
for (var i = 0; i < responses.length; i++) {
var response = responses[i];
// Check if the response is a file upload question.
if (response.getItem().getType() == FormApp.ItemType.FILE_UPLOAD) {
var fileBlob = response.getResponse(); // Get the uploaded file.
var folder = DriveApp.getFolderById(folderId);
var fileName = response.getItem().getTitle(); // Use the question title as the filename.
folder.createFile(fileBlob).setName(fileName); // Save the file to Google Drive.
}
}
}
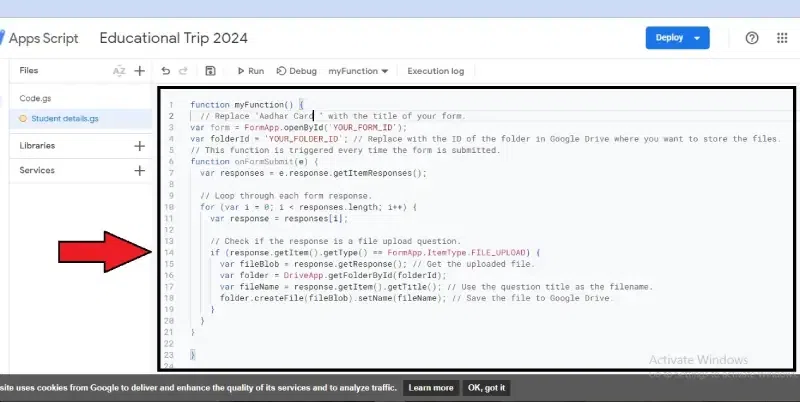
Replace the last content with the given one
Method 2: Run The Script
Get the Form and Folder IDs. To run the script, here are the steps:-
Step 1: Replace form ID
Replace ‘YOUR_FORM_ID’ with the ID of your Google Form. You can find this ID in the URL of the form.
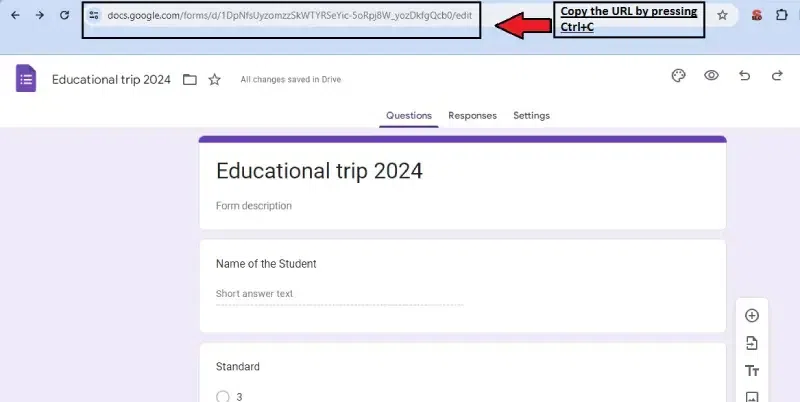
Copy the URL to replace ‘YOUR_FORM_ID’
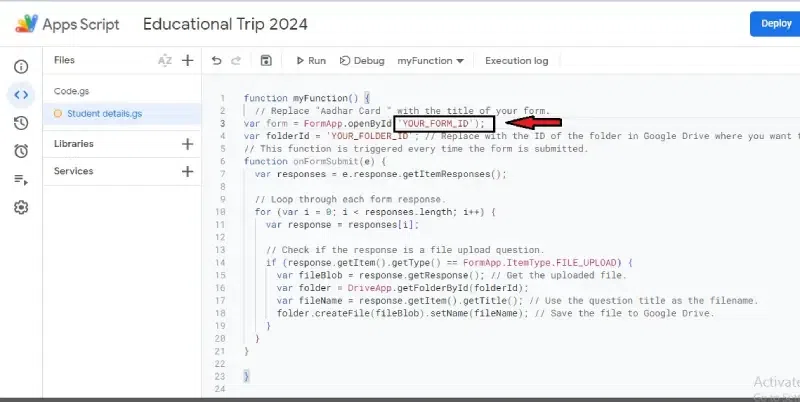
Replace form id
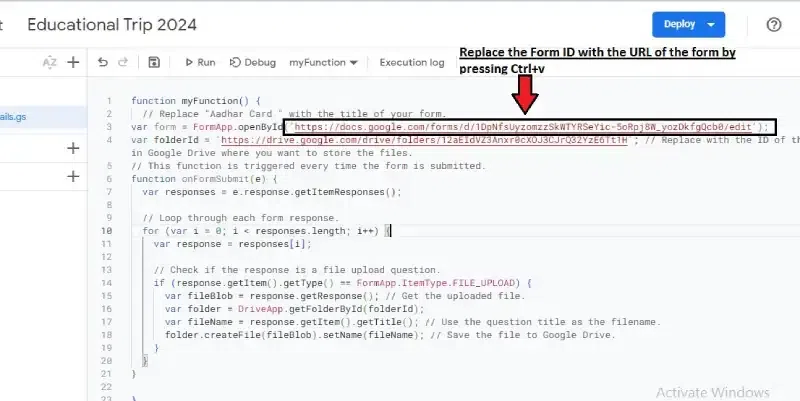
Press Ctrl+V to replace the Form ID
Step 2: Replace folder ID
Replace ‘YOUR_FOLDER_ID’ with the ID of the folder in your Google Drive where you want to store the files. If you don’t have the ID, you can get it from the URL when you’re in the folder.
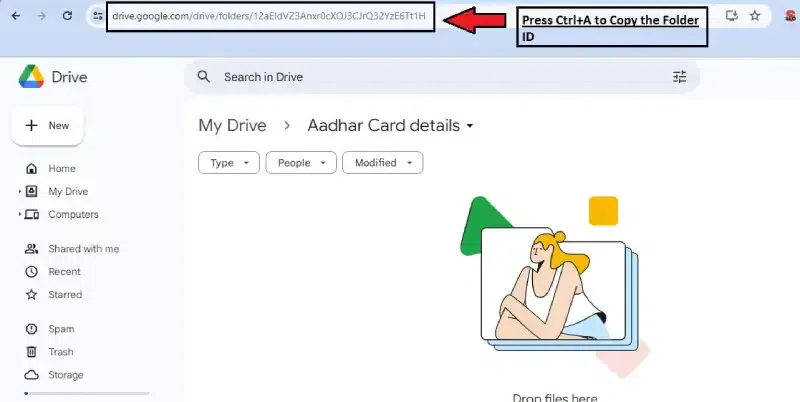
Replace folder id
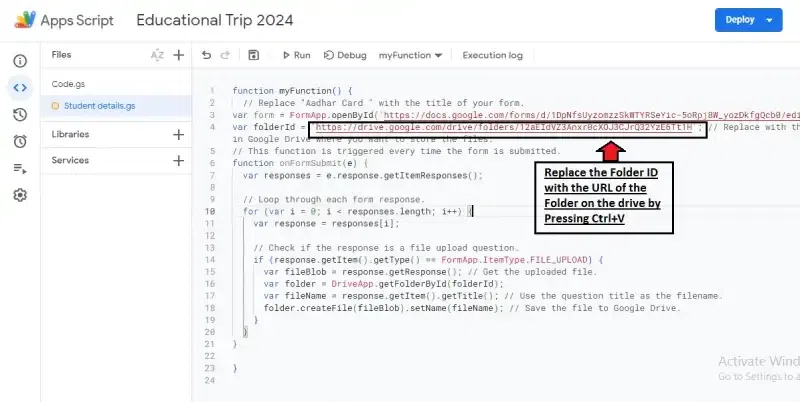
Press Ctrl+V to replace the Folder ID
Step 3: Save Script
Save the script.
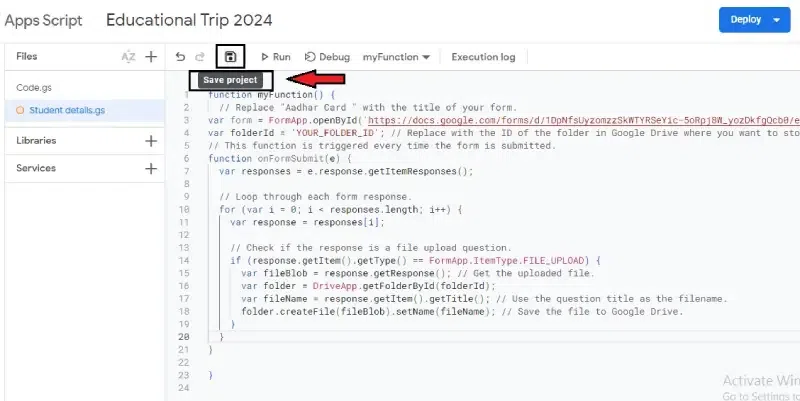
Save the script.
Step 4: Click triggers
Click on the clock icon (Triggers) in the script editor toolbar.
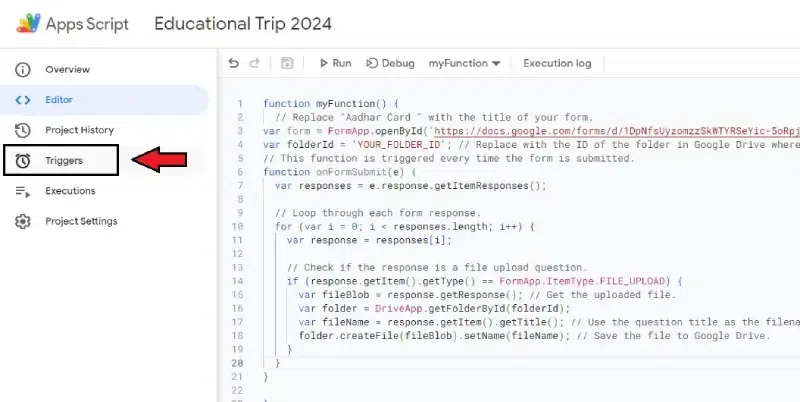
Click triggers
Step 5: Set up a trigger
Set up a trigger to run the ‘On Form Submit’ function every time the form is submitted.
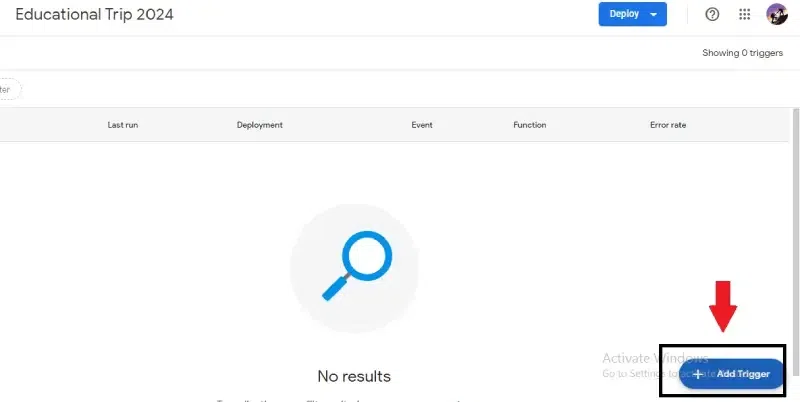
Click on “Add Trigger”
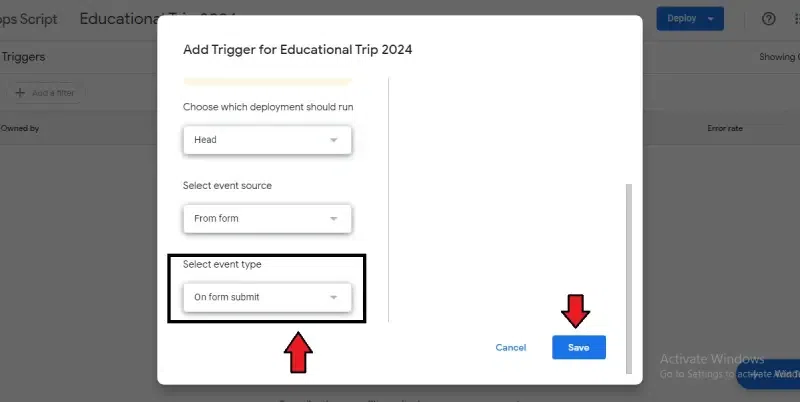
Set up a trigger to run the ‘on Form Submit’
- Easy access and sharing: As soon as the file is uploaded, accessing it and sharing it among collaborators is straightforward. It also has a significant function that lets users control who can view, edit, or comment on the files.
- Automatic organization: Google Drive provides various features, such as folders, tags, and more, that make it easy to find specific files. Users can also customize folders to categorize the uploaded files and search for them specifically.
- Security and backup: Google Drive has strong security that protects all the uploaded files.
- Centralized storage: Every file uploaded using Google Forms is appropriately stored in Google Drive. This ensures that all related files and data are arranged in one location, which helps with control and access.
- Version control: Google Drive automatically saves file versions so users can access older versions when necessary. This feature is beneficial when several people work on the same file, as the changes can be monitored and reversed.
Conclusion
This guide covered uploading files to Google Drive from Google Forms. You learned how to create a form with a file upload question and automatically store uploaded files in your Drive. Google Forms (free) lets you create surveys and collect files, while Google Drive stores them securely. This combo offers easy access, organization, security, and version control. Overall, uploading files from forms to Drive streamlines data collection and management.
Can you upload a Google Form to Google Drive?
No, you cannot upload a Google Form itself to Google Drive.
Does Google Forms have a file upload option?
Yes, Google Forms has a file upload option that allows respondents to upload files.
What is file upload in forms?
The file upload option in Google Forms lets people submitting the form upload files to your Google Drive.
Can you move Google Forms to a folder?
Yes, you can move a Google Form to a folder in your Google Drive.
Why won’t Google Forms let me upload a file?
Google Forms itself cannot upload files. There might be an issue with the form settings or respondent permissions.
Please Login to comment...