Introduction
Inserting a SIM card into your iPhone 5 is a straightforward process that allows you to connect to a mobile network and enjoy seamless communication on your device. Whether you're setting up a new iPhone 5 or replacing an existing SIM card, this step-by-step guide will walk you through the process with ease.
The SIM card, or Subscriber Identity Module, is a small, removable card that stores your phone number, contacts, and other essential information. It's a crucial component that enables your iPhone 5 to connect to your mobile carrier's network, granting you access to voice calls, text messages, and mobile data services.
By following this guide, you'll gain a clear understanding of how to locate the SIM card tray, eject it, insert the SIM card, and re-insert the tray into your iPhone 5. This simple yet vital procedure ensures that your iPhone 5 is fully equipped to keep you connected on the go.
Now, let's delve into the step-by-step process of inserting a SIM card into your iPhone 5, empowering you to harness the full potential of your device's connectivity features.
Step 1: Locate the SIM card tray
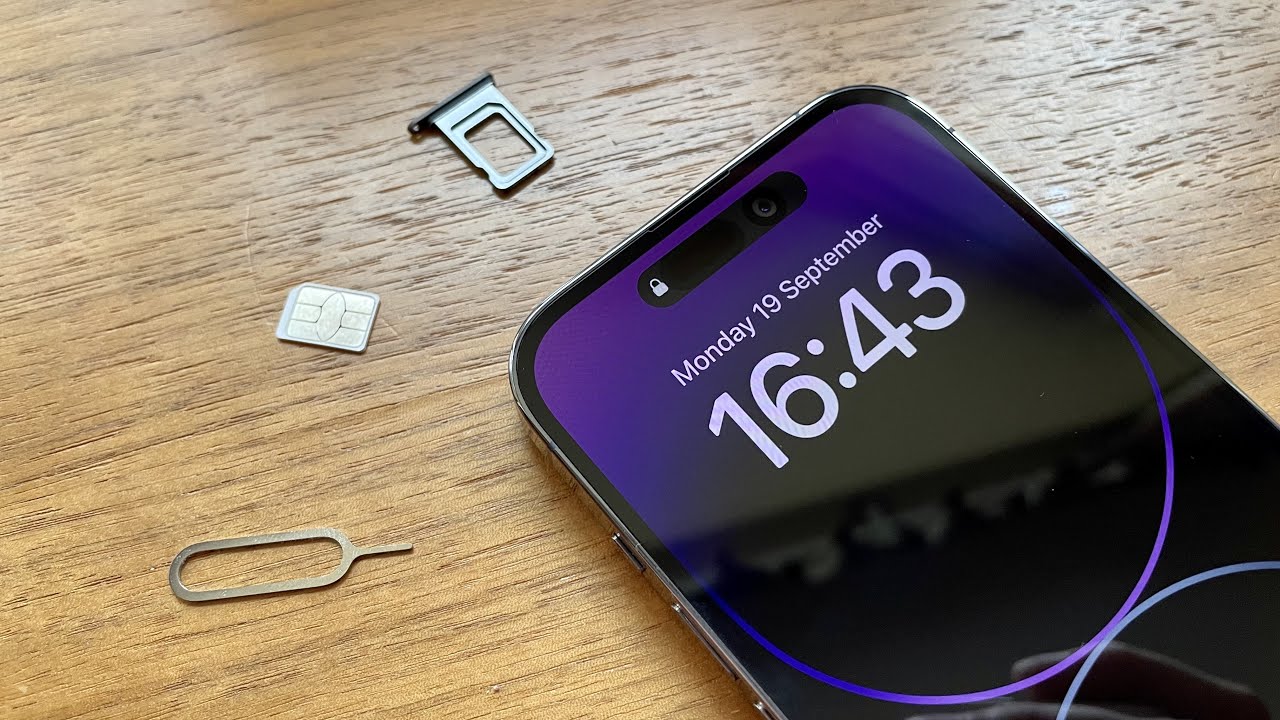
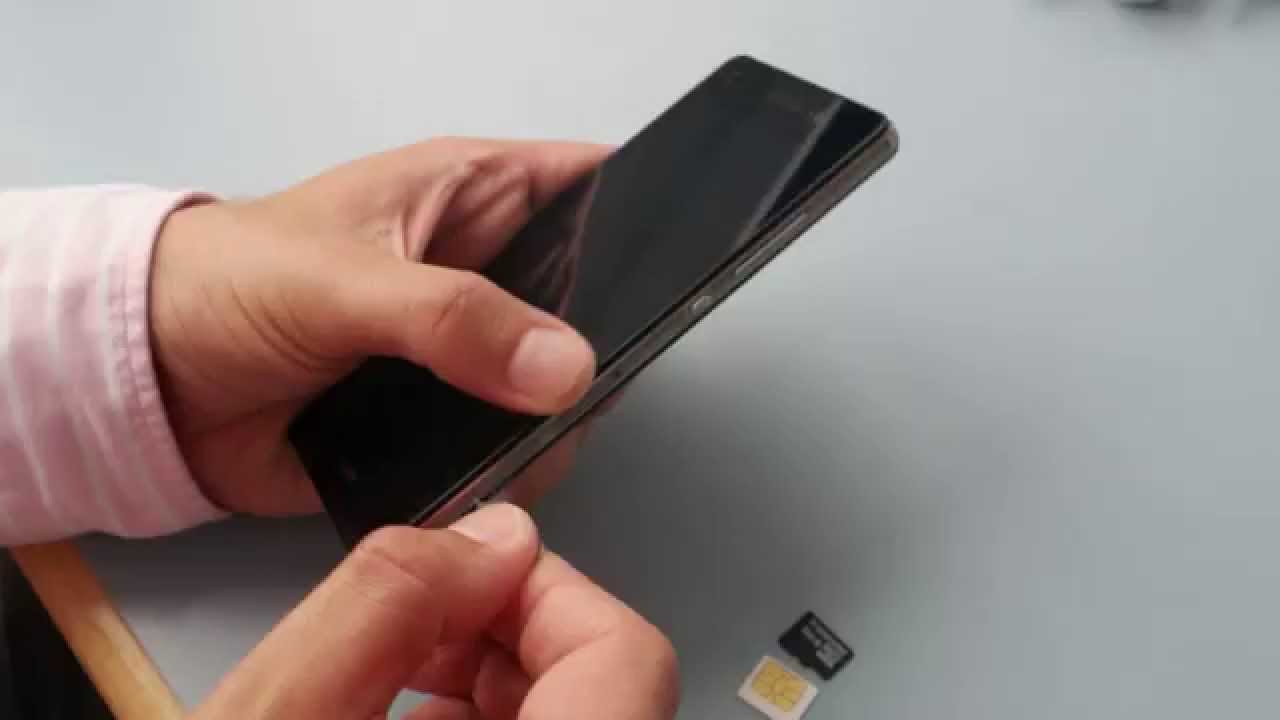
The first step in inserting a SIM card into your iPhone 5 is to locate the SIM card tray. The SIM card tray on the iPhone 5 is situated on the right-hand side of the device. To find it, hold your iPhone 5 in a comfortable position with the screen facing you and the volume buttons on the left side. Direct your attention to the right-hand side of the device, where you'll notice a small, recessed slot. This slot houses the SIM card tray and is designed for easy access.
Upon locating the SIM card tray, you'll notice a tiny pinhole adjacent to it. This pinhole is an essential feature that facilitates the ejection of the SIM card tray. It's worth noting that the design and placement of the SIM card tray may vary slightly depending on the specific model of the iPhone 5, but the general location on the right-hand side of the device remains consistent across all variations.
The SIM card tray is a vital component of the iPhone 5, as it provides a secure and easily accessible slot for inserting and removing the SIM card. This thoughtful design ensures that users can effortlessly manage their SIM cards without the need for specialized tools or technical expertise.
Locating the SIM card tray sets the stage for the subsequent steps in the process of inserting a SIM card into your iPhone 5. With this foundational knowledge in place, you're now ready to proceed to the next step, where you'll learn how to eject the SIM card tray with precision and ease.
Understanding the precise location of the SIM card tray is pivotal in ensuring a smooth and successful insertion process. With this essential step accomplished, you're well on your way to seamlessly integrating a SIM card into your iPhone 5, unlocking its full potential for connectivity and communication.
Step 2: Eject the SIM card tray
Ejecting the SIM card tray from your iPhone 5 is a crucial step in the process of inserting or replacing a SIM card. This step requires precision and care to ensure that the SIM card tray is safely and smoothly ejected from the device.
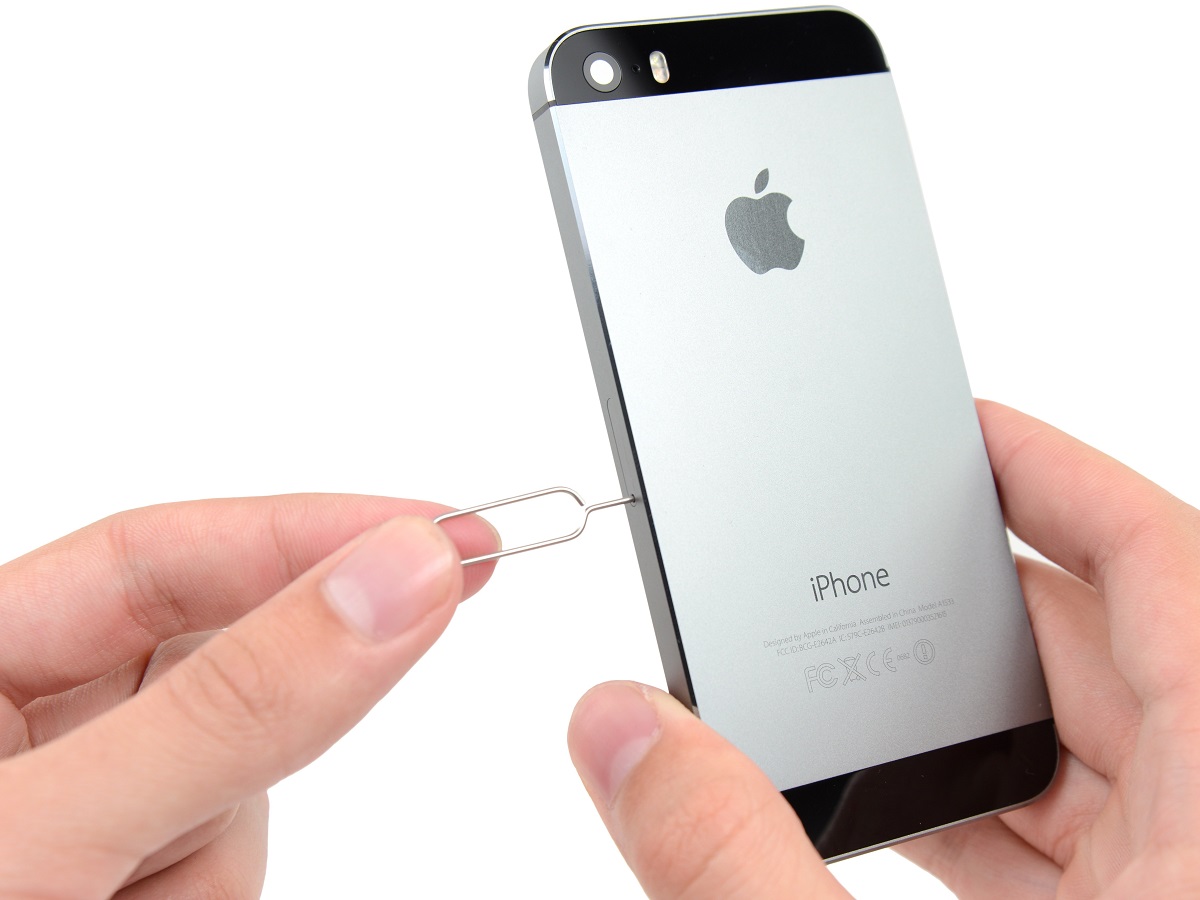
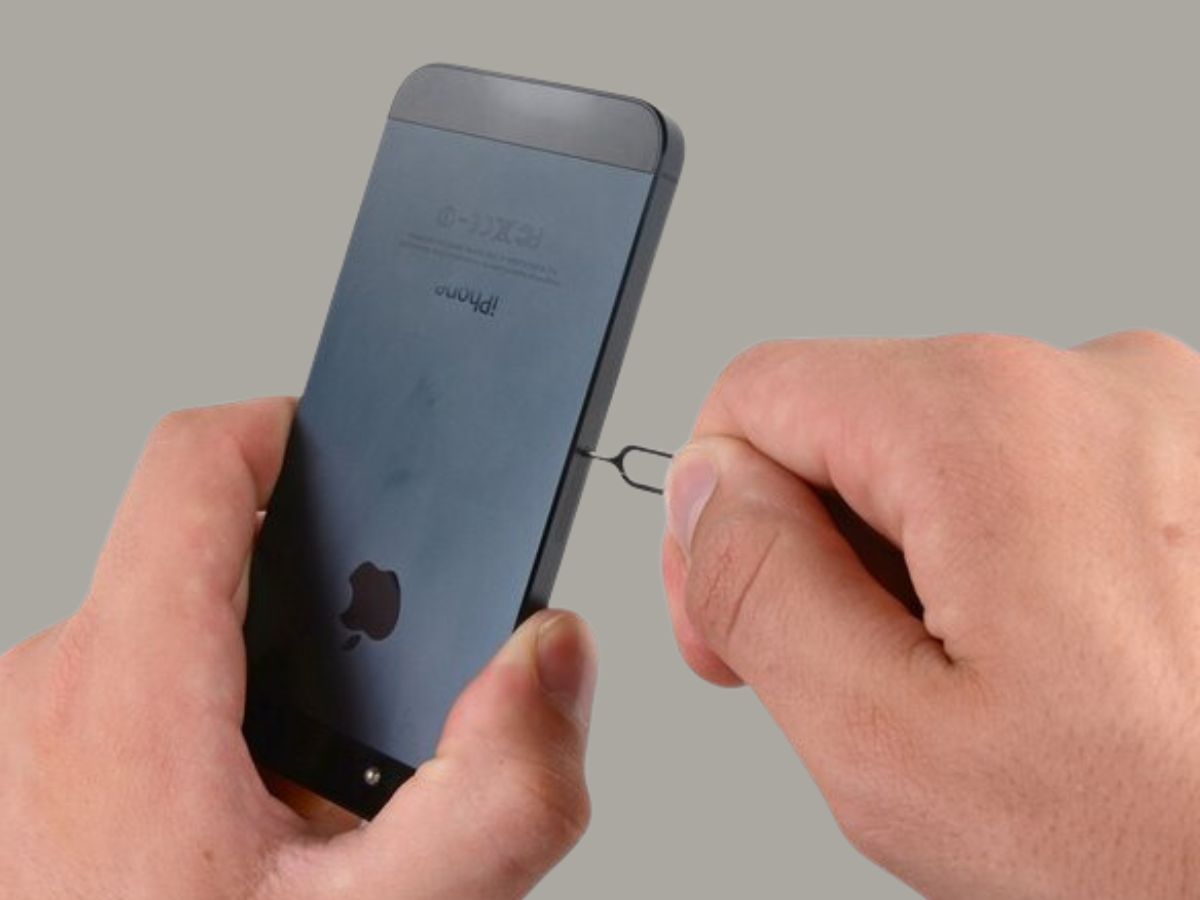
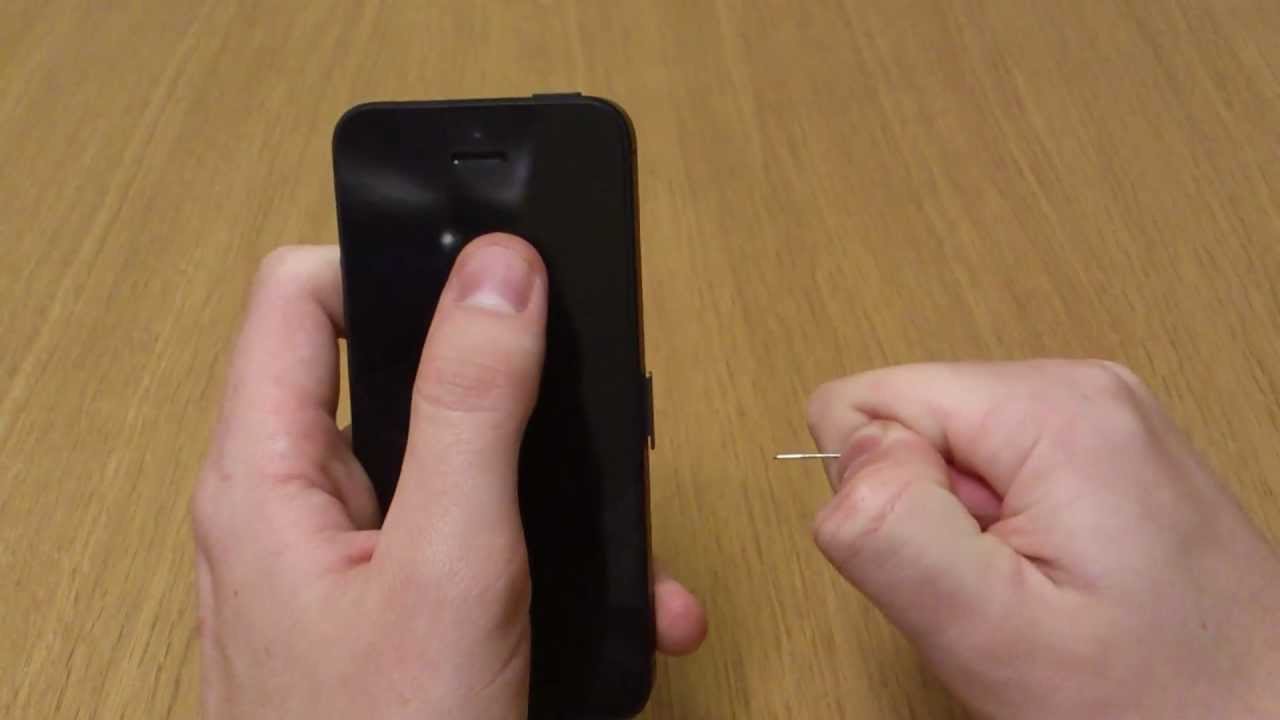
To begin, locate the small pinhole adjacent to the SIM card tray on the right-hand side of your iPhone 5. This pinhole is strategically positioned to accommodate the SIM card tray ejection tool, which is typically included with your iPhone 5 or can be obtained separately. If the ejection tool is not readily available, a paperclip can serve as a suitable alternative.
Insert the ejection tool or unfolded paperclip into the pinhole, applying gentle pressure until you feel a slight resistance. With a steady hand, exert a small amount of force to depress the internal mechanism within the pinhole. This action triggers the release of the SIM card tray, causing it to protrude slightly from the device.
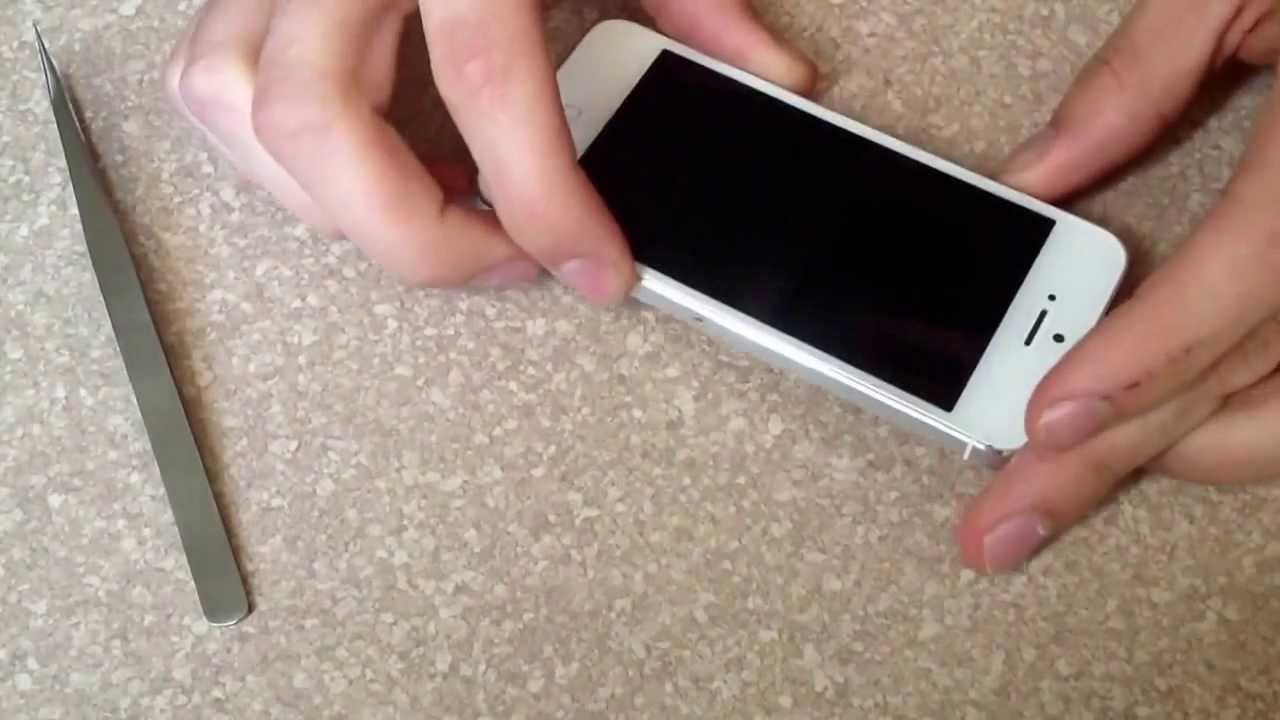
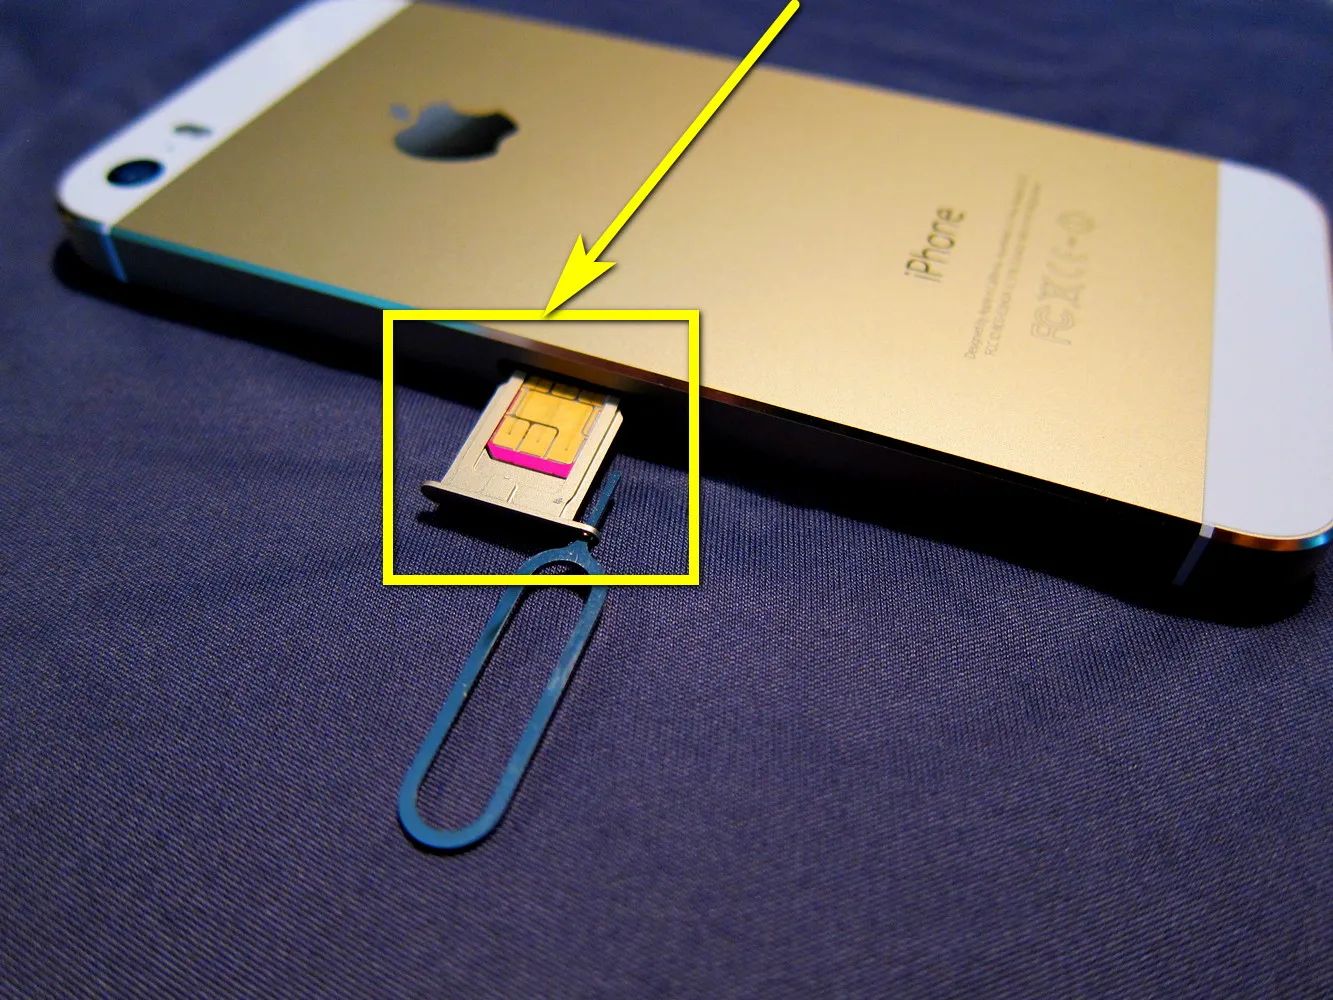
Once the SIM card tray is partially ejected, carefully grasp the exposed edge and pull it out of the iPhone 5. Exercise caution to avoid applying excessive force, as the tray should slide out smoothly with minimal effort. The SIM card tray is designed for easy removal, ensuring a user-friendly experience when accessing or replacing the SIM card.
As the SIM card tray is fully extended, inspect it to ensure that no debris or obstructions are present. This visual check ensures that the tray and its internal components are free from any impediments that could hinder the insertion of the SIM card.
Ejecting the SIM card tray from your iPhone 5 is a straightforward yet pivotal step that sets the stage for the subsequent insertion of the SIM card. With the tray successfully removed, you're now prepared to proceed to the next step, where you'll learn how to insert the SIM card into the designated slot within the tray. This seamless transition from ejection to insertion ensures a smooth and efficient process, empowering you to harness the full connectivity capabilities of your iPhone 5.
Step 3: Insert the SIM card
With the SIM card tray successfully ejected from your iPhone 5, it's time to proceed with the pivotal step of inserting the SIM card. The SIM card, a small, rectangular card that holds your subscriber information, is a vital component that enables your iPhone 5 to connect to your mobile carrier's network. This step-by-step guide will walk you through the process of securely inserting the SIM card into the designated slot within the SIM card tray.
Begin by carefully examining the SIM card and identifying the notched corner, which aligns with the corresponding notch within the SIM card tray. This ensures that the SIM card is oriented correctly for seamless insertion. With the notched corner serving as a visual guide, position the SIM card within the designated area on the SIM card tray, ensuring that it rests flat and flush against the surface.
Gently slide the SIM card into the slot within the SIM card tray, maintaining steady and even pressure to facilitate a smooth insertion. As you guide the SIM card into place, take care to align the notched corner with the corresponding notch in the tray, ensuring a proper fit. The SIM card should slide into the slot with minimal resistance, nestling securely within the tray.
Once the SIM card is fully inserted into the designated slot, visually inspect the tray to confirm that the SIM card is seated flush and level. This visual check ensures that the SIM card is securely positioned within the tray, ready to be re-inserted into your iPhone 5.
The successful insertion of the SIM card into the designated slot within the SIM card tray sets the stage for the final step in the process, where you'll learn how to re-insert the tray into your iPhone 5. This seamless transition from insertion to re-insertion ensures that your iPhone 5 is fully equipped to establish a connection with your mobile carrier's network, enabling you to enjoy uninterrupted communication and connectivity on your device.
By following these detailed steps, you can confidently insert the SIM card into your iPhone 5, empowering your device to access essential communication services and stay seamlessly connected to your mobile network.
Step 4: Re-insert the SIM card tray
With the SIM card securely inserted into the designated slot within the SIM card tray, the final step in the process involves re-inserting the tray into your iPhone 5. This step is crucial in ensuring that the SIM card is properly integrated into the device, allowing you to establish a seamless connection with your mobile carrier's network.
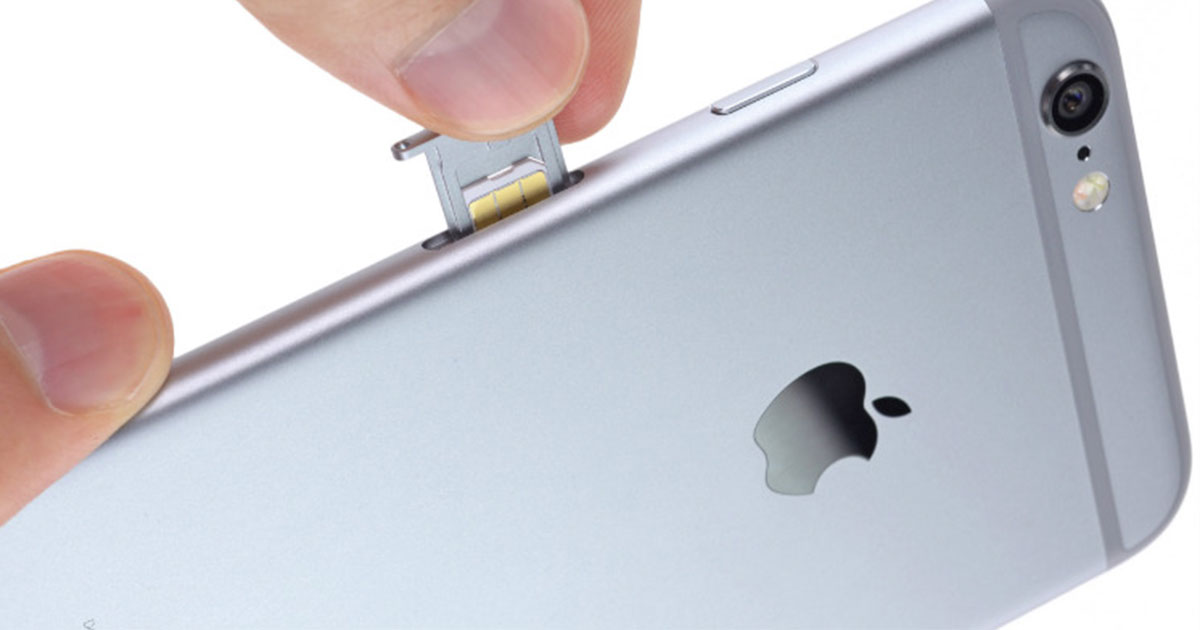
Begin by aligning the SIM card tray with the corresponding slot on the right-hand side of your iPhone 5. Position the tray at a slight angle, ensuring that it aligns with the slot and rests flush against the device. Take care to maintain a steady grip on the tray, positioning it with precision to facilitate a smooth re-insertion process.
Once the SIM card tray is properly aligned with the slot, gently guide it back into the device, applying even pressure to ensure a secure fit. Exercise caution to avoid forcing the tray into place, as it should slide back into the iPhone 5 with minimal resistance. The design of the SIM card tray and the slot within the device ensures a seamless re-insertion process, allowing you to effortlessly integrate the tray back into your iPhone 5.
As the SIM card tray is re-inserted into your iPhone 5, listen for a subtle click or feel for a slight resistance, indicating that the tray is securely in place. This tactile confirmation assures you that the tray has been successfully re-inserted, securing the SIM card within the device and preparing it to establish a connection with your mobile carrier's network.
Upon re-inserting the SIM card tray, take a moment to ensure that it sits flush and level against the device, seamlessly blending into the sleek design of your iPhone 5. This visual check confirms that the tray is securely in place, ready to facilitate the essential connection between your device and your mobile carrier's network.
With the SIM card tray seamlessly re-inserted into your iPhone 5, you have completed the final step in the process of inserting a SIM card into your device. This seamless integration ensures that your iPhone 5 is fully equipped to access essential communication services and establish a reliable connection with your mobile network, allowing you to stay connected and engaged with ease.
Conclusion
Congratulations! You have successfully navigated through the step-by-step process of inserting a SIM card into your iPhone 5. By following this comprehensive guide, you have gained valuable insights into locating the SIM card tray, ejecting it with precision, securely inserting the SIM card, and seamlessly re-inserting the tray into your device. This empowering journey has equipped you with the knowledge and confidence to manage your iPhone 5's connectivity features with ease.
The process of inserting a SIM card into your iPhone 5 is a fundamental yet essential task that ensures your device is fully equipped to establish a connection with your mobile carrier's network. By mastering this procedure, you have unlocked the potential of your iPhone 5 to keep you seamlessly connected through voice calls, text messages, and mobile data services.
As you reflect on your journey through this step-by-step guide, you can appreciate the thoughtful design and user-friendly features that Apple has incorporated into the iPhone 5. The strategically positioned SIM card tray, the intuitive ejection mechanism, and the seamless insertion process underscore Apple's commitment to delivering a user experience that is both accessible and efficient.
By understanding the significance of the SIM card as a vital component that stores your subscriber information and facilitates your device's connection to the mobile network, you have gained a deeper appreciation for the intricate technology that powers your iPhone 5's communication capabilities.
As you integrate the SIM card into your iPhone 5, you are not only setting the stage for uninterrupted connectivity but also immersing yourself in the dynamic world of mobile communication. Your iPhone 5, now equipped with a securely inserted SIM card, stands ready to serve as your reliable companion, keeping you connected to the people and information that matter most to you.
With this empowering knowledge at your disposal, you are well-prepared to navigate the intricacies of managing your iPhone 5's SIM card, whether for routine maintenance or when upgrading to a new device. The skills and insights you have acquired through this guide will serve you well in optimizing your device's connectivity features and ensuring a seamless communication experience.
As you embark on your continued journey with your iPhone 5, remember that the simple yet essential task of inserting a SIM card is a testament to your ability to adapt and harness the full potential of your device. Embrace the connectivity and communication capabilities of your iPhone 5, knowing that you have mastered the foundational steps that enable it to keep you seamlessly connected in today's dynamic digital landscape.