The Ship Model Forum • View topic - 1/400 Scharnhorst (Heller) WEM extras

The Ship Model Forum

The Ship Modelers Source
Last visit was: Tue Jun 04, 2024 1:53 am It is currently Tue Jun 04, 2024 1:53 am

All times are UTC [ DST ]


 [ 15 posts ] 
Author Message
PostPosted: Tue Dec 07, 2010 9:05 am 
Offline
User avatar

Joined: Thu Apr 24, 2008 1:40 am
Posts: 1153
Location: New Jersey
This is my "second" Scharnhorst. 3 years ago when I began modelling, I first bought the 1/400 Airfix Scharnhorst and built it up. It was terrible, but it was my first build so that's to be expected. Now I'm trying to make a much better model out of the same kit. WEM PE is being used now, although I'm definitely going to need some extras from Tom's and more WEM in the long run. Maybe even some stuff from L'arsenal like planes and crew. I plan on finishing the ship as it stood in late 1940 in Wilhelmshaven, but accuracy in my build will be questionable. I just want to have fun. The ship will be displayed waterlined / docked and in snow / icy water.

Here are some photos of the ship in the early stages.

Image
Image
Image
Image
Image

_________________
Image


Top
  
 
PostPosted: Tue Dec 07, 2010 12:12 pm 
Offline
User avatar

Joined: Mon Jan 10, 2005 11:30 pm
Posts: 5403
Location: Nr Southampton England
excellent tenacity to build the same ship twice!

Seek your inspiration here:


http://www.modelshipgallery.com/gallery ... index.html

and how he did it

http://www.modelshipgallery.com/gallery ... index.html


Look forward to seeing your progress

JIM B :wave_1:

Image

_________________
....I buy them at three times the speed I build 'em.... will I live long enough to empty my stash...?
http://www.modelshipgallery.com/gallery ... index.html

IPMS UK SIG (special interest group) www.finewaterline.com


Top
  
 
PostPosted: Tue Dec 07, 2010 10:31 pm 
Offline
User avatar

Joined: Thu Apr 24, 2008 1:40 am
Posts: 1153
Location: New Jersey
JIM BAUMANN wrote:
excellent tenacity to build the same ship twice!

Seek your inspiration here:


http://www.modelshipgallery.com/gallery ... index.html

and how he did it

http://www.modelshipgallery.com/gallery ... index.html


Look forward to seeing your progress

JIM B :wave_1:

Image


Jim,

I love that build up, I'm studying it for inspiration. In terms of my tenacity, I've also purchased Dragon's Scharnhorst and intend to build it in an early 1943 scheme much like the above linked build.

_________________
Image


Top
  
 
PostPosted: Thu Dec 09, 2010 8:54 am 
Offline
User avatar

Joined: Thu Apr 24, 2008 1:40 am
Posts: 1153
Location: New Jersey
Image
Image


Small update, adding lots of details to the starboard side superstructure and aft port. Note, when removing the bridge wings there will be a small gap that needs to be filled. I used a combination of plastic card and putty to "seal" the gap.

_________________
Image


Top
  
 
PostPosted: Tue Dec 14, 2010 2:16 am 
Offline
User avatar

Joined: Thu Apr 24, 2008 1:40 am
Posts: 1153
Location: New Jersey
I need some help from diorama experts

Image

I"ve found this image in a book that I have, and I'd like to represent my Scharnhorst this way. My questions is, what's a good way to make the snow / rubble / rock mixture that appears in the photo.

_________________
Image


Top
  
 
PostPosted: Fri Dec 17, 2010 7:56 am 
Offline
User avatar

Joined: Thu Apr 24, 2008 1:40 am
Posts: 1153
Location: New Jersey
Image
Image

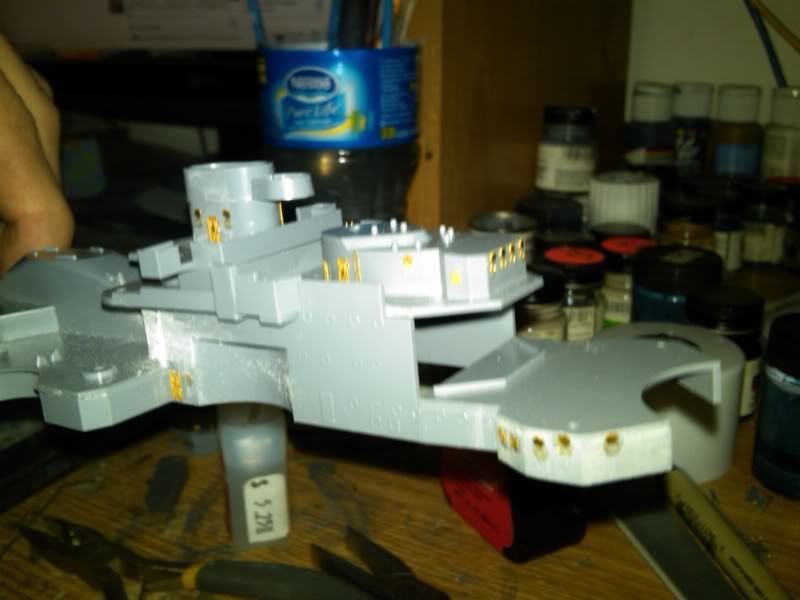
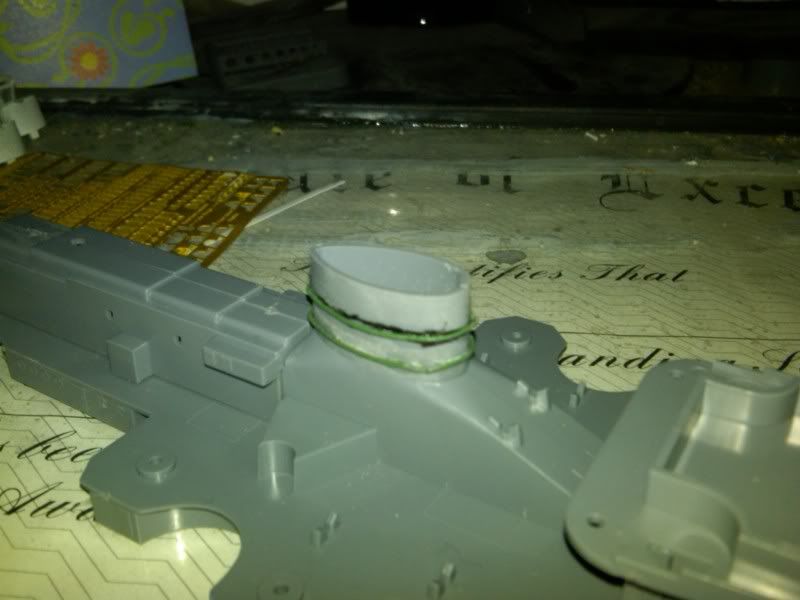
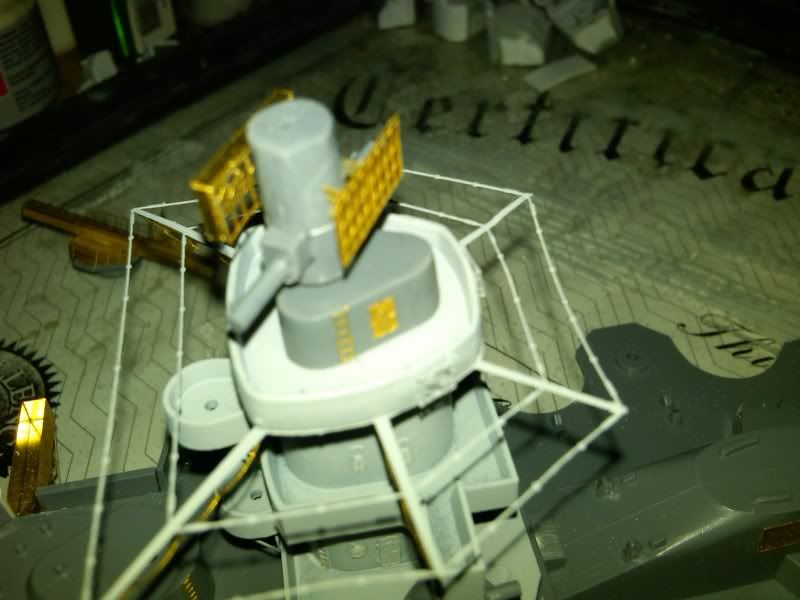
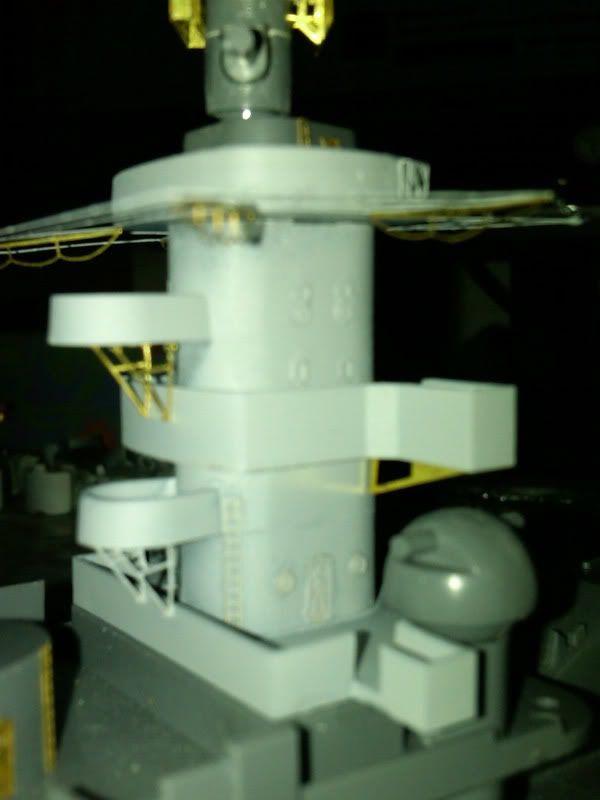
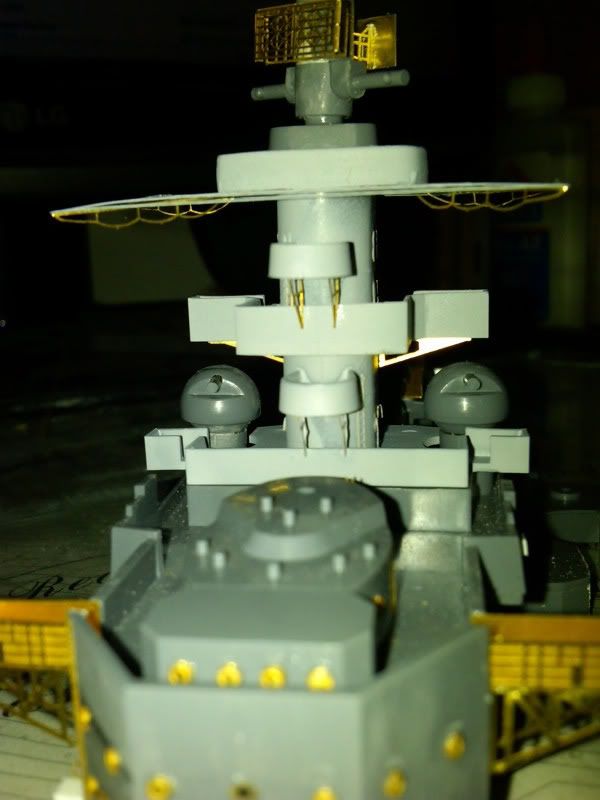
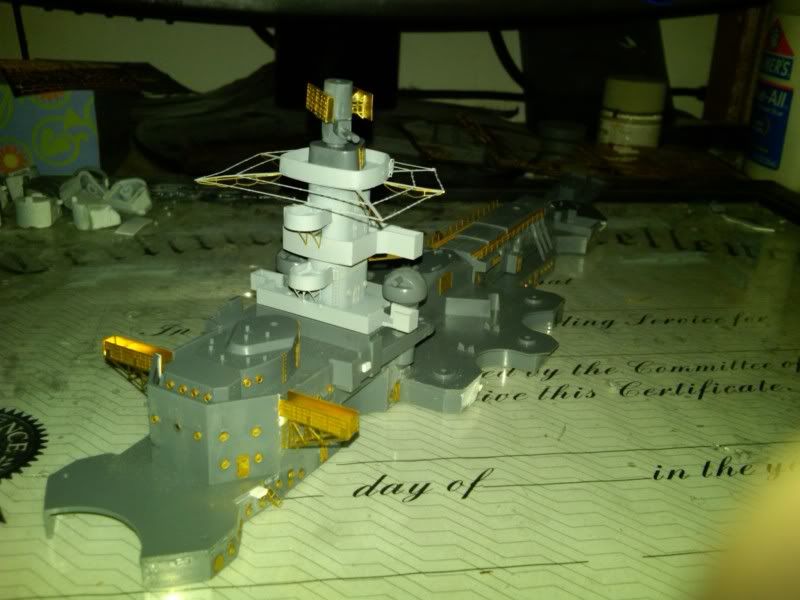
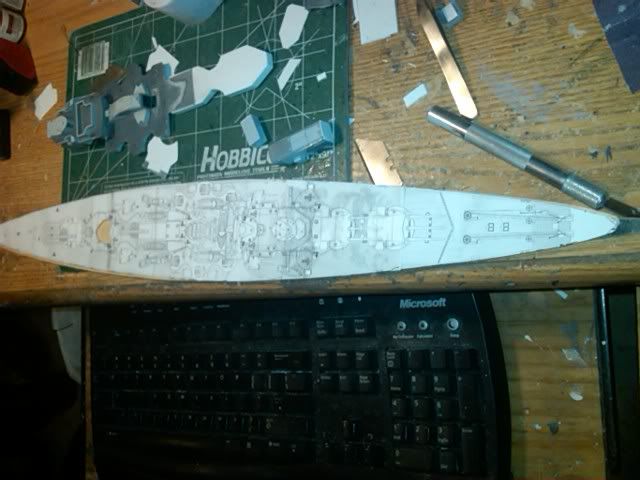
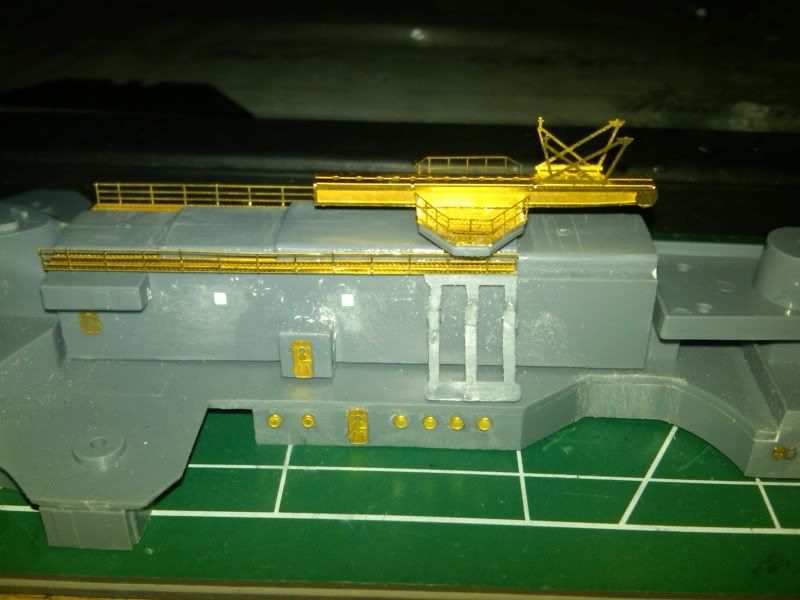
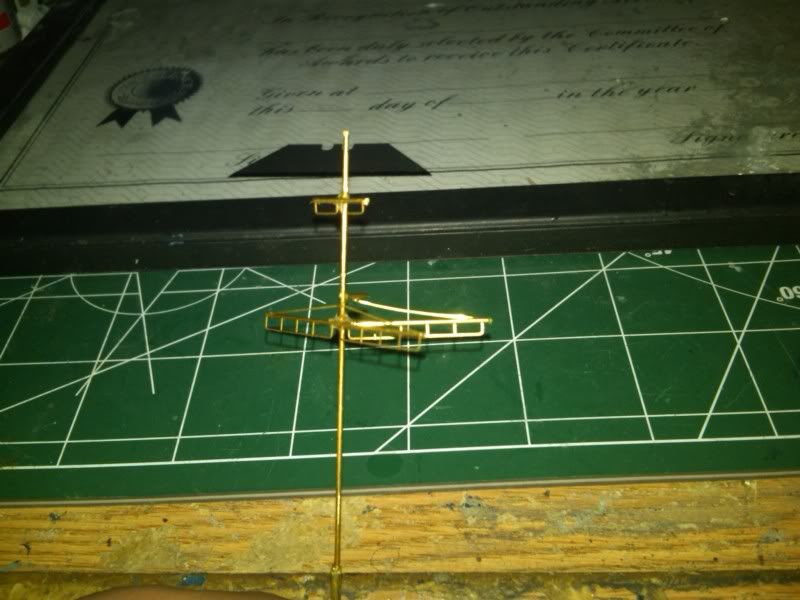
What a pain it was to create that mainmast. I have a soldering iron, but no solder! so I had to super glue it all together and pray it doesn't fall apart during rigging. Also completed is the aircraft catapult, although I'm pretty sure it could look better. 
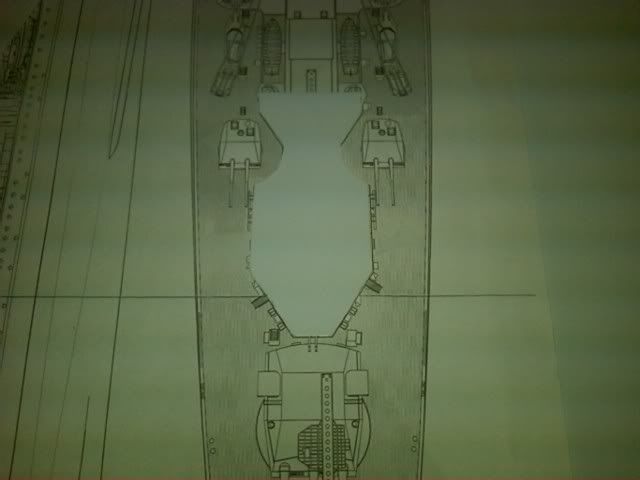
I actually have a question about the catapult (AND THE SAFETY SPLINTER SHIELDS) I'm almost positive the cat should sit higher. Perhaps I should add a round piece of plastic strip underneath it to raise it even more? It just doesn't look like I could fit a 1/400 crewmen under that cat and I'm positive it couldn't have been like that on the real ship.

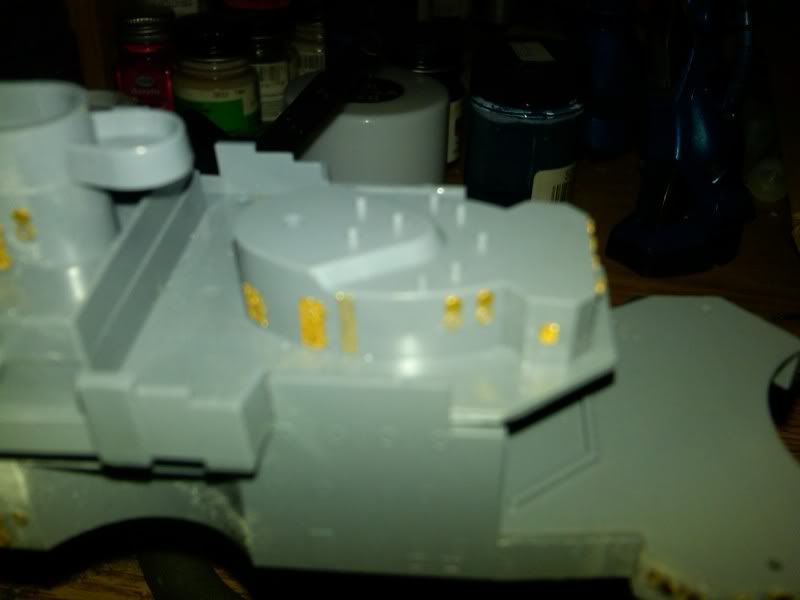
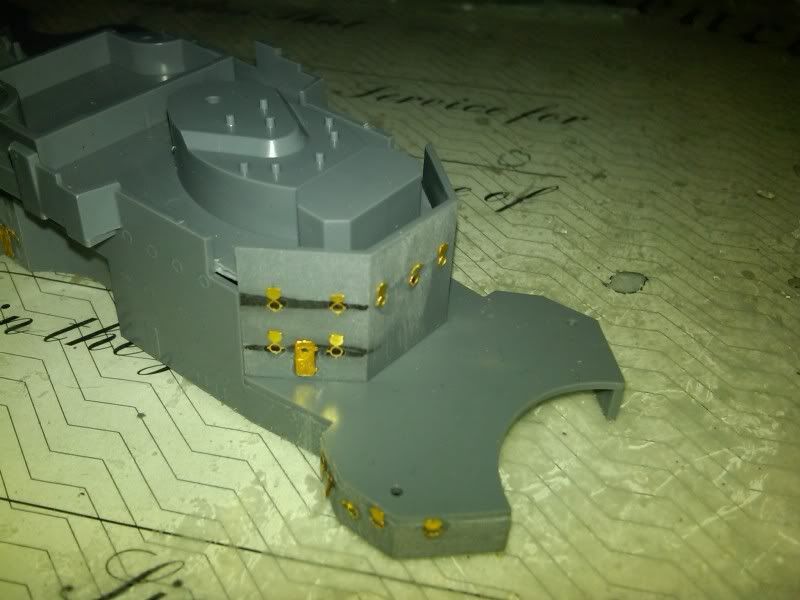
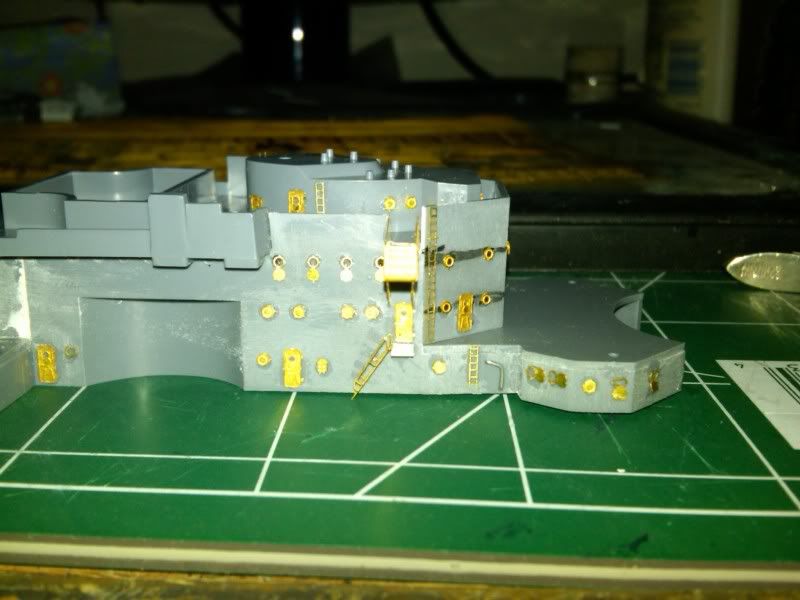
As for the safety netting and splinter shields. How are those shields supposed to sit? I'm referring to those around the anti aircraft batteries near the stack and directors. The WEM instructions are a bit ambiguous and my plans and Scharnhorst book don't have very clear photos either. Is the railing portion supposed to be attached to the deck? I'll take some photos to try to better explain what I'm talking about.


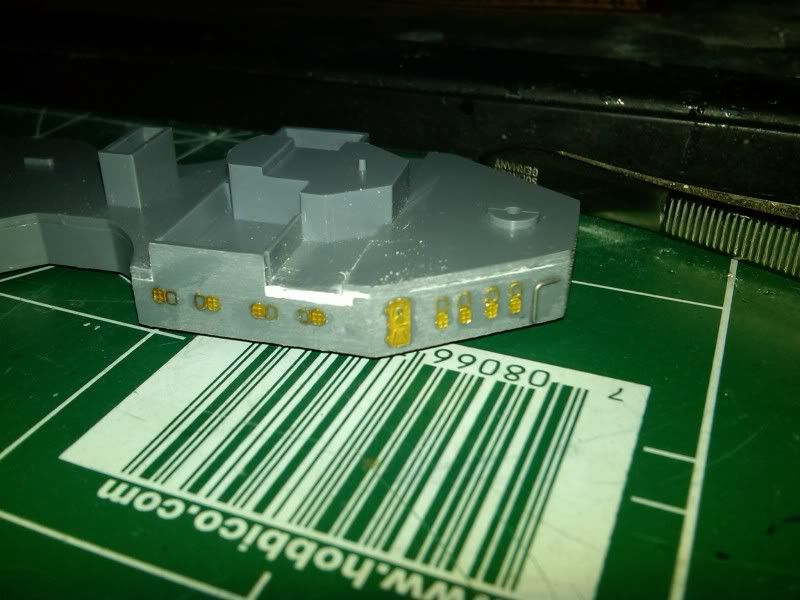
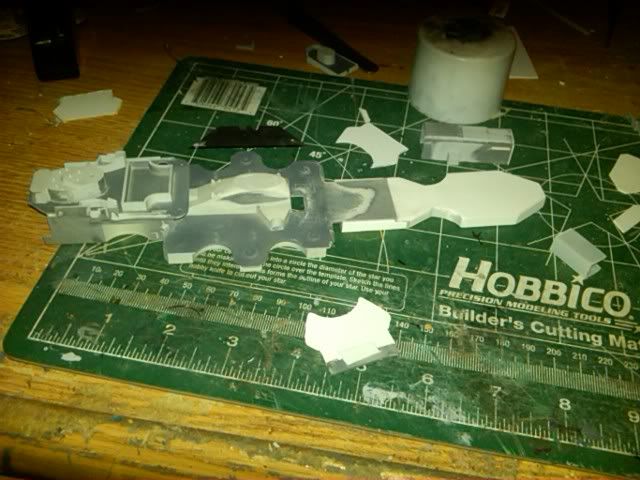
I can't really procede until I get more port holes. I ordered the Tom's set of German portholes and hopefully they'll be here in a few days. If I have some free time over the weekend, I'm going to fiddle around with the larger AA battery and secondary armament. I have a feeling I might need some more hatches. I'm also still in a quest to find Capstan wheels for this bad boy, but I'm on the right track thanks to some help from fellow members on here. :thumbs_up_1:

_________________
Image


Top
  
 
PostPosted: Tue Dec 21, 2010 8:32 am 
Offline
User avatar

Joined: Thu Apr 24, 2008 1:40 am
Posts: 1153
Location: New Jersey
Just a text update for the moment. Got my 1/400 Tom's portholes from Freetime so now I can finish up detailing the rest of the superstructure. I should be getting a new airbrush for the holiday from my parents so this model will start to have some paint on it in a few days.

Literally minutes ago, I was filled with joy. I was digging through spare PE, trying to find my Tom's KGV set so I could finish up this 1/700 Nelson I began building years ago, when I spotted a WEM envelope I had never seen before. I opened it up, inspected, and found what was left of a Tom's 1/400 Scharnhorst set. Capstan wheels, life rafts, and many other small bits were in there. I cannot explain how overjoyed I am.

_________________
Image


Top
  
 
PostPosted: Wed Dec 22, 2010 2:07 am 
Offline
User avatar

Joined: Thu Apr 24, 2008 1:40 am
Posts: 1153
Location: New Jersey
Image
Image
Image
Image
Image
Image

Big update in photos, as you can see most of the superstructure is done, although everything is just dry fitted. I'm waiting for my new airbrush so I can spray the decks before I assemble anything. Minute detail is missing such as ladders and additional water tight doors that have to be added after gluing. :cool_1:

_________________
Image


Top
  
 
PostPosted: Thu Mar 01, 2012 11:22 pm 
Offline
User avatar

Joined: Thu Apr 24, 2008 1:40 am
Posts: 1153
Location: New Jersey
Not to revive a thread from the death, but I've stripped this kit down so much that I'm basically starting over. 85% of all that photoetch is in the trash bin because it was either too bent or covered with superglue when I removed it. I'm ordering some extra Tom's and WEM 1/400 small detail sets (doors, hatches, etc.) and I've bought a 1/400 Graf Spee to cut the bow off of.

The Hangar has been completely reworked. What little reference I have tells me that Heller designed the hangar backwards, and it's also wrong in shape. I'm going to be modeling the ship pre-Atlantic bow and using the lovely crest that WEM includes in their PE set. This weekend I will, hopefully, be running around to LHS's looking for long sheets of thin plastic stock to replace the entire deck.

I think I'm going to cut the turret barbettes from the Heller deck, sand and reglue and replace them on the new deck. The Cesare or Bruno turret (not sure which one it is?) is too far aft and needs to be closer to the aft deckhousing. I will correct this on the new deck.

I'm still at odds about the best way to graft the Graf Spee bow to the Scharnhorst. If I'm not mistaken the Spees bow is a bit more blunt than the Scharnhorst class originally were.

_________________
Image


Top
  
 
PostPosted: Mon Mar 05, 2012 12:31 am 
Offline
User avatar

Joined: Thu Apr 24, 2008 1:40 am
Posts: 1153
Location: New Jersey
So people don't think I'm full of hot air with this conversion, here are some photos!

Image
Image
Image
Image
Image
Image

_________________
Image


Top
  
 
PostPosted: Mon Mar 05, 2012 9:46 am 
Offline
User avatar

Joined: Thu Sep 23, 2010 9:08 am
Posts: 245
Location: The Netherlands
I read this thread a little bit and it amazes me that you keep at it after starting over. I tend to do something else for a while. Anyway, good for you. To get back at the diorama question you asked, for snow I'm quite fond of baking soda, it stays white after fixing. Cat litter can be used for rocks. Although I have no idea if it would look good 'scale wise' but maybe you could give it a try. Good luck.

Jeroen


Top
  
 
PostPosted: Mon Mar 05, 2012 9:57 am 
Offline
User avatar

Joined: Thu Aug 19, 2010 5:39 pm
Posts: 2025
Location: Harlan, Kentucky, U.S.A.
Your PE work is looking good, as is your scratch built mast. Are you tapering the mast, and if so, what technique are you using?

Keep up the good work. I've seen so many Dragon Scharny's its nice to see the oft over looked Heller kit built up.

Bob

_________________
Give me a fast ship, for I would like to get out of harm's way!


Top
  
 
PostPosted: Mon Mar 05, 2012 7:44 pm 
Offline
User avatar

Joined: Thu Apr 24, 2008 1:40 am
Posts: 1153
Location: New Jersey
Thanks for the compliments guys. The mast isn't actually tapered, I glued two brass rods with super glue, added super glue around the joint and sanded to make it seem tapered. It's all in vain as that mast is incorrect for the early 1939 Scharnhorst. A majority of the PE has been removed and needs to be readded. I need to buy a few sets of Tom's doors & hatches to complete the build. I'm engraving the wood deck at work to see how it goes. If anything, I'd have no problem reproducing this deck if people want to buy it.

_________________
Image


Top
  
 
PostPosted: Mon Mar 05, 2012 8:24 pm 
Offline

Joined: Sun Feb 13, 2011 9:11 pm
Posts: 273
JIM BAUMANN wrote:
excellent tenacity to build the same ship twice!

Seek your inspiration here:


http://www.modelshipgallery.com/gallery ... index.html

and how he did it

http://www.modelshipgallery.com/gallery ... index.html


Look forward to seeing your progress

JIM B :wave_1:

Image

That's really cool. I like the sail boat, that's a nice touch.

_________________
Kevin

30 years ago I started off with nothing, and I've still got most of it!


Top
  
 
PostPosted: Tue Mar 06, 2012 1:34 am 
Offline
User avatar

Joined: Thu Apr 24, 2008 1:40 am
Posts: 1153
Location: New Jersey
Working on two projects at once can be a bit difficult at times. Here are some photos of the engraved wooden deck. I'm happy with it, though I know it's certainly not perfect.

Image
Image
Image
Image
Image

_________________
Image


Top
  
 
 [ 15 posts ] 

All times are UTC [ DST ]


Who is online

Users browsing this forum: Bing [Bot] and 6 guests


You can post new topics in this forum
You can reply to topics in this forum
You cannot edit your posts in this forum
You cannot delete your posts in this forum
You cannot post attachments in this forum

Jump to:  
Powered by phpBB® Forum Software © phpBB Group