How to Set Up SSO with Auth0 - BoldSign

The BoldSign mobile app is now available. Visitthis link for more details and give it a try!

The BoldSign mobile app is now available. Visitthis link for more details and give it a try!

Request Demo
BoldSign Logo Small

Features

Explore the BoldSign features that make eSigning easier.

How to Set Up SSO with Auth0

How to Set Up SSO with Auth0

Single sign-on (SSO) simplifies access to multiple applications by allowing users to use a single set of credentials instead of logging in separately to each application. This is not only wonderfully convenient but also enhances security by reducing the number of passwords users need to remember and providing a centralized control point for administrators.

What is Auth0?

Auth0 is an authentication and authorization platform for SaaS applications and services. It provides various features, including SSO, multifactor authentication (MFA), and social login, to help developers secure their applications. With Auth0, developers can easily add authentication to their applications without worrying about underlying security details.

How does Auth0 SSO work?

Auth0 uses its Universal Login toolkit to define the login flow, a key feature of an authorization server. Every time a user attempts to log in to an application using Auth0, the application redirects to Universal Login, and Auth0 guarantees the user’s identity.

Universal Login is a feature of Auth0 that provides a customizable and centralized authentication flow for applications. It supports various authentication methods, including social login and multi-factor authentication, while ensuring security and compliance with standards. With Universal Login, developers can easily implement a seamless and secure authentication experience for users across different platforms.

Universal Login does not require any integration to handle authentication. You can start with just a username and password or jump immediately into using MFA and social logins. It can be adjusted in real time without any application-level changes.

Setting up SSO with Auth0 involves configuring an Auth0 authorization server as the central service. Here’s an example of how the BoldSign SSO flow works when a user logs in:

  • The BoldSign application redirects the user to the Auth0 login page.
  • After the user logs in, Auth0 redirects the user back to the BoldSign application, returning an ID token that contains identity information for this user.

How to implement SSO with Auth0 in BoldSign

To implement SSO with Auth0, follow these steps:

Step 1: Create a new Auth0 account

Go to the Auth0 signup page and create a new account using your personal email address.

Step 2: Create an Auth0 application

  1. After creating your account, log in, navigate to the Applications section in the left sidebar, and click Create Application.
  2. In the dialog that appears, give the application a name, select Native as the application type, and click Create.

Step 3: Configure the Auth0 application settings

  1. In the Application Details page of your newly created Auth0 application, navigate to the Settings.
  2. Scroll down to find the Domain, Client ID, Client Secret, and Allowed Callback URL fields.
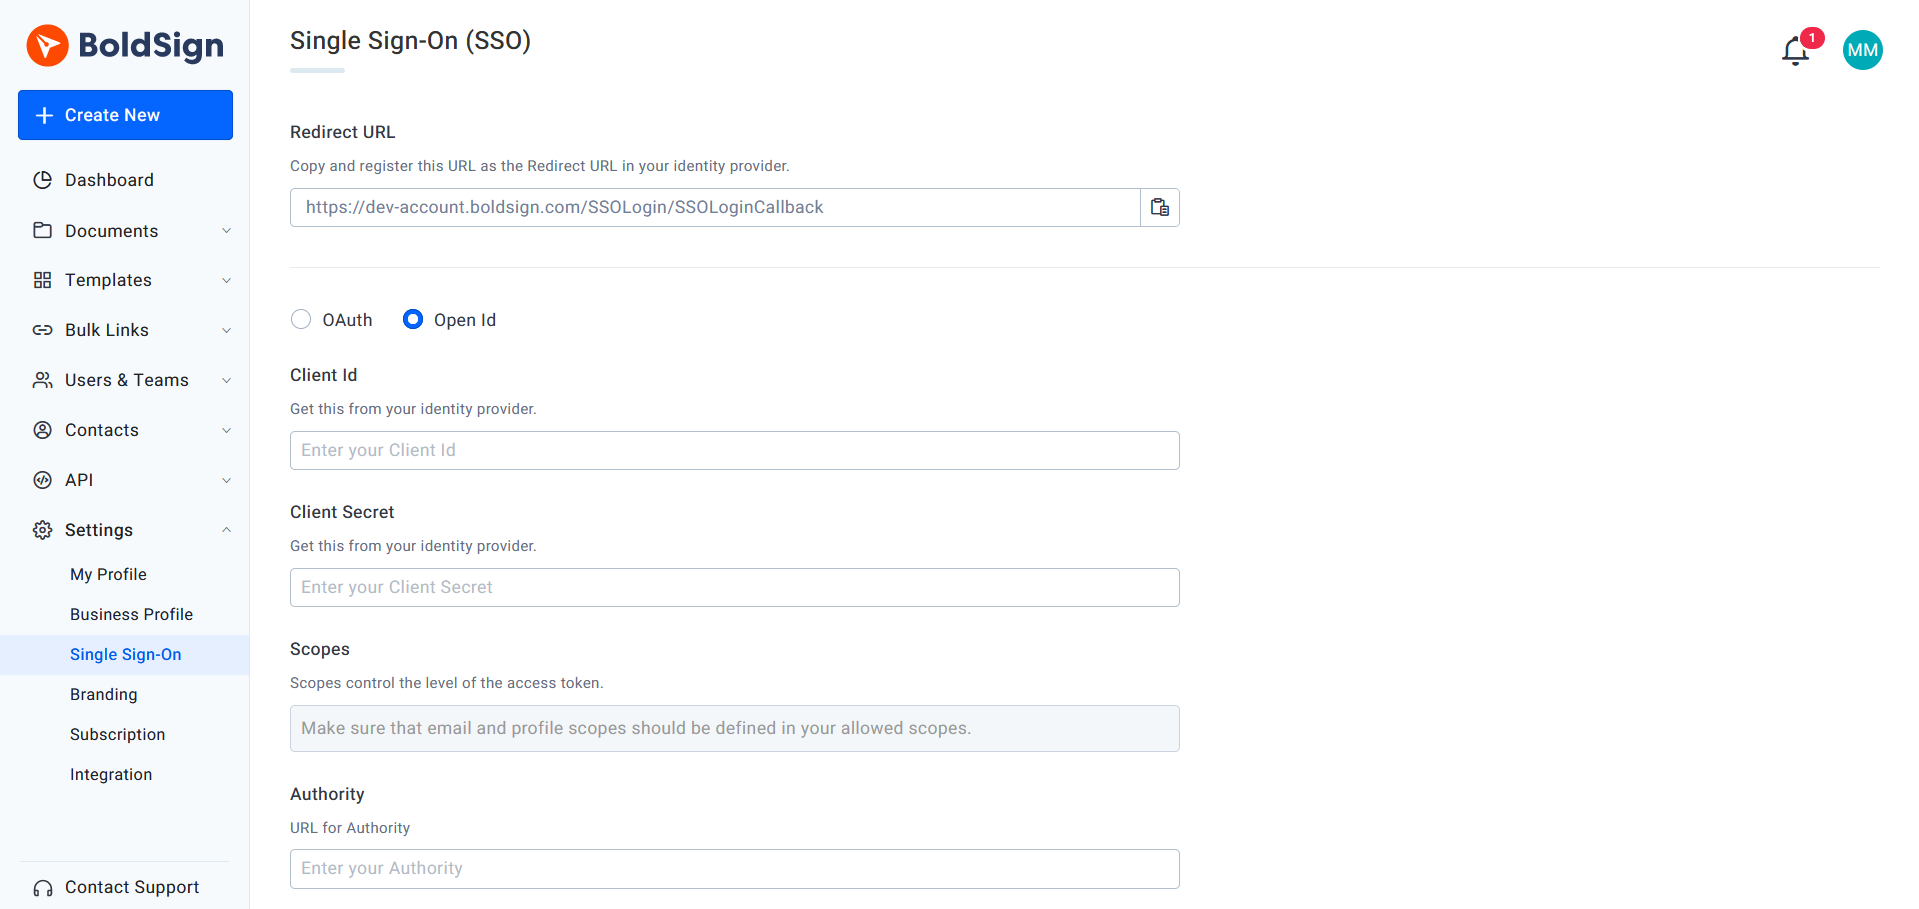
  3. In the Allowed Callback URLs section, enter the Redirect URL for the BoldSign application, which you can find in the BoldSign application settings. The redirect URL will look something like https://account.boldsign.com/SSOLogin/SSOLoginCallback. This is the URL where Auth0 should send the authentication response after the user has been authenticated.

  4. SSO with Auth0
  5. Save the changes.

Step 4: Manage users

  1. In the left sidebar, go to User Management and click Users.
  2. Click Create User and enter the email address and password for a new user.

Step 5: Verify the user

There are two ways to verify users:

  • Send a verification email to the user’s email address and have them confirm their account.
  • Manually verify the user’s email address in the Users page by editing the email section.

Step 6: Configure SSO client ID and secret for BoldSign using OpenID

  1. Sign in to the BoldSign application.
  2. Expand the Settings menu and select Single Sign-On.
  3. On the Single Sign-On page, select OpenID.
  4. Enter the values for Client ID, Client Secret, and Authority Domain (starting with https://) from your Auth0 application.
  5. Click Save to save your configuration.
Note: After configuring SSO for BoldSign, you will not be able to delete this configuration. However, you can modify your client details and authorization types as needed.

Step 7: Invite the new user to join the BoldSign organization

  1. Go to the BoldSign invite users page and invite the user you created in the Auth0 user management.
  2. Accept the invitation by creating a BoldSign account using the email and password you created for the user in the Auth0 user management.
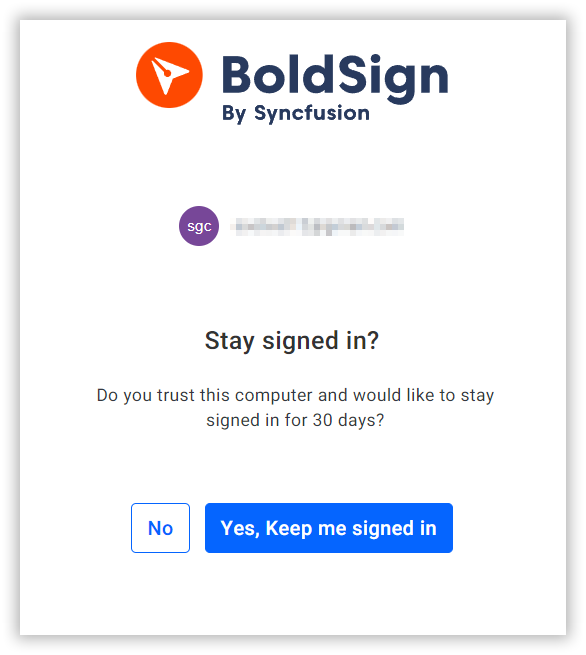
  3. After creating the BoldSign account and logging in, you will be asked if you want to stay signed in. Choose yes or no.

  4. step-7-ConfirmPageImage
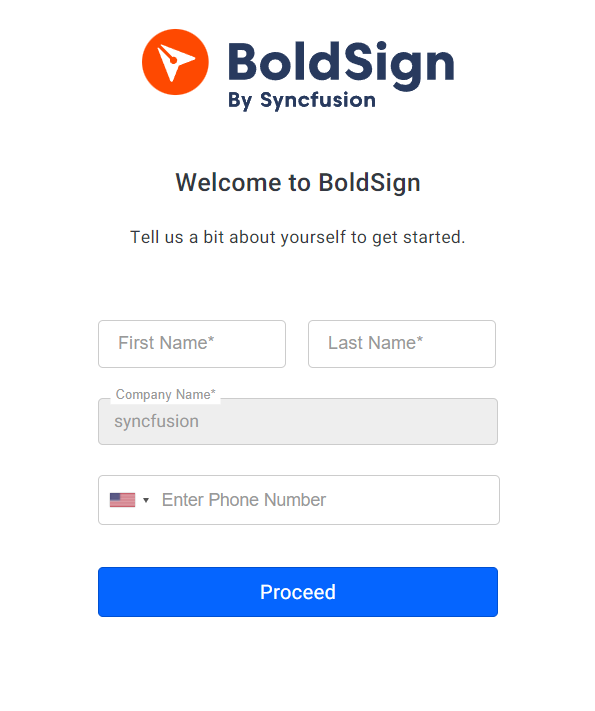
  5. You will be directed to a welcome page where you need to fill in the First NameLast Name, and Phone Number
  6. Click Proceed.
step-7-basicInfoPageImage

The new user has successfully joined the BoldSign organization.

step-7-dashboardImage

Step 8: Log in using SSO

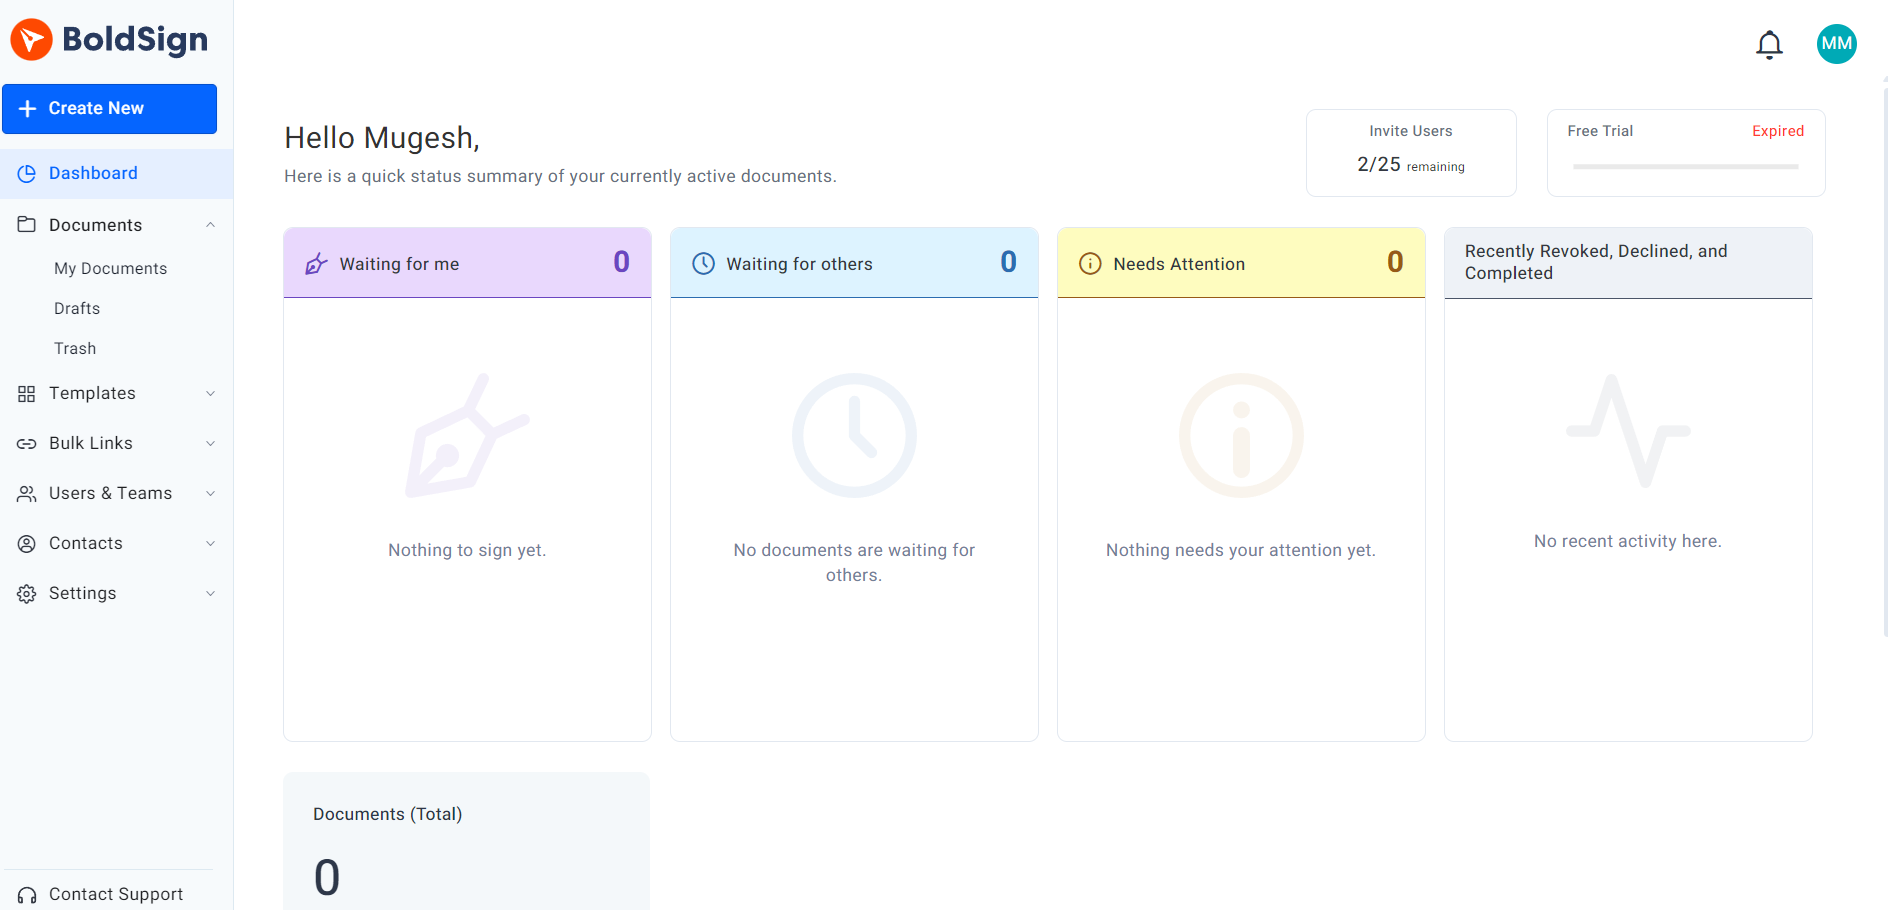
  1. Go to the BoldSign application and click Login in the top-right corner of the page.
  2. Click Sign In with SSO at the bottom of the screen.

  3. step-8-LoginPage
  4. In the Organization Email text box, enter the email address associated with the SSO account.
  5. Click Continue.

  6. step-8-SSOLoginPage
  7. You will be directed to the Auth0 login page. Enter your Auth0 account credentials and click Sign in.
  8. After logging in, you will be directed back to the BoldSign stay signed-in page. Click the button of your choice.
step-7-ConfirmPageImage

You will be directed to the BoldSign dashboard page.

Conclusion

Single sign-on with Auth0 streamlines user access to multiple applications in a way that enhances convenience and security. Auth0’s platform simplifies authentication management for developers, enabling them to integrate SSO seamlessly across many apps. This reduces the burden on users to manage multiple passwords and provides administrators with centralized control over access. Auth0’s additional security features, such as multifactor authentication (MFA) and social login, further enhance the overall security of the authentication process.

Initiate your 30-day BoldSign free trial now. We value your feedback, so please don’t hesitate to comment below. If you require assistance or wish to explore our services further, kindly schedule a demo or reach out to our support team via our support portal.

Picture of Ramesh Thangaraj

Ramesh Thangaraj

Ramesh is a passionate Product Manager at BoldSign with 6+ years of hands-on experience in software development. He excels in web technologies, mastering .NET and harnessing Vue.js. His full-stack expertise enables him to deliver innovative solutions. Ramesh thrives in cross-functional teams, driving projects forward with his strategic mindset.

Share this blog

Picture of Ramesh Thangaraj

Ramesh Thangaraj

Ramesh is a passionate Product Manager at BoldSign with 6+ years of hands-on experience in software development. He excels in web technologies, mastering .NET and harnessing Vue.js. His full-stack expertise enables him to deliver innovative solutions. Ramesh thrives in cross-functional teams, driving projects forward with his strategic mindset.

Subscribe RSS feed

Leave a Reply

Your email address will not be published. Required fields are marked *