I went ahead and going to put this all together in one topic because there is a lot of different posts with mixed information.
The reason I am going with the Curt, is because it allows the hands free tailgate to continue to work since the Curt hitch sits behind the sensor unlike the OEM you lose it completely with and have to relocate the sensor. The Curt is slightly lower than the OEM one as well, but you can flip the hitch ball receiver going up instead of down.
Tools:
1 - 10mm socket
1 - extension
1 - Rachet
1 - Tie Strap (Optional)
Parts:
1 - Toyota Tow Converter PN# PT725-48200
1 - Toyota 4 pin Wire Harness PN# PT725-48201
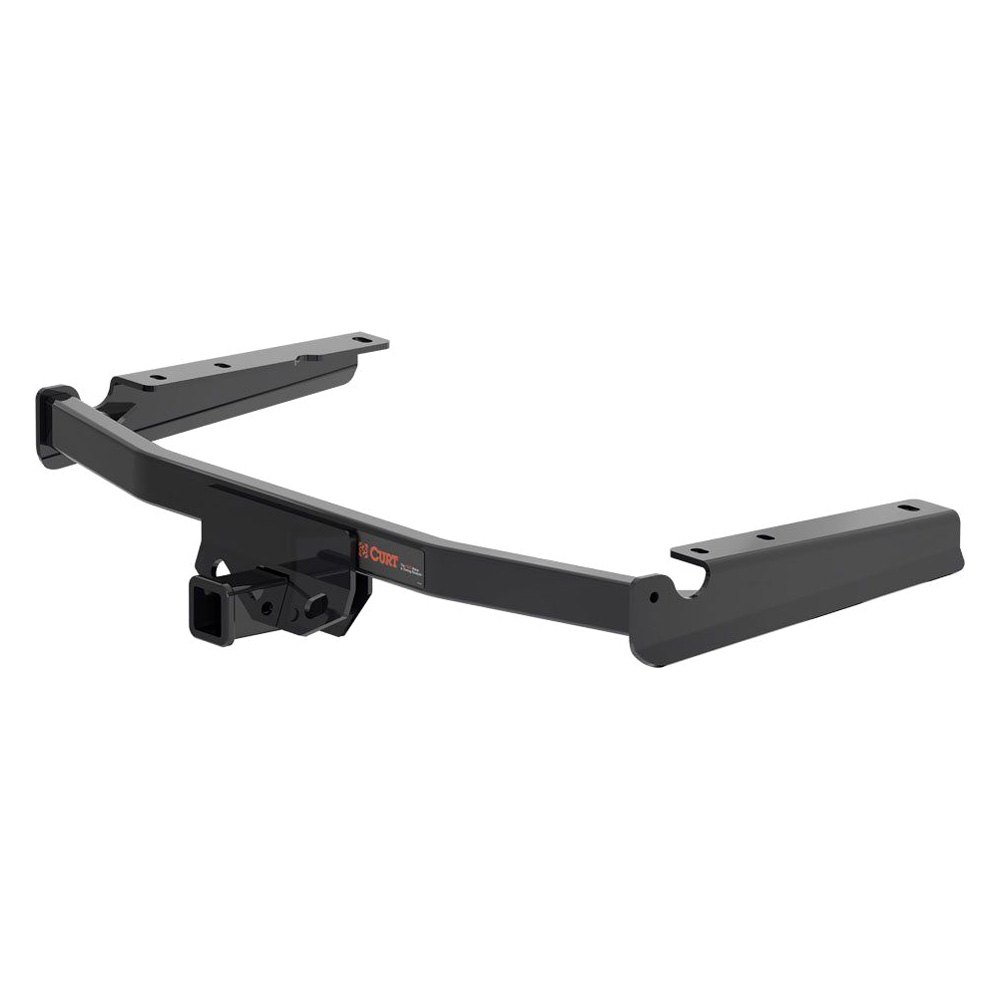
1 - Curt Hitch 13453
Link: Curt Hitch Installation below
Installation Procedure:
1. Move rear seat on driver 2nd row forward.

2. Pop this panel up and out with your hands. Start with the carpet side and pull up.


3. Remove cap off of screw with pry tool into the small slot at the top of it. This will expose the 10mm bolt hidden.

4. Remove 10mm Nut from behind the cover first before removing cup holders.
5. Pry up the cup holders panel with the plastic pry tool as seen. Easiest way was to use it upside down and stick it in and twist it. And it started to pop.

6. Remove cover.

7. Remove the bolt behind where the cup holder was.

8. Pull down the chrome hook and open the plastic cover inside(behind) it as seen in the pictures below. This exposes another 10mm nut and remove it.


Next Reply continued.
The reason I am going with the Curt, is because it allows the hands free tailgate to continue to work since the Curt hitch sits behind the sensor unlike the OEM you lose it completely with and have to relocate the sensor. The Curt is slightly lower than the OEM one as well, but you can flip the hitch ball receiver going up instead of down.
Tools:
1 - 10mm socket
1 - extension
1 - Rachet
1 - Tie Strap (Optional)
Parts:
1 - Toyota Tow Converter PN# PT725-48200
1 - Toyota 4 pin Wire Harness PN# PT725-48201
1 - Curt Hitch 13453
Link: Curt Hitch Installation below
Installation Procedure:
1. Move rear seat on driver 2nd row forward.

2. Pop this panel up and out with your hands. Start with the carpet side and pull up.


3. Remove cap off of screw with pry tool into the small slot at the top of it. This will expose the 10mm bolt hidden.

4. Remove 10mm Nut from behind the cover first before removing cup holders.
5. Pry up the cup holders panel with the plastic pry tool as seen. Easiest way was to use it upside down and stick it in and twist it. And it started to pop.

6. Remove cover.

7. Remove the bolt behind where the cup holder was.

8. Pull down the chrome hook and open the plastic cover inside(behind) it as seen in the pictures below. This exposes another 10mm nut and remove it.


Next Reply continued.


")