Wondering how to plan a trip with Google Maps? Below, we’ll show you how we plan all our trips on Google Maps – get ready for every Google Maps hack you’ll ever need!
There is a lot that goes into planning the perfect trip. What are you going to do? Where will you stay? How are you going to plan your days? How long do you even need to see everything? It’s overwhelming!
I love travel planning. As you can see on this website, I kind of made my career out of it. Because I want to make the most out of my trips (and write the best possible guides about the destinations I visit), I take travel planning pretty seriously.
There is so much research that goes into it, and I couldn’t do it without my favourite travel planning tool: Google Maps. In this guide, I’m sharing how I use Google Maps as a trip planner, along with some handy hacks to help you on your next adventure. Let’s take a look!
7 Steps to Plan a Trip With Google Maps
Here is how to use Google Maps trip planner:
1. Create a Map
To create a map on Google, you do need a Google account. Once signed up/logged in, go to this page.
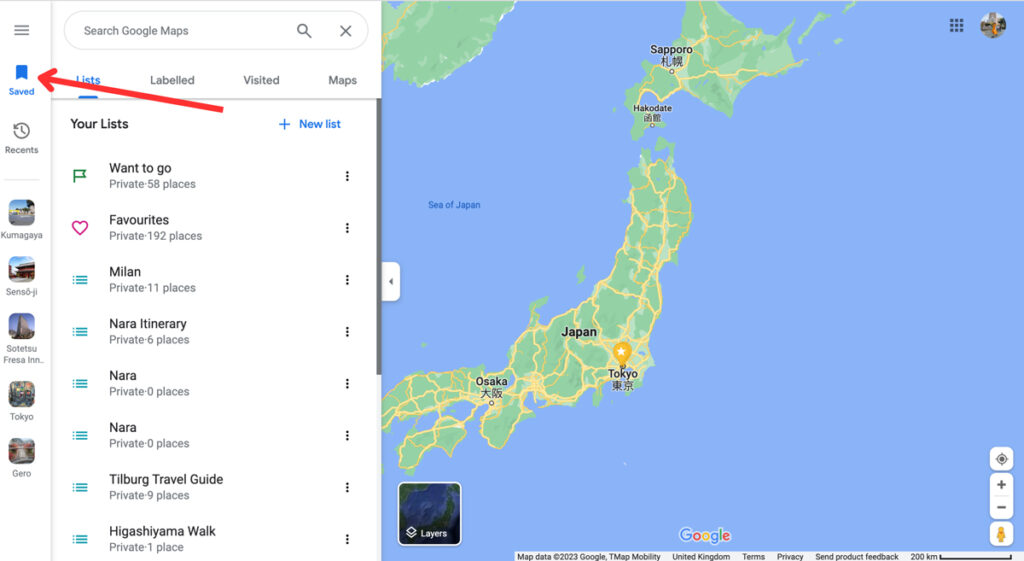
Click on “Saved” >> “My Maps“, which will take you to your maps. If you have created any maps in the past, you will also find them here. As you can see in the screenshots below, I’ve already created quite a few!
Alternatively, you can go to this page, where you see and access your maps in an instant.

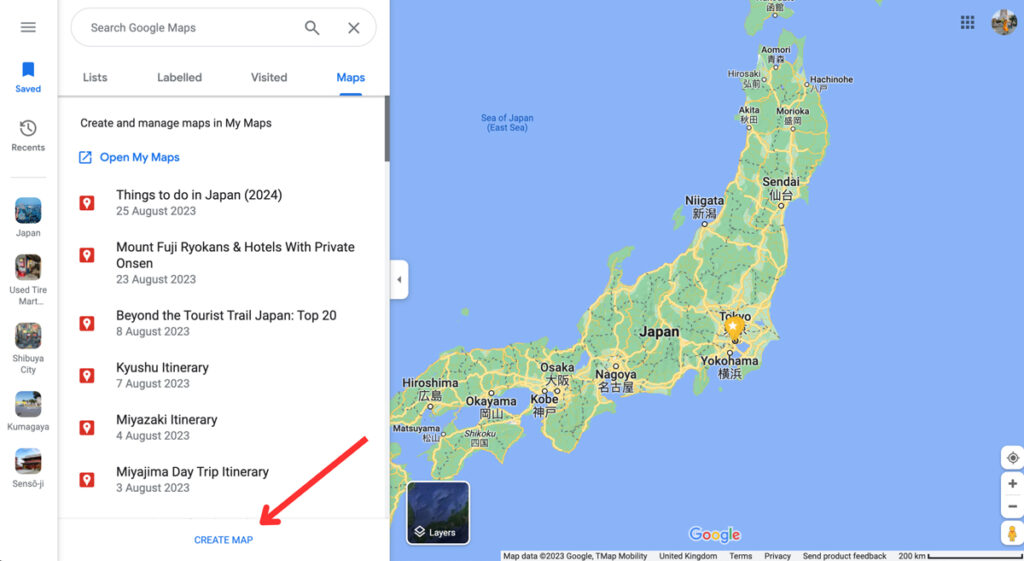
To create a new map, click on “Create Map”. This will open a new tab with an empty map.
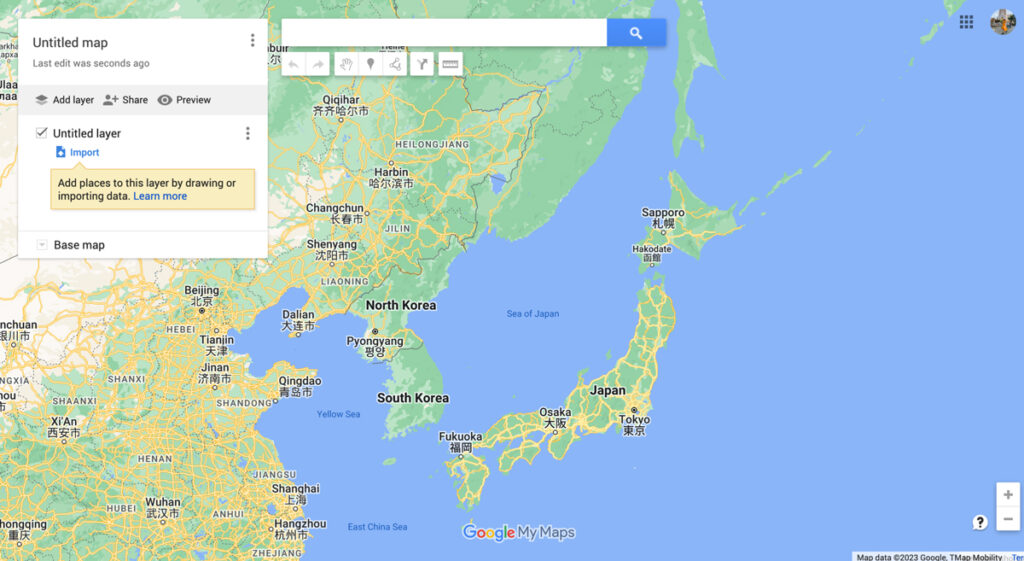
By clicking on “Untitled Map”, you can give your map a name and a description. And ta-da! You’re ready for some travel planning on Google Maps. Time to create the perfect itinerary.
2. Add Locations
Now it’s time to start brainstorming. What do you want to do and see on your trip? There are so many ways to find the best places to visit.
For starters, you can find things to do by reading travel guides, blog posts, and itineraries from other travel bloggers. It’s also a good idea to go through Instagram hashtags and location tags. And, of course, good old printed travel guides (by Lonely Planet and Rough Guides, for example) are always a good shout too.
You don’t have to worry about how to plan out your days in detail. For now, you simply want to get an idea of what you want to do on your trip.
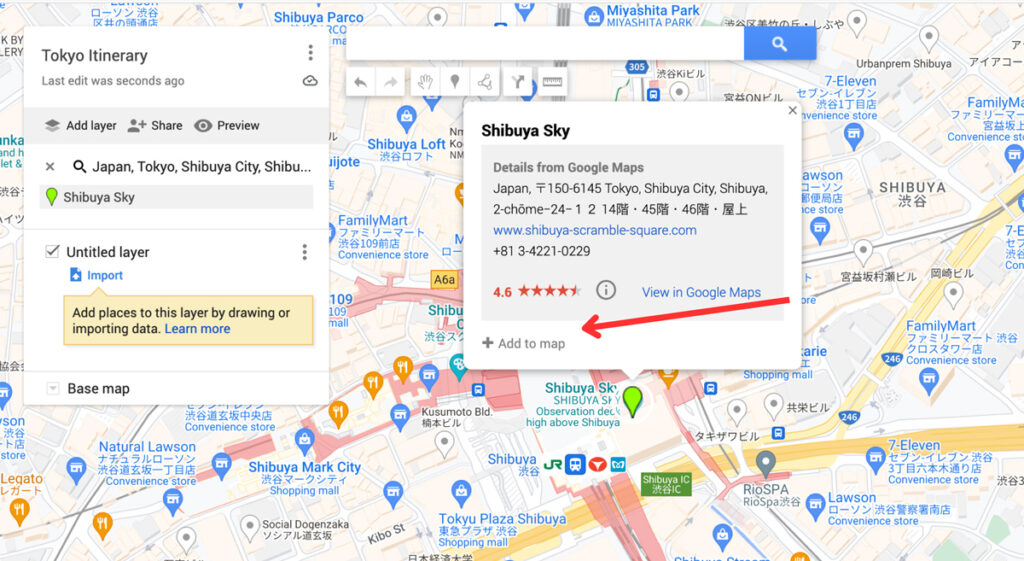
Whenever you find something that seems interesting, you can add these to your map by typing the location into the search bar. This can be the name of the location or the address, or you can use the coordinates. Usually, you’ll see a drop-down menu with suggestions as you type.
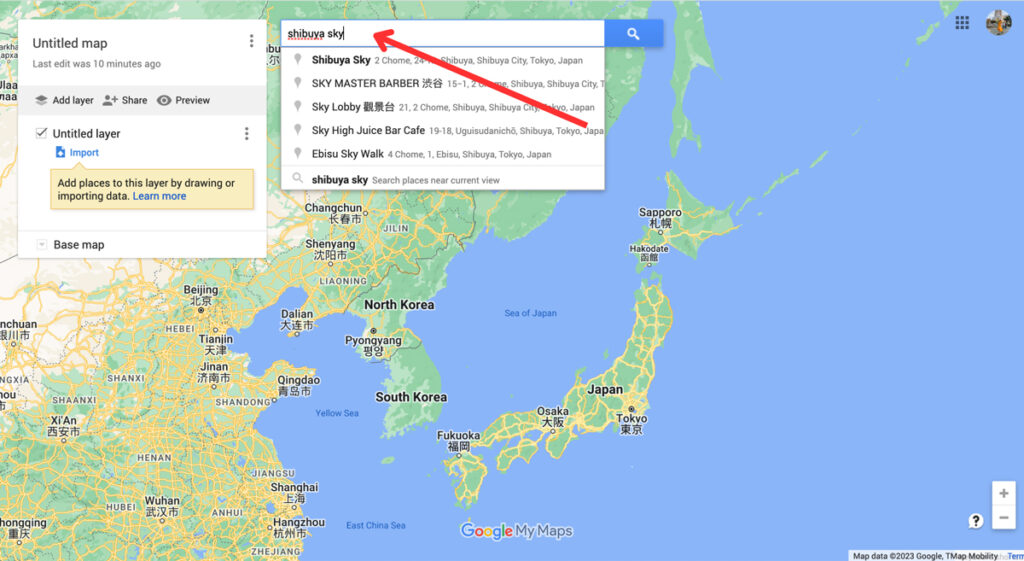
By pressing enter or selecting one of the options, Google Maps will take you to the location. Here, you can add these locations to your maps. Simply click on “Add to map”. Afterwards, you’ll see it appear on the Untitled Layer.
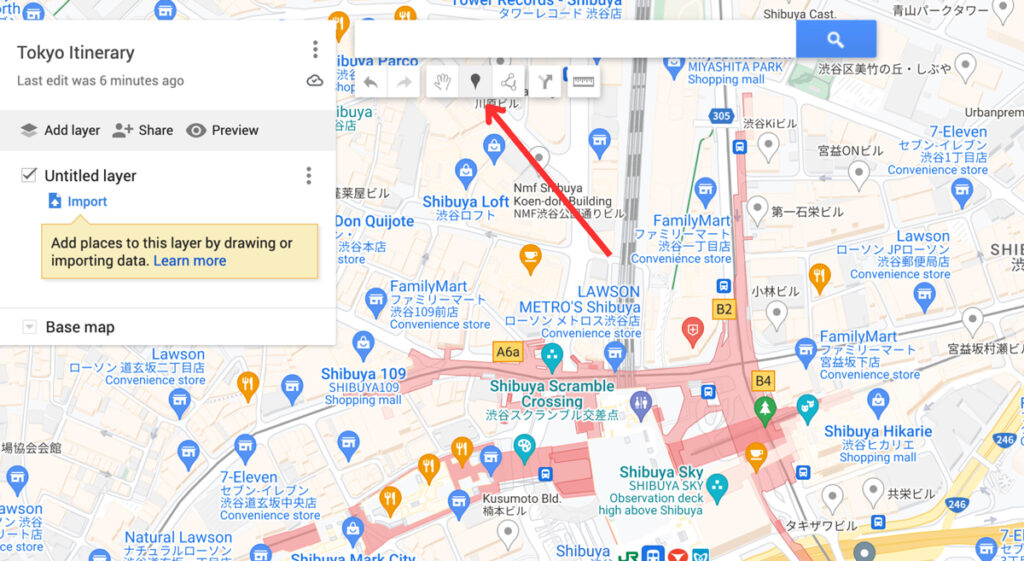
Alternatively, you can use the “Add Market” tool (shown in the screenshot below) to add a marker on the map. You can use this when a location isn’t on the map but you don’t have the coordinates, for example.
Before adding all your locations, make sure to read step 3. We explain how to customize your pins on Google Maps, making it much easier to plan your daily itineraries later on.

Planning a road trip on Google Maps? Start by adding the places you want to see/visit. Later on (see step 5), you can add directions to help you find the fastest routes. You can create on Google Maps for the overall road trip, and make another map for daily itineraries of your road trip.
3. Customise Your Categories (Icons and Colours)
The customisation options are another reason why planning trips on Google Maps is one of the best travel planning tools out there. By using colours, icons, pictures and notes, your map will be even easier to navigate.
These options let you break down your locations into categories, such as things to do, photography spots, restaurants, cafes, hotels, shops, etc.
You can change the colour of your pin and add an icon under the “Style” option – it looks like a paint bucket. There are hundreds of different icons to choose from.
At this stage, it’s best to stick to changing the icons for now. I normally change the colours to divide the days on my itineraries. Obviously, you can completely style this the way you want.

You can also change the colour and icon of your pins in the side menu.
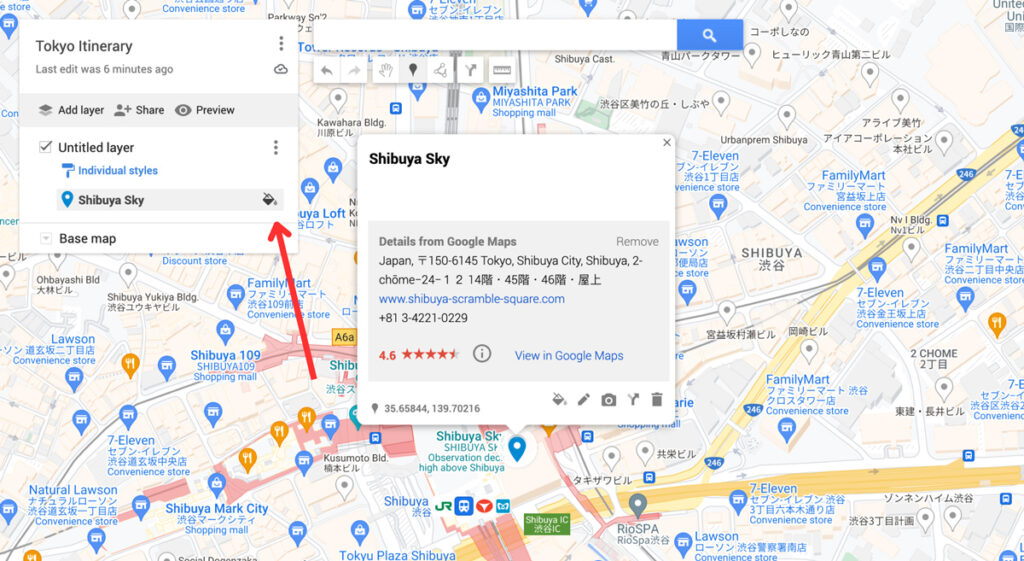
When clicking on the “Edit” icon, you can change the title and add a description for your location. This can be handy to help yourself remember any specifics about this place, such as good photography spots, opening times and whether you need to book a ticket in advance or not.
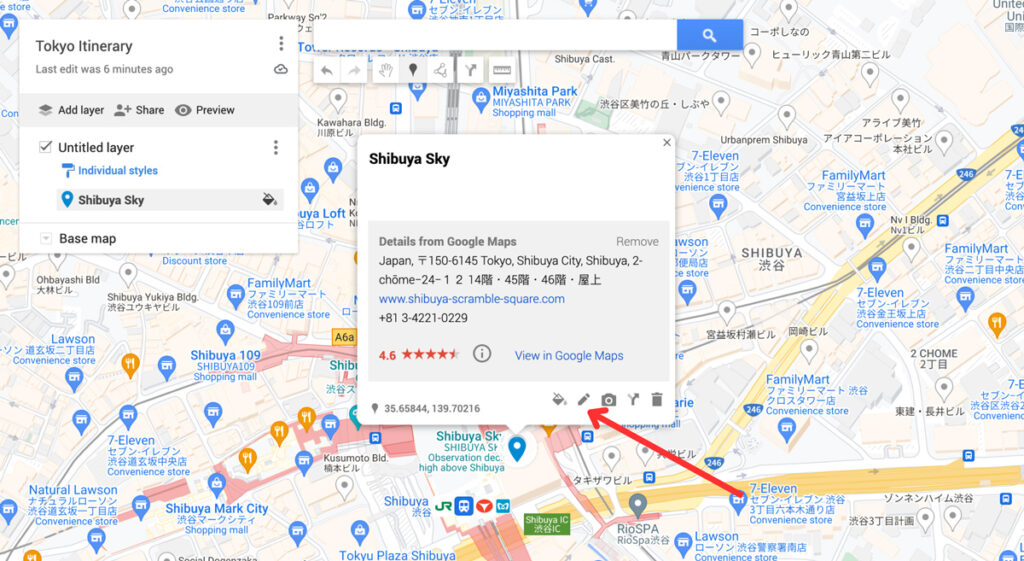
You can add an image or video to your pins, too. And lastly, you can delete the pin by clicking on the trash icon.

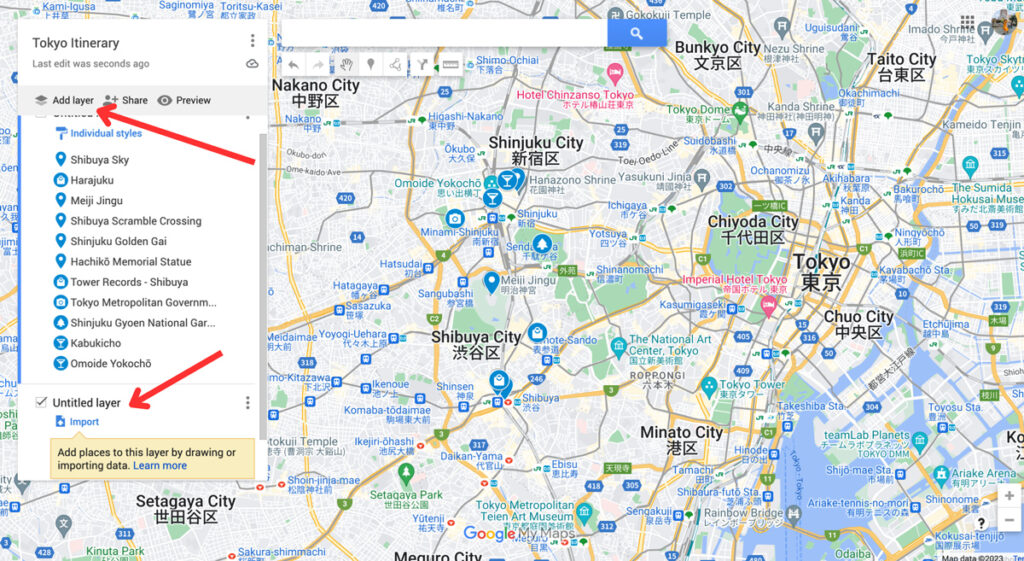
4. Create Layers
Now you’ve added all the things you want to do and given them some icons, it’s time to take a look at the layers. You can add a layer by clicking the “Add layer” option in the sidebar. This automatically creates a brand new untitled layer on your map.
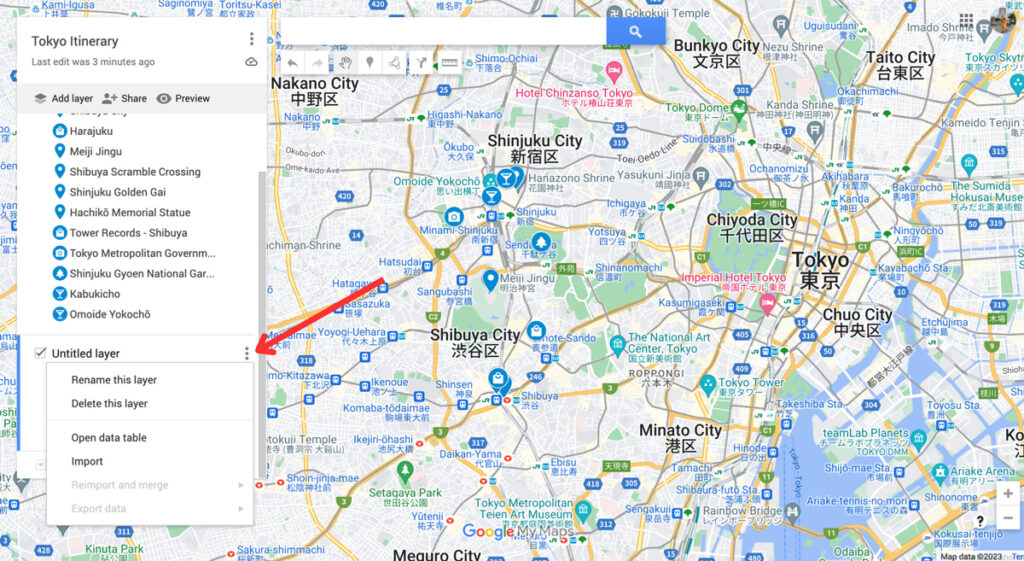
You can rename and delete the layers by clicking on the three dots next to the name of the layer.
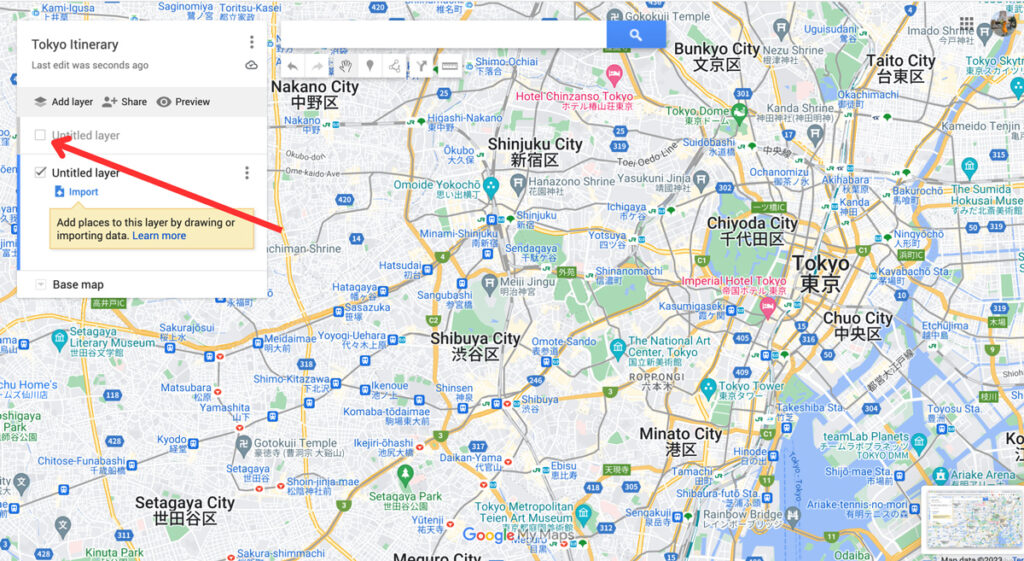
You can make layers invisible by unchecking the box next to the name of your layer.
To move points of interest from one layer to another, you can simply drag them over with your mouse.
Layers are an easy way to categorize and organise the locations on your map. There are multiple ways to do this, and you can choose a way that works best for your trip. For example, you can create one layer for restaurant options in Tokyo, one for sightseeing in Tokyo, one for hotels in Tokyo, etc.
When I’m planning a big trip, I like to use layers to break down my individual days or cities. This way, I can quickly see what I’m doing every day while I’m travelling. To make it even clearer, I change the colours of all my pins to match the different layers.
5. Plan Your Itinerary (with Directions)
After following these steps, we should have a good overview of all the things we want to do and see during our trip. This will make it much easier to break down the trip into days.
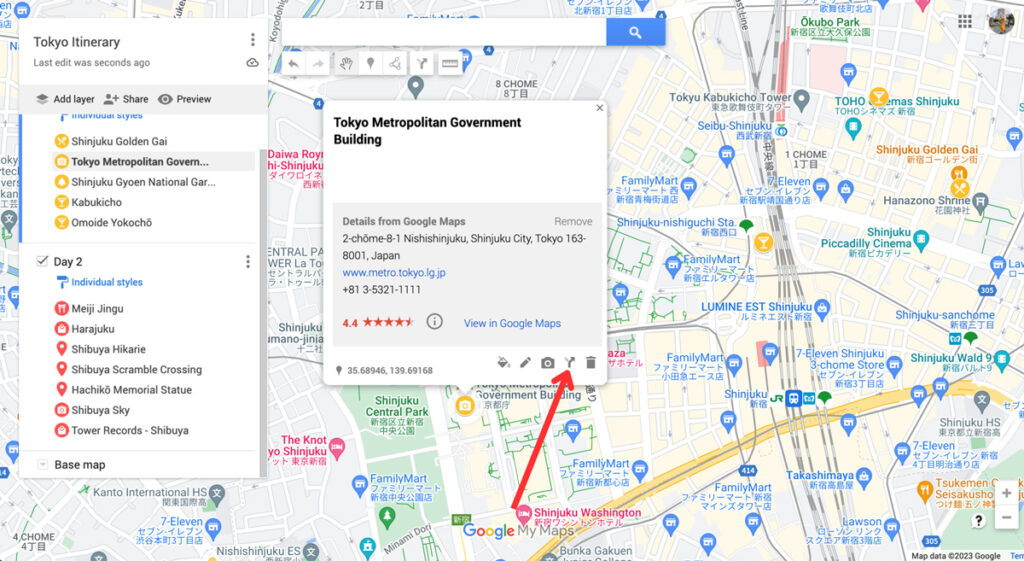
For the Tokyo itinerary I’ve been planning as part of this Google Maps tutorial, I’m going to spread it out over two days.
I created two layers to match my time in Tokyo in Google Maps.

Because I can see where all my hotspots are located, I can see which activities and sights I want to pair together. This way, I can efficiently plan what I want to see each day. You can even make squares to group things together with the “Line Drawing” tool.
For example, it makes sense to group these pins together per day – this will save me a ton of time travelling from one place to the other.

Always check whether these things actually work together, though. Sometimes, a ton of restaurants are located near each other, but there’s no point in planning to visit four restaurants on the same day.
Sometimes, there are museums that take way too long to visit alongside other sights or you can combine certain parts of the city in one day.
Take a look at your itinerary and plan it accordingly. As mentioned before, I like to use the colour tool to add the same colour per day to make it even easier to spot. My Google Map itinerary turned out like this:

Add Directions
If you’re planning a road trip on Google Maps or want directions for walking from one point to another, you can use the direction tools. Click on one of the locations and select “Directions to here”.
This will create a new layer on your map. From here, you can add different locations to create a route. You can select points of interest on your map to easily add them to your route. Click on “Add Destination” to add more stops.
You can also change whether you want directions by car, bike, or on foot by clicking on the car icon. This opens up a small window with a car, bike and pedestrian. Changing the mode of transport will automatically change the directions to find the best route for you.
This tool allows you to create road trip itineraries or city walks with just a few clicks. I find this especially handy to plan a road trip with Google Maps, as it allows me to estimate the driving time and the amount of money I’ll have to spend on petrol.

By clicking on the three dots next to the name of this direction layer, you can click on “Step-by-step directions”. This will give you detailed directions, distances, and an estimation of how long it’ll take for you to get there. Super handy!


6. Book Your Hotels
Now you know exactly what your daily plans are for our trip, it makes it much easier to pick the perfect location for your accommodation. Since you know what parts of the city you’ll be visiting, you can pick a spot that’s near these locations. This will save you so much time (and money), as you won’t have to travel too far to go to start your daily itinerary.
I usually book hotels on Booking.com. The website’s map feature makes it perfect for choosing the location. Because I have my itinerary ready on Google Maps, I know exactly what area of the city I prefer to stay in.
Once you’ve booked your accommodation, you can add the location to your map too.
7. Share Your Trip & Access it on Your Phone
Once you’ve finished your map, you can share it with your travel buddies and download it onto your phone. Here is how to do it.
Access Your Map on Your Phone
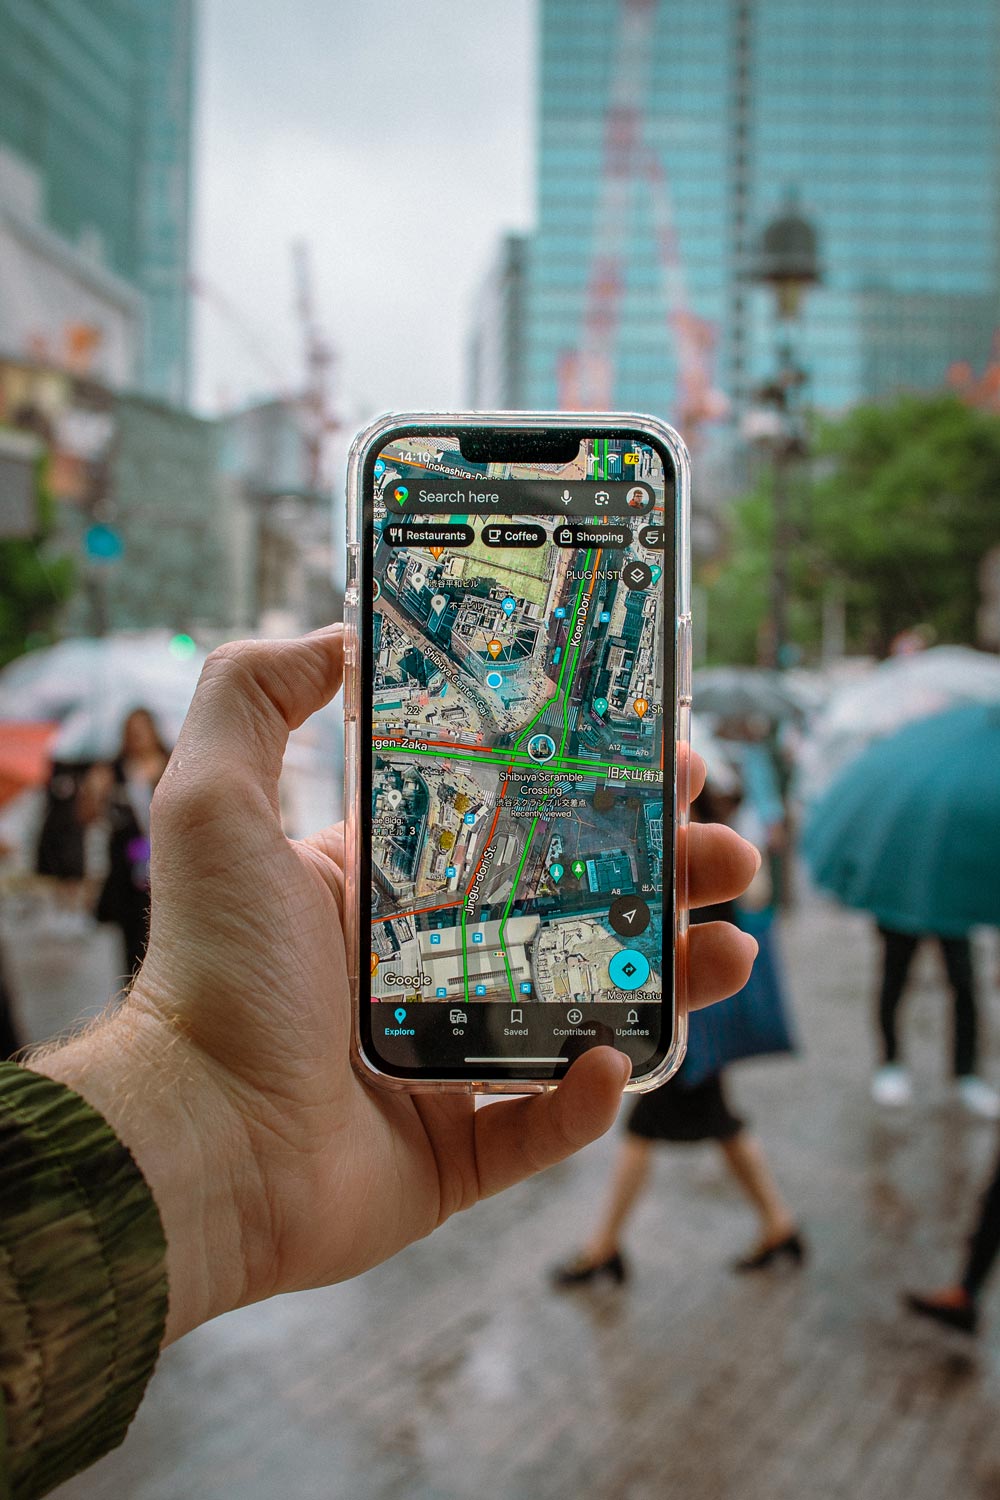
To view the map on your phone (with an internet connection), simply download the Google Maps app. Log into your account and click on the “Saved” button at the bottom.
Then scroll down and click on “Maps”. This will take you to all the maps you created. Click on the map you want to access, and all your saved spots will appear.

Share Your Map
To share your map with your travel company or friends, click on the “Share” button. Make sure to enable link sharing, which will allow you to copy the shareable link. You can share this link with friends, who can then access your map and download it themselves.


Embed Your Map on Your Site
If you’ve read any of my itineraries or travel guides, you have probably noticed some Google Maps. As I always use these maps for my own trips, I try to include them in my articles for you to use. If you want to embed your map onto your site, click on the three dots >> “Embed on site”.

This will give you a code that you can include on any site for an interactive map to appear.
Why Use Google Maps for Trip Planning?
Google Maps is one the best travel tools because it’s so easy to use for both planning your trip and using it during your trip. We use it for planning city trip itineraries and road trip routes, plus it allows us to save our favourite locations and hotspots.
Whenever we come across a location on social media that we’d like to check out, we add it to a bigger map so we can organise it into smaller itineraries when we’re ready to visit.
Here are some of the main reasons to use Google Maps:
1. It Allows You to Access Your Maps Anywhere
You can access Google Maps anywhere you want. After creating a map on your desktop, you can open it on your phone or tablet. Plus, you can download it so you can access it without being connected to the internet. This is especially handy when you’re abroad and internet access isn’t a given.
2. It Makes it Easy to Find the Best Hotel Location
Using Google Maps to plan my city breaks gives me insight on the perfect location for my accommodation. Because I have a visual representation of all the things I plan to do during my holiday, I know exactly what the best hotel spot is. I compare the map from Booking.com and my own map, and ta-da!
3. It is Easy to Plan Your Driving Miles/Time
When planning road trip routes on Google Maps, you can easily estimate the time it takes to drive from one place to the next. You can use this to properly budget your trip in terms of petrol cost, too. And when on the road, you can use the directions from your own map while driving.
Conclusion: Using Google Maps Trip Planner
That concludes my tutorial on how to plan a trip with Google Maps. I hope this has shown you all the amazing features this tool offers and how easy it is to use when planning a road trip or city break.
Ever since I started using it, I’ve never looked back. It has saved me so much time and always takes away a ton of travel planning stress. I hope it can do the same for you!


WOW!! I had no idea this resource existed. Your detailed steps and screenshots make it easy for me to take the plunge and start using this tool. Thank you.
Thank you so much for the lovely comment, Anne! So glad the post was able to teach you a few things – it’s such a great tool to use for planning trips!
Hi, Thank you for sharing this interesting feature. I was looking for a hard copy of a plan for my travel in Malaysia.
Great guide, exactly what I was looking for, Great work, Thank you!
This was very helpful. Thank you 🙂
Amazing tutorial! I am so glad you came up in Google search just as I was looking for this kind of resource. And best of all its free and a tool that I am so used to. How did I not know this before about G Maps?!
So glad to hear the tutorial was helpful! It’s been such a useful tool in my travels, hopefully you can use it on your next trip too!
Very detailed explanation and very well explained too. Thanks for making this blog…
Great post! I recently planned a trip to a nearby city using Google Maps, and it was incredibly helpful in navigating unfamiliar roads and finding the best routes. I especially appreciated the feature that allowed me to save my route and share it with friends. Will definitely be using this method for future trips!