Below is a snapshot of the Web page as it appeared on 06/06/2024 (the last time our crawler visited it). This is the version of the page that was used for ranking your search results. The page may have changed since we last cached it. To see what might have changed (without the highlights), go to the current page.
Bing is not responsible for the content of this page.
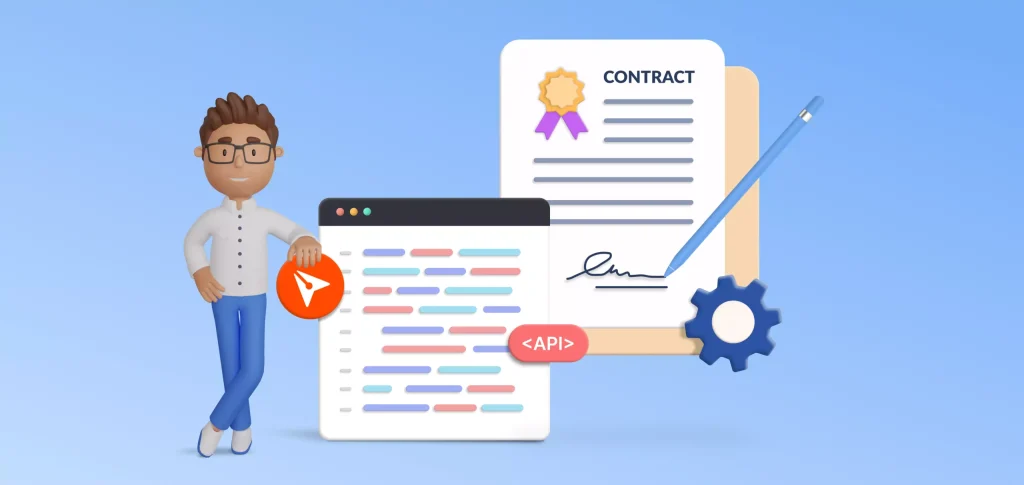
Better Contract Management with BoldSign's API - BoldSign
The BoldSign mobile app is now available. Visitthis link for more details and give it a try!
The BoldSign mobile app is now available. Visitthis link for more details and give it a try!
Businesses of all sizes rely on written contracts. The average large company juggles tens of thousands of contracts. Managing these by hand is a recipe for delays and mistakes.
The solution is automation. This article explores how to use BoldSign’s API in a C# application to automate the process of generating, sending, and signing employment contracts. BoldSign’s API provides a robust platform for managing electronic signatures and document workflows. The API allows developers to create documents, send them out for signature, and track their status programmatically.
What do you need to start?
Sign up for a free BoldSign trial. All plans include access to the sandbox API, including a free plan.
Install the BoldSign API’s NuGet package. This client library lets you initiate and track e-signature requests through Syncfusion’s BoldSign API service.
Generate a BoldSign API key. You can generate up to 4 API keys at once; learn how here.
Now our environment is ready.
Every good contract starts with a document
Pick a PDF document of a contract. It should include standard legal clauses and customizable sections. We can render custom fields on top of the document so the user can read or write the necessary information and then sign the contract.
For simplifying purposes, I divided the code into five sections:
Initialize the SDK
Collect the data
Design Your Fields
Set the Signer Information
Launch Your Contracts
Initialize the SDK
For this step, you only require the previously generated key and a .pdf file containing the body of the document you are sending for review and signature.
I set the key in the code for demo purposes, but I recommend you use a key/vault or an encrypted settings mechanism, so you don’t have to commit the key to your repository.
For this demo, I will use a simple PDF with one space (placeholder) where the signer can enter their electronic signature and a second empty space, which we will be using to populate the signer’s printed name.
A document in BoldSign contains one or more files. You can request a signature for each.
C#
using BoldSign.Api;
using BoldSign.Model;

var apiClient = new ApiClient("https://api.boldsign.com", "[Your API Key]");
var documentClient = new DocumentClient(apiClient);
In this step, we aim to get all the information we need to send our document. We only require the signer’s name and email address for this example.
BoldSign will email the address specified with a link to sign the document securely online. Using the name, we will prepopulate part of the document the signer can’t change.
C#
var signer = new Signer
{
    Name = "John Smith",
    EmailAddress = "john.smith@gmail.com"
};
This data is often retrieved from an already persistent data source. In this case, we are just assuming we have the record in memory.
Design your fields
This step is the heart of the operation. It’s where you define the interactive elements of your contract. You’ll determine where they go on the document, whether they’re required, and how they fit into the signing flow.
Once you have decided on your fields, add them to a collection. You’ll need this for the next step: getting that document sent.
To create a field, we need to start specifying the id and the type. From there, we can set the page and location of our field. We can also specify whether the field is required to complete the signing process.
Beyond signatures and names, BoldSign offers checkboxes, text boxes, and dates.
C#
var signature = new FormField(
   id: "sign",
   isRequired: true,
   type: FieldType.Signature,
   pageNumber: 1,
   bounds: new Rectangle(x: 500, y: 740, width: 200, height: 50));
var printedNameField = new FormField(
   id: "printedName",
   value: signer.Name,
   isRequired: true,
   type: FieldType.Label,
   pageNumber: 1,
   bounds: new Rectangle(x: 500, y: 810, width: 200, height: 50));


var formFieldCollections = new List<FormField>()
{
    signature,
    printedNameField
};
We are almost done at this point, but wait—how does the signer know they need to sign our contract?
This step answers that question. Use the details you have gathered to set up a documentSigner for each participant. You might require many people sign the document. If that is the case, you need to add multiple signers. BoldSign will send an email requesting signatures to all the signers you specify.
The signers don’t need to have a BoldSign account, but if they create one, they will have access to all the documents they signed and can keep track.
C#
var documentSigner = new DocumentSigner(
    signerName: signer.Name,
    signerType: SignerType.Signer,
    signerEmail: signer.EmailAddress,
    formFields: formFieldCollections,
    locale: Locales.EN);

var documentSigners = new List<DocumentSigner>()
{
    documentSigner
};


var documentFilePath = new DocumentFilePath
{
    ContentType = "application/pdf",
    FilePath = "my-first-contract.pdf",
};

var filesToUpload = new List<IDocumentFile>
{
    documentFilePath
};


var sendForSign = new SendForSign()
{
    Message = "Please sign this",
    Title = "Agreement",
    HideDocumentId = false,
    Signers = documentSigners,
    Files = filesToUpload
};
All the magic happens when you call the SendDocument() method. But first, you need to specify:
– A message
– A title
– The list of signers.
– The list of documents to sign.
Then, the process is hands-off. BoldSign works in the background, getting those signatures and updating you with a DocumentId—a reference for your records.
C#
var documentCreated = documentClient.SendDocument(sendForSign);
Console.WriteLine($"Document sent. Id: {documentCreated.DocumentId}");
BoldSign’s API simplifies the creation, sending, and tracking of large volumes of contracts.
It’s not just about staying organized—automating the contract process with BoldSign’s API can make your team more productive and less prone to errors.
BoldSign supports better compliance and risk management for critical business agreements.
BoldSign is designed with security and ease of use in mind, offering features such as template management, bulk sending, and detailed audit trails.
Conclusion
Contracts are foundational for securing services, partnerships, and transactions. Better contract management means securing deals faster and maintaining legal standards with less manual labor. Automating this process reduces the workload and minimizes the risk of human errors.
With BoldSign’s API, faster contract management is at your fingertips. It’s a powerful tool for anyone looking to negotiate and secure deals swiftly in the modern business world. The future belongs to those who negotiate contracts faster!
Raul has been developing backend systems for almost 20 years. He is a Software Engineering Manager by day and a writer by night, sharing his experiences in the field. Raul simplifies software engineering and systems design, helping software engineers.
Share this blog
Raul Junco
Raul has been developing backend systems for almost 20 years. He is a Software Engineering Manager by day and a writer by night, sharing his experiences in the field. Raul simplifies software engineering and systems design, helping software engineers.


Latest Articles
How BoldSign Helps with Account Openings in Banking
What’s New in BoldSign: Recent Updates and Features May 2024
How to Set Up Automatic Reminders for eSignature Requests with API