How to Back Up Your iPhone XS Max Data to iCloud

How to Back Up Your iPhone XS Max Data to iCloud

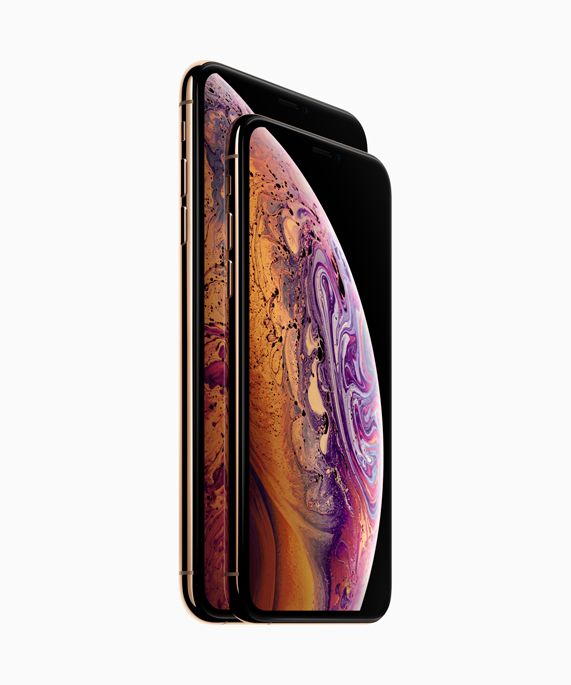
Equipped with a 6.5 inches, 102.9 cm2 (~84.4% screen-to-body ratio) Display Size and a Li-Ion 3174 mAh, non-removable (12.08 Wh) battery
post

Backing up your iPhone XS Max data to iCloud is crucial to safeguard your important information. This guide will walk you through the steps to create an iCloud backup for your iPhone XS Max.

1. Connect to Wi-Fi on your iPhone XS Max

Make sure your iPhone XS Max is connected to a Wi-Fi network before proceeding with the backup.

2. Check iCloud Storage

Ensure you have sufficient iCloud storage for your backup. You can upgrade your storage plan if needed.

3. Enable iCloud Backup

  • Open Settings on your iPhone XS Max.
  • Tap your Apple ID at the top of the screen.
  • Select "iCloud".
  • Tap "iCloud Backup".
  • Toggle on "iCloud Backup."

4. Start iCloud Backup

  • Once iCloud Backup is enabled, tap "Back Up Now."
  • Your iPhone XS Max will start backing up data to iCloud.
  • Stay connected to Wi-Fi until the backup is complete.

5. Check Backup Status

  • To check the status of your iCloud backup, go to Settings > [Your Name] > iCloud > Manage Storage > Backups.
  • Select your device to view backup details and timestamps.

6. Automatic iCloud Backups

You can set your iPhone XS Max to automatically back up to iCloud:

  • Go to Settings > [Your Name] > iCloud > iCloud Backup.
  • Toggle on "iCloud Backup."
  • Your device will automatically back up when connected to Wi-Fi and charging.

7. Include or Exclude Data

You can choose what data to include in your iCloud backup:

  • Go to Settings > [Your Name] > iCloud > Manage Storage > Backups > [Your Device].
  • Toggle on or off apps and data categories as needed.

8. Delete Old Backups on your iPhone XS Max

If you want to delete old iCloud backups:

  • Go to Settings > [Your Name] > iCloud > Manage Storage > Backups.
  • Select an old backup and tap "Delete Backup."

Conclusion

Regularly backing up your iPhone XS Max data to iCloud ensures that your information is safe in case of device loss or damage. Follow these steps to keep your data secure and easily restorable.

Birrell ChariotB
WRITTEN AND FACT CHECKED BY

Mobilebezz & Colleagues

Written and fact checked by the dedicated experts at Mobilebezz to ensure accuracy and reliability.

✨ Popular Topics

View all

Getting Started

Learn the basics of setting up and using your iPhone for the first time.

Calls and Messaging

Discover how to make calls, send messages, and manage your contacts efficiently.

Battery and Performance

Learn how to optimize your iPhone's battery life and enhance overall performance.

Apps and App Store

Explore the world of apps, from downloading to managing and organizing them.

Tips and Troubleshooting

Get expert tips and solutions for common issues and challenges you might encounter.

Photos and Camera

Capture, edit, and organize your memories with the iPhone's powerful camera and photo features.

iCloud and Data Management

Sync and manage your data across devices using iCloud and other data management tools.

Settings and Security

Configure settings and learn about security features to keep your iPhone and data safe.

Customization and Personalization

Make your iPhone truly yours by customizing settings, wallpapers, and more.

Connectivity Issues

Troubleshoot and resolve problems related to Wi-Fi, Bluetooth, and other connectivity issues.

App Problems

Find solutions for app-related problems, crashes, and glitches on your iPhone.

Storage and iCloud Issues

Manage storage effectively and address iCloud synchronization and storage problems.

Touchscreen and Display Issues

Fix issues related to the touchscreen, display, and user interface of your iPhone.

Software and Update Troubles

Resolve issues stemming from software updates, installations, and compatibility.

Audio and Sound Problems

Troubleshoot audio, sound, and headphone jack problems on your iPhone.

Security and Privacy Concerns

Ensure the security and privacy of your personal data on your iPhone.