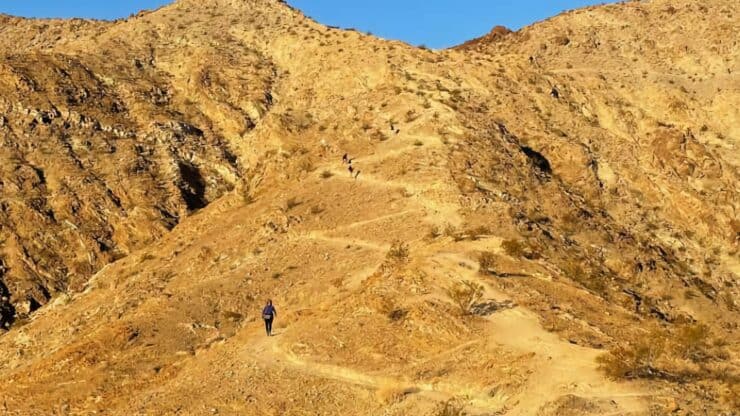

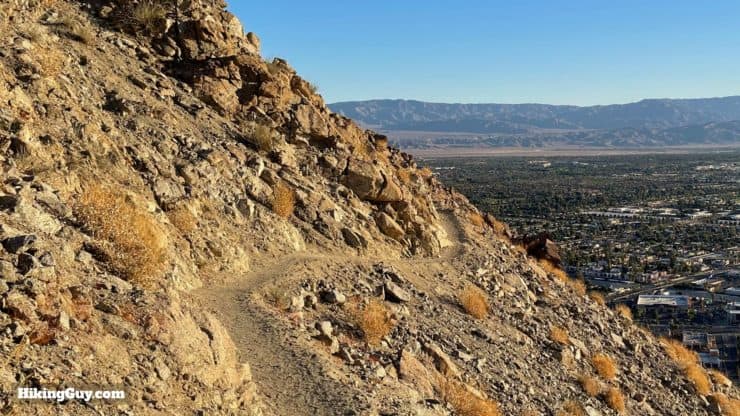
The Bump and Grind Trail, one of the most popular in the Palm Springs area, is a short yet challenging loop hike that packs a lot of fun. You'll get the incredible scenery of the desert foothills, a challenging but doable climb, a visit to a refuge for the endangered Peninsular bighorn sheep, and views of the two high peaks of Southern California, Mt San Jacinto and San Gorgonio. For the best experience, leave at sunrise or late in the afternoon to avoid the crowds and heat. This guide will show you how to navigate the Bump and Grind Trail and have a great time.
- Video and Turn-by-Turn Bump and Grind Trail Directions
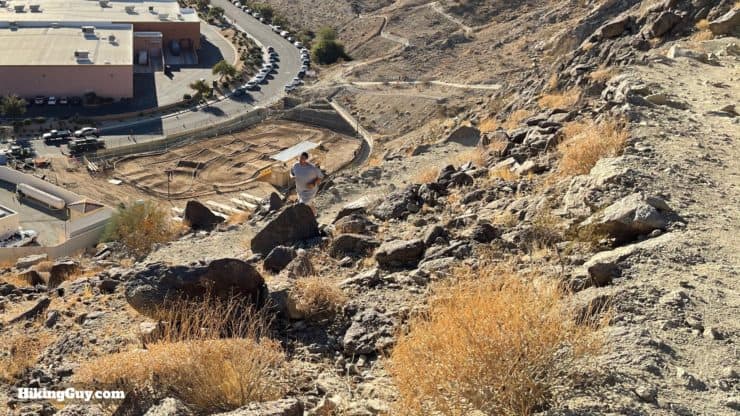
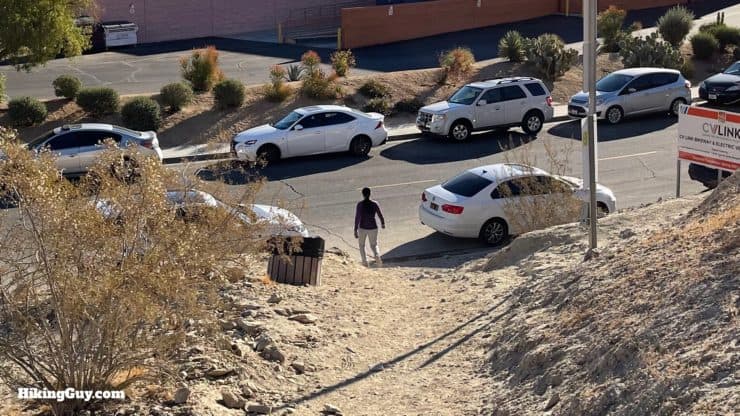
- Where to Park for the Hike
- Maps and Insider Tips
Bump and Grind Trail Address
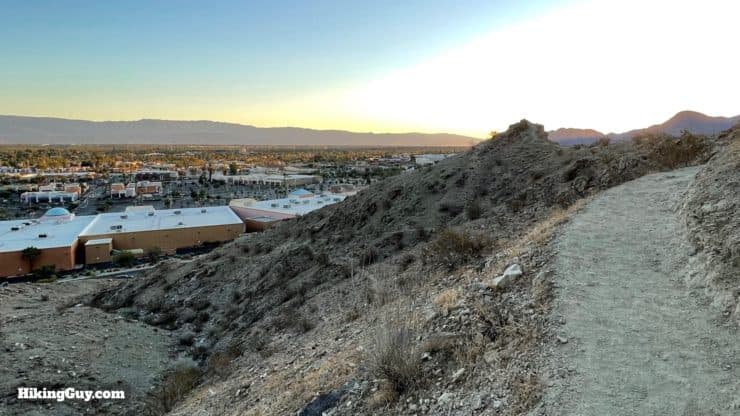
The Bump and Grind Trail starts behind the Desert Crossing Shopping Center in Palm Desert, CA. It always amazes me that, although you are right behind a mall, you feel like you are a world away. Use this address:
72440 Painters Path, Palm Desert, CA, 92260

Parking is free.
Gear for the Hike
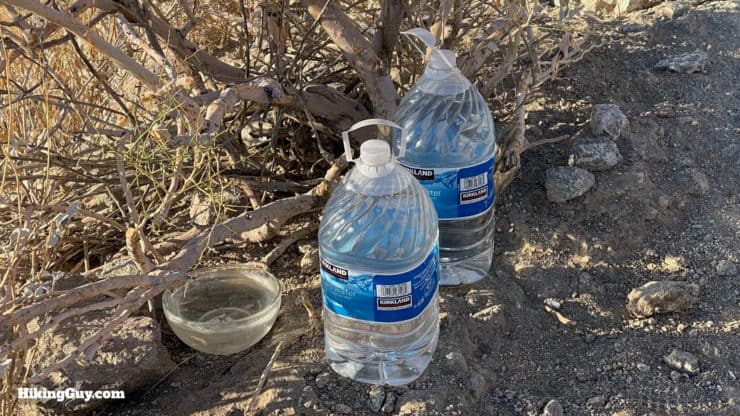
You don't need hardcore hiking gear to do the Bump and Grind Trail, but you do need to be prepared. Although steps away from the mall's air-conditioned world, this is a desert hike, and people need to get rescued relatively often.
- First off, bring plenty of water, at least 1.5 L (like a Smart-water bottle) for the loop hike.
- Watch the weather for Palm Desert and avoid the hike if it's going to be hot out. Most locals do this hike at sunrise in cooler months.
- Trekking poles help on the steep terrain.
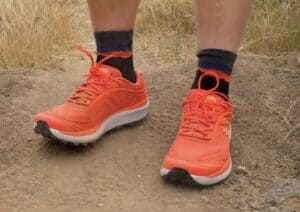
- Good footwear such as trail runners or hiking shoes will serve you best.
- You can get away with fitness clothes or light hiking gear.
- Don't forget about sun protection.
Gear That I Love Right Now
Nothing is sponsored or promoted, just the actual gear that I use.


Check out the complete list here. ( Updated May 2024)
Bump and Grind Trail Maps
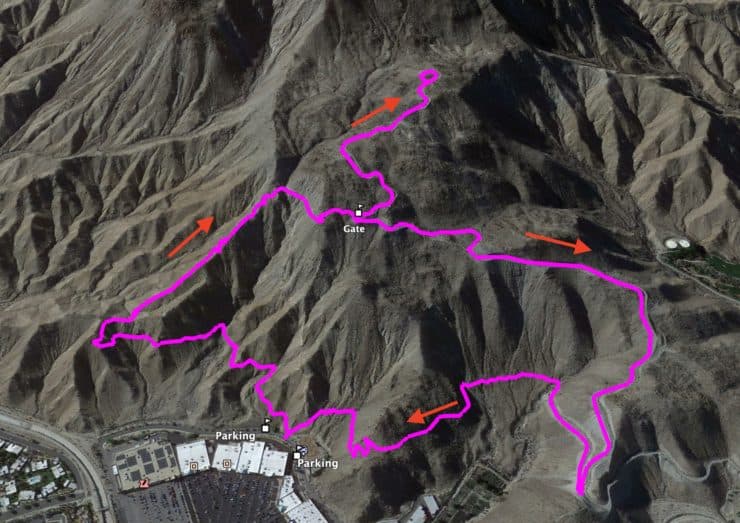
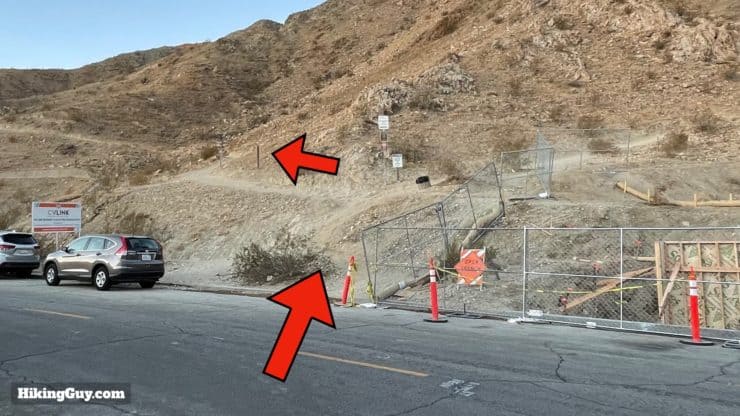
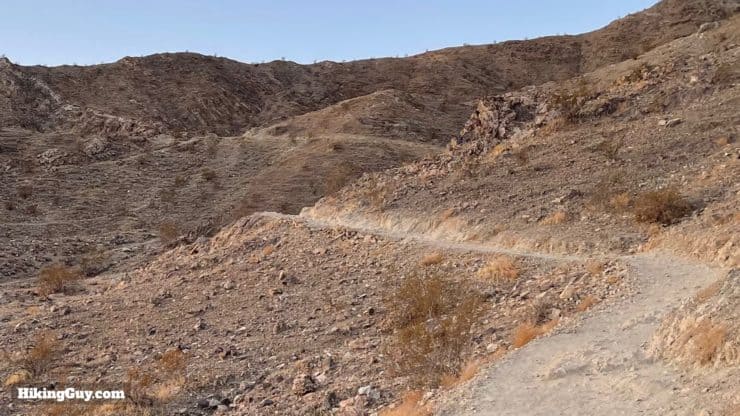
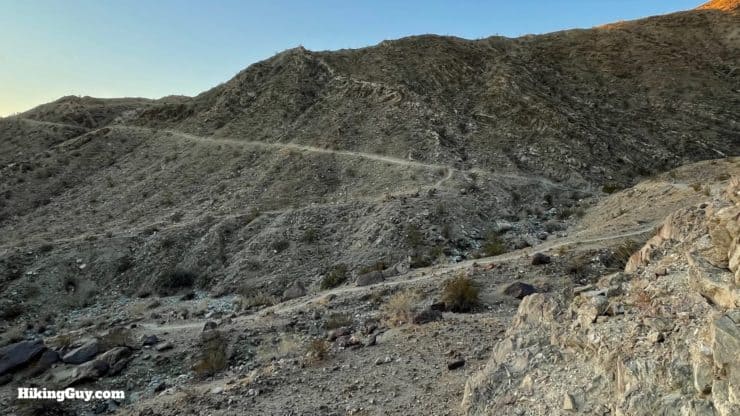
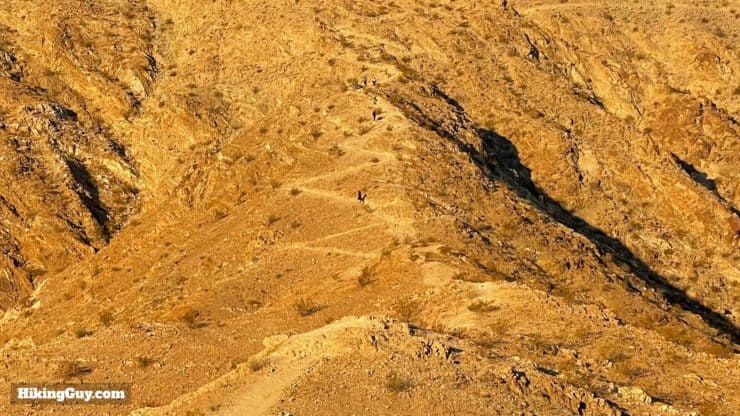
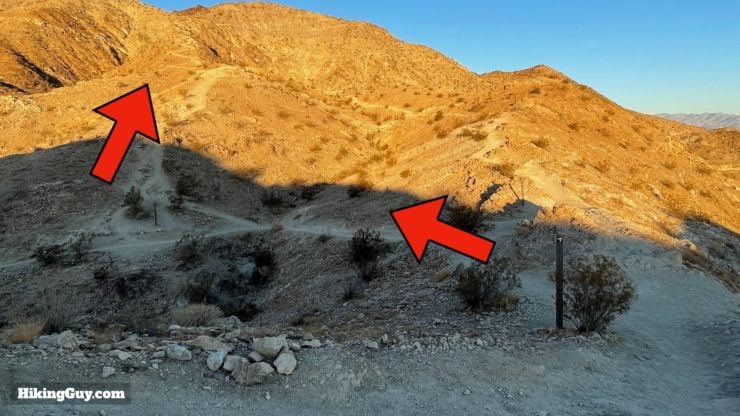
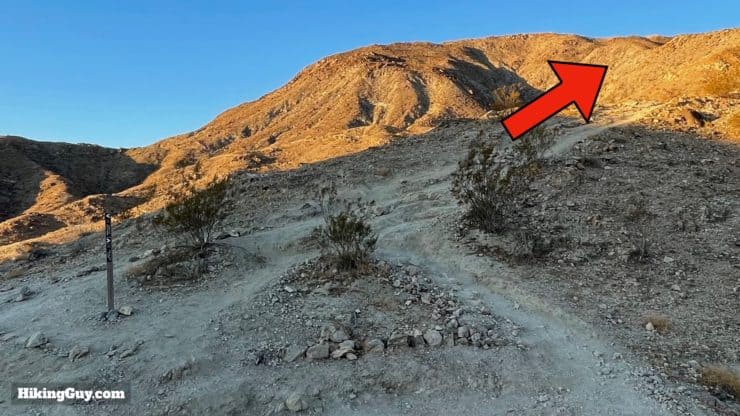
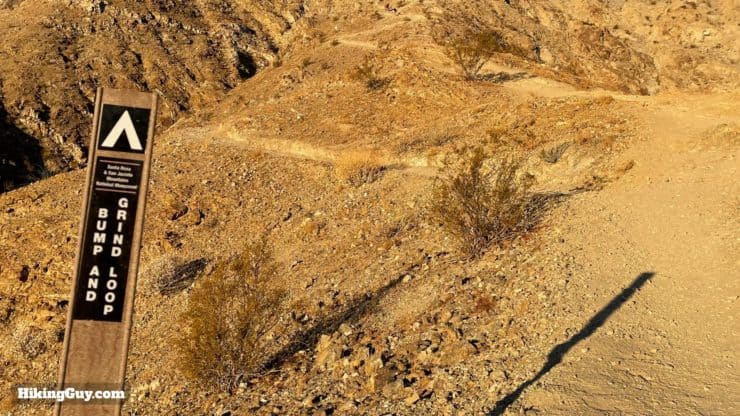
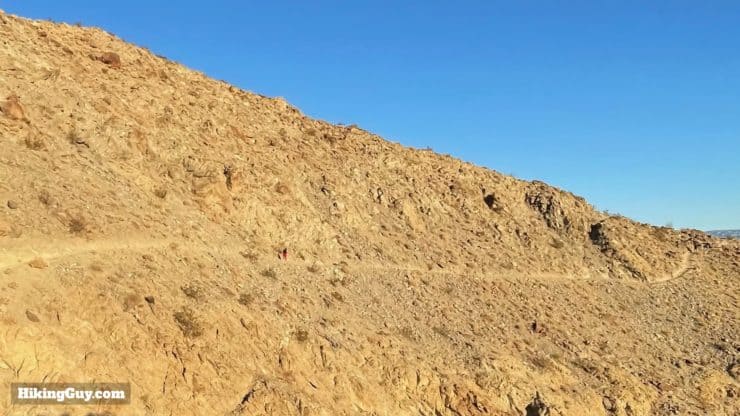
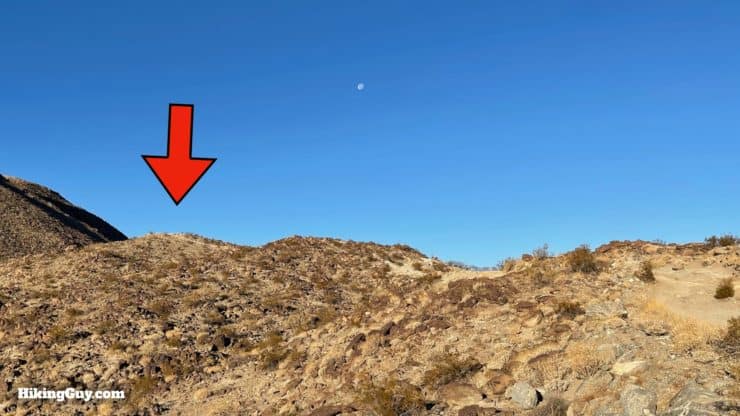
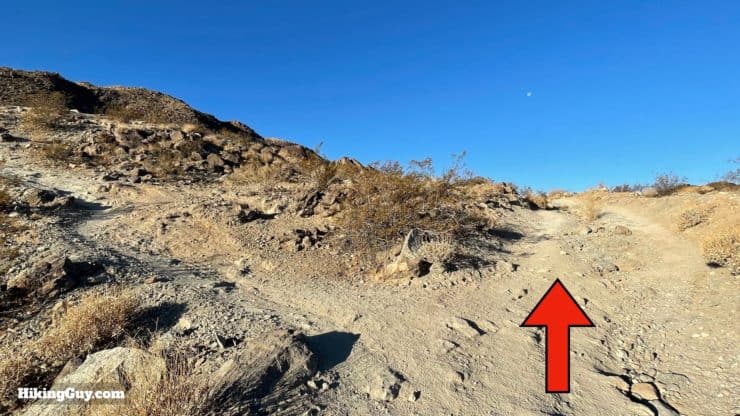
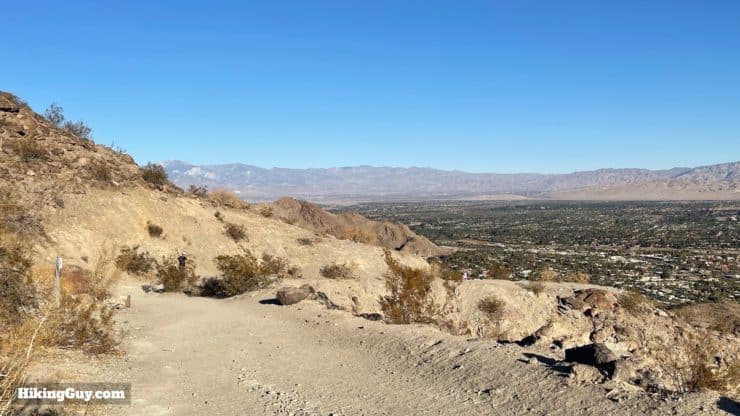
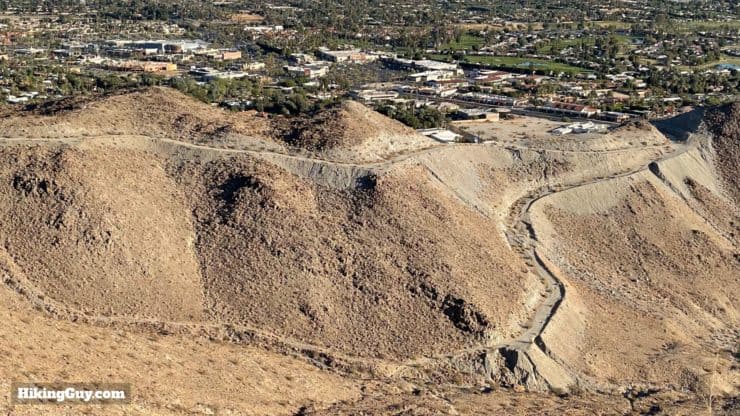
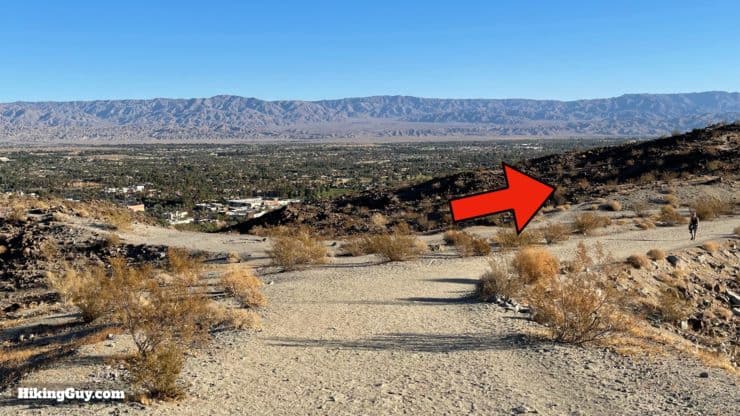
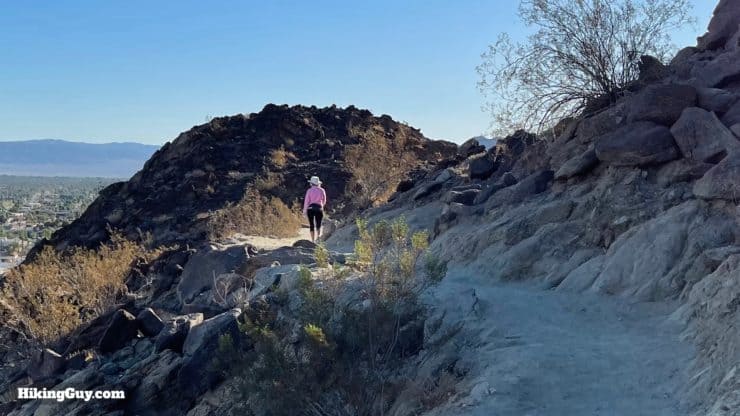
This hike follows the Bump and Grind Trail loop's popular clockwise routing. It has a steeper climb on the way up and the more gradual, knee-saving, and slip-avoiding trail back down. The course has markers along the way to help you confirm that you're in the right place (more in the directions below).
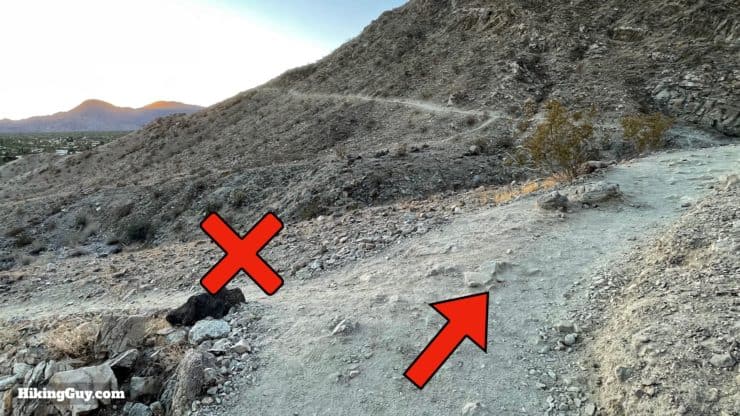
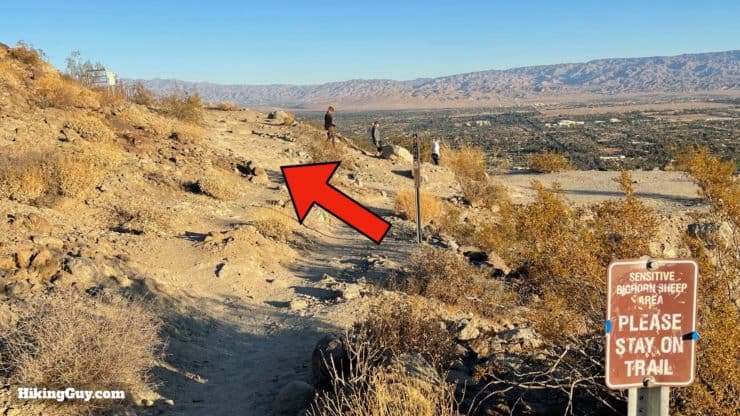
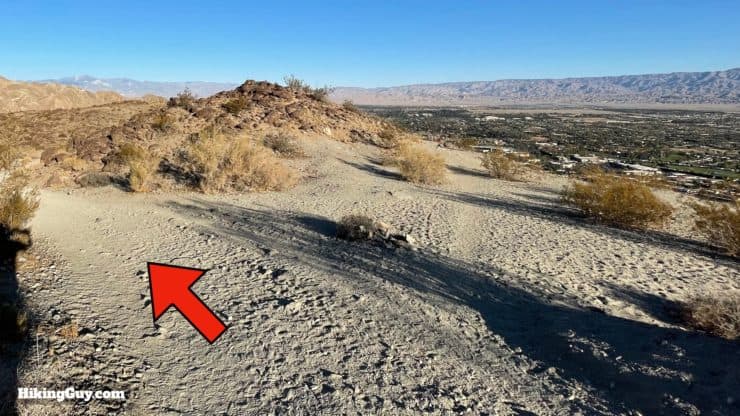
There are several unofficial "cut-off" trails along the way. If you are not on a well-worn path, you've left the official trail.
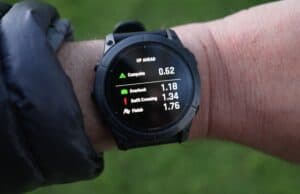
How Will You Navigate?
 Using the Apple Watch for Hiking
 Garmin Fenix 7 & Epix Review For Hikers
 How To Read a Topographic Map
 Garmin GPSMAP 67i Review
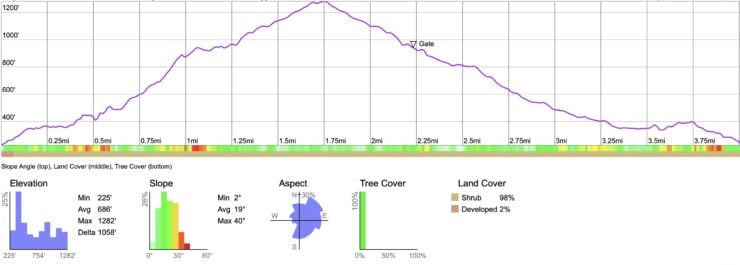
Elevation Profile
3D Map
Bighorn On the Bump and Grind Trail
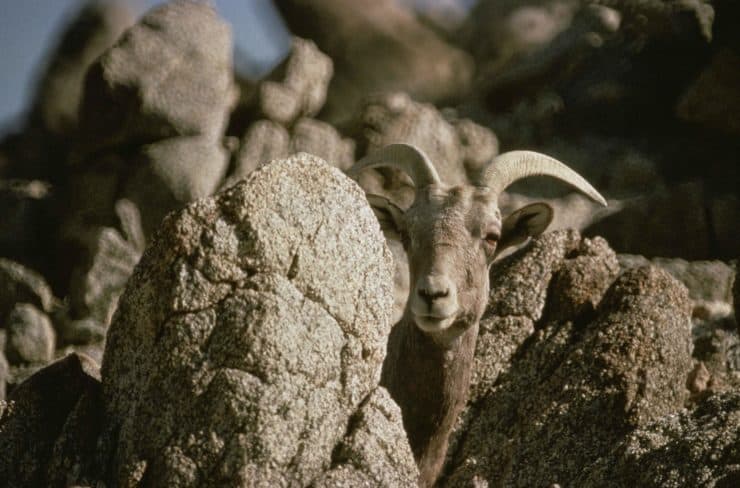
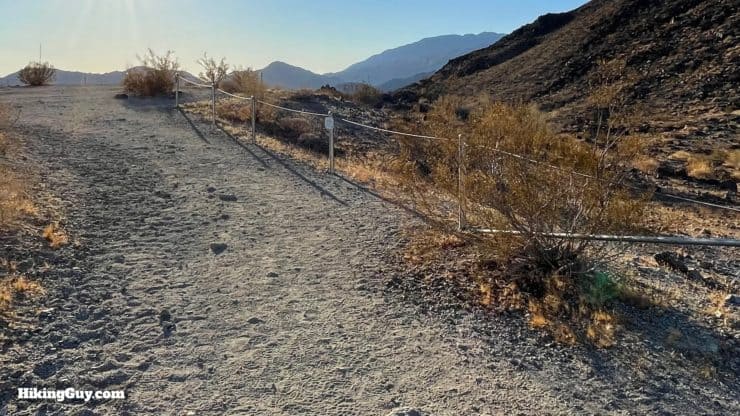
There has been controversy around the Bump and Grind Trail and the endangered peninsular bighorn sheep. Regular bighorn, which inhabits the higher mountains, are not endangered, but the peninsular bighorn, found in the lower desert between Palm Springs and Baja, Mexico, is endangered. There are only about 3,000 left in the world. The upper sections of this hike pass through an area where the peninsular bighorn often raise their young (lambs).
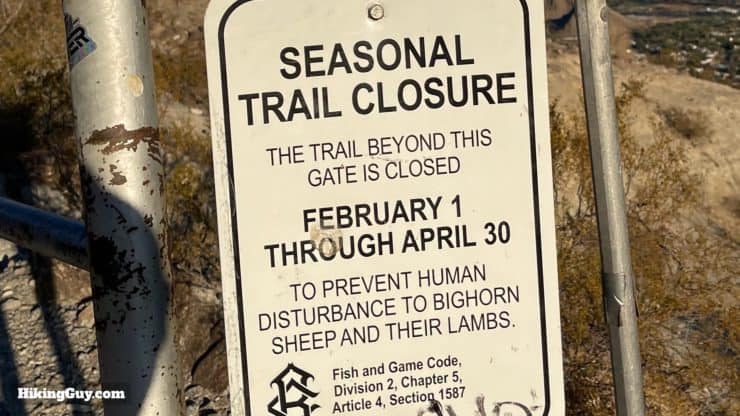
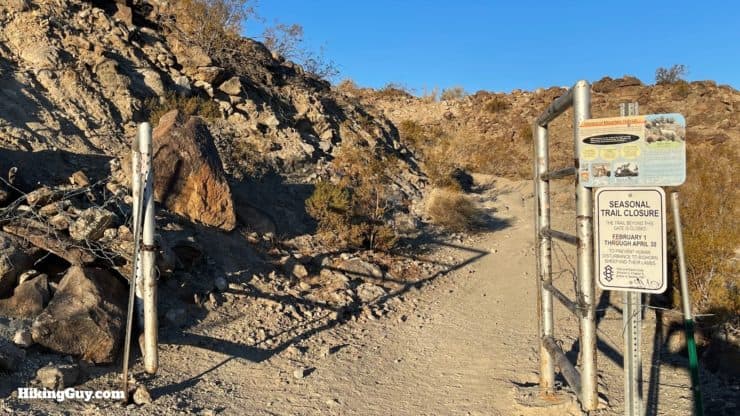
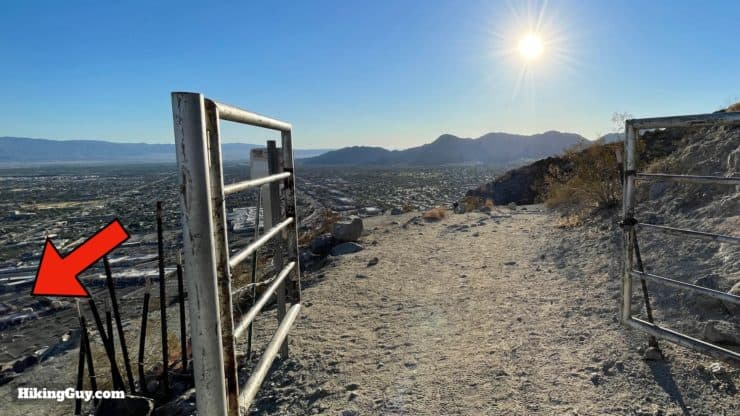
Conservationists wanted to close the whole area to humans; community leaders realized that this hike is a major attraction and wanted to keep the space open. The two parties were able to compromise, and now the upper "out and back" portion of the hike is closed for three months a year to give the bighorn space to raise their young.
We saw a herd of Bighorn Sheep, which was amazing! TripAdvisor Reviewer
You can still do the hike if the upper portion is closed. The distance will be 3 miles instead of 4 and still offers a good workout and lots of natural beauty.
Bump and Grind Trail Directions
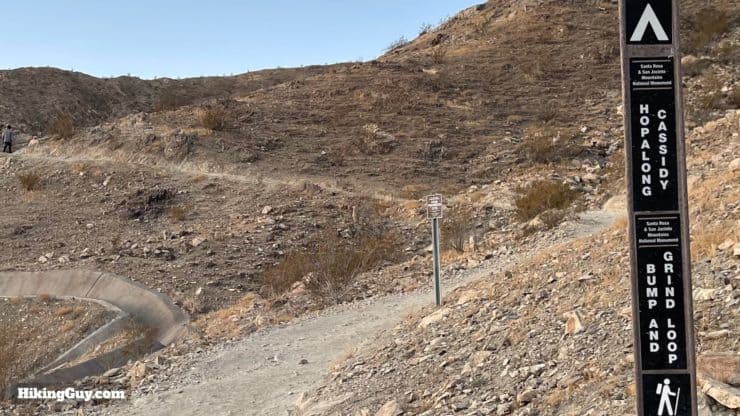
Hopalong Cassidy was a fictional cowboy character that first came to life in 1904 through short stories, then on films, and then on a popular television show in the 1950s. The television character was played by William Boyd, who retired to Palm Desert. His widow and the city named the trail after him and his famous character.
You're now on the Herb Jeffries Trail. Herb Jeffries was another Palm Desert resident, cowboy hero, and singer with the Duke Ellington Orchestra. His mixed ethnicity and the dynamics of American racism make his story an interesting read.

Head back downhill after the loop, back to the gate that you came through.

Need More Info?
- Have a question about the guide or want to see what other people are saying/asking? View the Youtube comments for this video. Leave a comment and I will do my best to respond.
- When planning, always check the park website and social media to make sure the trails are open. Similarly, check the weather and road conditions.
Related Guides
 Hike Mastodon Peak Trail
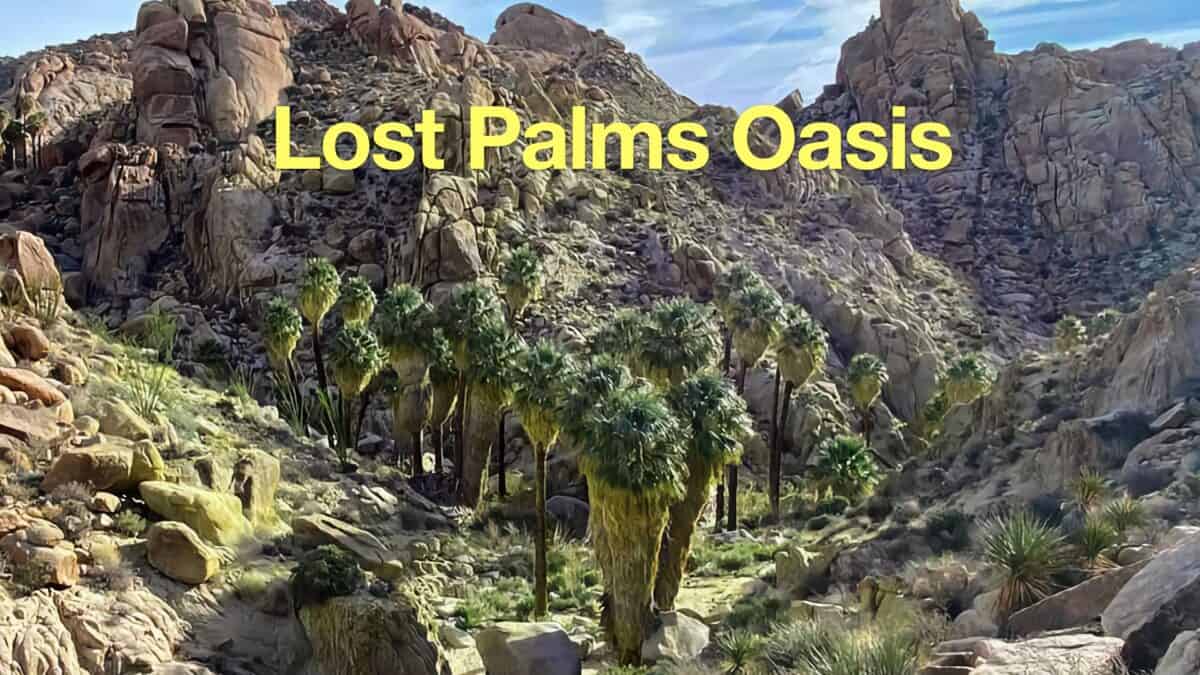 Hike Lost Palms Oasis Trail
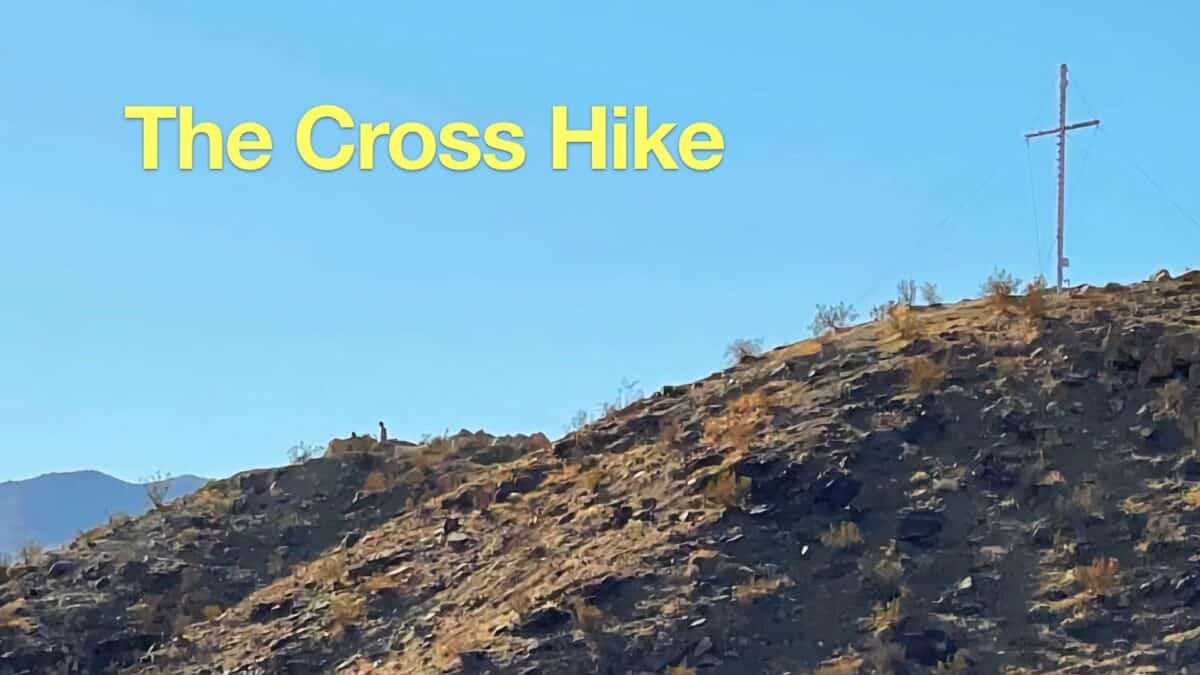 The Cross Hike (Palm Desert)
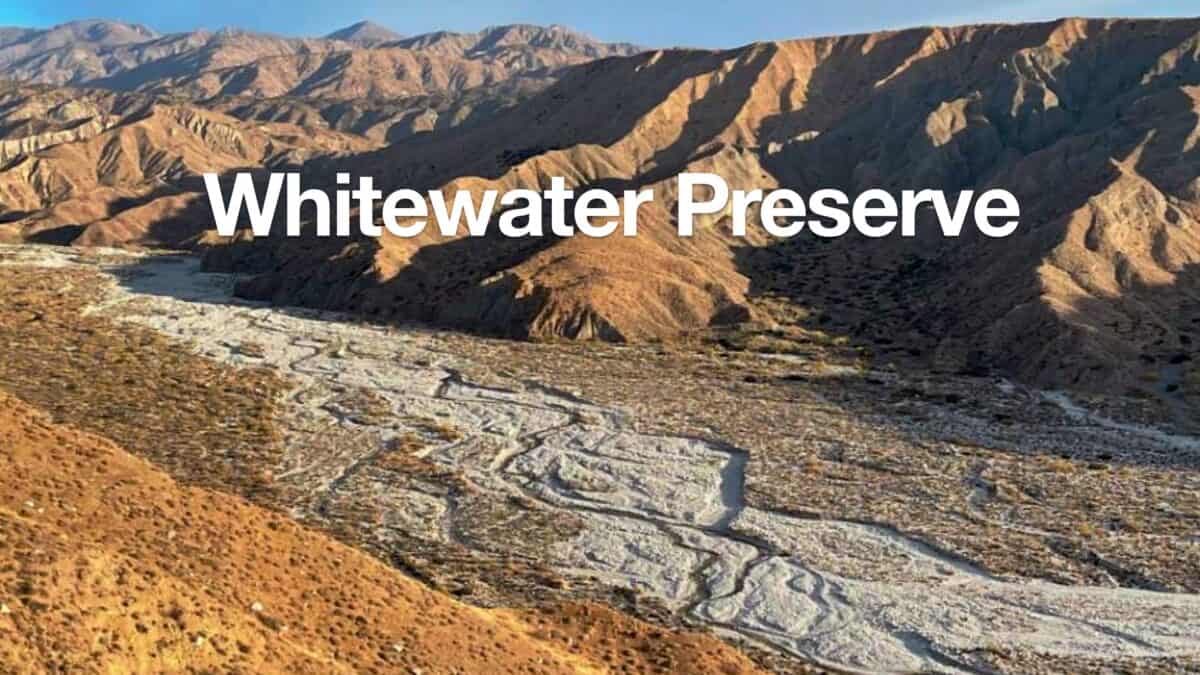 Whitewater Preserve Hike - Canyon View Loop Trail
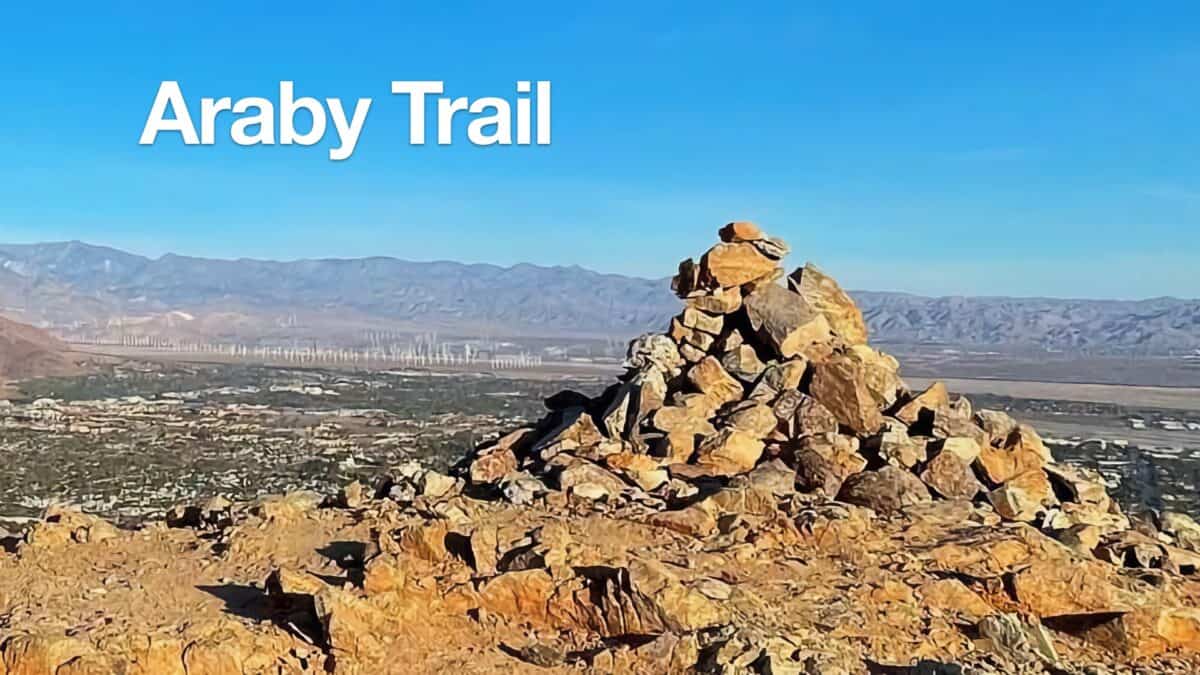 Araby Trail Guide
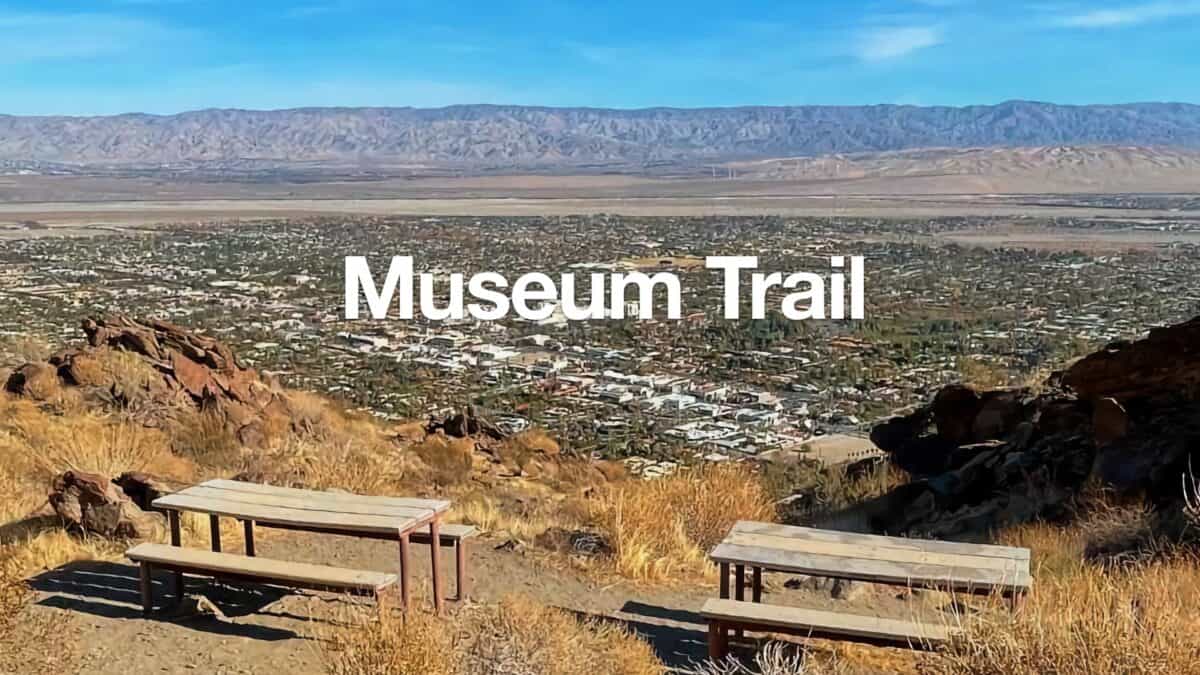 Museum Trail (Palm Springs)
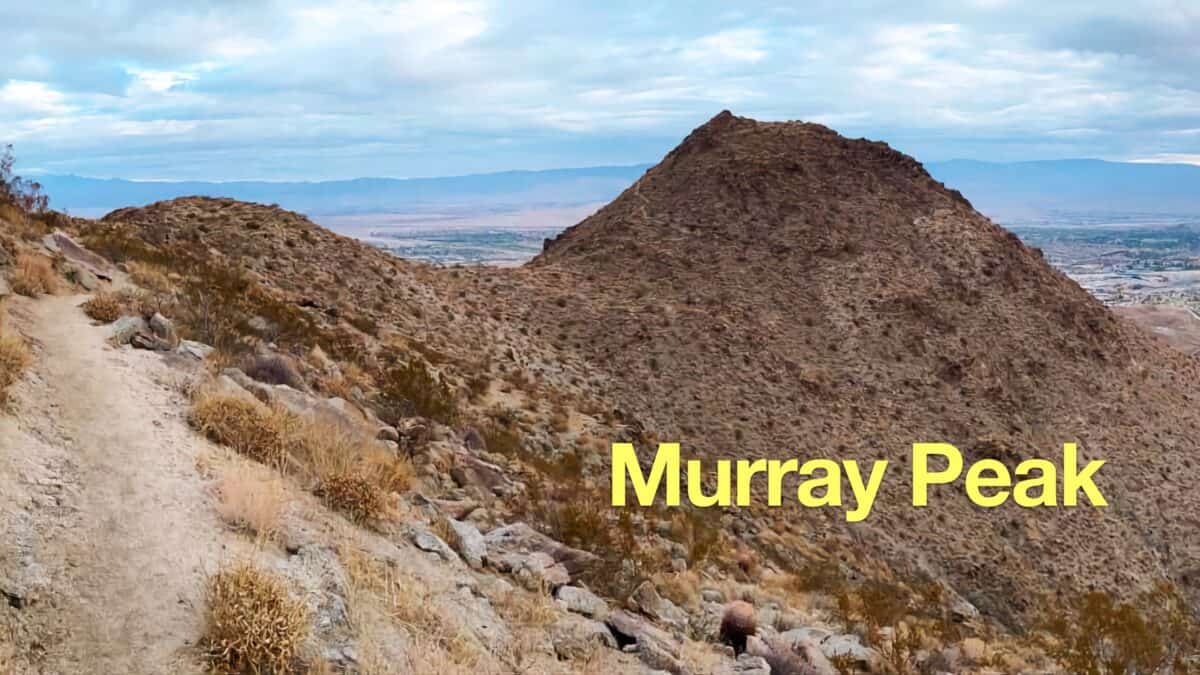 Murray Peak Hike (Palm Springs)
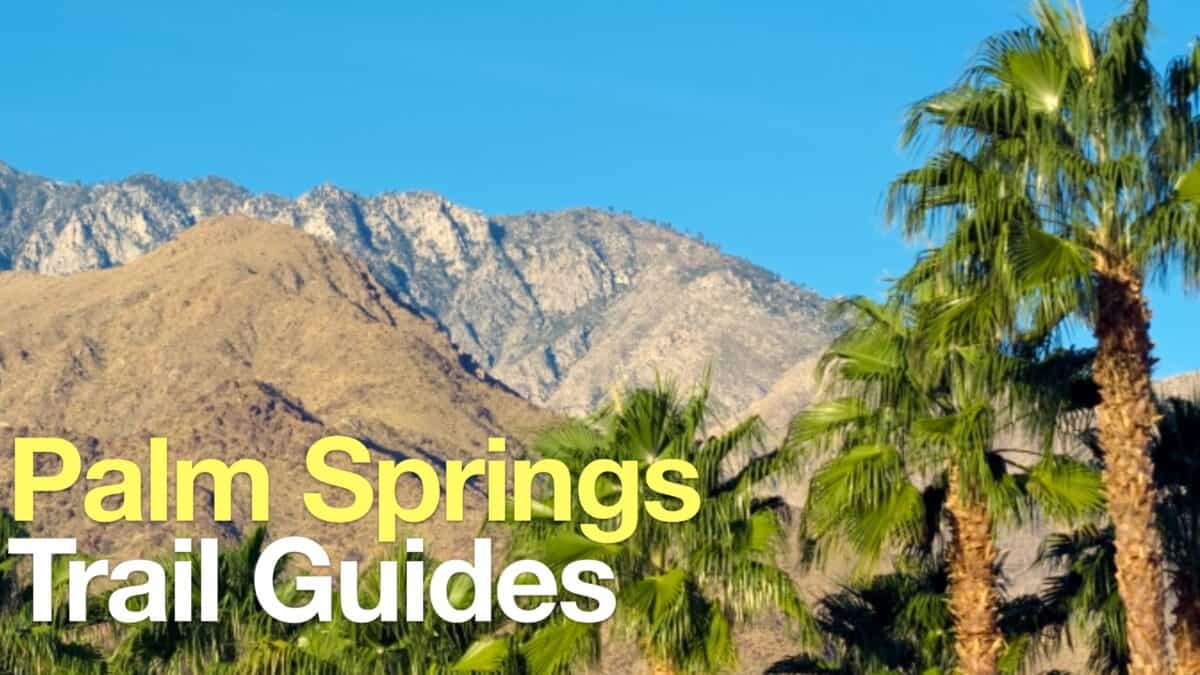 Palm Springs Hiking Trails
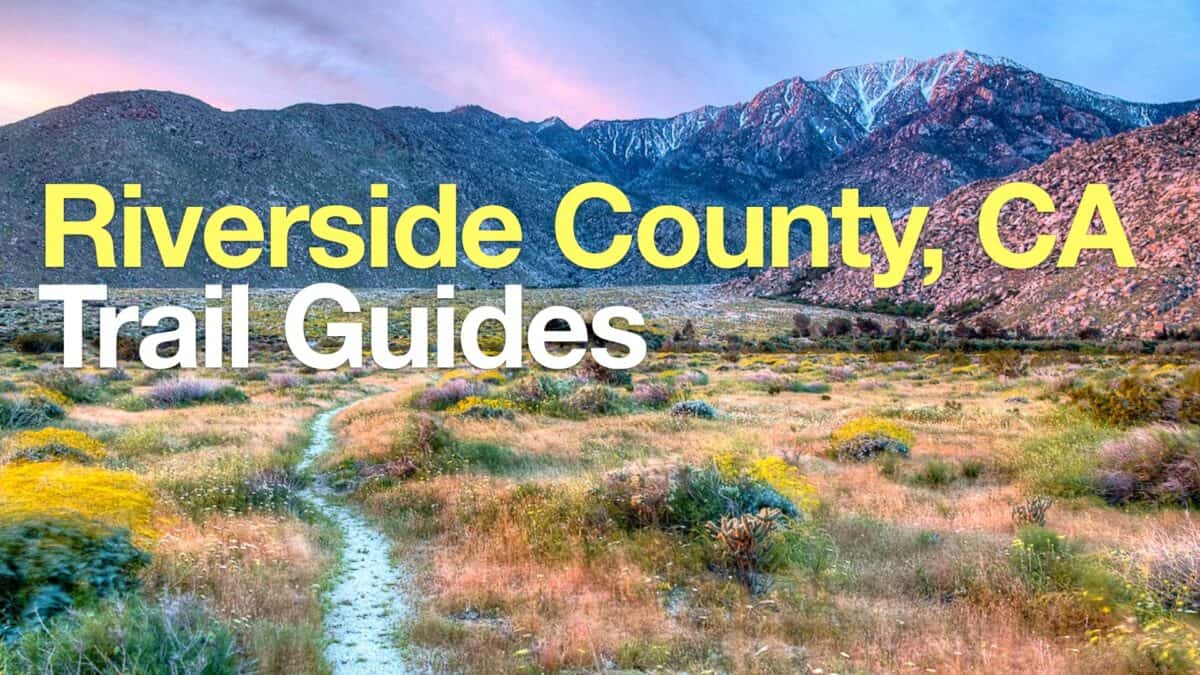 Hikes In and Around Riverside County
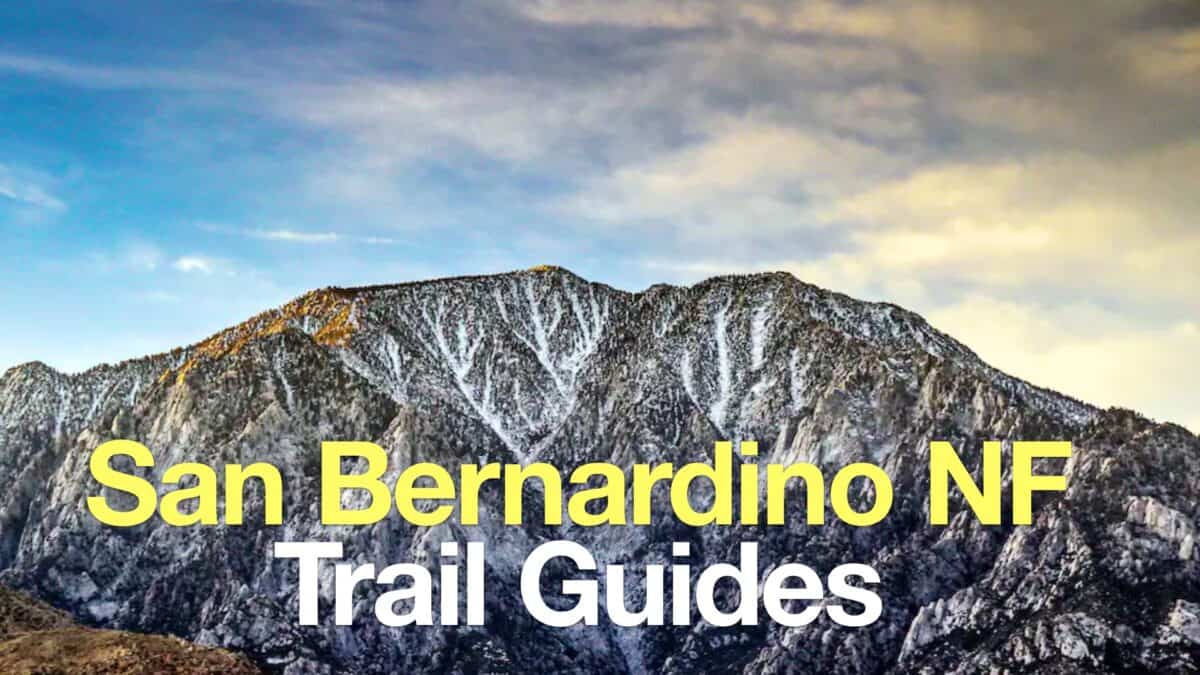 San Bernardino National Forest Hiking Trails
 Santa Rosa and San Jacinto Mountains National Monument Hikes
Popular Guides
 Best Hiking Gear 2024
 Hiking Boots or Shoes: Do I Really Need Hiking Boots?
 When to Hit SOS on inReach
This Guide Was Written by Cris Hazzard

Hi, I'm Cris Hazzard, aka Hiking Guy, a professional outdoors guide, hiking expert, and author based in Southern California. I created this website to share all the great hikes I do with everyone else out there. This site is different because it gives detailed directions that even the beginning hiker can follow. I also share what hiking gear works and doesn't so you don't waste money. I don't do sponsored or promoted content; I share only the gear recommendations, hikes, and tips that I would with my family and friends. If you like the website and YouTube channel, please support these free guides (I couldn't do it without folks like you!). You can stay up to date with my new guides by following me on YouTube, Instagram, or by subscribing to my monthly newsletter.