UV Resin – How to use UV Resin [Tutorial]
This post may contain affiliate links. We may earn a small commission from purchases made through them, at no additional cost to you.
UV Resin is often promoted as a practical alternative to conventional epoxy resins. But how exactly does this resin differ from other casting resins? And for which workpieces is it particularly suitable? In the following article, you will learn a lot of interesting facts about this “resin for the impatient” and receive instructions on how to work with UV resin optimally. Furthermore, we will tell you where you can buy cheap but still high-quality UV resin.
Table of Contents
- 1 What is UV Resin?
- 2 The Advantages and Disadvantages of UV Resin
- 3 Application Possibilities of UV Resin
- 4 LED Resin: The Best UV Resin for Your Projects
- 5 UV Resin Kit – Fast Start into Casting
- 6 Other Material Needed for Working with UV Resin
- 7 Guide for Your First UV Resin Project
- 8 Video Tutorial: How to Create Beautiful UV Resin Jewelry
- 9 What you Should Pay Attention to When Buying UV Lamps
- 10 The Curing Time of UV Resin
- 11 Surface Sealing with UV Resin
- 12 Tips & Tricks
- 13 How to Cure UV Resin without Sun?
- 14 How to Color UV Resin?
What is UV Resin?
UV resin belongs to the group of synthetic resins. Compared to conventional epoxy resin, however, there are significant differences, especially in the way it is processed.
- UV resin cures completely within a few minutes with the help of a special UV lamp
- It can be used immediately without the need to mix it with a hardener
- Only thin layers can be cast
The Advantages and Disadvantages of UV Resin
PROS
- The laborious mixing of resin and hardener is no longer necessary.
- The resin can be used for a very long time, as it does not cure without the aid of a UV lamp.
- Curing by UV light is completed within a very short time.
CONS
- The shelf life is only 6 months.
- The cast layers should not exceed 3 to 4 mm. After that, several layers should be cast for safety reasons
It is somewhat more expensive than conventional epoxy resin. - A special UV lamp is required for curing. The UV radiation of the sun is only partly sufficient in our latitudes.
Application Possibilities of UV Resin
Like any other material, fast drying resin has both advantages and disadvantages. However, there are some objects for which the use of UV resin is simply unbeatable.
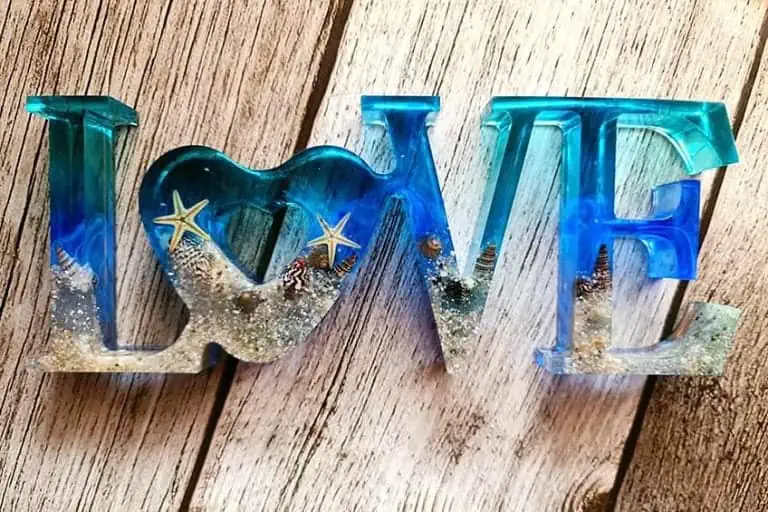
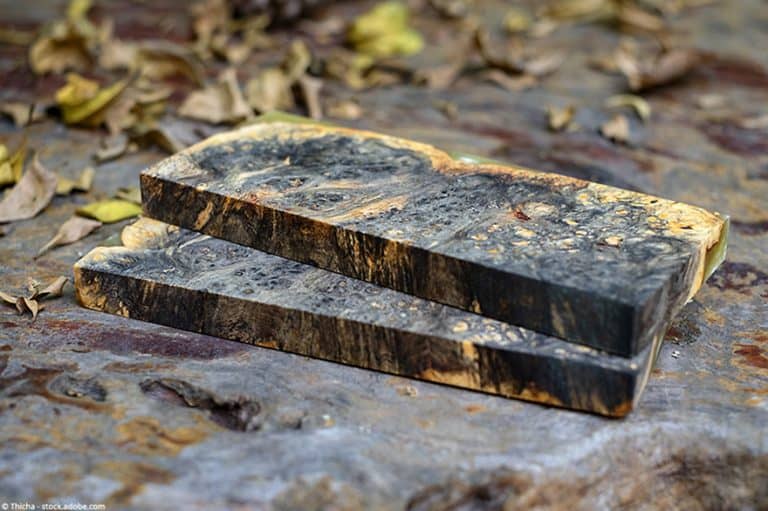
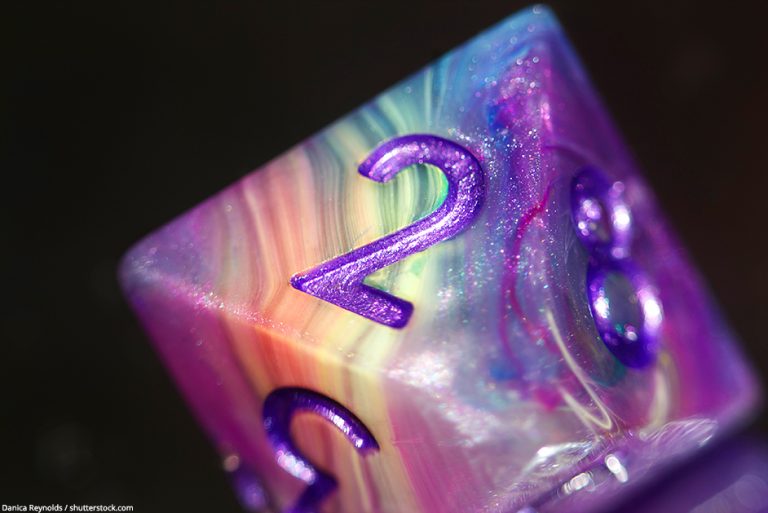
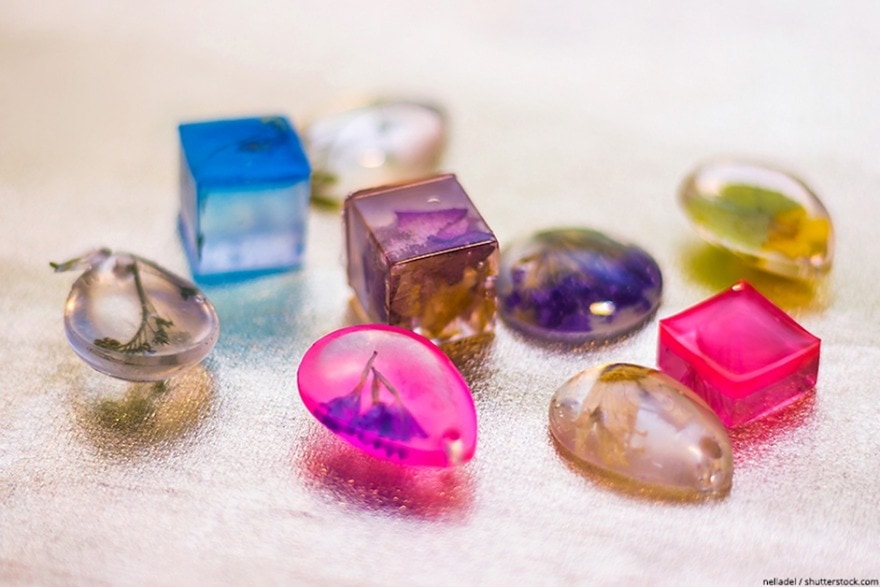
- For smaller projects like resin jewelry and other small castings UV resin is the right choice
- UV Resin can be applied excellently on small areas for sealing
- Due to the short curing time the UV resin is practically unrivalled as an epoxy resin adhesive
LED Resin: The Best UV Resin for Your Projects
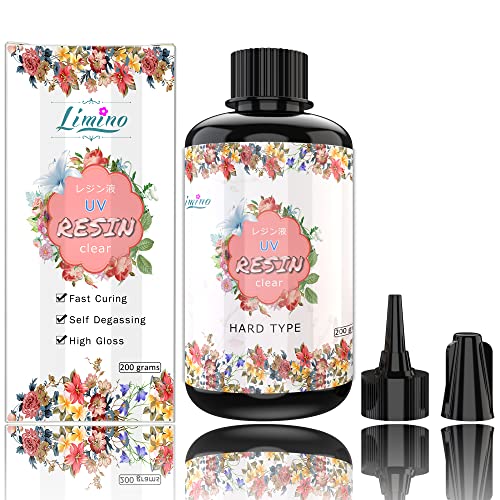
From our UV resin comparison, the Limino UV Resin emerged as the clear winner thanks to its transparency and very good quality. Compared to other UV LED Resin it forms relatively few air bubbles and cures under UV light within a very short time. We were also convinced by the relatively low price for which this high-quality resin is available.

- Upgraded Clear UV Resin, fast cure, low shrinkage, super clear, and yellowing resistance
- It can cure hard under UV light, daylight, or sunlight in a short time
- Made of high-quality and non-toxic materials, low odor
- High-quality UV Resin from Japan, developed with non-toxic materials
- High yellowing resistance, very hard surface after curing, anti-scratch, anti-stain
- UV epoxy resin with self-leveling properties cures a smooth crystal clear, glassy finish
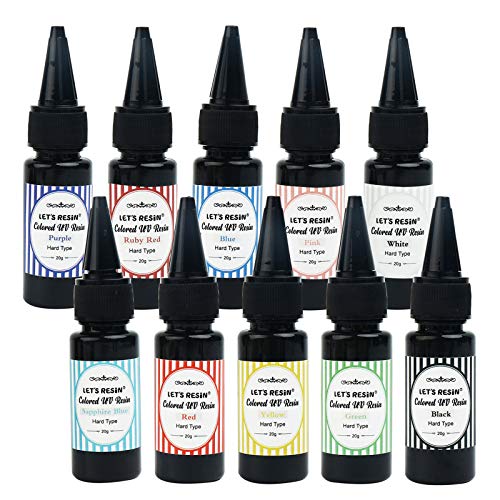
- The Let's Resin Kit with already coloured UV Resins is great to start
- Ready for your immediate start, just pour it into your mold and set it under UV light
- Very good for usage in jewellery and other casting techniques
UV Resin Kit – Fast Start into Casting
If you want to start right from start with casting, you can buy a UV Resin Kit, which contains everything you need for casting UV Resin. What is important for a good Kit? A high-quality UV Resin, a UV lamp with enough power to harden your Resin within minutes, resin paintings that can be mixed well and resin molds with fine surface, so you can unmold your hardened castings without any problems. The UV Resin Kit we can recommend is from
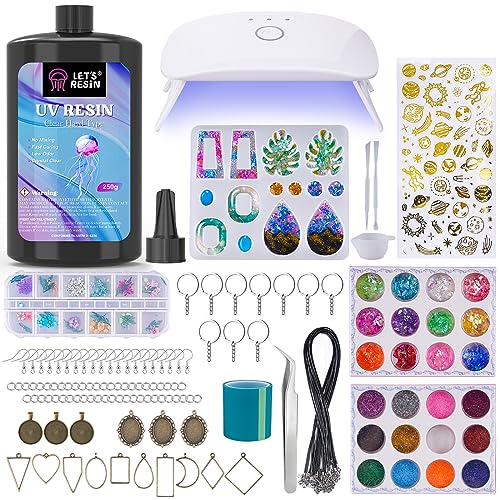
- This UV Resin Jewelry Kit includes high quality and high transparency clear UV resin
- Including everything you need - UV light, molds, colors and much more
- Everything you need to start working with UV Resin right away
Other Material Needed for Working with UV Resin
- A UV lamp or UV flashlight
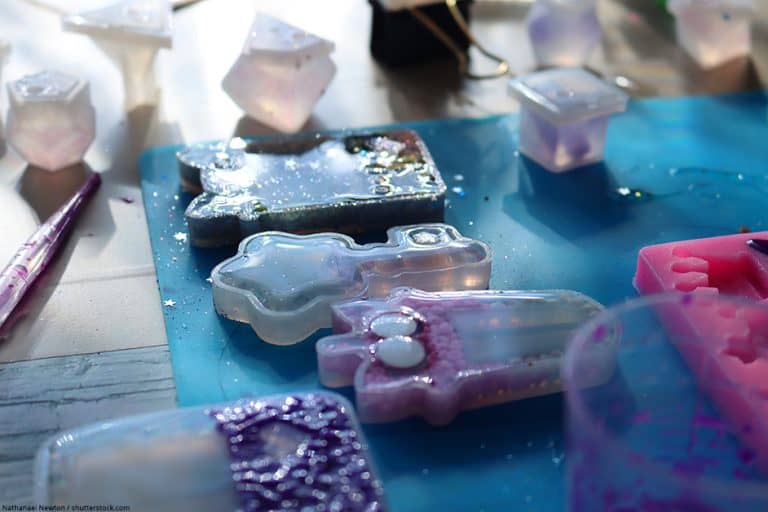
- Casting molds made of silicone in the desired size and shape
- Colour pigments or liquid ink for resin
- Additives such as glitter or mica flakes
- utensils for mixing resin and paint (mixing cup, stirrer)
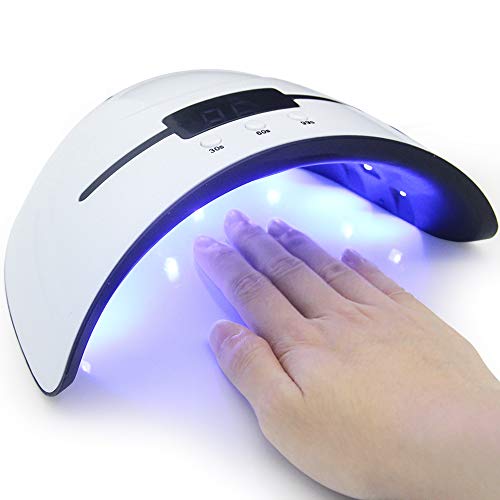
- Powerful UV light to cure your UV Resin
- UV Resin cures within 1-2 Minutes
- Just put your project underneath the lamp, safe distance to curing UV Resin
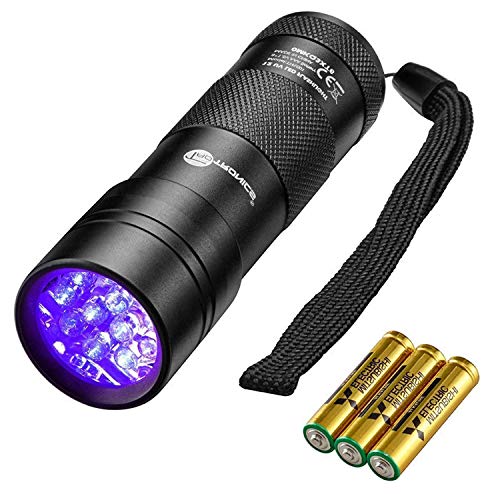
- Cheap and portable solution to cure your UV Resin
- Also sutiable for projects which are hard to access

- Package totally have 18 items
- It includes 1 sphere, 1 cube, 1 diamond, 1 triangular pyramid, 2 measurement cups, 2 different crystal stone molds, 10 wood sticks
- Very flexible, easy to clean and it re-usable, not easily damaged

- Includes heart, round, elliptical, rectangular, and square shapes
- Top quality, soft and flexible silicone with high tear strength
- Very smooth non-stick interior for glass-like finish and easy demolding

- Set contains 18 opaque liquid colorants for epoxy resin
- Non-toxic and odorless in transparent 0.35 ounce bottles
- Concentrated and easy to use for achieving solid colors in resin

- Hemway is well-known for its high quality pigments
- Metallic Pigments are highly pigmented and have added some extra bling
- Works with all Epoxy Resins, including UV Resin
Guide for Your First UV Resin Project
- First cover your workplace with foil or cardboard and put all the necessary materials within easy reach.
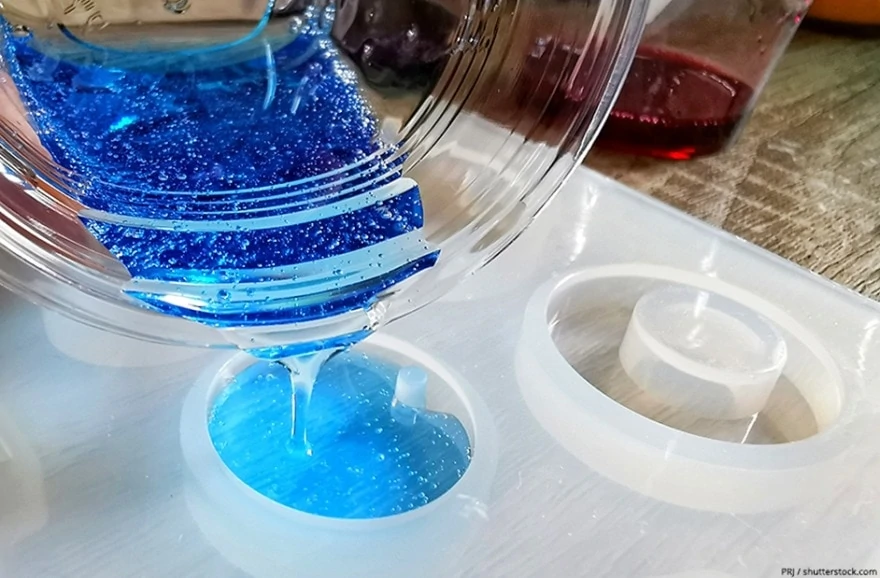
- If you want to use a colored resin, put some of the resin together with some liquid paint or pigment powder into a mixing cup and mix the two components carefully but thoroughly with a stirrer. Afterwards the resin can be poured into the provided silicone mold. If you want to work with crystal clear resin, the step of coloring is of course not necessary and the resin can be poured directly into the mold.
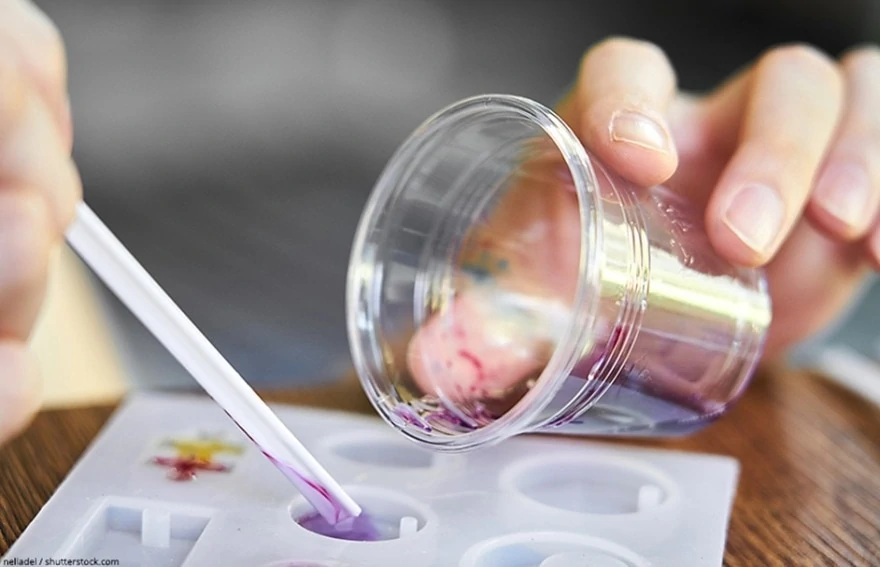
- Pour the UV LED resin in an approx. 3 mm thin layer into the silicone mold.
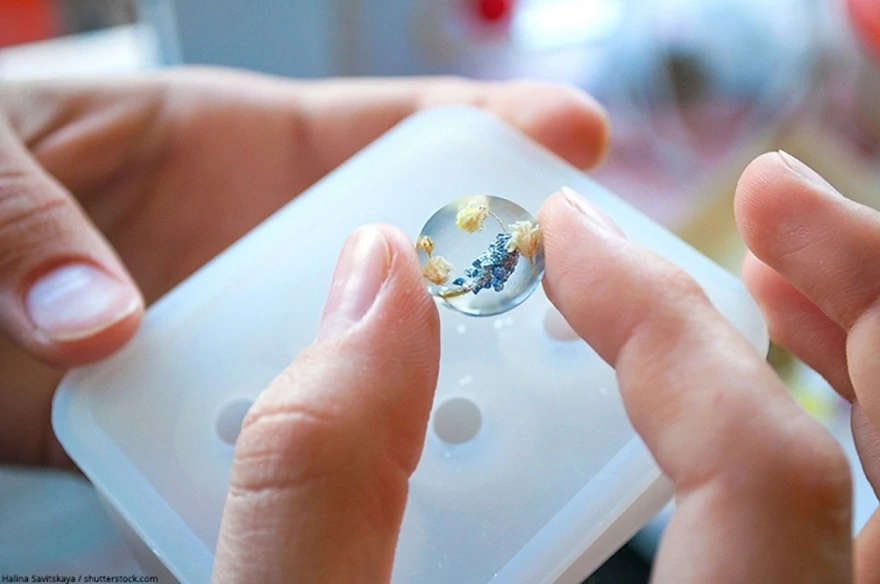
- A particularly beautiful effect is achieved by incorporated elements such as glitter particles, mica flakes, dried flowers or luminous pigments. These are placed either on or directly in one of the resin layers.
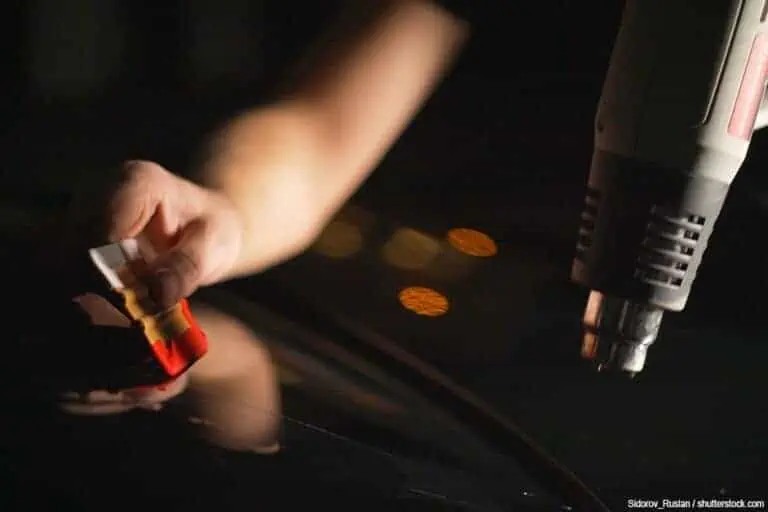
- The following part is the most important: Drying the resin layer under UV light. Here it is definitely worthwhile to invest a little more money when purchasing a really powerful UV lamp or UV torch. This is now held and maintained for a few seconds very close above the surface of the resin. To test if the layer is cured, you can check the condition of the surface with a toothpick in between.
- Repeat the steps to pour in resin and dry until you have filled your silicone mold.
As the resin is completely cured under the light source, the casting can be removed from the mold immediately afterwards.
Caution: The chemical reaction during the curing of the resin causes a strong heat development. Take care not to burn yourself on your workpiece.
Video Tutorial: How to Create Beautiful UV Resin Jewelry
What you Should Pay Attention to When Buying UV Lamps
When purchasing a suitable UV lamp, the performance and the size of the interior should be the deciding factors. The output should be at least 4 watts. This is the only way to make use of the great advantage of UV resin, the curing within a few minutes, even for larger workpieces.
Hint: To cure unusual, bulky shapes or several pieces at the same time, it is important to ensure that the interior of the lamp is sufficiently large.
Basically, we recommend that you give preference to a UV lamp over a UV flashlight. These are simply much more practical to use, as you can simply hold or place your workpiece under the light source to dry and do not have to hold it all the time. Furthermore, UV lamps usually have a much higher output than corresponding flashlights.
The Curing Time of UV Resin
The exact duration of the curing process depends on several external factors and also on the nature of the workpiece itself. If you have made a small jewelry pendant, then you will need on average 120 to 180 seconds each for the drying of the individual layers. If the layers are thicker or the workpiece is larger, the curing time will of course be extended accordingly. External factors that influence the curing time include humidity or ambient temperature.
Surface Sealing with UV Resin
If you want to seal the surface of a smaller area such as a paper surface or a very small stretcher frame, then this is possible without any problems with UV resin.
Make sure that you apply the first layer as thin as possible. A fine brush is particularly suitable for this purpose. If this layer is too thick, cavities or bubbles will form. These cannot be removed afterward.
Tips & Tricks
- When working with UV resin patience is essential to achieve a perfect result. If you take enough time, pour thin layers of resin and harden them, you can prevent air bubbles from forming in the resin, which then has to be removed.
- If some air bubbles have formed in the resin, they can easily be removed with a hot air dryer. To do this, you run the hairdryer over the resin in quick movements. Be careful not to stay in one place for more than 1 to 2 seconds at most. As the heat can cause vapors to form, you should carry out this procedure in a well-ventilated room. It is also extremely important that you protect yourself with gloves, a face mask and safety glasses.
- UV resin is very sensitive to heat compared to normal epoxy resin. If it gets too hot, an acrid smell will develop. Therefore the temperature at the hot air dryer, if it is used, should be kept as low as possible.
- With the embedding of different elements in the resin, the risk of blistering also increases. In order to keep this as low as possible, you should make sure that the elements to be embedded are placed flat on the resin layer and pressed well into the uncured resin.
How to Cure UV Resin without Sun?
For a good curing result, you need around 4 watts to have a curing time of around 2-3 Minutes. The best suitable UV lamps are Nail curing lights or UV Flashlights.
How to Color UV Resin?
The good news: You can use all kind of colors, that you also use for Epoxy Resin. These are basically: Epoxy Resin color pastes, Alcohol Inks, Airbrush colors and pigments.

In 2005, Charlene completed her wellness degrees in therapeutic aromatherapy and reflexology at the International School of Reflexology and Meridian Therapy. She worked for a company offering corporate wellness programs for several years before opening her own therapy practice. In 2015, she was asked by a digital marketer friend to join her company as a content creator, and it was here that she discovered her enthusiasm for writing. Since entering the world of content creation, she has gained a lot of experience over the years writing about various topics such as beauty, health, wellness, travel, crafting, and much more. Due to various circumstances, she had to give up her therapy practice and now works as a freelance writer. Since she is a very creative person and as a balance to writing likes to be active in various areas of art and crafts, the activity at acrylgiessen.com is perfect for her to contribute their knowledge and experience in various creative topics.
Learn more about Charlene Lewis and about us.