
Updated: Apr, 9 2024
How to Start a Youtube Channel for Beginners: 7 Pro Tips
Kickstart your YouTube journey with essential tips tailored for beginners. Learn how to set up, film and create engaging content on your channel today.


YouTube has become a powerful platform for sharing content, building communities, and even making a living. If you’re a beginner looking to dip your toes into the world of YouTube, the thought of getting started can be intimidating—but it doesn’t need to be. .
From creating your channel and filming your first video to getting essential equipment and learning best practices, we’ve gathered all the knowledge you need to kickstart your YouTube channel with flying colors.
Benefits of Starting a YouTube Channel
For some people, starting a YouTube channel is just a way to save their favorite videos and subscribe to their preferred YouTubers. But for others, starting a YouTube channel is the first step toward seizing a variety of opportunities.
Whether you’re looking to share your knowledge, entertain an audience or create a brand, YouTube provides a global platform for your voice. With its billions of users, it can give you the ability to reach a diverse audience (and maybe even turn your hobby into a career). Its benefits extend beyond potential monetary gains, though; YouTube can also enable you to connect with like-minded individuals, build a community and leave a lasting impact in your niche.
Creating a YouTube Channel Step-by-Step
Fortunately for beginners, creating a YouTube channel is a straightforward process. By following these steps, you can ensure that your channel is not only functional but also visually appealing and informative.
1. Log In to YouTube
Open your web browser and go to YouTube’s website. Click on the “Sign In” button located in the top right corner and enter your email and password when prompted.
If you don’t already have an account, you can either enter your Google account credentials or create an account using new credentials.
2. Click Your Profile Picture
Once logged in on your desktop, you’ll see your profile picture in the top right corner. Click on your profile picture to reveal a dropdown menu.
3. Choose “Create a Channel”
In the dropdown menu you’ve just opened, select the “Create a channel” option. You may be prompted to enter your name and decide whether you want to use your personal Google account name for your channel.
Pro tip: If you want to create a channel with a business name or other name, you’ll need to make a brand account.
4. Fill Out Your “About” Section
After creating your channel, navigate to its “About” section. This is where you can provide a brief and engaging description of your channel, introducing yourself, your interests and the type of content viewers can expect.
5. Personalize Your Channel
Navigate to YouTube Studio to access your channel dashboard. Click on the “Customization” button in the left-hand menu to access YouTube’s customization options.
Be sure to upload a high-quality profile picture that represents you or your brand effectively, and also add a visually appealing cover photo that gives viewers a glimpse into your channel’s theme.
Hint: Canva is a free and beginner-friendly design tool you can use to create a professional-looking profile picture, logo, cover photo and more—check out our online Canva classes to learn how to use it.
6. Upload Your First Video
With your channel now set up, it’s time to share your first video (keep reading for tips on creating a stellar first video).
To upload it from YouTube Studio, go to your dashboard, then click on the “Create” button in the upper-right corner. In the dropdown menu that opens, select the “Upload” option, then choose the video file from your computer.
While uploading, you can add a title, description and tags, and you can even choose a thumbnail (or upload a custom one) to make your video more enticing to viewers.
Equipment Needed for Creating a YouTube Channel
Creating quality content requires the right tools. Some of the equipment you can benefit from having includes:
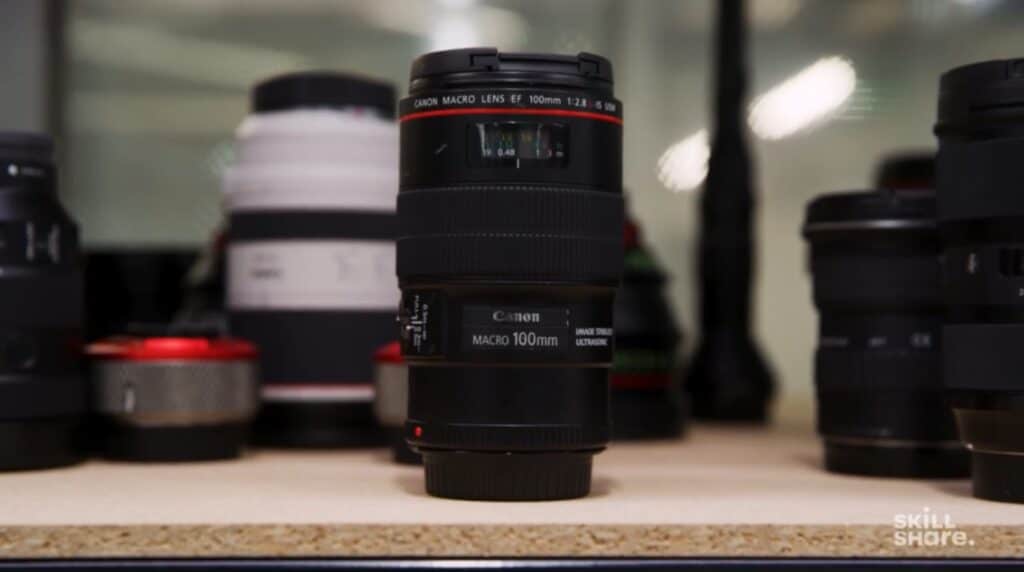
- Camera: A good camera is fundamental for producing high-quality visuals. While a smartphone with a decent camera can suffice while you’re getting your channel off the ground, you’ll probably want to upgrade soon. That’s because when you invest in a dedicated camera such as a DSLR, you’ll also gain access to more advanced features, better image quality and the ability to shoot in a greater variety of locations.
- Microphone: Clear and crisp audio is just as important as high-quality visuals. A dedicated external microphone, such as a condenser microphone, wireless microphone or shotgun microphone, can significantly improve audio quality.
- Tripod: Stability is key for professional-looking videos. A tripod helps eliminate shaky footage, ensures a steady shot, and can also help you film yourself with ease.
- Lighting: Proper lighting enhances the visibility and overall quality of your videos. Natural light is always an excellent choice, but if you’re shooting indoors or during low-light conditions, consider investing in softbox lights, LED panels or a ring light.
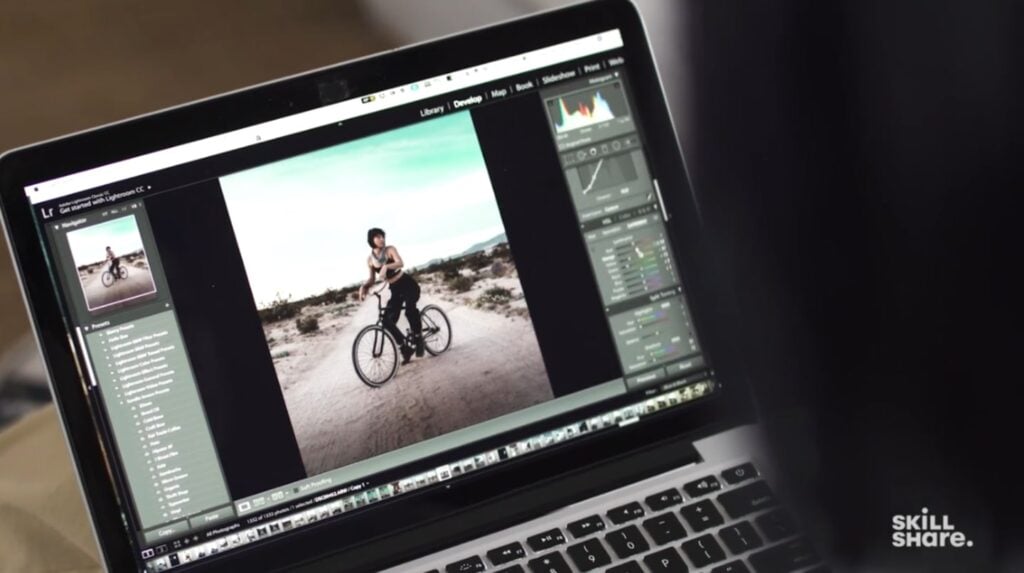
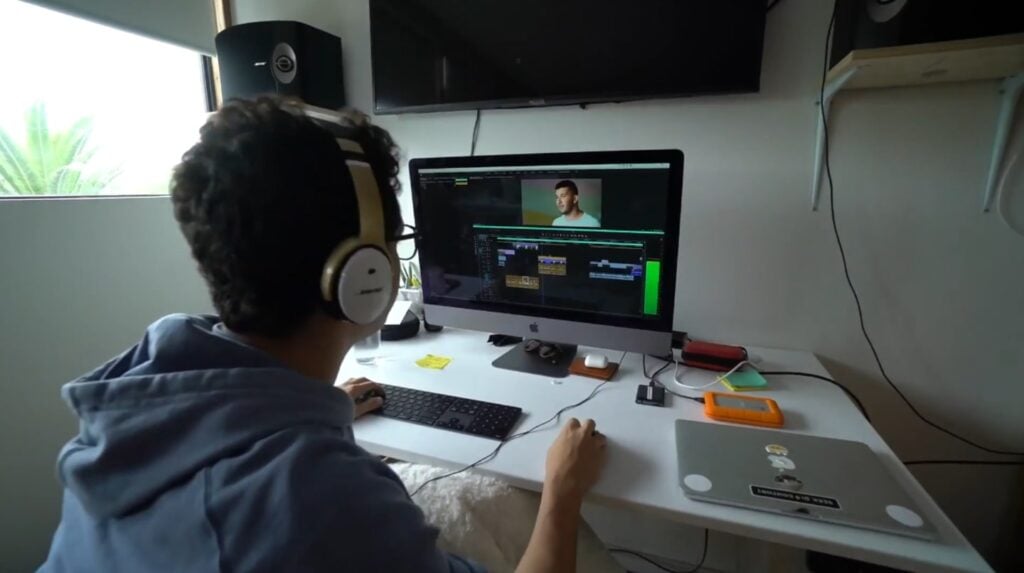
- Video editing software: Editing is where you refine your content and add a professional touch. While there are free editing software options available, more advanced programs like Adobe Premiere Pro or Final Cut Pro can provide a broader range of features.
- Backdrop or background: Your video background is an important part of your brand. You can use a plain backdrop for a clean look, or choose a setting that complements your content.
- File storage: Video files can take up a significant amount of digital space. So to avoid frustration, ensure you have sufficient storage—either on your computer or on external hard drives—to store your raw footage and edited videos.
- Computer: A reasonably powerful computer is crucial for video editing, so make sure your computer meets the minimum system requirements for the chosen editing software.
Remember, while these tools can certainly enhance your content, content is king on YouTube (and just about every other platform). As such, don’t feel pressured to buy all the best gear before uploading your first video. Instead, focus on creating engaging, valuable and authentic videos, and as your channel grows, you can consider upgrading your equipment based on your evolving needs.
7 Pro Tips for Filming Your First Video
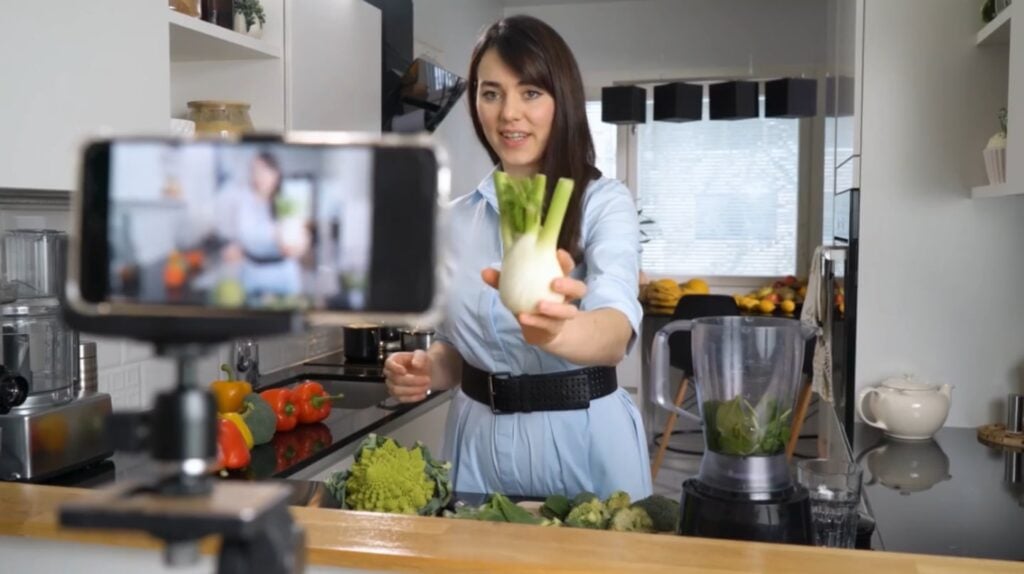
Filming your first YouTube video can be thrilling, but if you want to create engaging and professional content then you’ll need to plan ahead. Use these seven pro tips to ensure your YouTube video is the best it can be.
1. Write a Script
A script provides structure to your video and helps ensure that you convey your message clearly and stay on track. It also reduces your chances of stumbling over words or forgetting important points. Even if you prefer a more casual and conversational style, having an outline or list of key points can keep your content focused and coherent.
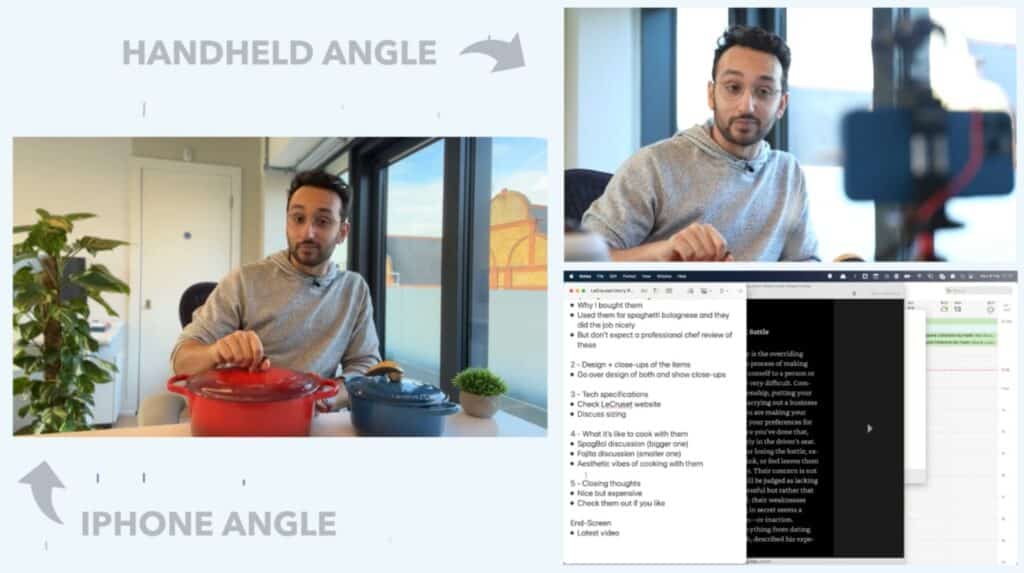
2. Select an Appropriate Location
The location sets the tone for your video and influences how your audience perceives your content. Choose a clean, clutter-free space that aligns with the theme of your video, and remember to consider factors like background noise, lighting and potential distractions.
3. Optimize Your Lighting
Good lighting is crucial for producing clear, aesthetically appealing videos. Natural light is ideal, so try facing a window whenever possible. And for even better lighting, you might want to invest in softbox lights, a ring light or LED panels to achieve even and flattering lighting. No matter what type of lighting you’re using, just be sure to avoid harsh shadows on your face, as they can appear unflattering and may distract viewers from your content.
4. Ensure Good Audio Quality
While you don’t have to buy an expensive, studio-quality microphone, we recommend investing in an affordable but decent external microphone to capture clear and crisp audio. Reduce background noise by filming in a quiet environment, and consider using windshields on your microphone if recording outdoors. Also be sure to test your audio before filming to catch any issues early on.
5. Look at the Camera Lens
By maintaining eye contact with the camera lens, you can create more of a connection with your audience. By the same token, avoid looking at yourself on the screen or at the viewfinder, as this can make your gaze appear unfocused in the final video.
6. Utilize Royalty-Free Music
Background music can enhance the mood and overall quality of your video. However, be mindful of copyright issues and use only royalty-free music to avoid legal complications. Luckily, YouTube provides an Audio Library of royalty-free music that you can use to enhance your videos without worrying about copyright infringement.
7. Edit Before Publishing
Editing is the final step in refining your content. Trim unnecessary footage, enhance audio levels, add overlays or graphics if needed and ensure a smooth flow from start to finish. Pay attention to pacing, and keep your video concise to maintain viewer interest—many popular creators publish videos in the 10–20 minute range, for reference.
By incorporating these tips into your filming process, you’ll be able to set yourself up for success and create a more compelling and enjoyable viewing experience for your audience.
Best Practices for Creating Engaging YouTube Content
With the sheer amount of content available on YouTube (500 hours of content is uploaded to the site every single minute), it’s essential to set yourself apart by creating content that keeps viewers engaged and interested, no matter what kind of videos you make.
- Strategize your content: Plan your videos in advance to provide value, maintain consistency and give yourself time to brainstorm.
- Seek creative inspiration: Stay inspired and bring fresh ideas to your channel. What that means for you will depend on your creative process, but it may help to watch other channels you admire or pursue other creative endeavors.
- Craft a captivating introduction: Capture viewers’ attention within the first few seconds of your video to keep them watching.
- Maximize the impact of every second: Keep your audience engaged throughout the video, and rewatch your own videos to identify areas that are less entertaining than others.
- Create a video schedule: Consistency is key for building and retaining your audience, whether that means posting a video once every week or once every month.
- Keep an eye on your competitors: Understand trends and keep tabs on what your competitors are doing to stay ahead of the curve.
- Consider live streaming and short-form content: Using YouTube’s live streaming feature can help you stand out from the crowd and connect with your audience, and creating YouTube Shorts can help you attract new viewers.
Start Your YouTube Channel Off on the Right Foot
Starting a YouTube channel is an exciting journey with vast potential. With the help of these tips, you can establish a strong foundation for your channel, engage with your audience, make a meaningful impact and ultimately grow a successful channel.
Ready to upgrade your channel even further? Skillshare’s online YouTube classes can help you learn to create better intros, perfect your thumbnails, improve your editing chops and more.

Carrie Buchholz
Carrie Buchholz is a freelance writer who lives in Northern Colorado with her husband and dog.
Try Skillshare for free! Sign up for a 7 day free trial today!
Get Started- Unlimited access to every class
- Supportive online creative community
- Learn offline with Skillshare's app
Join Skillshare
Join today for unlimited access to thousands of classes and more.
Try Skillshare For Free


