How To Change the Background Color in Photoshop (Fast & Easy!)
In this tutorial, you will learn how to change the background color in Photoshop!
Nothing beats a clean and crisp background that leads the eyes of the viewers to focus mainly on the subject of the image.
That is why it’s a great skill when you know how to change the background color in Photoshop!
In this quick Photoshop tutorial, I’ll be teaching you a handy trick to change the background color of an image in just 5 minutes!
Note: This technique works best on images with an existing white background.
If you want to learn how to transform any background into white, click here to watch the video!
Table of contents
Make a Selection Around the Main Subject
For Photoshop users not on the Creative Cloud, Head over to the Toolbar or press W on your keyboard.
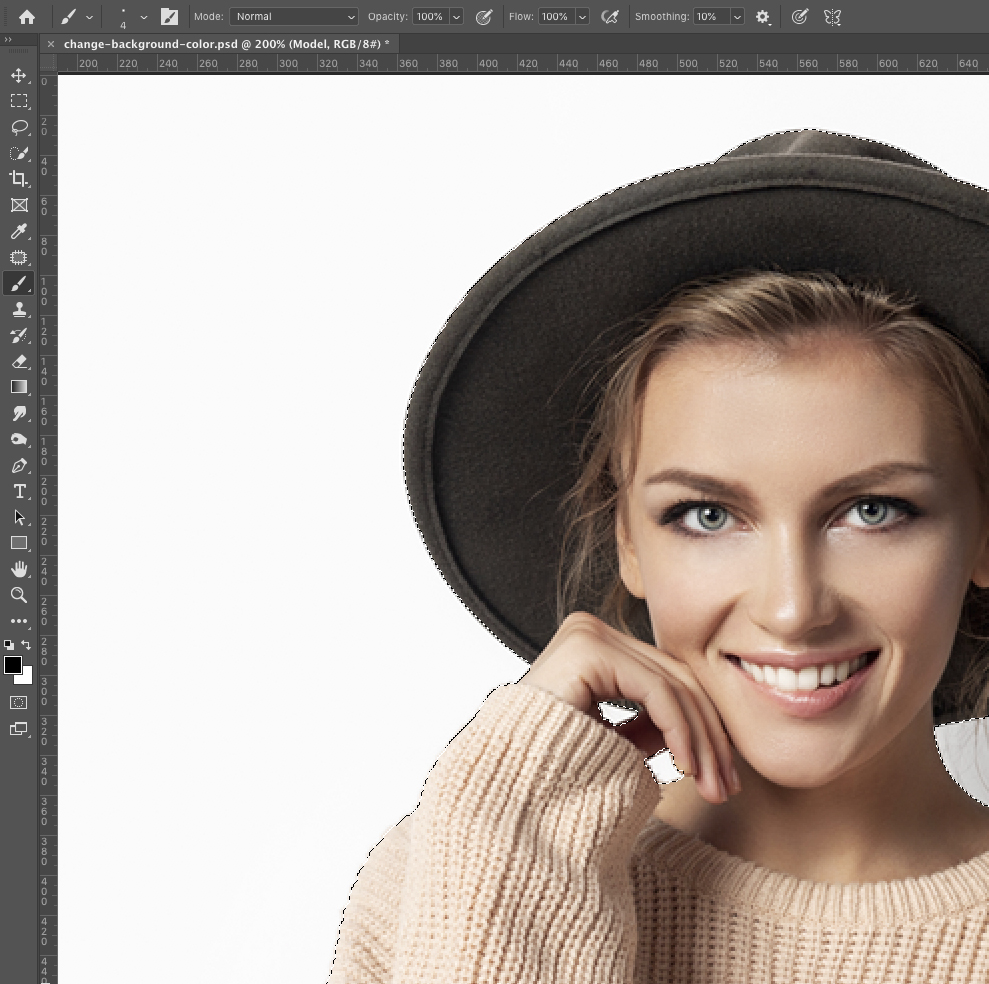
Use the Quick Selection tool and drag your cursor all over the subject to make a selection.

A moving dashed line, commonly referred to as the “marching ants,” will automatically show the areas marked by the tool.
To refine the selection, go to the Options bar.
Right beside the currently selected tool, click the Subtract from Selection tool to deselect the subject from the background.
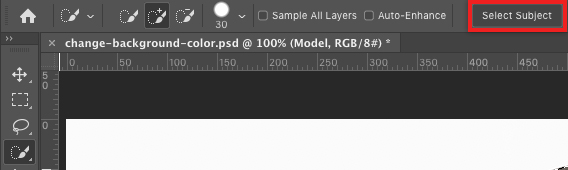
For Creative Cloud users, you can save time by using the Select Subject tool on the Options bar.
Select Subject This tool is aided by an Artificial Intelligence (AI) called Adobe Sensei; it analyzes your entire image and instantly selects the main subject!
Learn How to Remove White Backgrounds in Photoshop (Quick and Easy Way!)
Refine the Selection with a Quick Mask
The AI will not be perfect, you will have to refine areas that it didn’t properly select.
Press the Q key on the keyboard to enter Quick Mask mode. This step applies a red overlay over the areas that are not selected.

This enables you to fix the areas that should have been selected by the tool.
To do that, switch to Brush from the Tool panel or simply press B on your keyboard. To edit the mask, paint the areas that you want to select by using the colors Black or White.
Note: the painted areas will then come out as Red and anything in this area will be hidden and will be part of the color change later.

Again, press Q key on your keyboard to retrieve the marching ants.
Then you will see that the newly-painted areas are now deselected, giving you a more precise selection of your subject.
Use a Solid Color Fill Layer to How to Change the Background Color in Photoshop
In the Layers panel, click on the New Adjustment Layer icon and select Solid Color.

When the Color Picker window pops up, select any color you that want as you can always change it later, and then press OK.

This will fill your subject with the selected color.
Since you need the color to be on the background, simply change this by clicking on the Layer Mask icon.
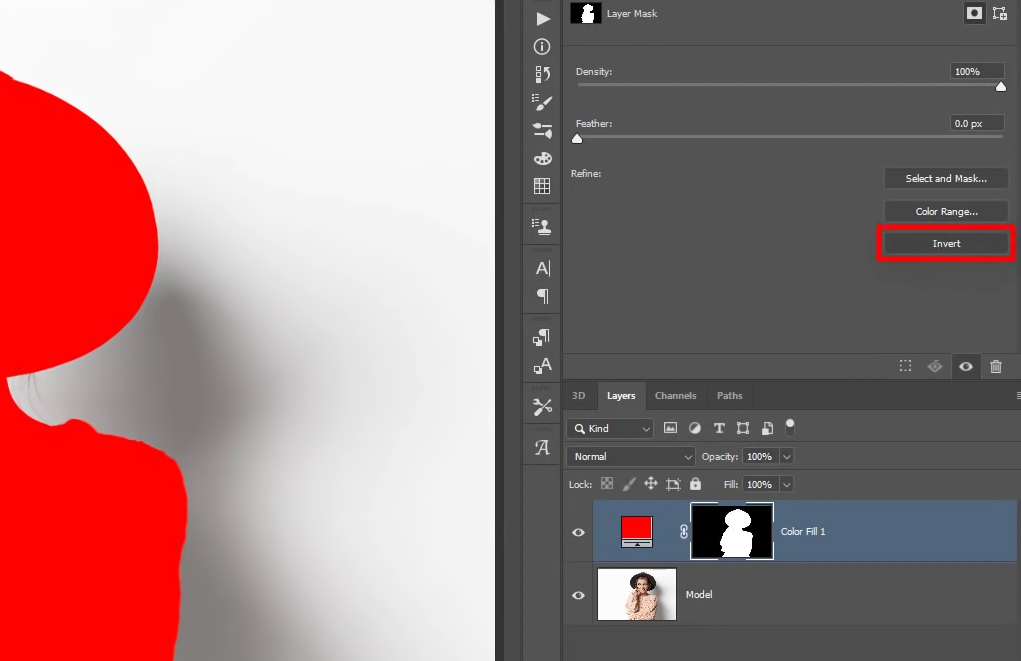
Then click the Invert icon on the Properties panel.
Blending The Background Color
At first, your background will appear completely solid and flat, that is why we need to make the solid color background more realistic and blend with the original background and its shadows.
To do so, select Multiply from the Blending Mode dropdown.

The Multiply Blending Mode looks at the color information in each of the channels and then multiplies the base color by the blend color and the result will always be a darker color.
When it multiplies any color with black, the result is always black. However, multiplying colors with white will leave the color unchanged.
That is why when we pick a certain hue of red and use the Multiply Blending mode on the white background, the color will stay the same.
How to Change the Background Color in Photoshop
I mentioned previously that you can always change the color of the background without having to repeat the process.
To do that, bring your cursor over the Layers panel and double-click on the Solid Color thumbnail which brings you back to the Color Picker window.

This allows you to adjust the color or intensity by clicking and dragging around the panel until you find a color that goes best with your subject.
When you’re happy with the output, simply press OK and you are done!
Share Your Work!
And that’s the easy trick on how to change background color in Photoshop in just 5 minutes!
If you enjoyed this tutorial, make sure to follow PTC on YouTube! And if you create something using this tutorial, share it on social media with the hashtag #PTCvids for a chance to get featured!
Final Image
Drag The Slider To See Before & After


![Better DUAL LIGHTING Effect In Photoshop [Total Control]](https://photoshoptrainingchannel.com/wp-content/uploads/2021/02/dual-lighting-photoshop-effect-768x402.jpg)


Hello
I am commenting on the tutorial on changing the background round color of an image.
I would do this differently.
Because you can’t always have a white background ( unless the CR2 image is posed with white paper behind). There would be several ways and like you said, use the magic wand or use a colleen. Not many people know this technique. As a matter of fact, I’ve only met 2 people in my 25 years of teaching Photoshop.
Learning how to use the Colleen is essential, because the uses are endless. Btw, don’t go to an Adobe manual as it won’t be there, it’s an Easter egg.
Just wanted to comment on your good work and say hello.
If you would like to learn how to employ a Colleen , don’t hesitate to ask.
Mike,
I’d like to learn about the Colleen method. I’ve yet to find anything about it on the web.
Thanks for any enlightenment you can give me on this method.
Regards,
Andy