Introduction
In our increasingly connected world, staying connected on the go is more important than ever. Tablets have become an essential tool for both work and leisure, allowing us to access the internet, communicate, and enjoy various multimedia. To unlock their full potential, many tablets support SIM card functionality, enabling us to connect to cellular networks and enjoy data and voice services wherever we are.
However, there may come a time when you need to remove the SIM card from your tablet. Whether it’s to switch to a new device, troubleshoot network issues, or simply replace the SIM card, knowing how to remove it correctly is essential to avoid any potential damage or complications.
In this article, we will guide you through the step-by-step process of removing the SIM card from your tablet. Whether you’re an experienced tablet user or a beginner, our instructions will help you safely and easily remove the SIM card without any hassle.
Before we begin, it’s important to note that the exact steps may vary depending on the make and model of your tablet. However, the general process remains the same for most tablets, so you can use these instructions as a general guide.
So, if you’re ready to learn how to remove the SIM card from your tablet, let’s dive into the steps!
Step 1: Locate the SIM Card Slot
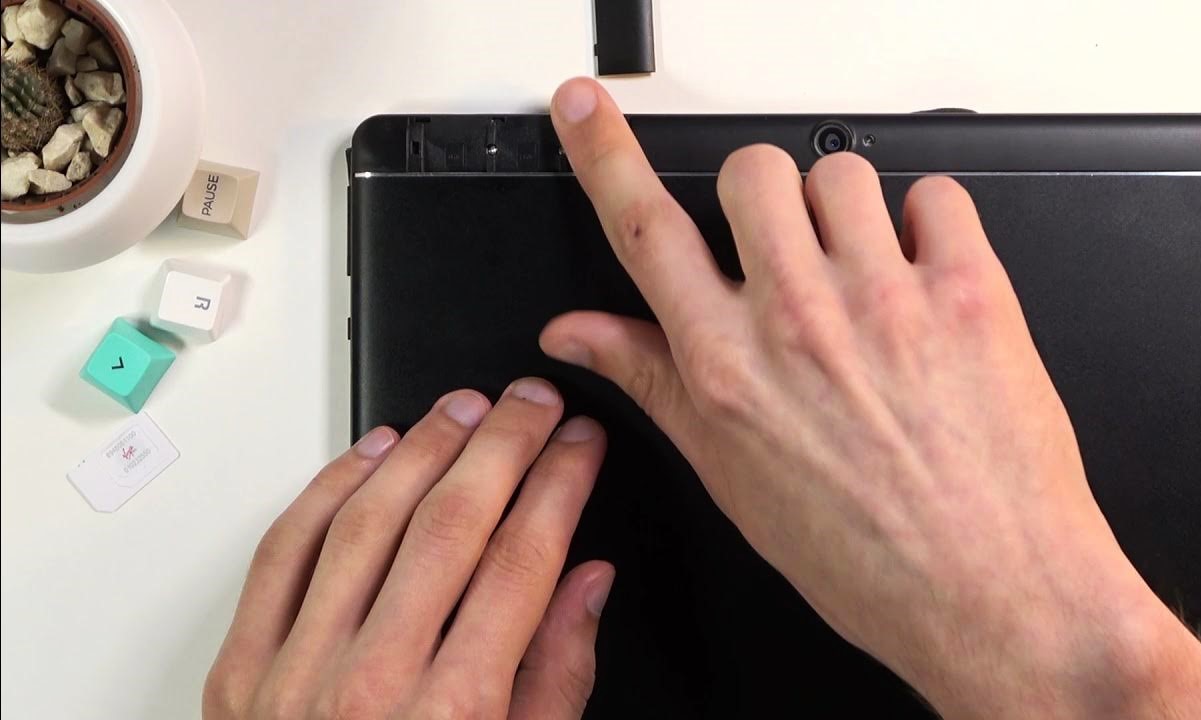
The first step in removing the SIM card from your tablet is to locate the SIM card slot. The location of the SIM card slot will vary depending on the make and model of your tablet.
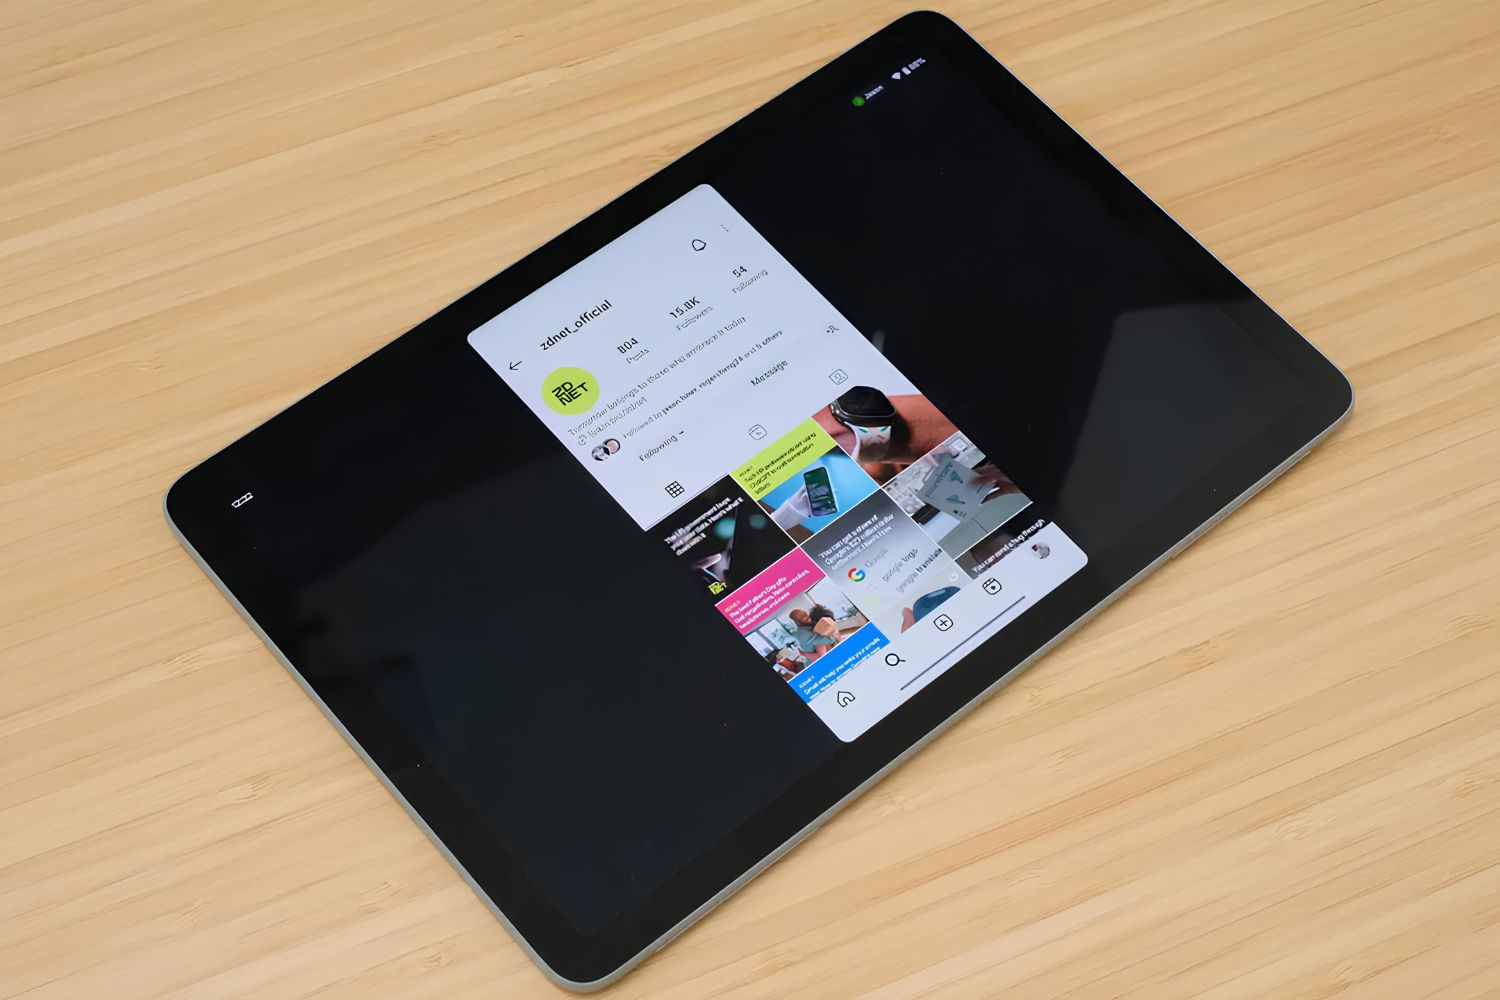
Commonly, the SIM card slot is located on the side or top of the tablet. Look for a small, rectangular slot with either a SIM card icon or a “SIM” label next to it. Some tablets may have a SIM card slot hidden beneath a small cover or flap, so be sure to check for any visible indicators.
If you’re having trouble finding the SIM card slot, consult the user manual or visit the manufacturer’s website for specific instructions and diagrams for your tablet model.
Once you’ve located the SIM card slot, it’s important to handle your tablet with care. Make sure your hands are clean and dry to avoid any damage to the device or the SIM card.
Now that you’ve found the SIM card slot, it’s time to move on to the next step: powering off your tablet.
Step 2: Power Off Your Tablet
Before removing the SIM card from your tablet, it’s important to power off the device. This ensures that there is no active connection or data transfer happening when you handle the SIM card.
To power off your tablet, locate the power button. It is typically located on the side or top of the tablet. Press and hold the power button until you see the power off or shutdown option on the screen.
Once you see the power off or shutdown option, tap on it to initiate the shut down process. Wait for your tablet to fully power down before proceeding to the next step.
Turning off your tablet helps prevent any accidental damage and ensures that the SIM card is not in use during the removal process. This step is crucial for the safe handling of the SIM card and your tablet.
Now that your tablet is powered off, you’re ready to move on to the next step: inserting the SIM card eject tool.
Step 3: Insert SIM Card Eject Tool
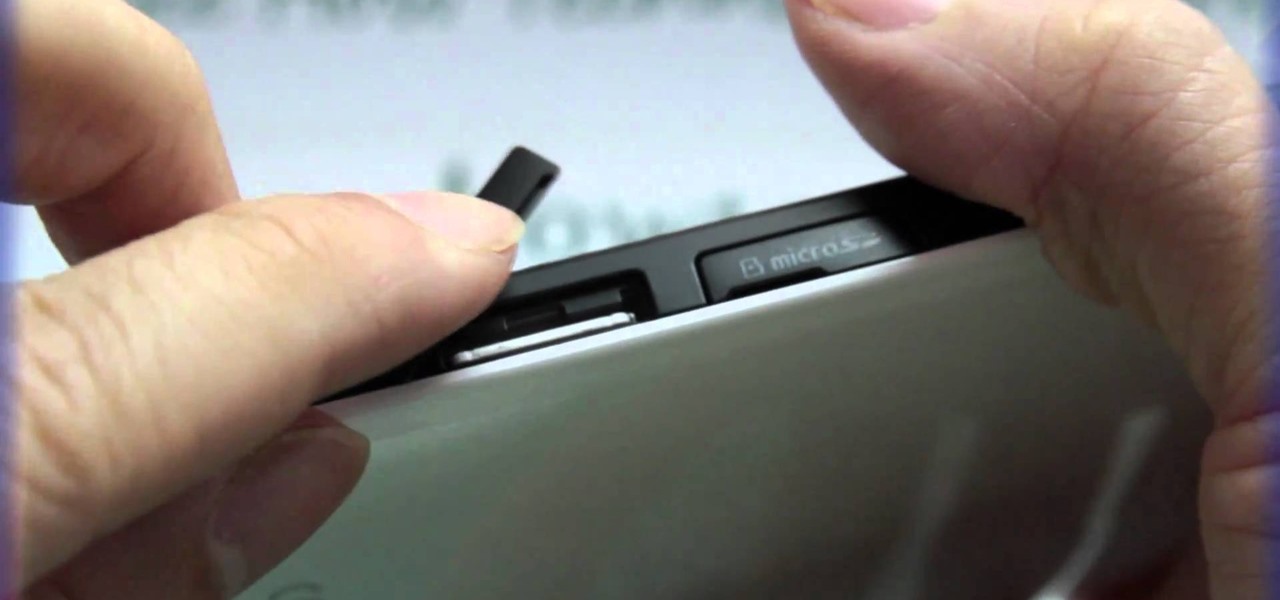
Once your tablet is powered off, it’s time to prepare the SIM card slot for removal. To do this, you will need a SIM card eject tool. This tool often comes with your tablet or can be purchased separately.
Locate the SIM card eject tool. It is a small pin-like instrument with a pointed tip. Some eject tools may have a hook or a clip on one end for easier handling.
Gently insert the pointed tip of the SIM card eject tool into the small hole near the SIM card slot. This hole is often found next to, or slightly above or below, the SIM card slot.
Apply light pressure and push the eject tool into the hole until you feel a slight resistance. Be careful not to apply too much force, as this may damage the internal components of your tablet.
Once the eject tool is in place, move on to the next step: pushing the eject tool into the SIM card slot.
Step 4: Push the Eject Tool Into the SIM Card Slot
With the SIM card eject tool inserted into the small hole near the SIM card slot, it’s time to push the tool into the slot. This action will activate the mechanism that releases the SIM card tray.
Apply a gentle but firm pressure and push the eject tool further into the SIM card slot. You should feel a slight click or resistance as the tool engages with the internal mechanism.
Continue pushing until you feel the SIM card tray release. This is typically indicated by a slight popping sound or a small portion of the tray becoming visibly exposed.
It’s important to note that different tablets may have different mechanisms for releasing the SIM card tray. Some tablets may require you to press and hold the eject tool for a few seconds, while others may release the tray with a single push. Refer to your tablet’s user manual or manufacturer’s instructions for specific details.
Once you have successfully pushed the eject tool into the SIM card slot and released the tray, you’re ready to move on to the next step: removing the SIM card tray.
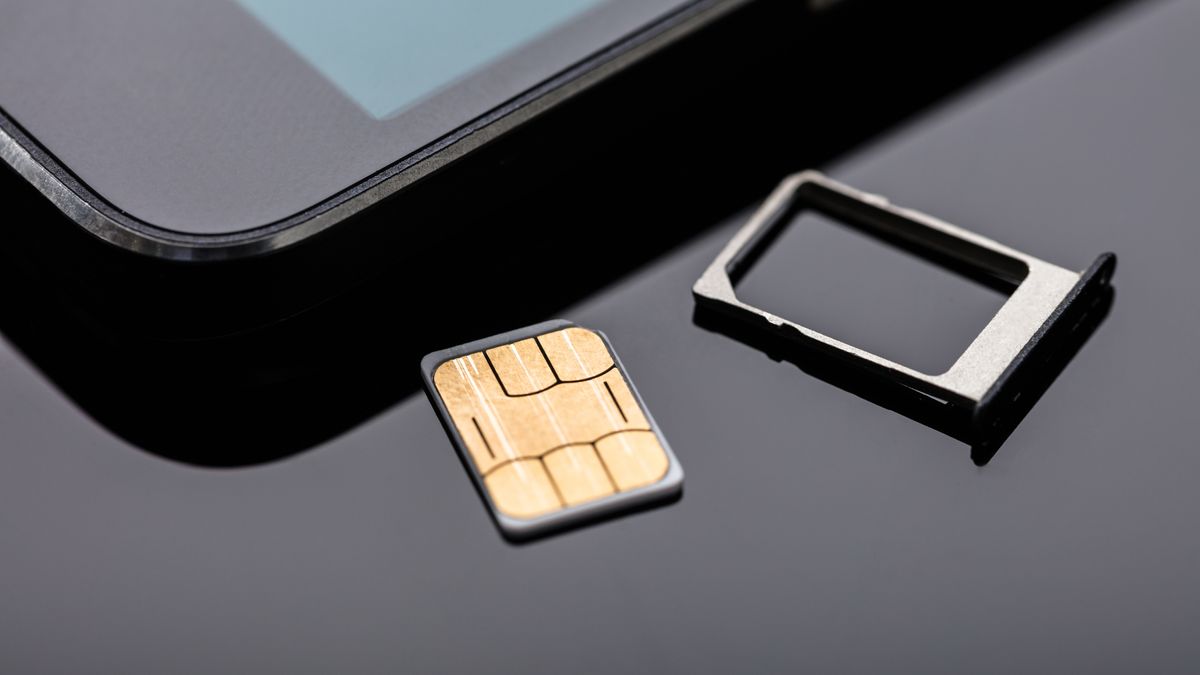
Step 5: Remove the SIM Card Tray
Now that the SIM card tray has been released, it’s time to remove it from your tablet. The SIM card tray holds the SIM card securely in place and allows for easy insertion and removal.
Gently pull out the SIM card tray from the slot using your fingers or the SIM card eject tool. Be careful not to apply excessive force or bend the tray, as this may damage the tray or the internal components of your tablet.
Once the SIM card tray is partially or fully extended, carefully pull it out from the slot. It should slide out smoothly and easily.
Inspect the SIM card tray to locate the specific slot where the SIM card is housed. Most trays have multiple slots, including one for the SIM card and others for additional storage, such as microSD cards.
Now that you have successfully removed the SIM card tray, it’s time to proceed to the next step: taking out the SIM card itself.
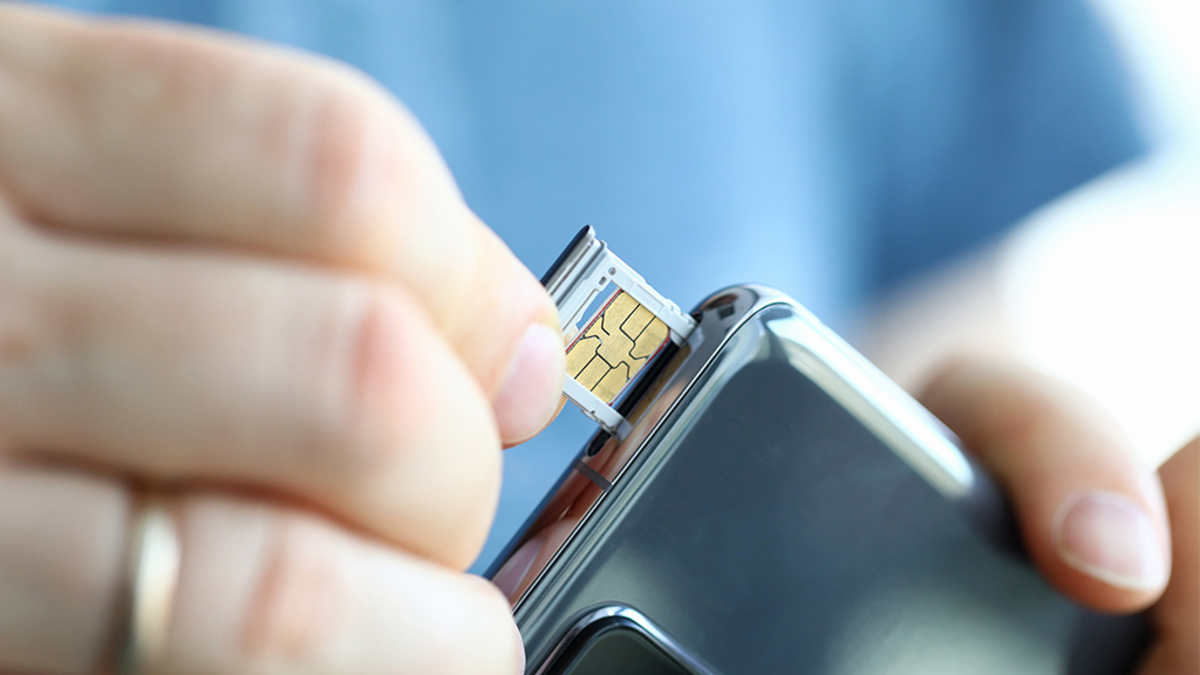
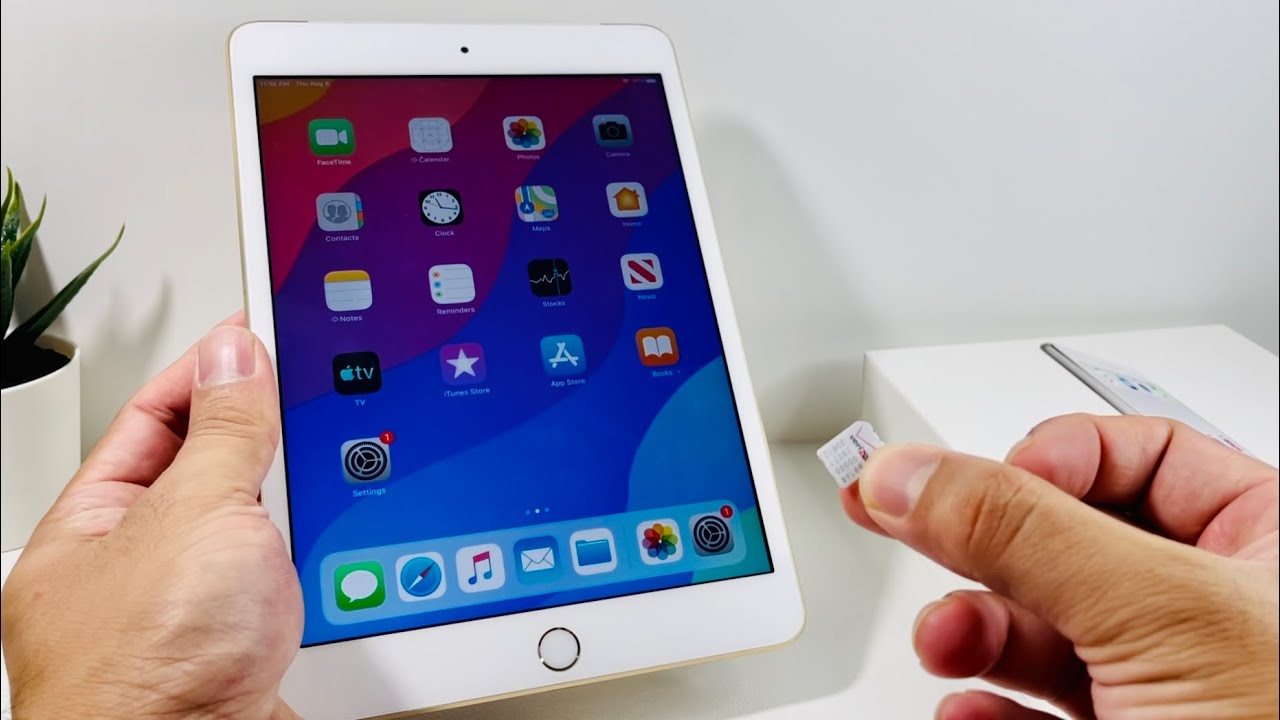
Step 6: Take Out the SIM Card
With the SIM card tray removed from your tablet, it’s time to take out the SIM card itself. The SIM card is a small, rectangular card that holds important information for connecting to cellular networks.
Locate the SIM card within the SIM card tray. It is a small card typically made of plastic with a metal contact area. Take note of the orientation of the SIM card, as it must be inserted correctly when reinserting it into the tray.
To remove the SIM card, gently slide it out of the slot in the tray. Use your fingers or a soft, clean cloth to handle the SIM card, ensuring that you do not touch the metal contact area. Any smudges or debris on the metal contacts can interfere with the connectivity of your device.
Take a moment to inspect the SIM card for any visible damage or wear. If you notice any signs of damage, it may be necessary to replace the SIM card with a new one. Contact your cellular service provider for assistance in obtaining a replacement SIM card.
Now that you have successfully taken out the SIM card from your tablet, it’s time to move on to the next step: reinserting the SIM card tray.
Step 7: Reinsert the SIM Card Tray
Now that you have taken out the SIM card, it’s time to reinsert the SIM card tray back into your tablet. The SIM card tray ensures that the SIM card is securely placed and allows for proper functioning of cellular services.
Align the SIM card tray with the slot in your tablet. Make sure the tray is oriented correctly, with the SIM card slot facing the same direction as before. This ensures that the SIM card will be inserted in the proper position.
Gently slide the SIM card tray back into the slot until it is fully inserted. Take care not to force it or apply excessive pressure, as this may damage the tray or the tablet itself.
Once the SIM card tray is securely inserted, you may feel a slight click or resistance, indicating that it is properly in place. Give it a gentle push to ensure that it is fully seated.
Before moving on to the final step, take a moment to check the SIM card tray and make sure it is flush with the tablet’s surface. This ensures a proper fit and prevents any potential damage or interference.
Now that you have reinserted the SIM card tray, you’re ready for the final step: powering on your tablet.
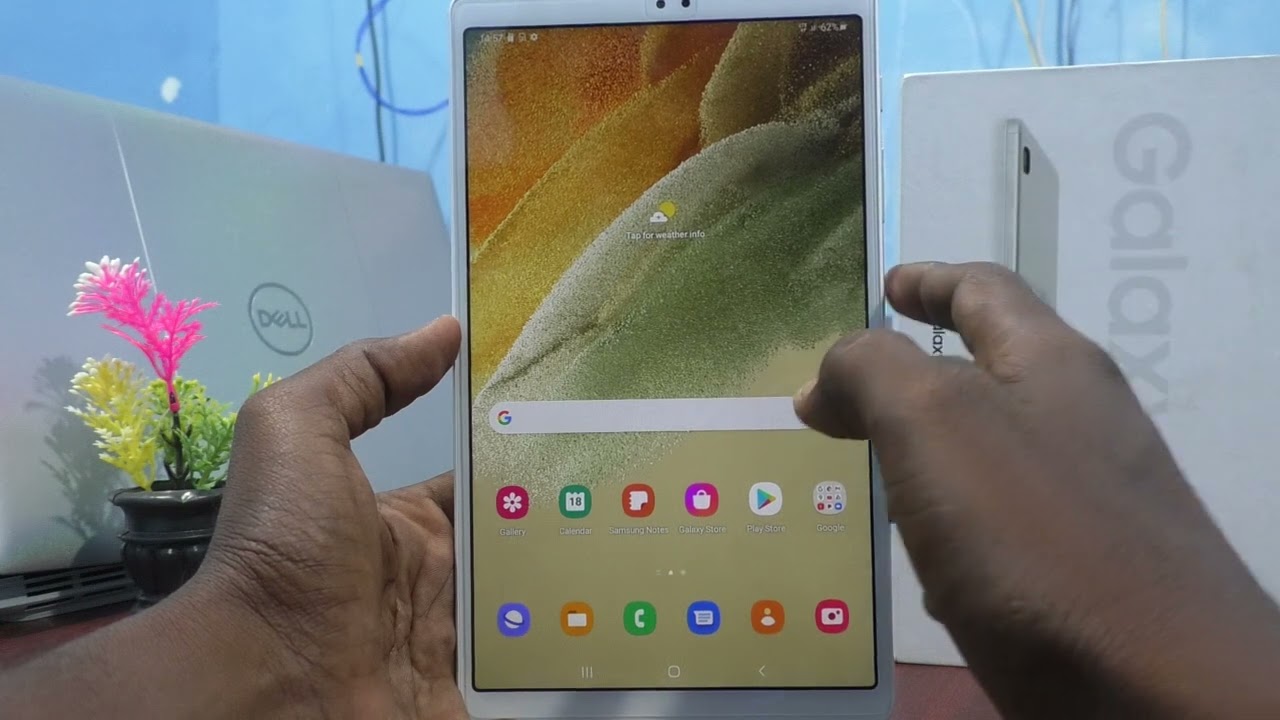
Step 8: Power On Your Tablet
With the SIM card tray reinserted into your tablet, it’s time to power on your device. Turning on your tablet ensures that it recognizes the SIM card and establishes a connection to the cellular network.
Locate the power button on your tablet. Press and hold the power button until the device starts to power on. You will typically see the startup screen or the manufacturer’s logo displayed.
Once your tablet has successfully powered on, it will begin the start-up process. This may take a few moments, so be patient and allow your tablet to complete its initialization.
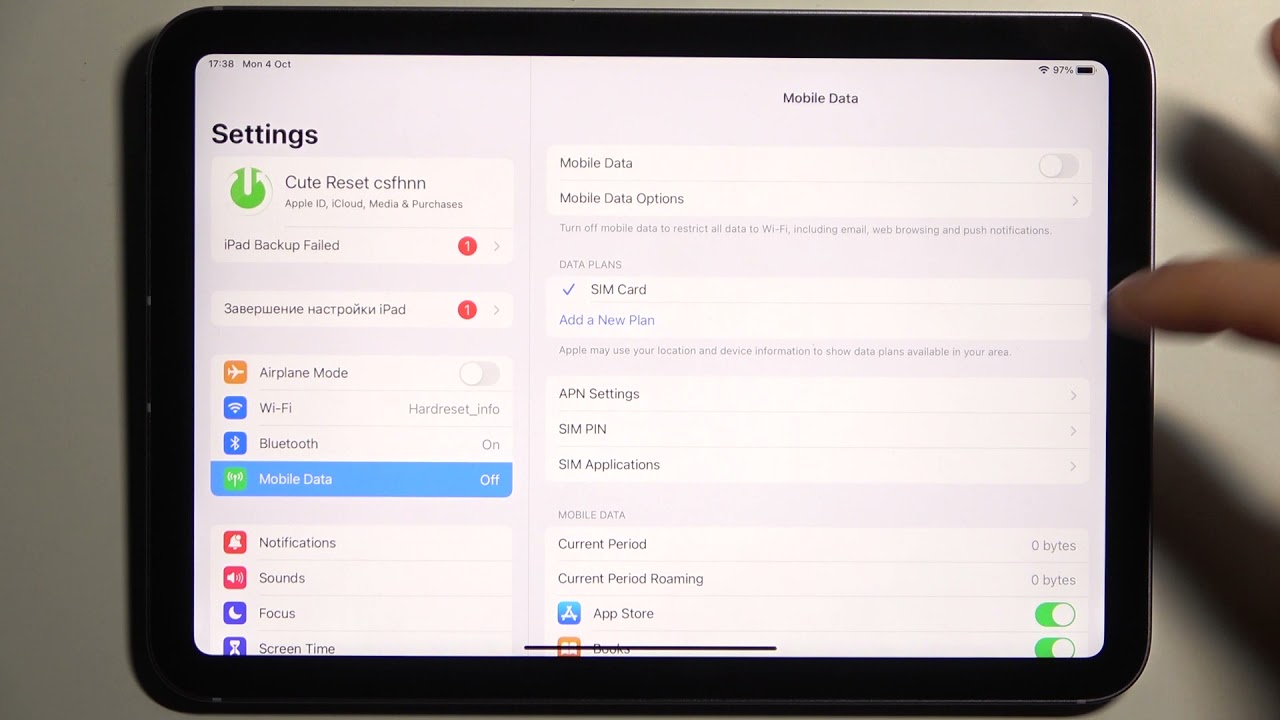
Once your tablet is fully operational, you should see the network status indicator appear. This indicates that your tablet has recognized the SIM card and has successfully connected to the cellular network.
If you encounter any issues with the network connection or if the SIM card is not recognized, it may be necessary to troubleshoot or contact your cellular service provider for assistance.
Now that you have powered on your tablet and ensured a successful connection, you have completed the process of removing and reinserting the SIM card. Enjoy your tablet’s functionality and stay connected wherever you go!
Conclusion
Removing and reinserting the SIM card in your tablet may seem like a daunting task, but with the right instructions and precautions, it can be a simple and straightforward process. By following the step-by-step guide outlined in this article, you can safely remove and reinsert the SIM card without any complications.
Remember to always power off your tablet before attempting to remove or insert the SIM card to avoid any potential damage. Use the SIM card eject tool to release the SIM card tray, gently take out the SIM card, and align it properly when reinserting the tray. Finally, power on your tablet and ensure a successful connection to the cellular network.
It’s important to note that the specific steps may vary slightly depending on the make and model of your tablet. In case of any confusion or uncertainty, consult your tablet’s user manual or reach out to the manufacturer for further guidance.
With your tablet’s SIM card removed or reinserted successfully, you can enjoy the convenience of staying connected, accessing the internet, and communicating wherever you go. Whether it’s for work or leisure, your tablet is now ready to unleash its full potential with a properly installed SIM card.
Now that you have mastered the art of removing and reinserting the SIM card in your tablet, you can confidently handle any future SIM card-related tasks with ease. Stay connected and make the most out of your tablet’s capabilities!