
Sandevistan Build - 150%+ Crit DMG, Ultimate Cyberpsycho - Cyberpunk 2077
Contents
Sandevistan Build - Ultimate Cyberpsycho
With this build, I wanted to create the Ultimate Sandevistan build that in some part reflects those ultimate Cyberpsychos. The build works with any weapon type. The idea is to use expensive cyberware to pump up the Sandevistan duration, in case one use is not enough. Of course, I will offer some alternatives if you cannot obtain or afford them.
Next, a key aspect is maximizing damage via cyberware and attribute point allocations. In the late game, you can also optimize for random rolls using ![]() Driver Update +
Driver Update + ![]() Chipware Connoisseur to get incremental damage bonuses to melee weapons or headshot multipliers.
Chipware Connoisseur to get incremental damage bonuses to melee weapons or headshot multipliers.
With all of the preparation, you will be able to reach 150%+ critical hit damage and almost guaranteed critical hits. To top it all Sandevistan will give constant time slow, so you will have no problems taking on even the strongest opponents like MaxTac.
If this has inspired you to try out the build, let's go!
Attributes
First, let's go through attributes, they provide stat bonuses and unlock new perks. The more points you invest the better options you unlock that allow creating the Sandevistan build.
Starting Game
Here are the attributes you should take at the game's start. You can allocate a total of 7 points.
I recommend checking Cyberpunk 2077 beginner tips to avoid missing or misunderstanding important things early in the game.
| Attribute | Allocation | Description |
|---|---|---|
 Body Body |
+2 | Unlocks the first-tier perks. |
 Reflexes Reflexes |
+3 | Gives access to weapon-handling perks. |
 Technical Ability Technical Ability |
+2 | Unlocks the first-tier perks. |
End Game Attributes
Here is how the end-game setup would look with the build once you have all the attributes sorted out:
| Attribute | Allocation | Description |
|---|---|---|
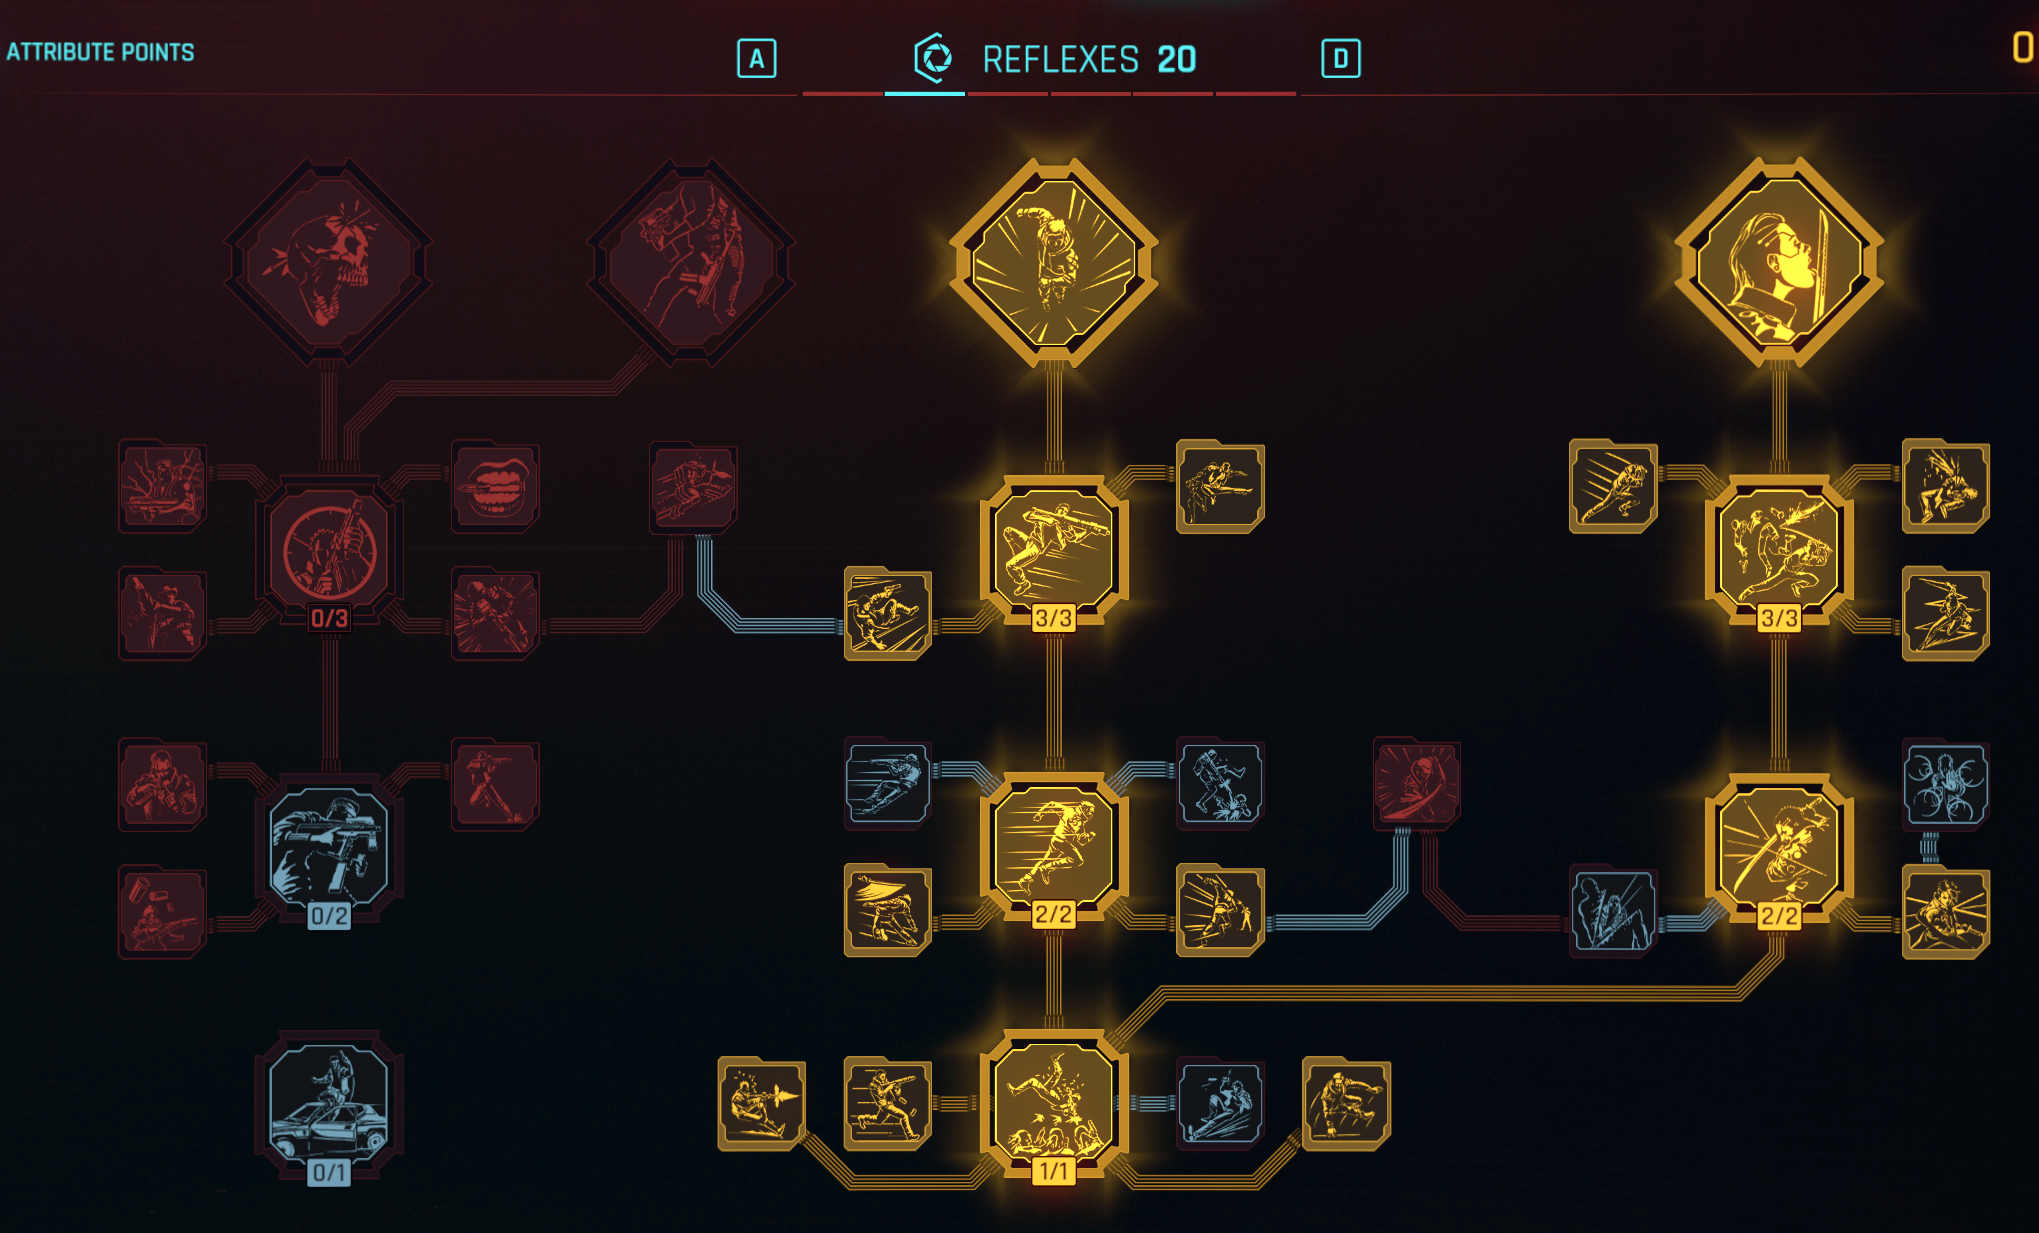
| Reflexes |
20 | This tree will unlock a lot of important features - improved mobility with |
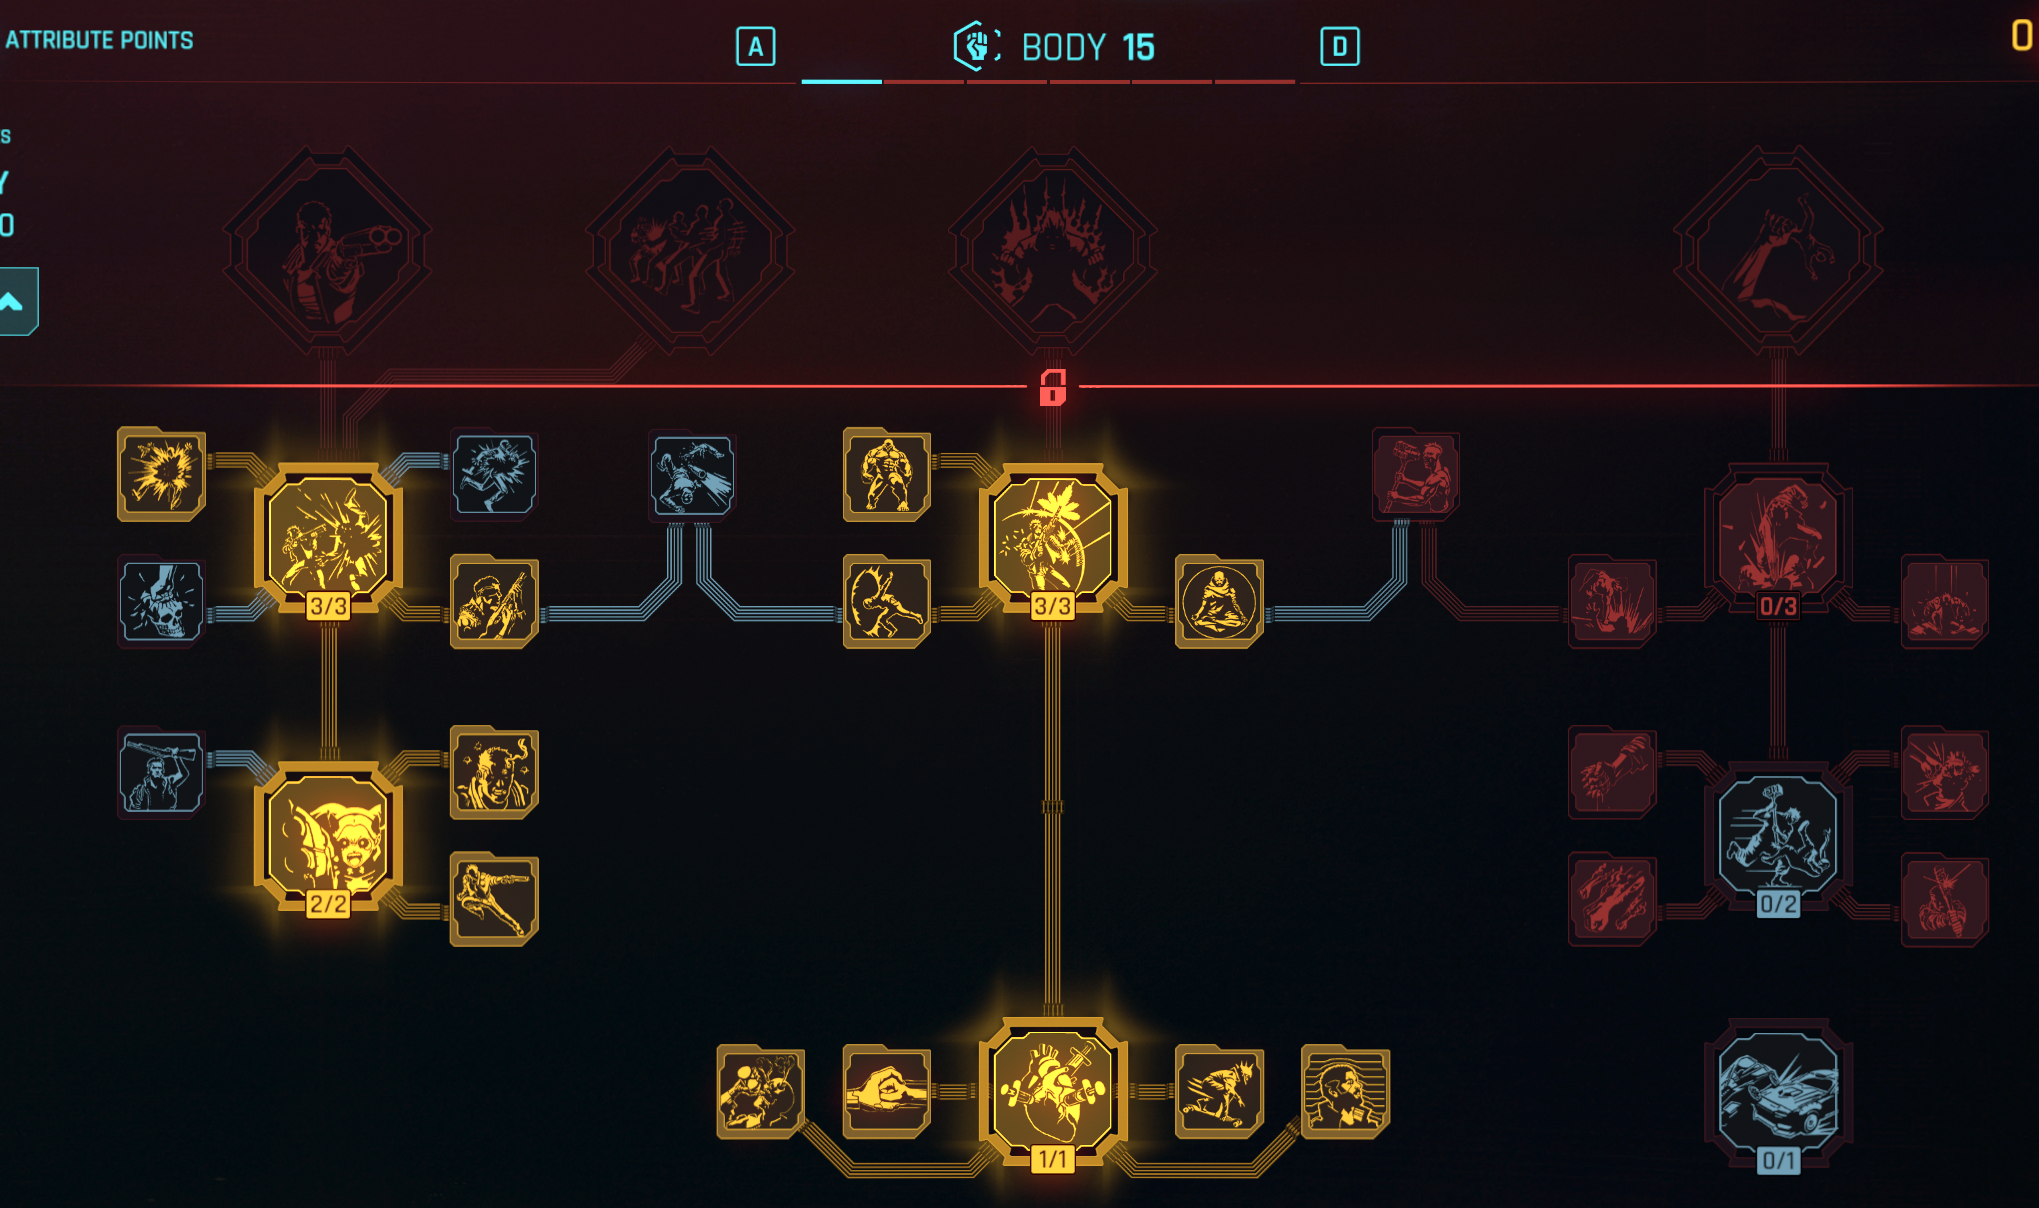
| Body |
15 | The main goal is obtaining |
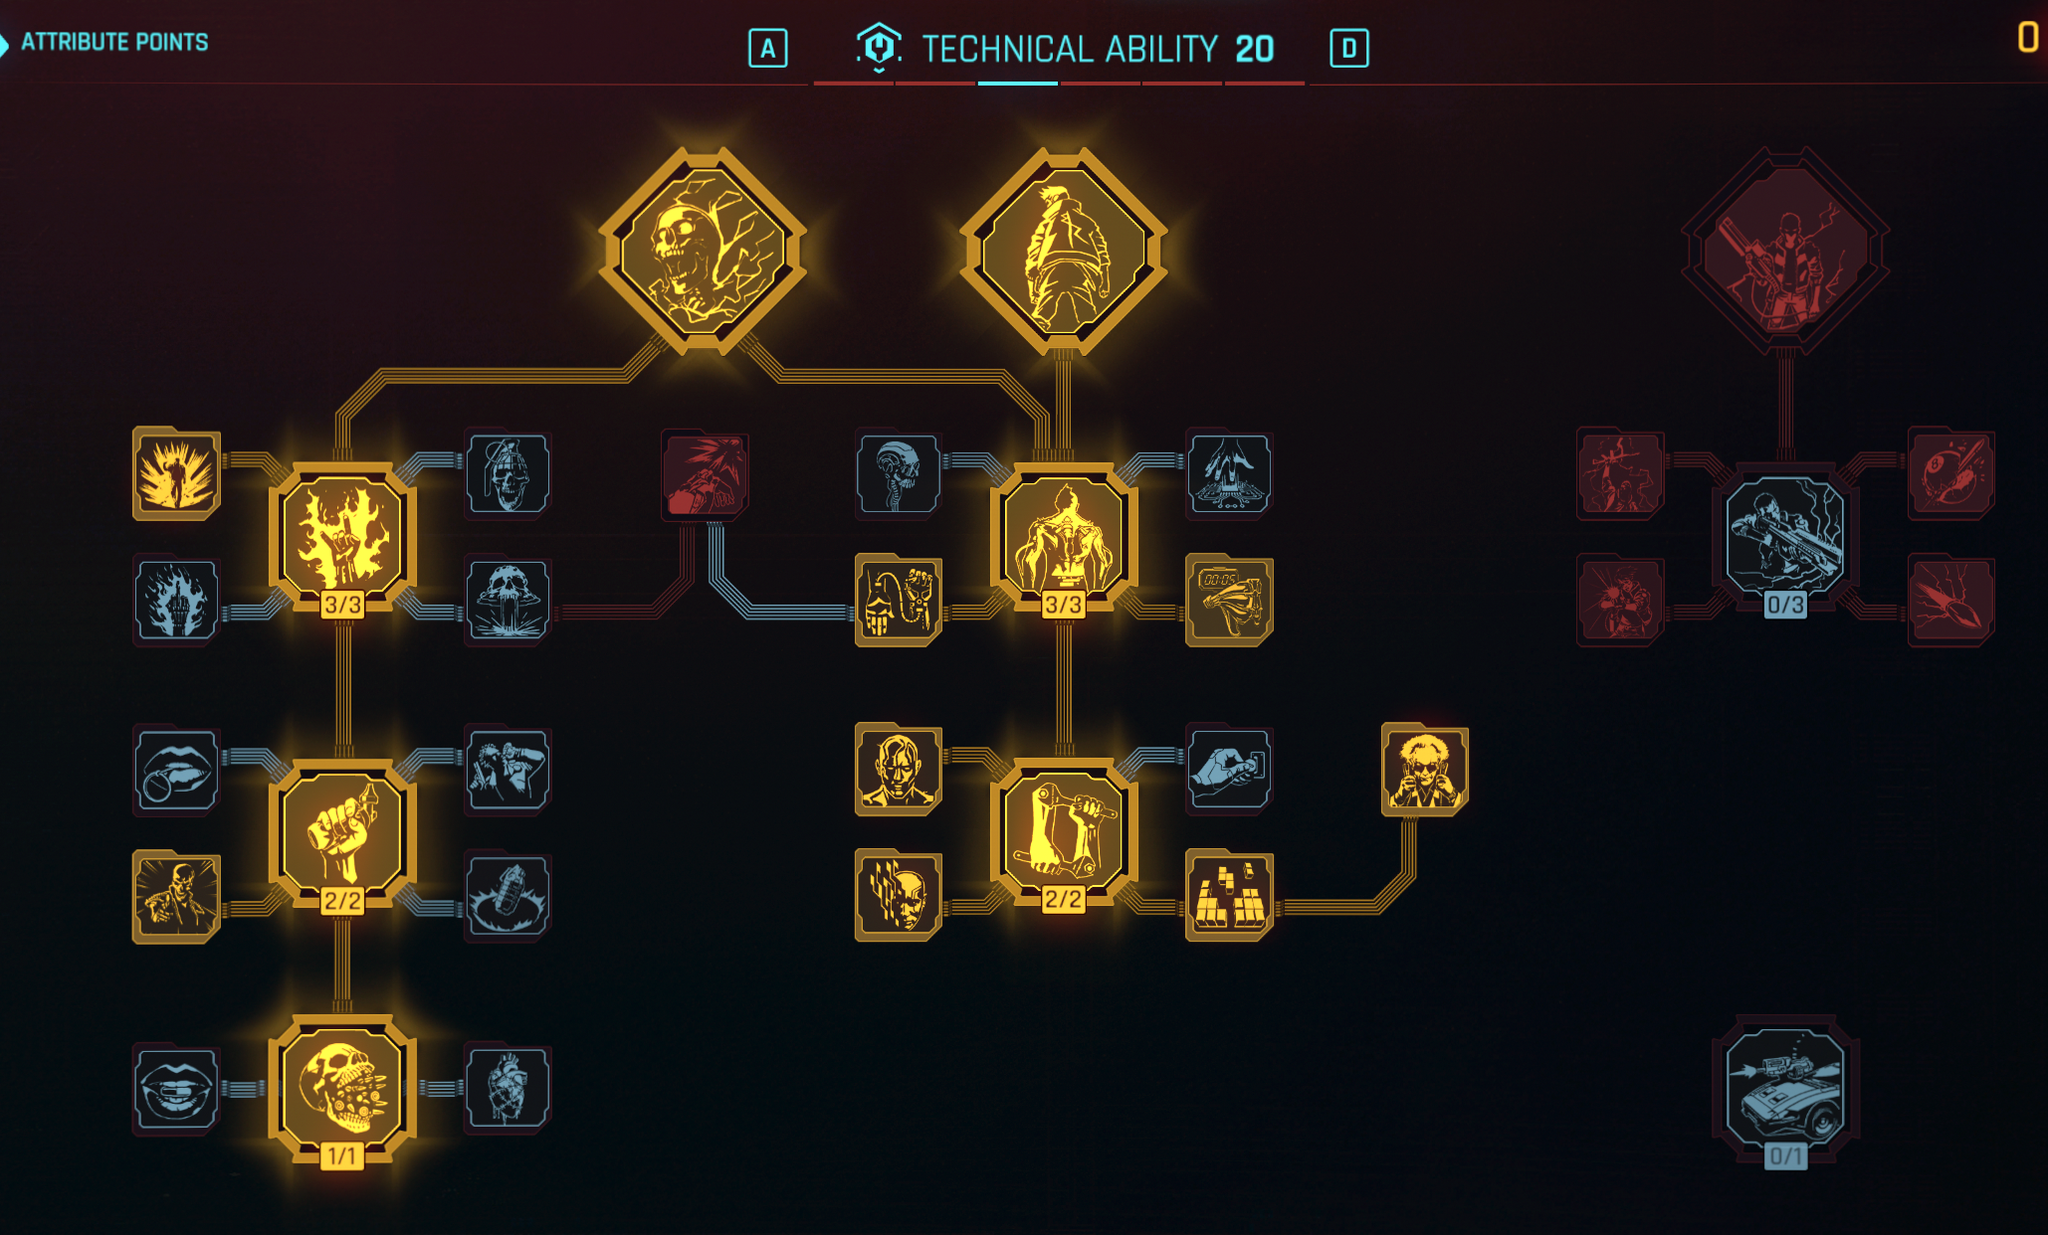
| Technical Ability |
20 | The main goal of high Tech is to get access to increased Cyberware Capacity. Sandevistan build is hungry for some iconic options and bonus capacity will benefit it greatly. |
 Cool Cool |
20 | Cool serves a secondary role, and should only be invested late in the game. The main reason is that it will be used to maximize damage with critical hits. |
 Intelligence Intelligence |
3 | Not a relevant attribute for the build. |
Perks
Let's go through the perks of the Sandevistan Build. You will need about 60+ perk points for the build, and the base game awards about 80 with skills progression and perk shards. So some should be left to adjust the build to your needs.
Reflexes Perks
I would say these are the core perks of the build in terms of direct combat - mobility and katanas.
Level 4 Perks
| Perk | Description |
|---|---|
| Base perk, that we will need to progress to other levels | |
| Gives you more agility in combat as you can reload while sprinting. | |
| Although not mandatory, having the option to shoot while moving fast can be handy. | |
| Better maneuverability while moving over obstacles. |
Level 9 Perks
Finally, you will be able to get the first mobility perk. It is useful both for exploration and combat
| Perk | Description |
|---|---|
| Another new perk that gives a short dash to avoid or get close to the enemies. | |
| A 100% mitigation chance while dodging is very valuable. This will give you a higher chance of reaching an enemy if you are under heavy fire. | |
| Gives increased range with |
Katana perks - are only relevant if you are picking katanas.
| Perk | Description |
|---|---|
| This is an awesome mechanic that allows you to block incoming bullets. Be sure that enemies are attacking you only from one side, as it does not work if being shot from the back | |
| You can now redirect bullets back to enemies. This is very useful as you both deal damage and stagger enemies, allowing you to jump on them. I recommend this at least early in the game. For the late game, it kind of loses its purpose as you can use Sandevistan. | |
| Although the perk may not be useful, you want to take it to unlock |
|
| A strong attack will now do a jump that closes the distance. The perk is optional, many katanas come with this action, so check their descriptions |
Level 15 Perks
| Perk | Description |
|---|---|
| The additional layer of traversing while in the air. | |
| Gives a finer control over air movement. Together with Sandevistan you can perfectly and close to the enemy for an attack. | |
| Additional protection while being in the air. |
Level 20 Perks
| Perk | Description |
|---|---|
| Although this perk may seem like an average pick, it does serve a strong purpose - stamina regeneration. When you are in prolonged combat and constantly slashing with Katana, a double jump + lunge will restore a bit of stamina allowing for another flurry of attacks. | |
| I would say this is an optional perk. So put points into it later in the game. It does not give any direct damage bonuses, but its bonuses are still relevant. |
Technical Ability Perks
This tree will improve the cyberware capacity and allow you to maximize the number of slots. It will also give a healing item boost, in case you are pinned down during loud combat.
Level 4 Perks
| Perk | Description |
|---|---|
| You will be taking out a lot of enemies, so why not faster healing item recharge? |
Level 9 Perks
| Perk | Description |
|---|---|
| You now have 3 health recharge items, making combat a bit easier. | |
| Gives instant health item recharge when taking out an enemy when being close to death. | |
| Mandatory perk as we will need as much Cyberware as we can. Reduces its costs | |
| With this build, we will have 4 attributes above 9, so worth taking it. | |
| With Samurai build we are filling all the slots with chrome, so reduced damage is nice. | |
| These perks should go together, I also only recommend these for the late game. This will allow unlocking additional stat modifiers which then could be optimized for decreased enemy vision or damage. | |
Level 15 Perks
| Perk | Description |
|---|---|
| Improves Skeleton cyberware and unlocks a new slot for even more chrome | |
| The increased duration will work on Kerenzikov and other cyberware effects, although without an operating system, it is not as impactful. | |
| Unlocks another slot for hands. | |
| This perk should be taken if you have all cyberware slots filled and want a bit of improved cyberware cooldown for Sandevistan, Coutnershell, etc. The bonus is good, but can be difficult to fill all the slots early on. So that's why I recommend this only for the late game. | |
| These perks go hand in hand. You will be getting |
|
If using Tech weapons - something like Raiju.
| Perk | Description |
|---|---|
| These perks together will improve tech weapon charge time and make it easier to activate |
|
Level 20 Perks
| Perk | Description |
|---|---|
| Increases cyberware capacity allowing to stack up some very powerful iconic ones later in the game. | |
| Together with |
Body Perks
The tree is left with minimal investments as the build aims for a non-direct combat approach.
Level 4 Perks
| Perk | Description |
|---|---|
| A very valuable perk that is recommended for any build. We also need it for the progression | |
| Blood Pump will be one of the main Cyberware that we use to drastically boost HP restoration | |
| Improves HP regeneration as you get closer to death. | |
| As you will be constantly moving no matter if using katanas, shotguns, or SMGs, the increased HP regeneration is helpful. | |
| Specifically relevant if using Katanas or Shotguns where you will be close to enemies. |
Level 9 Perks
| Perk | Description |
|---|---|
| Improved shotgun handling as stamina decreases. | |
| Together with Countershell, Neofiber, and this perk, your survivability will increase. | |
| Better precision while using Shotguns. |
Level 15 Perks
| Perk | Description |
|---|---|
| This is a huge survivability boost for any build that uses |
|
| Adds additional damage and movement speed while |
|
| Delay of the Adrenaline decay. | |
| It's a decent perk, that can be crucial in some encounters, where you could be knocked out. |
If using Shotguns:
| Perk | Description |
|---|---|
| Instant enemy kill, with multiple shotgun pellets, is a good addition to the weapon. | |
| Additional speed is great when you will be in the heat of combat and will need reloading shotgun every few shots. | |
| Improved Obliterate chance from the close range. |
Cool Perks
To be honest, I do not recommend picking any perks from this. If you are interested in using Pistols or Snipers, I would rather look at my other builds that utilize Sandevistan:
- Gunslinger Build - uses various pistols and engages in direct combat
- Stealth Build - concentrates on invisibility and silent shots with pistols and snipers.
- Sniper Build - uses various snipers in combat.
As I mentioned, this attribute's purpose is to only increase the attunement bonuses that you get from various cyberware.
Perks - Relic
These perks are available with Phantom Liberty DLC. They will give further improvements to some of the game mechanics.
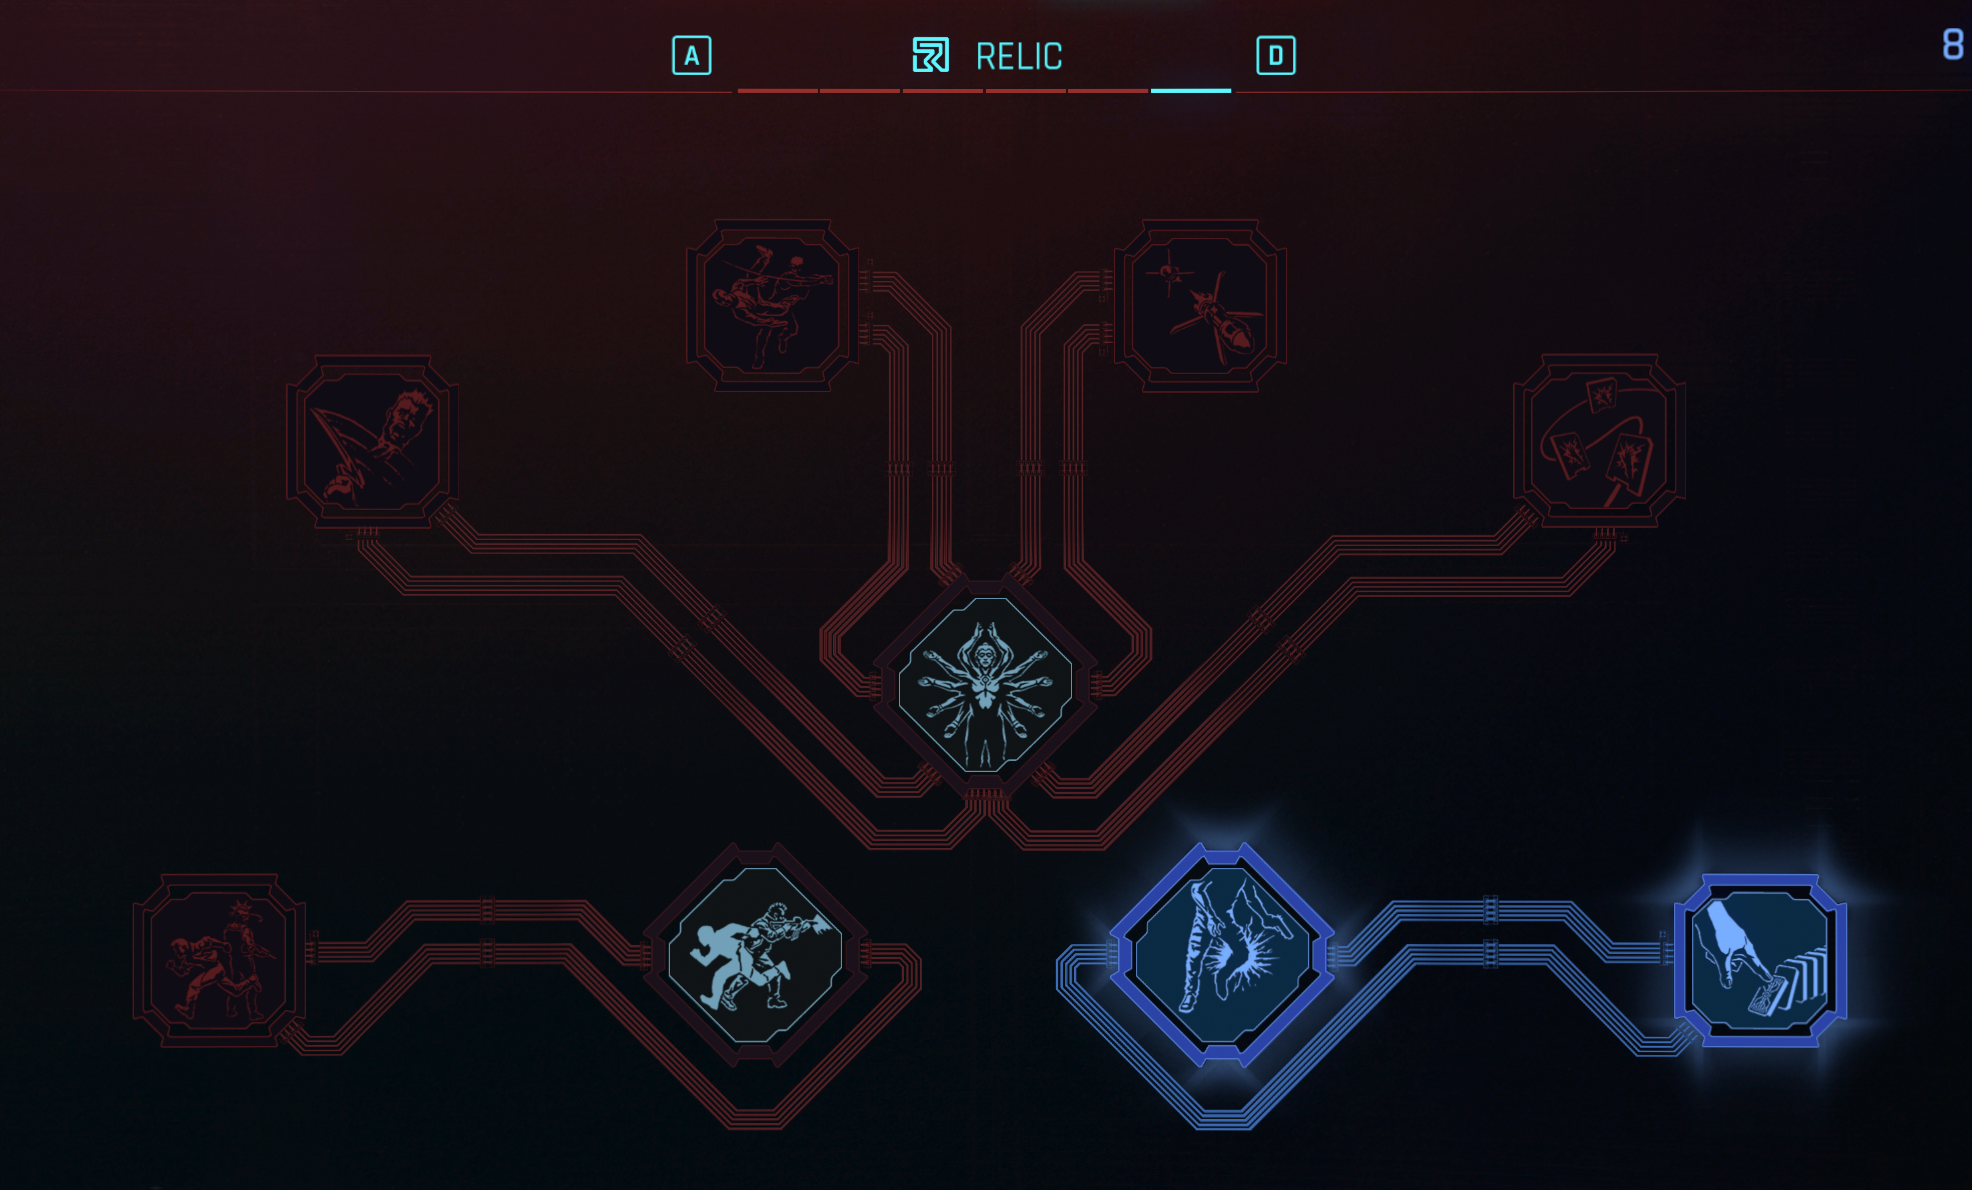
| Priority | Perk | Description |
|---|---|---|
| 1 | Shows enemy weak spots, which when hit, create an electricity explosion. It is especially useful against robots and stronger enemies which are hard to chip away with just melee attacks | |
| 2 | Improves |
Equipment for Sandevistan Build
This section will cover what gear I recommend using with the Corpo build. Always try to obtain the highest tier equipment as it provides the best stats and most modification slots.
Katanas
| Item | Description |
|---|---|
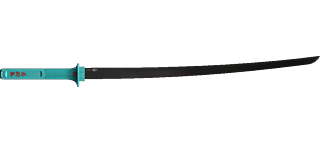
 Byakko Byakko |
Very powerful katana, that now has a unique combo effect after killing an enemy. It releases a flurry of hits, easily chipping away at any enemy. |
 Scalpel Scalpel |
This is the best katana after Act 1 and early Act 2 that you can get, specifically if you are using Sandevistan. While under its effect you will get a bonus of 50% critical chance. |
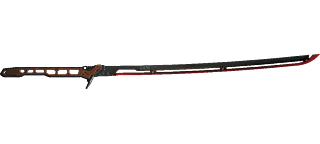 Errata Errata |
A newly introduced fire katana. What makes it special is that hitting enemies on fire deals critical hits. The Katana has a 30% burn chance, but you can also apply it via Incendiary Grenade, Projectile Launch System, etc. |
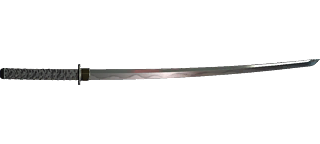 Satori Satori |
The first major katana that you will obtain playing through the story. It will be quickly replaced by the next one. |
Shotguns
| Item | Description |
|---|---|
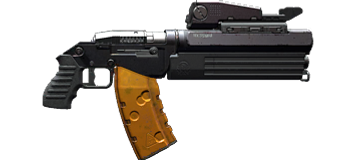
 Sovereign Sovereign |
Satisfying weapon that becomes extremely deadly with Microgenerator cyberware. The shock damage gets applied constantly as it reloads every shot. |
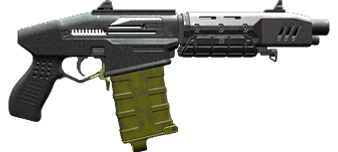
 Pozhar x-MOD2 Pozhar x-MOD2 |
Has a big magazine and a fast fire rate. I recommend using it together with Kneel and Firecracker mods. |
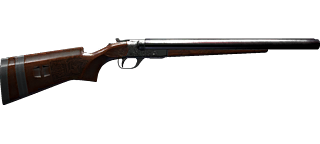
 Crusher Crusher |
Comes with a higher damage, but if you are using the combo below, it is inferior due to the lower amount of pellets released. I recommend using it together with Kneel and Firecracker mods. |
Here is a shotgun mod combination that I urge you to try out if you can land 2 modification slots.
| Modification | Description |
|---|---|
 Kneel Kneel |
Use this together with Firecracker to create exploding puddles that dismember targets. This is the ultimate destruction combo that will make enemies die instantly. Sadly, it does not work well for bosses. |
 Firecracker Firecracker |
SMGs
| Item | Description |
|---|---|
 Raiju Raiju |
Effective and deadly tech submachine gun. It is the only iconic one in the game of this type. |
 Problem Solver Problem Solver |
Extremely fast submachine gun, which can be hard to control without perks and cyberware. However, it's very satisfying to use as you just melt enemies. |
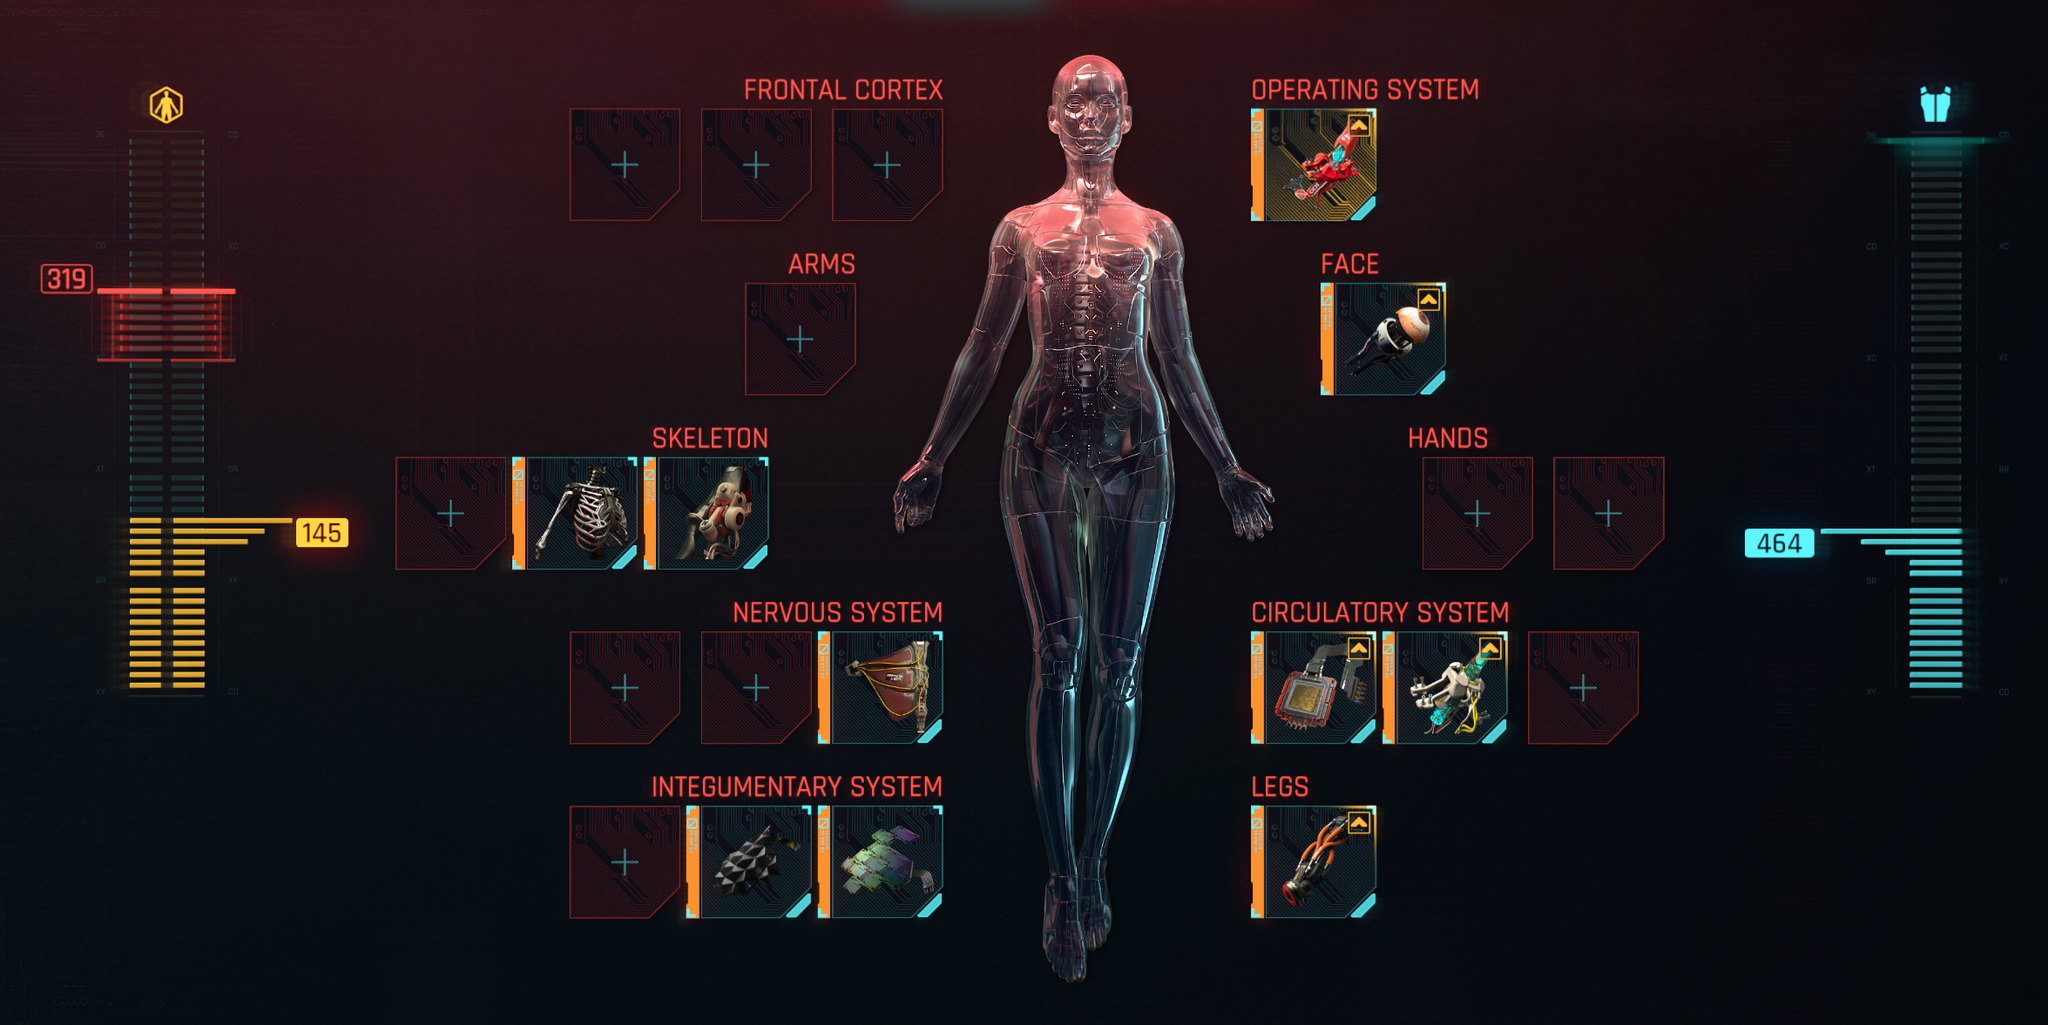
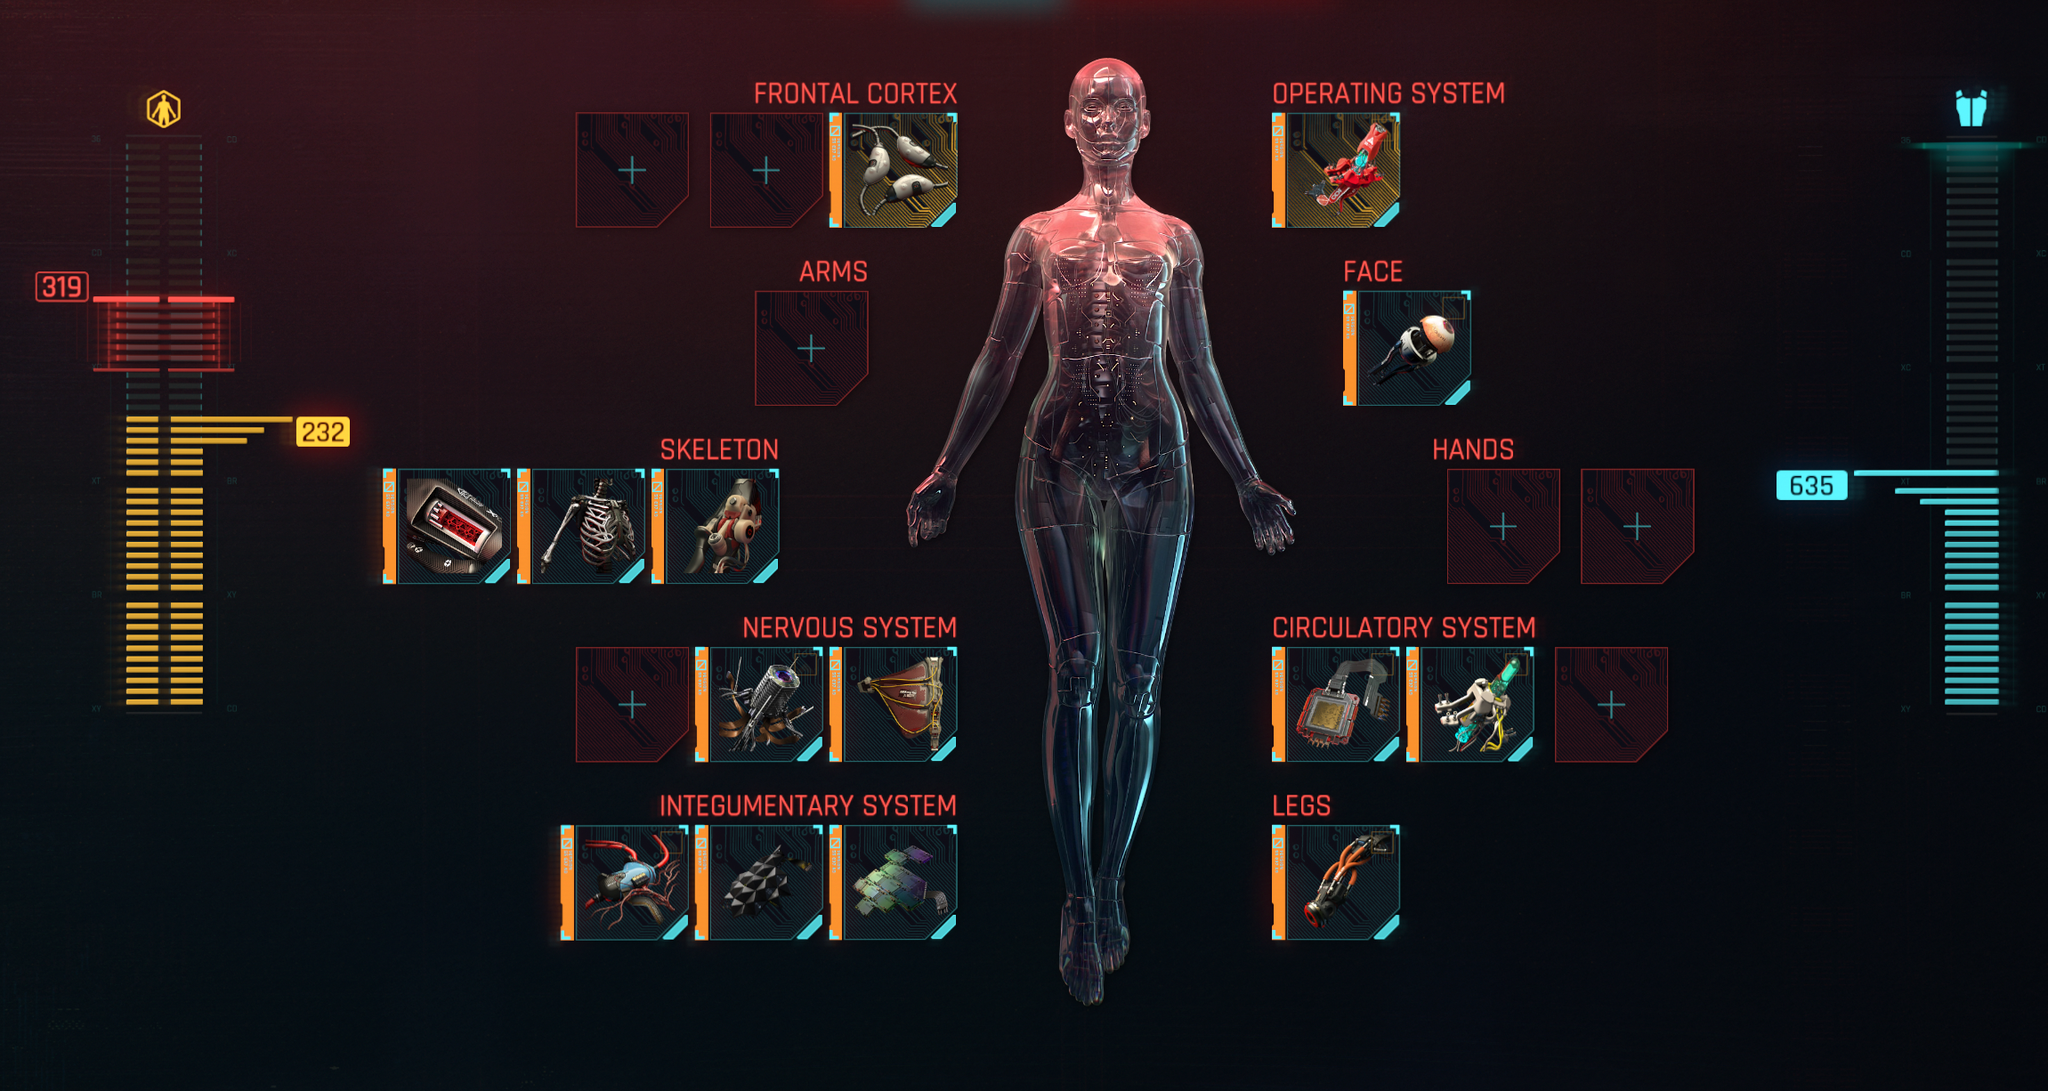
Cyberware
Cyberware is a unique mechanic that allows us to fill the build with implants. Early games can be quite difficult as you will have limited capacity. However, as you progress and drop more Capacity Shards, you will be able to equip more.
Sandevistan build is hungry for Cyberware capacity. I use all the best items to reach the huge damage potential. So I will also try to provide some inferior alternatives in case you will need more capacity.
First Priority Cyberware
This is what is essential to make the build work. I would even recommend dropping everything else to equip these if cyberware capacity doesn't allow it. These cyberware selections make the core of the build.
| Slot | Cyberware | Description |
|---|---|---|
| Skeleton 1 |  Spring Joints Spring Joints |
Improves mitigation strength, complementing other cyberware like Countershell, and Neofiber. |
| Skeleton 2 |  Epimorphic Skeleton Epimorphic Skeleton |
A big boost to HP and armor greatly improves survivability. |
| Nervous System 1 |  Neofiber Neofiber |
Together with Countershell and Spring Joints, these will increase your survivability. |
| Integumentary System 1 |  Countershell Countershell |
One of my favorite cyberware. With this, when under heavy fire or using quickhacks with |
| Integumentary System 3 |  Chitin Chitin |
If you want extreme armor protection and a big boost to health regeneration. |
| For medium or long-ranged combat this is my recommended pick. | ||
 Subdermal Armor Subdermal Armor |
A simple cyberware that has a high armor-to-cyberware capacity cost ratio. | |
| Operating System 1 |  Militech "Falcon" Sandevistan Militech "Falcon" Sandevistan |
For this type of build where you do not need the biggest time slow, this sandevistan serves its purpose well. Moreover, you get increased weapon damage. |
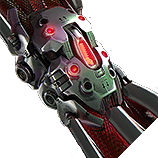
 Militech "Apogee" Sandevistan Militech "Apogee" Sandevistan |
This version of Sandevistan provides a bit higher damage bonuses but comes with a shorter duration and increased cyberware capacity cost. | |
 Dynalar Sandevistan Dynalar Sandevistan |
This is the base version that I recommend using from early levels. | |
| Circulatory System 1 | 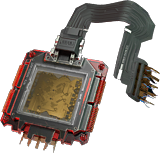 Biomonitor Biomonitor |
Automatically heals, makes the combat somewhat easier, as you do not have to worry how long it takes to use a healing item. |
| Circulatory System 2 | 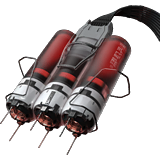 Blood Pump Blood Pump |
The most powerful healing item in the game, it heals during a few-second span. |
 Heal-On-Kill Heal-On-Kill |
I would say this is the safest option, it gives an additional layer of HP restoration. | |
| Legs | 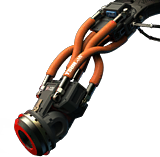 Reinforced Tendons Reinforced Tendons |
My personal favorite makes traversing much easier. |
| Gives the highest jumps and high boost to armor compared to cyberware capacity cost. But you need to hold the jump button. |
Second Priority Cyberware
This is what you should be getting once you have the core cyberware, or you have free capacity.
| Slot | Cyberware | Description |
|---|---|---|
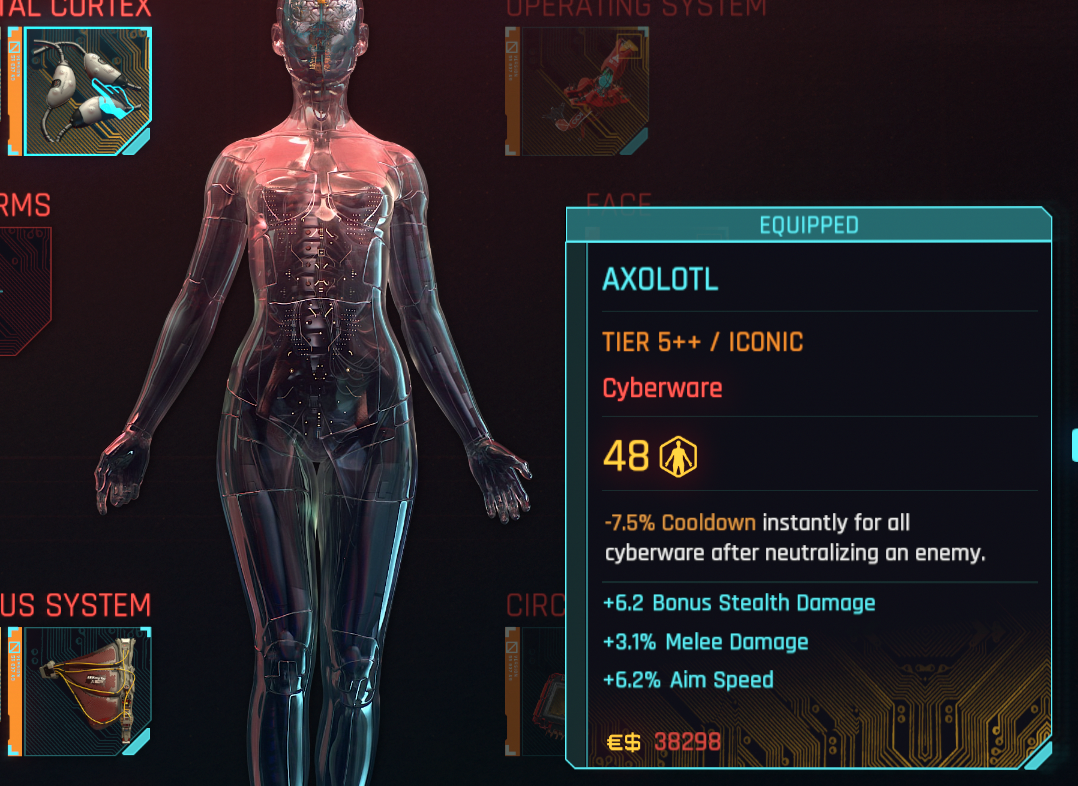
| Frontal Cortex 1 | 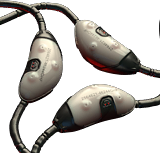 Axolotl Axolotl |
This cyberware will take the build to the ultimate level. It has a very steep cyberware capacity cost. But it gives cooldown reductions for almost everything. |
| Newton Module |
It gives a cyberware cooldown reduction after taking out an enemy. It is not much, however, with multiple kills, the effect adds up. | |
| Skeleton 3 |  Dense Marrow Dense Marrow |
Gives a substantial melee damage boost at the cost of more stamina usage. |
 Kinetic Frame Kinetic Frame |
I would recommend this only if you are relying on ranged weapons, as melee options will drain stamina too fast. | |
| Face 1 | 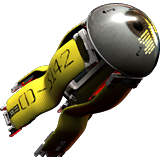 Kiroshi "Cockatrice" Optics Kiroshi "Cockatrice" Optics |
If you can afford the cyberware cost, this is impressive cyberware that will give a higher chance of a critical hit with pistols. |
 Basic Kiroshi Optics Basic Kiroshi Optics |
Simple eye cyberware, that also improves headshot damage. | |
| Nervous System 2 |  Stabber Stabber |
Go for Stabber if you are mostly using Katanas. A cheaper option could be the Adrenaline Converter if you are limited on cyberware capacity. However, in the late game, I would prioritize the third slot to equip Deep-Field Visual Interface which will give a huge damage boost once you have 20 Cool. |
 Adrenaline Converter Adrenaline Converter |
||
| Integumentary System 3 | 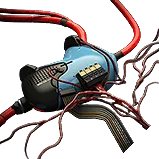 Shock-N-Awe Shock-N-Awe |
This cyberware gives a big area of effect damage boost. As you will be constantly shot by enemies, the shockwaves will trigger |
Final Cyberware setup
Here are the final pieces of cyberware that the build will benefit from.
| Slot | Cyberware | Description |
|---|---|---|
| Frontal Cortex 2 |  Quantum Tuner Quantum Tuner |
If you can obtain this one, it is one of the best cyberware to have for cooldown heavy build. Just remember that it will be used up fast due to multiple cyberware utilizing it - Sandevistan, Reflex Tuner, Countershell, etc. I would remove Reflex Tuner if you started using this one as this would greatly extend the duration of the Sandevistan operating system. |
 Mechatronic Core Mechatronic Core |
Just an alternative cyberware to fill the slot. It is also useful, as robots are quite sturdy foes. | |
| Nervous System 3 |  Deep-Field Visual Interface Deep-Field Visual Interface |
If you want to maximize damage at the cost of survivability using this cyberware will give 20% critical damage with 20 cool. I recommend equipping this in the late game. |
 Reflex Tuner Reflex Tuner |
A cheap alternative that improves weakspot damage, until you can afford Deep-Field Visual Interface. | |
| Hands 1 |  Microgenerator Microgenerator |
If you will be using Shotguns, their small clips make this cyberware the perfect option for additional shock damage. |
| Circulatory System 3 |  Second Heart Second Heart |
The last slot for the Circulatory System can be adjusted based on your requirements. If going for Katanas, Microrotors is almost mandatory. If using ranged weapons Isometric Stabilizer or Clutch Padding is the perfect choice. If you have a large cyberware capacity Second Heart will be a huge survivability boost. |
 Isometric Stabilizer Isometric Stabilizer |
||
 Clutch Padding Clutch Padding |
||
 Microrotors Microrotors |
How to Use the Build
Here I would like to share some general tips that I would like to recommend for the best approach using this build.
Core Mechanics
Let's go through what I think are the core mechanics of the build to maximize its effectiveness.
Finishers with Sandevistan
This is the main problem that Sandevistan creates when using it together with ![]() Finisher: Bladerunner. If the finisher is activated while Sandy is active, this will waste precious time and not stop its usage.
Finisher: Bladerunner. If the finisher is activated while Sandy is active, this will waste precious time and not stop its usage.
An alternative is to deactivate Sandevistan (if you are using Militech ones) and only then do a finisher. However, in the late game, stopping might just take too long and the enemy might just be killed with the next attack.
Overall, this needs some practice to be used together. However, Finishers play an important role in Stamina management so let's get into that.
Stamina Management
As with all the builds, especially melee ones, stamina management is important. You can use ![]() Finisher: Bladerunner (when Sandevistan is deactivated) to have an animation that makes you invincible and allows natural stamina restoration.
Finisher: Bladerunner (when Sandevistan is deactivated) to have an animation that makes you invincible and allows natural stamina restoration.
Another option I recommend is the ![]() Tailwind perk which can be utilized in your combat rotations. For example, after each enemy you kill, you can use double jump +
Tailwind perk which can be utilized in your combat rotations. For example, after each enemy you kill, you can use double jump + ![]() Air Dash to get close to the next target and then Hold the attack button if using Byakko, to activate the Lunge attack.
Air Dash to get close to the next target and then Hold the attack button if using Byakko, to activate the Lunge attack.
This way you will restore stamina and will reach your next target instantly. Your attack speed will not drop down allowing your attacks to be at full efficiency.
Look for Cyberware with specific bonus rolls
When upgrading or buying cyberware you can obtain additional modifiers. This is like "end-game" rolls to help min-max the build. I would only invest in this once you have everything covered. To be honest the bonuses are minimal.
I would look for these:
- Melee Damage - will increase katana damage
- Headshot Damage - improves headshot damage, specifically with ranged weapons.
- Crit Damage - improves overall damage.
Maintaining high Mitigation Chance
This is an important aspect of the build, that will allow it to survive against multiple enemies at the same time if you will engage in direct combat. Mitigation Chance is like a second layer of armor, that works with a specific chance. Mitigation Strength is what goes together to ensure how "Strong" the mitigation effect will be.
 Dorph-head - 100% mitigation chance
 Can't Touch This - 100% mitigation chance
- Countershell + Neofiber + Spring Joints + Kinetic Frame - 78% mitigation chance and 80% mitigation strength.
- Stacks of
 Pyromania +
  Heat Shield that will be activated from Shock-n-Awe and
  Ticking Time Bomb resulting in a 50% mitigation chance.
So for most of the combat, you will be able to soak up a lot of damage. Of course, there will be a second or two intervals, where none of these effects will apply as they will be on cooldown. So that's when you will be the weakest.
Reaching high Critical Damage
One of the selling points of this build is that you can reach a very high critical damage bonus of 150%+
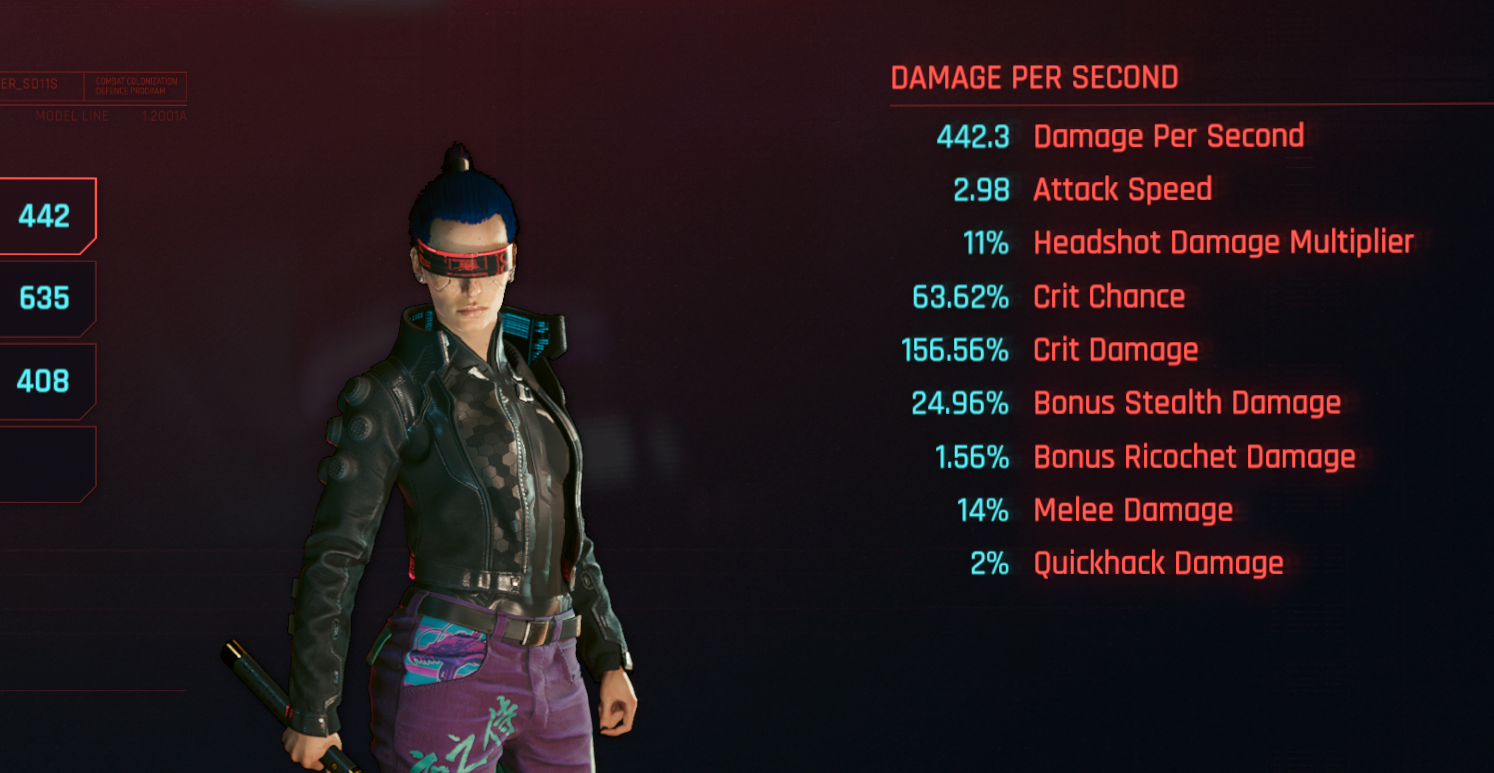
Here are key aspects:
- Default 50%
 Edgerunner perk - 50%
- Sandevistan - 10-20%
- 20 Cool + Deep-Field Visual Interface - 45%
So with total, you can easily reach above 150% which will be a huge damage increase.
Early Game Combat
Okay, let's go through some early-game combat approaches. I recommend checking Cyberpunk 2077 beginner tips for additional information on the early game combat.
Use anything on hand
The early game for melee builds is very punishing, especially on harder difficulties. So just use anything you have on hand - pistols, assault rifles, etc. With some practice and more knowledge of the game encounters it will become fairly easy to survive difficult encounters with only melee.
Use Grenades
Consumables like grenades are another great choice to give some crowd control for free. Just throw them on the enemy that you want to stagger. This is a great way to open the encounter if you see a few enemies grouped up.
Visit ripperdoc at level 10
Once you reach level 10, a new tier of cyberware will be unlocked. For this reason, visit any ripperdocs in the Night City. This is when you will get access to uncommon-tier operating systems.
You will be able to buy your first Sandevistan, making the combat much easier as you will be able to slow down time and mow down your foes.
Late Game Combat
For the Corpo Assassin build, the late game opens up even more options as you get better quickhacks and improved cyberware. I think you should already have your preferred playstyle. Overall, it's pretty simple as you slow down time and take down enemies one by one - be it melee or ranged weapons. But here are some additional tips:
- Using Sandevistans together with Axolotl will reward fast kills. So try to take down weaker enemies first to maintain the duration.
- If using Byakko, try to kill a weak enemy before you jump on a stronger one. This way you will get the increased attack speed bonus to instantly chip away at the boss.
- If Sandevistan ends, the fastest way to refill it... you guessed it - more fast kills. You can also activate/deactivate it at will if you are using the Iconic ones.
Besides this, there is nothing else much that I can recommend as it all comes down to your skills as a player.
Conclusion
Thank you for reading this post on the Sandevistan build in Cyberpunk 2077. This is a truly powerful build especially in the late game when you make all the optimizations and equip iconic cyberware. You can slow down time for the whole encounter, deal crazy amounts of damage, and run around while enemies barely move an inch.
Feel free to leave a comment below!
Discussion