Warzone 2 DMZ gives you plenty of opportunities to grow as a player and progress in the game. This includes giving you various missions to gain a ton of XP, such as the Breaking and Entering mission.
The Breaking And Entering mission will not only give you 15,000 XP but also a green access card. This card will grant you access to the green door located in the South Wall of the parking garage, which is found on the first floor of Building 21. The green access card can actually be used on three different doors in this area, all of which contain three orange supply boxes as well as various other treasures.
How To Get The Al Bagra Key
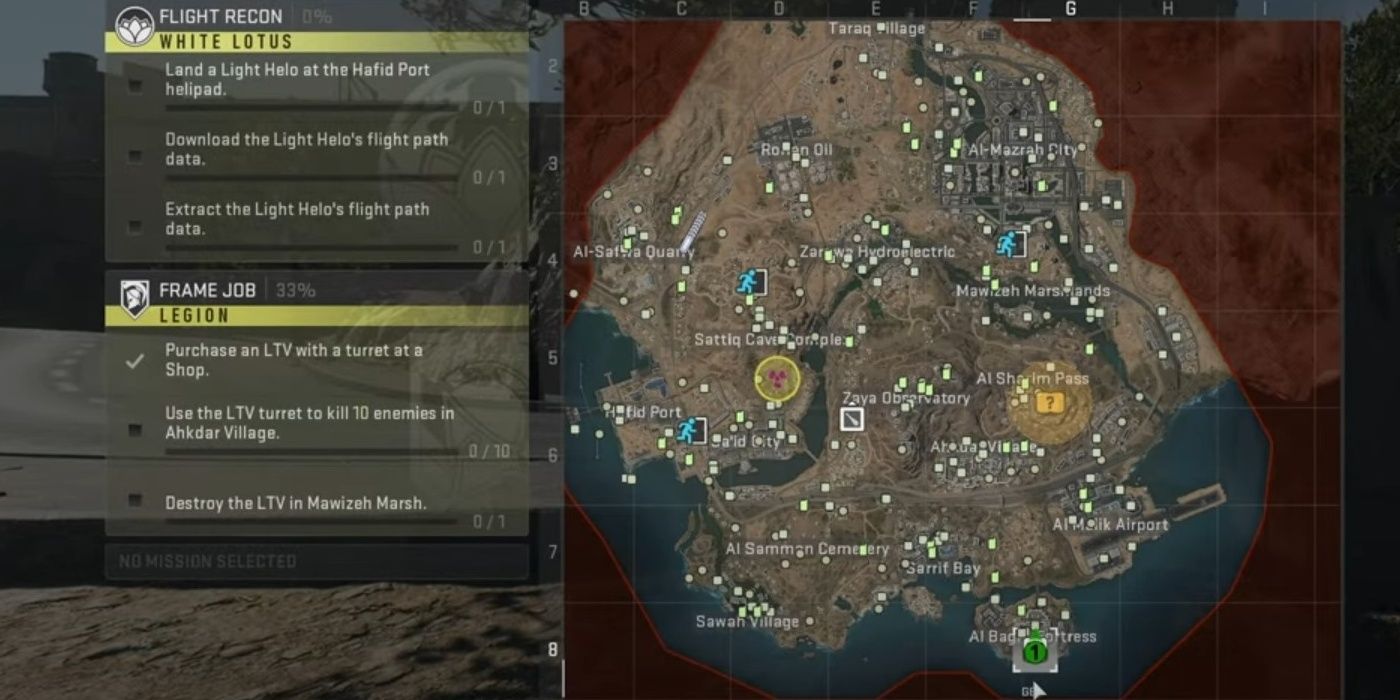
To complete this mission, you will need the Al Bagra key, which you can get by either looting the HVT body, randomly coming across it in loot crates, or by purchasing it at a buy station. This key will be random, but it is the first step in accessing the Breaking and Entering mission.
Breaking And Entering
Once you enter the Al Bagra fortress, there will be a large number of enemies that you will have to fight your way through since there's nowhere to really hide. Therefore, it's recommended that you bring a couple of friends with you to help. Take a vehicle to the back of Al Bagra fortress, and park the vehicle away from the door so it won't get destroyed when you want to leave. Be sure everyone is ready before you unlock the door as you are given 4 minutes to flip 7 switches.
Most of the enemies will appear when you first walk through the doorway. Utilize the gas canisters by shooting them to blow them up and kill the surrounding enemies. A thermal sight to see through smoke will come in handy as smoke will be thrown by enemies. Next, you'll want to head up the ramp and veer to your left, the first switch will be on the wall to your left. When the AI are defeated, flip the switch. You can then choose to go left or right from this room. In this guide, you will be going left.
You will come to another Y-shaped intersection, but straight ahead will be another switch on the wall. From there, take a left and straight ahead will be another switch on the wall. After you flip that switch, turn to your right and head through that doorway. Before heading down the first tunnel on your right, you will want to walk straight ahead as there will be the fourth switch on the wall to your right. Head down the tunnel just before this switch, the next switch will be on the wall that you can climb the pallets to get to on your right.
Continue down the hall and take a right, then continue straight until you see a tunnel on your left heading down. Keep in mind there will be AI you will have to fight along the way. Once at the bottom of the ramp, look to your left and straight ahead will be the sixth switch. Now turn around and go back the way you came. At the top of the ramp go straight until you come to the first hallway to your left. Go up the ramp and the final switch will be to your left on the wall.
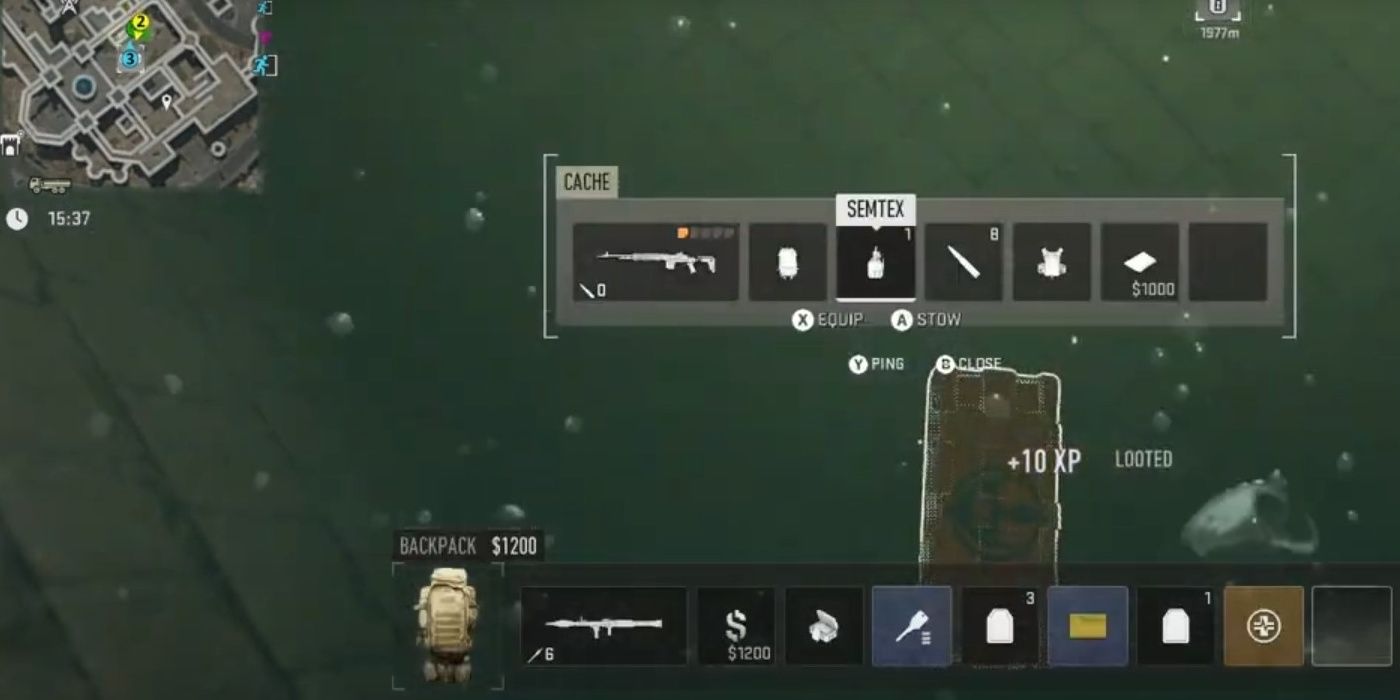
Head back and grab the documents in the chest in the dark water at the bottom of the pool that you just unlocked by flipping all the switches. Finally, you need to extract with these documents without getting killed. Once you escape, you have completed the mission.


Your changes have been saved
You’ve reached your account maximum for followed topics.
Manage Your List