There are different ways in which you can format the text in your document. For example, you can change its size and colour. In this article, we will be focusing on the text’s font.
Font refers to the way your text looks. Google Docs offers a lot of fonts for you to choose from. For example, Cambria and Ariel are two popular fonts.
You can see the list of fonts that are available in Google Docs in the toolbar.
If you are not satisfied with the fonts that Google Docs already offers, you can install new ones. There are many situations in which you might want to install custom fonts. For example, if you are a graphic designer, you might want to use unique fonts for your projects.
The benefit of using a custom font is that it makes your document stand out. For example, you could use a readable custom font for your resume. This would help make it stand out among the thousands of resumes that a recruiter goes through.
Two methods of adding custom fonts in Goolgle Docs:
- Filtering the fonts that are already installed on Google Docs
- Using the Extensis Fonts add-on
Note that this article is meant for complete beginners. So, you can follow along even if you don’t have much experience with Google Docs.
With that introduction, let’s get started.
Method 1: Filtering the fonts that are already installed on Google Docs
The first method is to have a look at the fonts that are already installed on Google Docs. You can then filter them based on different categories such as language.
Using this method, you will not be installing new fonts in your Google Docs document. Rather, you will add more fonts to your fonts list (shown in the toolbar).
The benefit of this method is that there are hundreds of fonts in Google Docs. From this list, you can choose the ones that match what you are looking for. Google Docs also gives you several options for filtering these fonts (as you will see below).
However, one drawback is that you are limited to the fonts offered by Google Docs. So, you cannot use any of the fonts that are not already available on Google Docs. You also can’t upload any fonts that you created.
With that introduction, let’s start.
Step 1: Open your Google Docs document.
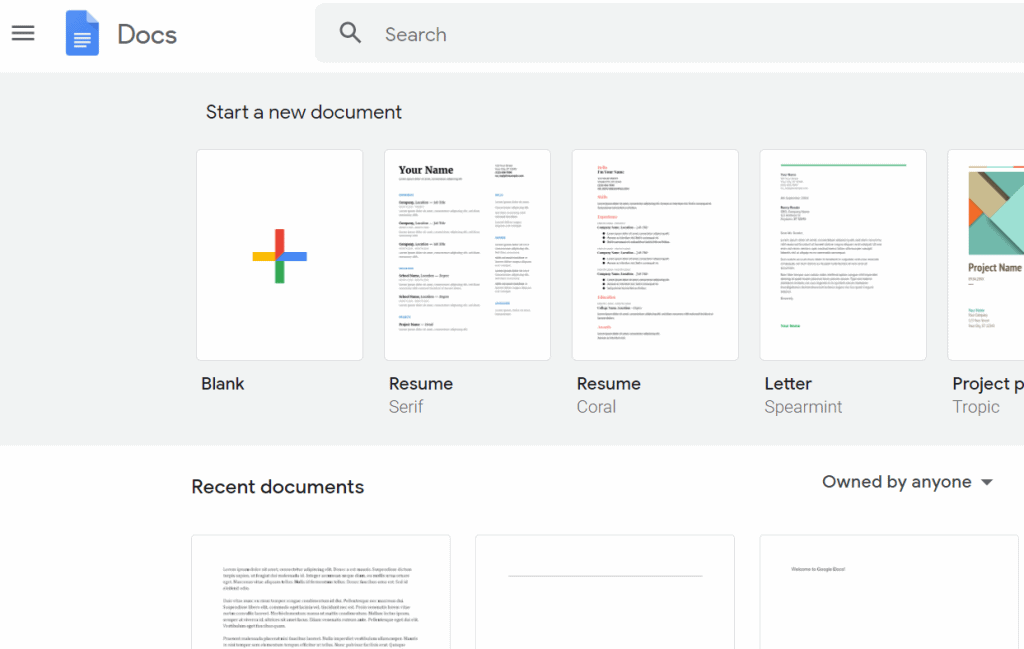
The very first step is to open the Google Docs document where you want to add new fonts. To do this, first go to the Google Docs homepage. Type docs.google.com in the search bar of your browser and press enter. Make sure that you sign in to your Google account so that you can access the page.
To select an existing document, click on a file under ‘Recent documents’. You can also create a completely new document using one of two methods.
The first method is to create a blank document. To do this, click on the plus sign at the top of the screen. There’s also a quick shortcut to create a new document. Type new.docs in the search bar of your browser and press enter.
The second method is to choose from one of the many templates Google Docs offers for resumes, notes and more. You can click on ‘Template gallery’ to find all the options.
Step 2: Click on the fonts option in the toolbar to see the list of fonts available to you.
In the toolbar, you will see a button for fonts. This button will show you the font you are currently using. For example, if you are currently using the Cambria font, this button will show ‘Cambria’.
Click on this button to see all the other fonts available to you. These are the fonts that you have downloaded from the list of fonts that Google Docs offers.

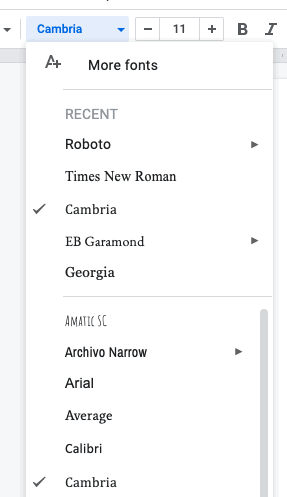
Step 3: Click on ‘More fonts’.
The very first option you will see when you click on the fonts button is ‘More fonts’. Click on this to see the list of fonts that Google Docs has that you haven’t yet downloaded.
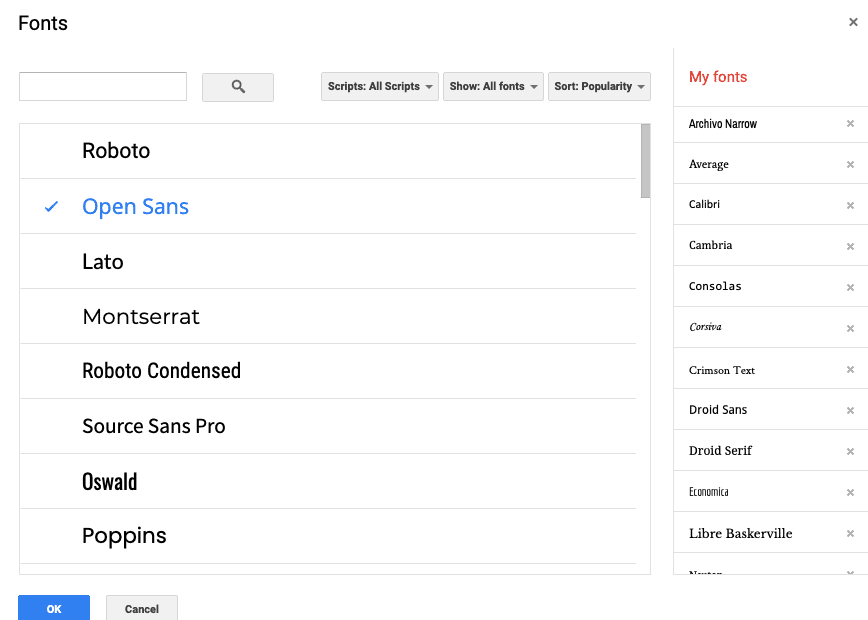
When you click on this option, you will be taken to the ‘Fonts’ window. On the left side, you will see the list of fonts that you haven’t yet downloaded. On the right side, you will see the list of fonts that you have already downloaded.
At the top of the window, you will find various parameters for sorting and filtering the fonts. For example, you can sort the fonts in alphabetical order.
Step 4: Filter and sort the fonts as you like.
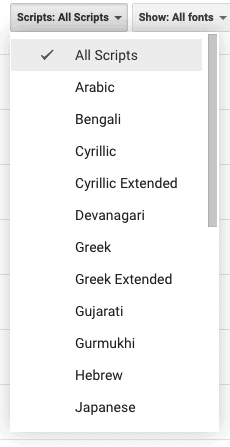
First, you have to filter the fonts based on your preferences. The first way of filtering fonts is based on the script. Click on the ‘Scripts’ button in the fonts window to see all the options for scripts.
The second way of filtering your fonts is based on typography. Typography refers to the way your font looks. Click on the ‘Show’ button to find the different options for typography.
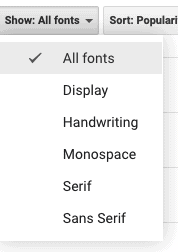
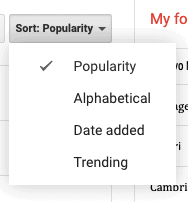
Once you’ve selected the script and typography, you can filter your fonts. You can do this by changing the ‘Sort’ setting in the window. For example, to see the most popular fonts at the top, click on the ‘Sort’ button and select ‘Popularity’.
Step 5: Add new fonts and click on ‘OK’ once you’re done.
Your window should now display the fonts that match your criteria. Click on the fonts you like to add them to your list.
Once you are done adding the fonts, click on ‘OK’ to close the window. You can now start using the new fonts you’ve added!
Method 2: Using the Extensis Fonts add-on
An add-on refers to a software application that you can install in Google Docs. It enhances Google Docs and allows you to do things that Google Docs doesn’t give you the option to do. For example, Google Docs doesn’t allow you to customise your page size. Hence, you can install an add-on to do that instead.
In our case, we can install an add-on to find fonts. This add-on is called Extensis Fonts. If the font you are looking for is not in the list of fonts that Google Docs offers, you can try this method.
However, one potential downside of installing an add-on is that it can slow down your page. So if you already have a lot of add-ons in Google Docs, adding a new one can slow down your document.
Below are the steps for this method.
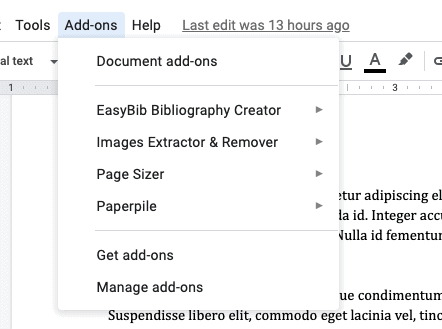
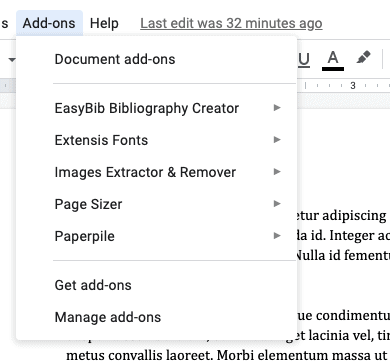
Step 1: Click on the ‘Add-ons’ tab.
At the top left corner of your screen, you should see the ‘Add-ons’ tab, next to ‘Tool’. Click on it to see the ‘Add-ons’ menu.
Step 2: Click on ‘Get add-ons’.
In the ‘Add-ons’ menu, you will see the ‘Get add-ons’ option. Click on it. This will open up a window where you can search for add-ons.

Step 3: Search for Extensis Fonts in the search bar.
At the top right corner of the add-ons window, you will find the search bar. In this search bar, type ‘Extensis Fonts’.
You will then be taken to another page displaying the search results.
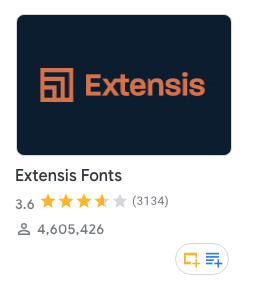
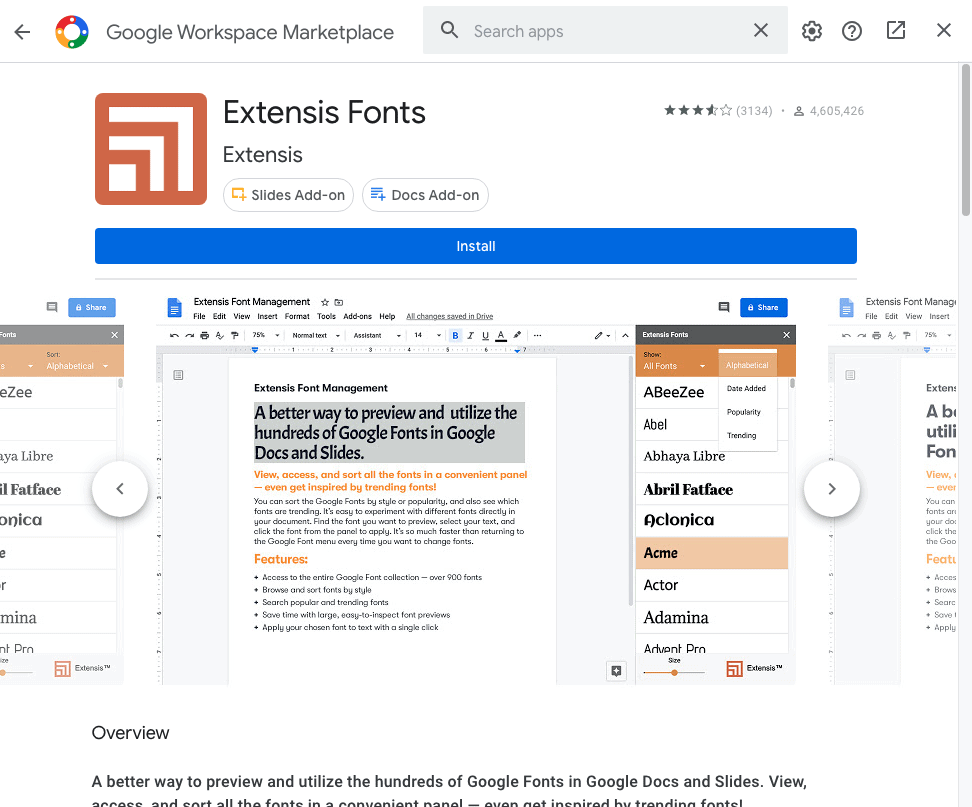
Step 4: Click on the Extensis Fonts icon and learn more about it.
In the search results, you will find the Extensis Fonts icon. Click on it to be taken to the page with all the information about this add-on. For example, you can read the reviews users have left about the add-on. You can also see images of how the font works in Google Docs.
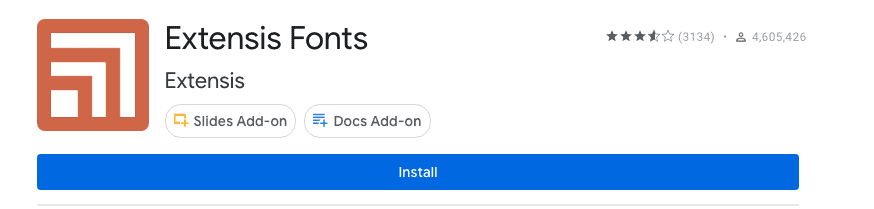
Step 5: Install the add-on.
To install the add-on, scroll to the very top of the screen. Here, you will find a blue button with the word ‘Install’. Click on this button.
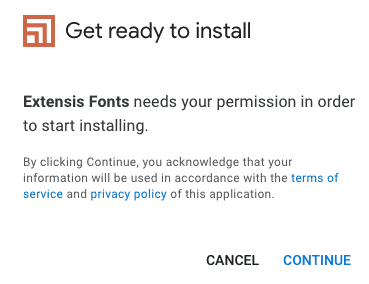
A dialog box will open up asking for your permission to install the add-on. To proceed, click on ‘Continue’
Next, you will be asked to sign in to a Google account. Sign in to the Google account that you are currently using to access Google Docs.
This will open another dialog box. Click on ‘Next’ then ‘Done’. You are now ready to use the add-on!
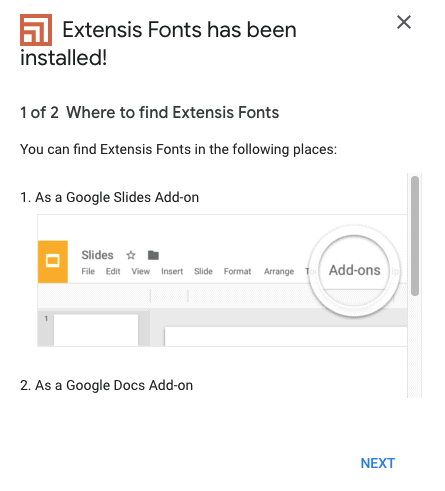
To start using it, close the add-ons window and get back to your Google document.
Step 6: Open the add-on and choose a font.
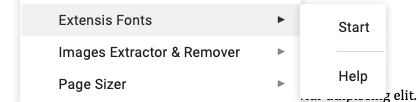
To open the add-on, click on the ‘Add-ons’ tab once again. A menu will open, showing ‘Extensis Fonts’.
Click on this option, then select ‘Start’. This will open a panel on the right showing all the fonts.
Step 7: Choose a font from the panel.
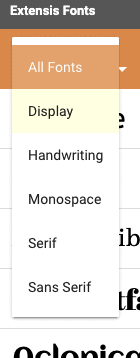
You can filter and sort the list of fonts from the panel on the right. This is similar to the way you filtered and sorted the fonts in Google Docs.
Click on the ‘Show’ option to see all the options for typography. Select one.
Then, click on the ‘Sort’ option to see the different ways of sorting your fonts. Choosing the right sort option will make it easier for you to choose your fonts.

At the very bottom of the panel, you will see an option for adjusting the size of your font. If you want, you can adjust that as well.
Step 8: Select the text and apply the font.
Next, you have to select the text for which you want to apply the font. If you want your entire document to have the same font, then select all the text. To do this, press Control + A (or Command + A if you’re a Mac user). To apply the font, click on a font of your choice.
You’re now good to go!
Resetting the font and making it the default style
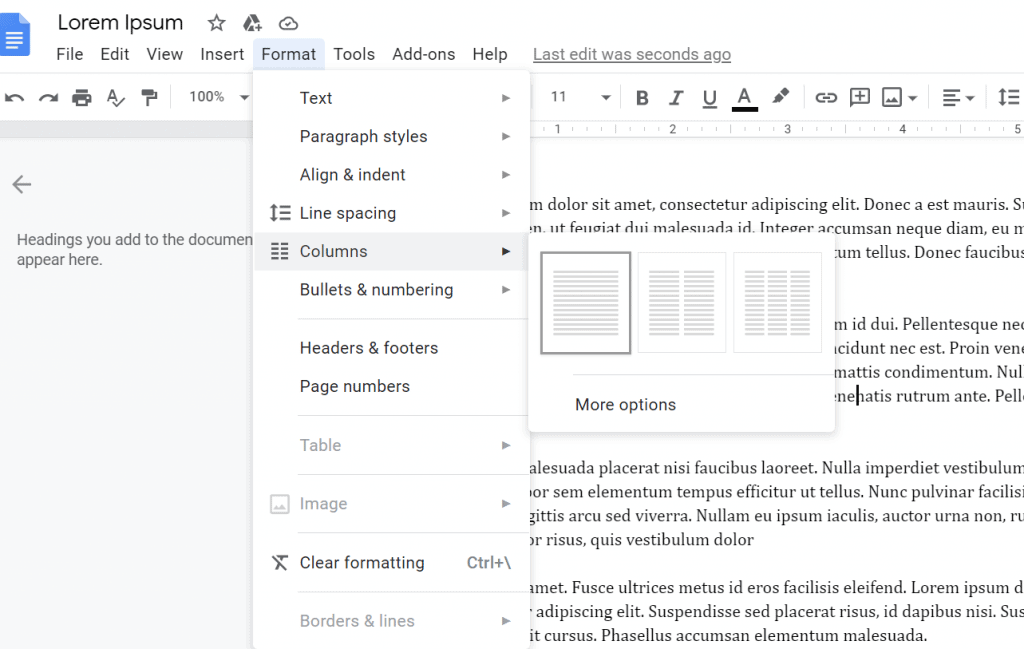
If you don’t want to use the new font anymore, you can reset the style. To do this, first go to the ‘Format’ tab at the top left corner of the screen. Then, click on the ‘Clear formatting’ option. This will reset the font to the font that is ‘Normal text’.
In contrast, you can also make the new font the default style. To do this, first highlight the text in the font style of your choice. Next, click on the ‘Normal text’ option in the toolbar, then hover over the ‘Normal text’ option. Choose the ‘Update normal text to match’ option from the menu.
Conclusion
That brings us to the end of this article! Here’s a brief recap of everything we learned.
Google Docs doesn’t allow you to add your own fonts to the website. However, there are two methods of accessing more fonts than the ones on your list (in the toolbar).
The first method is to go to ‘More fonts’. Then, you can filter the fonts based on various criteria like typography. You can then sort the search results based on options like popularity.
The second method of doing this is by installing an add-on called Extensis Fonts. Once you install it, you can filter and sort the fonts from the panel on the right. This is similar to the previous method.
We hope you found this article useful!
But how do I download a font on my computer to Google Docs?
yes i want to know that too
you can click the plus in google drive then select the document
no i think he want to use the font as the font for his doc not have it just stored on google drive
Google docs doesn’t have Extensis Fonts as an option for an add on. Now what
You go to Google workspace. Its on there
So basically if I downloaded a font from the internet, I can’t use it with my google docs? Well that sucks.
Yeah apparently T_T
Omg I literally downloaded it but wheres the show button bruh it only shows me a blank tab screen BRUH!
If anyone needs help finding Extensis, It’s not on the Chrome store, It’s on Google Workspace. Here’s a link, and by the way it will ask for permission to do stuff https://workspace.google.com/marketplace/app/extensis_fonts/568288816452
I think that one way to make google docs better is to add a font maker, so you can make your own fonts.