

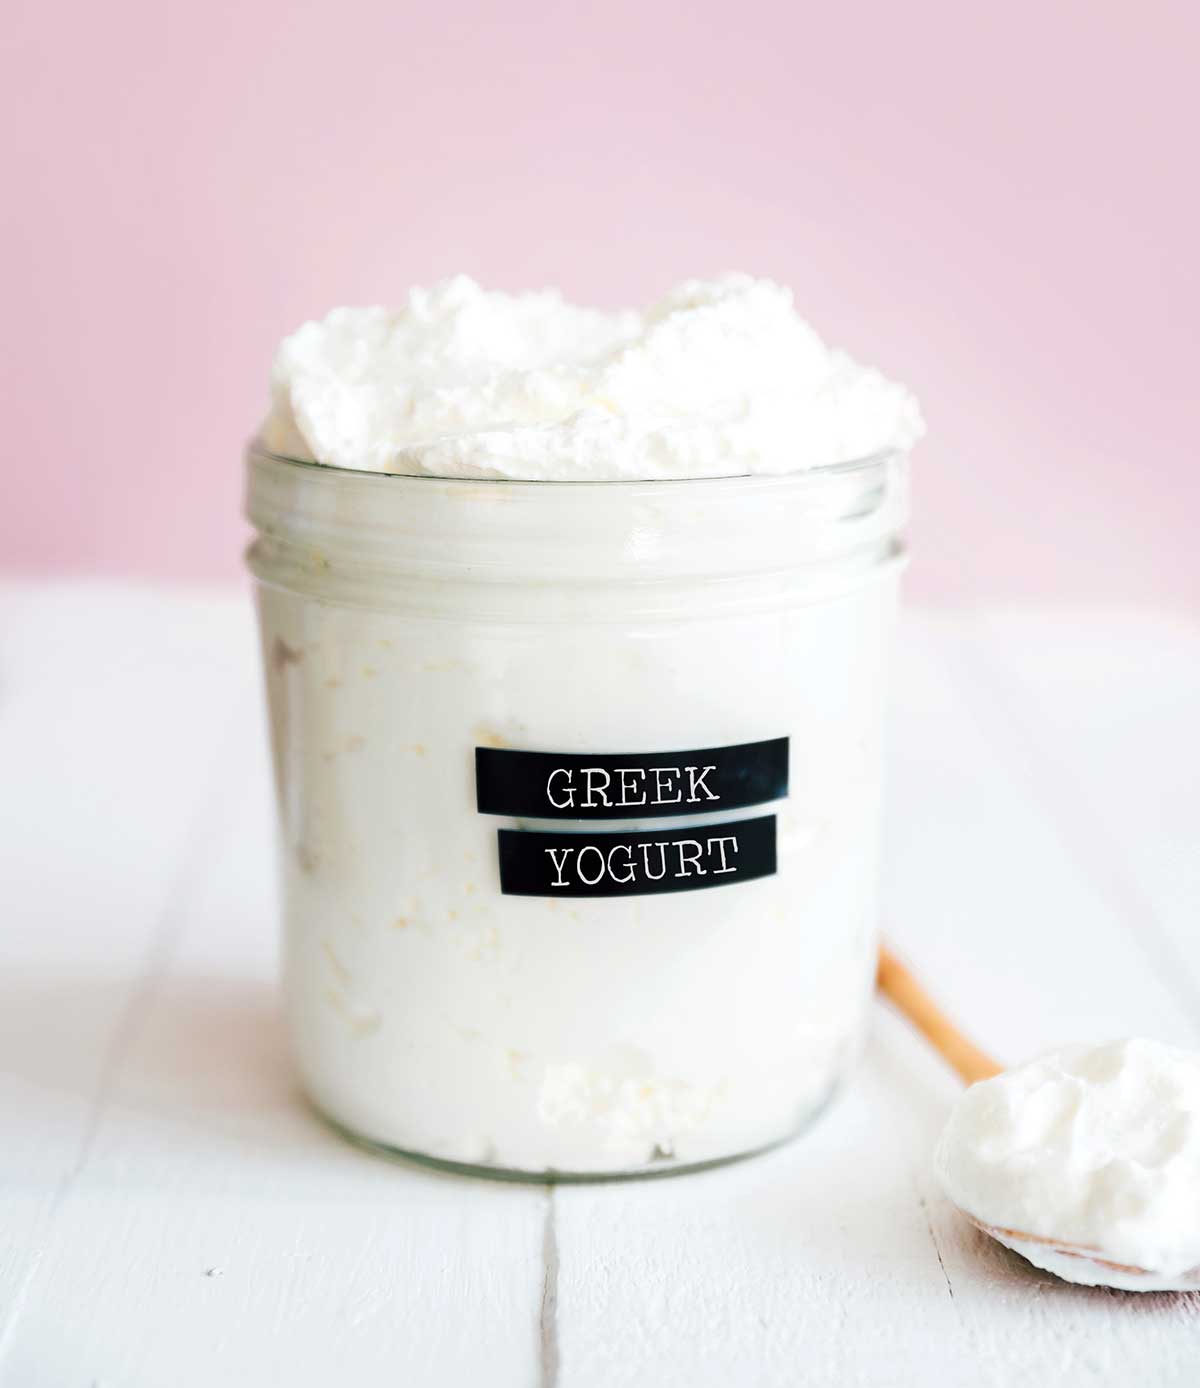
The simple guide on how to make healthy homemade Greek yogurt (with just two simple ingredients)! Learn how to make delicious and creamy Greek yogurt with this easy recipe. With just a few simple ingredients and some basic equipment, you can enjoy homemade Greek yogurt that is healthier and more flavorful than store-bought versions.
What is Yogurt?
Well milk is made up of casein and whey. Casein is what curdles and is used to make cheese and yogurt, while whey is the watery substance left when the milk curdles.
So what is Greek yogurt? Greek yogurt is essentially the same as regular yogurt with the addition of one critical step – straining! At the very end, the yogurt is strained to remove the excess watery whey, creating a thicker, more protein-dense product. So while we call this variation of yogurt “Greek yogurt” in the U.S., you may see it called “strained yogurt” in other areas of the world.

Homemade Yogurt Ingredients
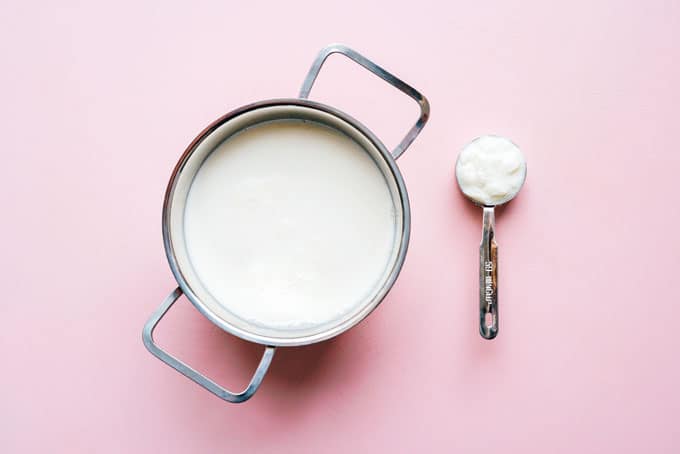
Yogurt is a fermentation (just like kefir, kombucha, and kimchi), meaning it’s created by adding some bacteria (yogurt) to a sugar-containing substance (milk) and letting the bacteria eat up the sugar. So to make yogurt at home, you’ll just need 2 ingredients:
- Yogurt: Make sure to use a good quality yogurt that has “live” or “active” cultures.
- Milk: Whole fat milk produces the best texture for homemade yogurt.
The result of fermentation is always acid, gas, or alcohol. Fermentation of milk gives us acid, making for the distinctively tart flavor of yogurt!
How to make Greek Yogurt
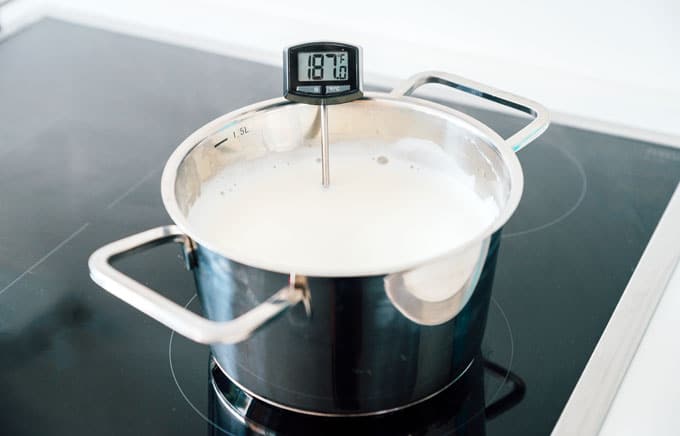
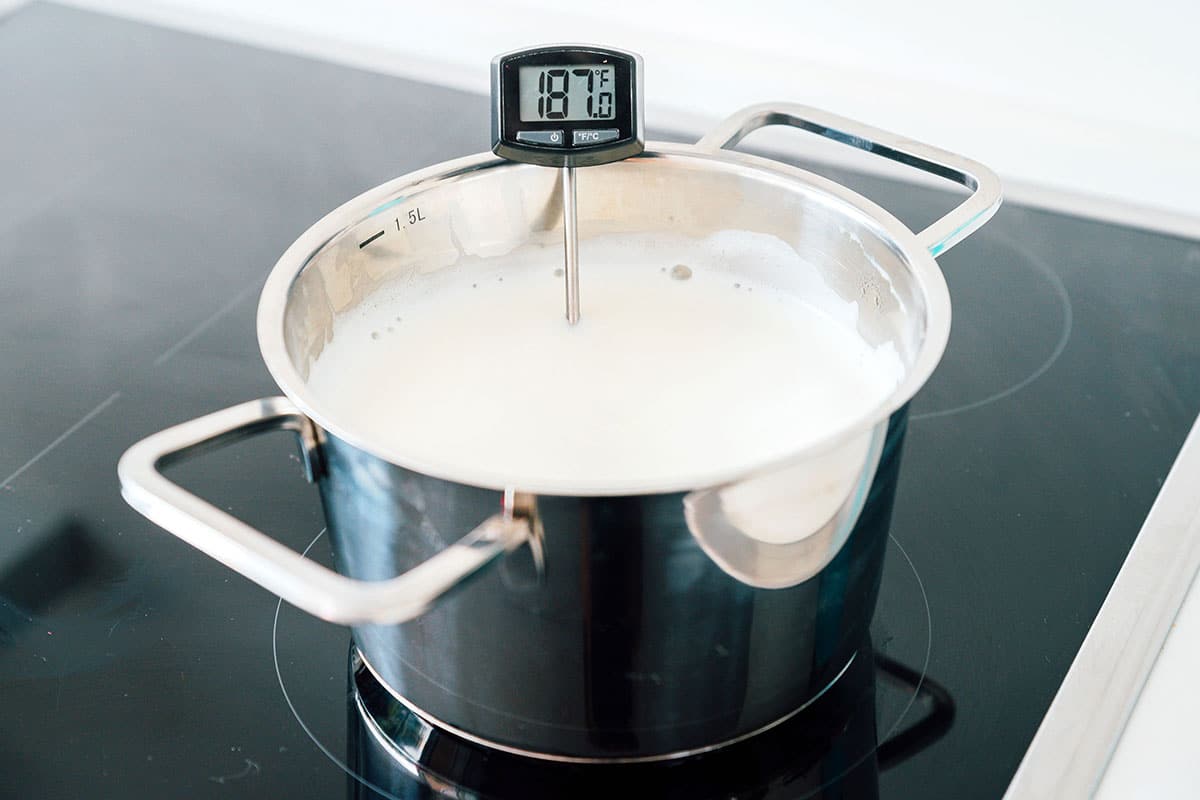
Step 1: Heat Milk
Heat milk to 185 degrees F (85 degrees C). This is important for creating a thick, nicely textured yogurt.
Step 2: Cool Milk
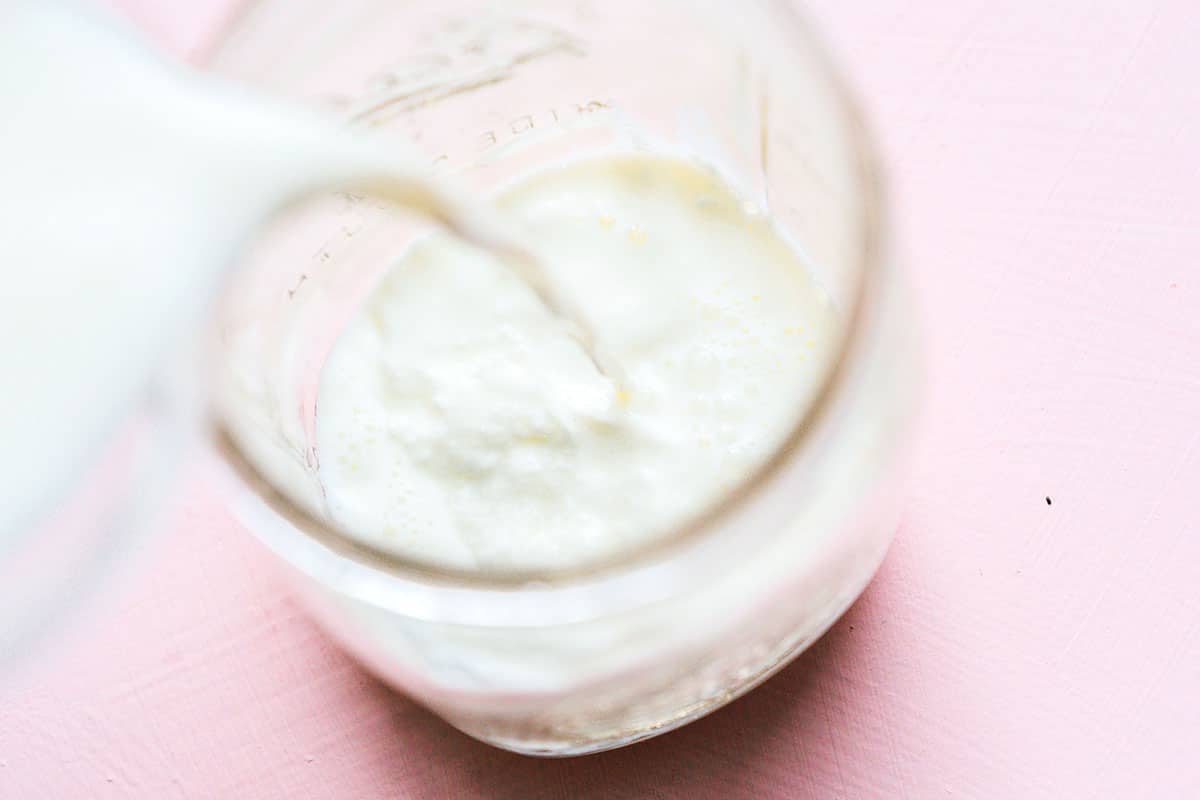
Cool milk back down to lukewarm (about 110 degrees F, 43 degrees C), then add 1/2 cup of the warm milk into the yogurt. (Ensuring the milk is cooled down will prevent you from killing the live cultures in the yogurt.) Whisk the yogurt and milk together, then add the rest of the milk and mix well.

Step 3: Let Sit
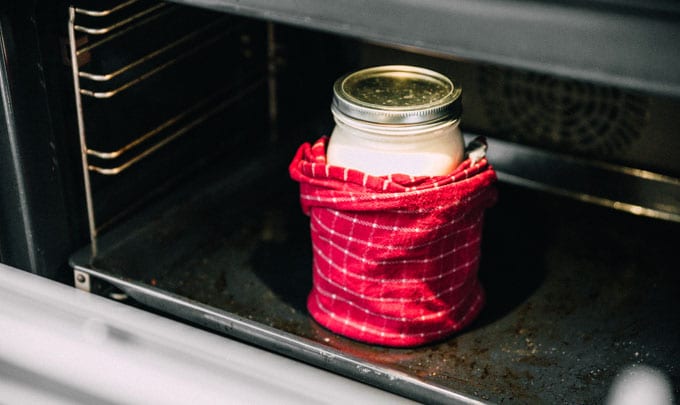
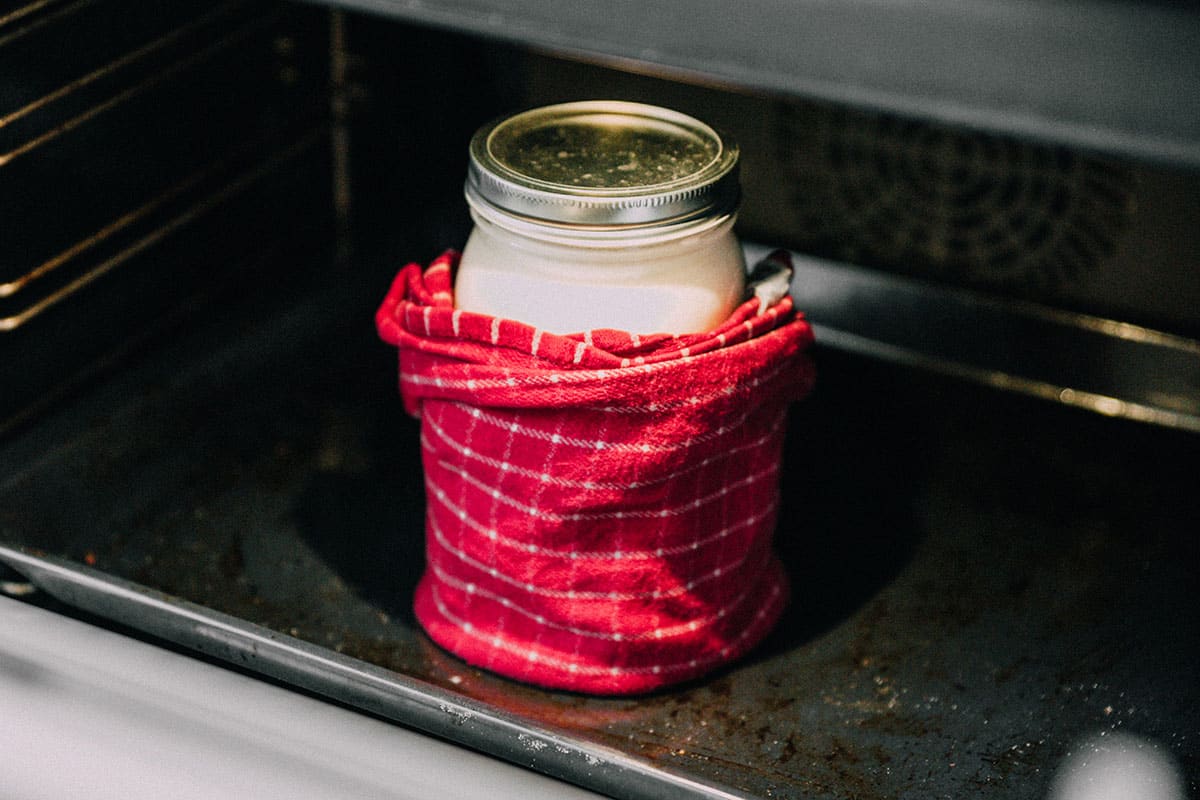
Place your mixture somewhere warm and let sit for 4 to 8 hours, or until yogurt is thick and tangy. My favorite method for making yogurt is to wrap the jar in a warm, moist towel, then setting it in the oven with the oven light on. The light will provide enough heat to ferment the yogurt!
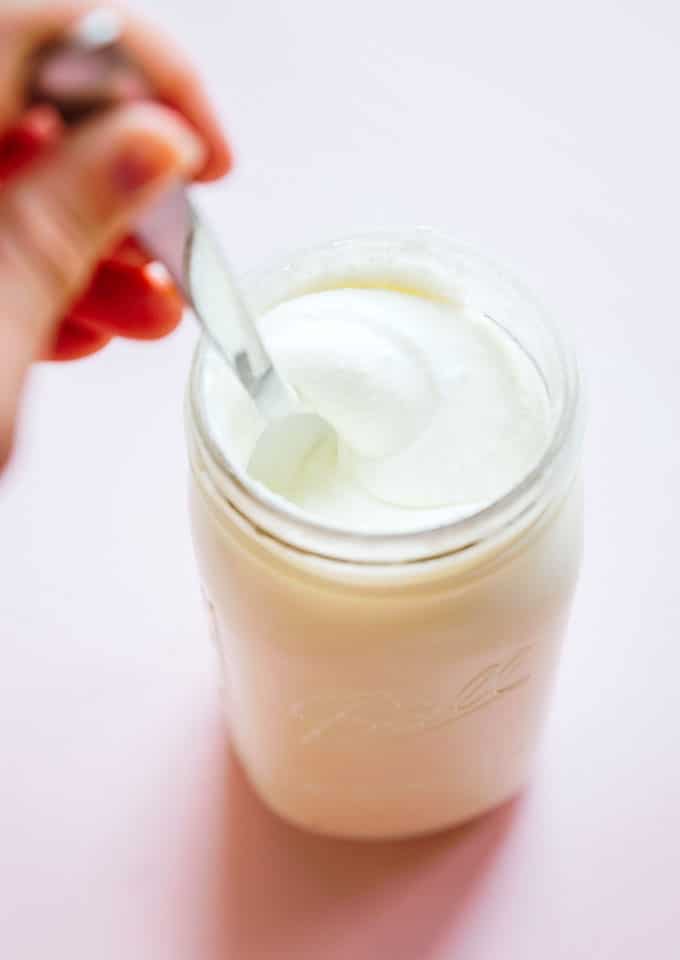
After sitting in a warm environment for a few hours, your yogurt is ready to eat! If you want to turn this plain yogurt into Greek yogurt, we’ll take it one step further and strain it.
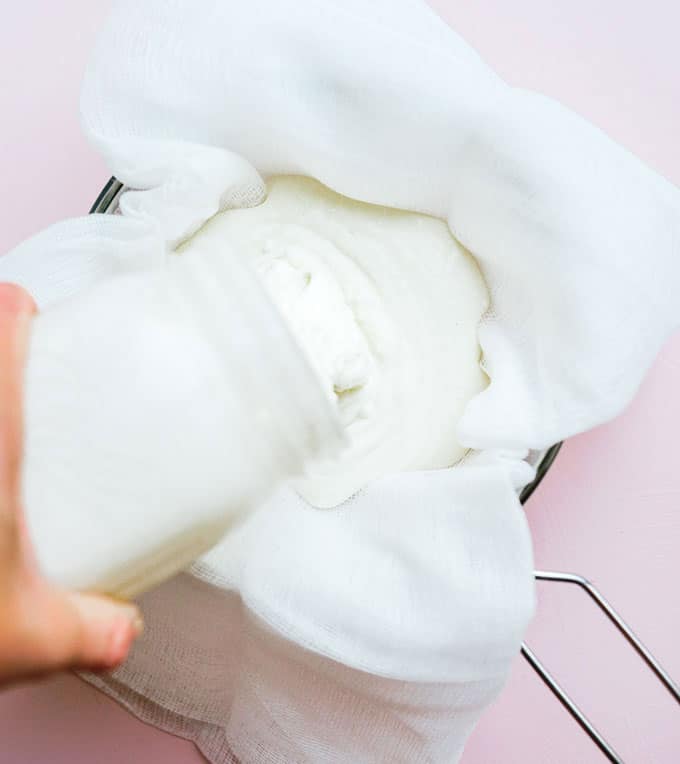
Step 4: Strain
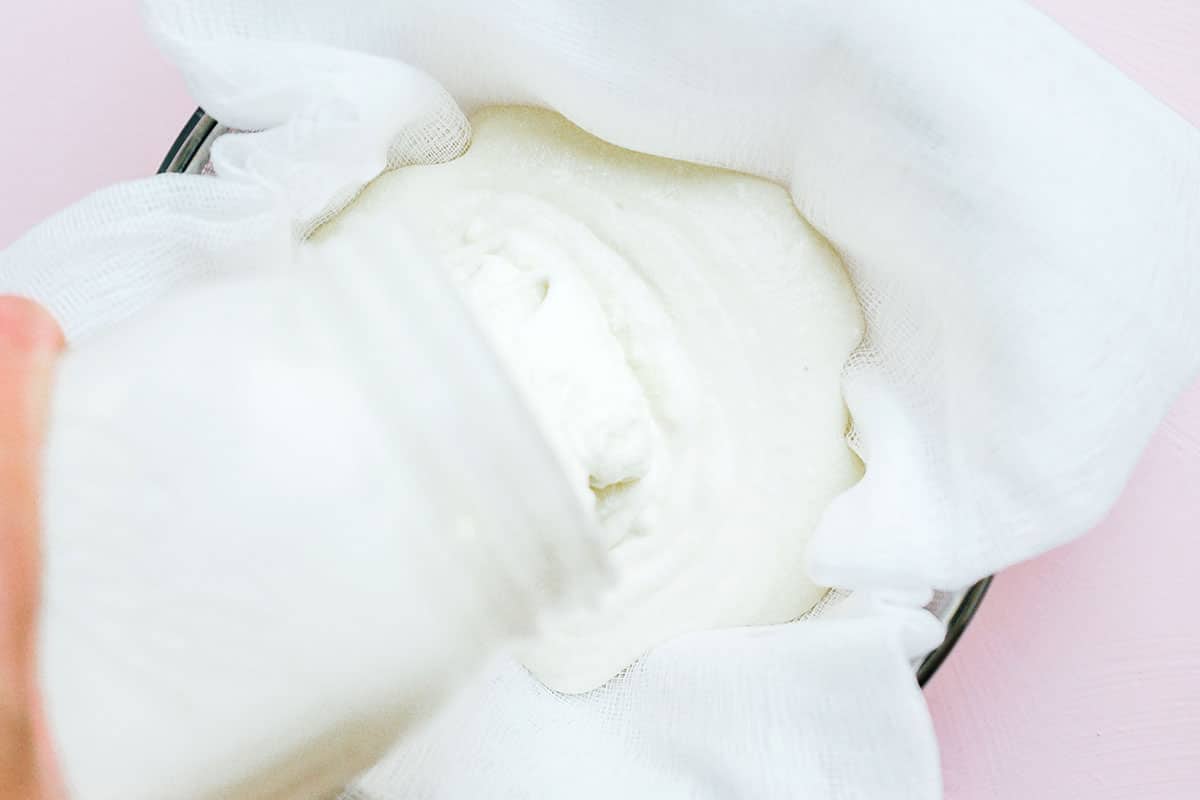
Set a mesh sieve lined with cheesecloth (or strong paper towels) over a large bowl. Pour in yogurt and place in the fridge. Check every few hours until yogurt reaches your desired thickness.
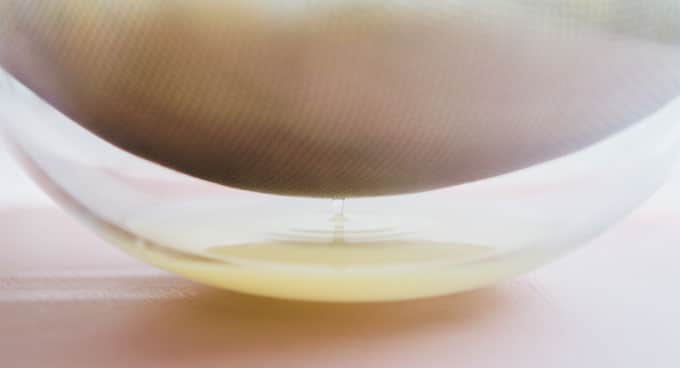
The liquid that is drained out of the yogurt is whey! This is a great protein and works well in smoothies and soups.
Transfer your freshly made Greek yogurt to an airtight container when it has reached your desired thickness level!

Greek Yogurt FAQs
Is Greek yogurt healthy? Yes! Greek yogurt is more protein-packed than regular yogurt because we skim out excess moisture.
Can you make Greek yogurt with skim milk? It’s best to use milk with some fat in it to give your homemade yogurt a nice texture. I’d recommend doing a blend of skim and 2% if you are going to try for a low fat homemade yogurt.
How do you make non-dairy Greek yogurt? Making non-dairy yogurt at home is another ball game and requires a different way to introduce live bacteria (in the form of probiotic supplements!) This recipe from Minimalist Baker is great for the non-dairy yogurt seekers.
Is it cheaper to make your own Greek yogurt? Yes! According to Project Meal Plan, homemade Greek yogurt is almost 15 cents cheaper per ounce than store bought.
How did yogurt originate? Yogurt came to be right around the time when humans started drinking animal milk, which was just about the time when we learned to domesticate animals, so 8000 years ago. Back then, milk was stored in (brace yourself) animal stomachs. The natural enzymes and bacteria in the stomach would cause the milk to curdle and ferment, producing yogurt and cheese! Yogurt has made it’s way into most nooks and crannies of the world, but it didn’t become popular in the U.S. until the 1950s and 60s, when health foods began to gain some traction.
Best Sauce…Ever?
Use your freshly made Greek yogurt to make this easy Spinach Artichoke Dip, Healthy French Onion Dip, or Fruit & Yogurt Popsicles!
But my FAVORITE way to use Greek yogurt? In this quick and easy tzatziki sauce! Tzatziki is refreshing and creamy, and the perfect way to use your homemade Greek yogurt.
Be sure to try our other fermentation projects, like kimchi, kefir, tepache, sauerkraut, and kombucha!

How to Make Greek Yogurt (No Special Equipment)
Equipment
- Medium pot with lid, aim for the heaviest/thickest pot you have
- Kitchen thermometer
- Quart-sized jar or bowl
- Mesh sieve
- Cheesecloth or thin dishcloth, coffee filters, paper towels etc. placed inside a mesh strainer
Ingredients
- 4 cups whole milk, 960 mL
- ¼ cup plain store bought yogurt, ensure the container says “live” or “active” cultures, 60 g
Instructions
- Heat Milk: Place milk in a medium pot and heat to 185-200°F (85-93°C), stirring frequently to preventing a skin from forming.

- Cool Bath: Transfer the pot with milk to an ice bath (I filled my sink with ice and water), to cool milk to 100-110°F (37-43°C).
- Temper: Pour ½ cup of the warm milk into a separate clean jar or bowl. Mix in plain yogurt, stirring until yogurt is well blended. Add remaining milk and mix well.
- Let Sit: Cover jar or bowl with a lid, wrap in a moist, warm towel to keep in heat, and place in oven. Turn on oven light to keep warm, and let the bacteria do its yogurt making magic for 4 to 8 hours (or overnight).*
- Strain: You can eat the yogurt like this, or strain it to make Greek yogurt. To strain, line a mesh sieve with cheesecloth (or paper towels, coffee filters etc), and pour yogurt in. Place over a large bowl and let strain in the fridge for a few hours (or overnight), until it’s reach a consistency you like.
Notes
Nutrition
Nutrition information calculated by Sarah Bond, degreed nutritionist.


I made it and was stunned with disbelief that it actually worked! I have a tub of creamy Greek yogurt and a bowl of whey! Woo-hoo!
I wrapped my jar of yogurt with two warmed up gel packs that came with my Pyrex Portable pans and held them in place with rubberbands. I sat that in the oven for 8 hours to incubate. Halfway through I accidentally turned off the oven light, but I also did a quick warming of my top oven (it’s split…upper and lower) to keep some waffles warm as I continued making them, and that seemed to do the trick of keeping the air around the yogurt jar warm without getting too hot. When I pulled out the jar after 8 hours, there was a very thin layer of water (whey?) on top of the yogurt. Not runny or liquid at all. I couldn’t believe it. I made yogurt!!
YAY!! So happy you loved the process!! Isn’t it so fun? 😀
Could you please clarify how many calories are in 1 cup of your homemade yogurt? I see you are using whole milk. I also assume that the calories you show in your nutritional information are for yogurt before you strain? (I show full fat yogurt being around 220?)
Hi Susan! I based the nutritional values off of store bought full fat greek yogurt, which is an approximation (because home fermentations are always a little different!)
Happy to learn new thing..
Thank you for the simple and clear instructions! How much milk versus yogurt do you use in this recipe? I couldn’t find those measurements
4 cups whole milk and ¼ cup plain store bought yogurt 🙂
Can you remake this again with the leftovers of your previous batch of homemade yogurt
Yes! 😀