Quick Links
Chromebooks include only a small amount of internal storage. However, they support external storage devices like USB flash drives, external hard drives, and microSD cards. Use an external storage device to expand your Chromebook's storage or transfer files between Chromebooks and other computers, including Windows PCs and Macs.
Google includes support for a variety of file systems, and whatever you connect should just work--mostly. You can even connect an external disc drive via USB to access files stored on DVDs and CDs. Check your Chromebook to see what external storage ports it offers.
Supported File Systems
Chrome OS supports a variety of file systems on removable devices. It supports the cross-platform FAT16, FAT32, and exFAT file systems. It also supports the Windows NTFS file system with full read and write support.
It can also read the Mac HFS+ file system, but it can't write to it. Chromebooks support the MTP protocol for digital cameras and music players, and for external disc drives that connect via USB, Chromebooks can read the ISO9660 and UDF file systems on discs.
You're probably best off formatting your external drive as exFAT. In fact, if you format a USB drive or SD card from within Chrome OS, it will automatically format the drive as exFAT without even asking which file system you want to use.
How to Access a Drive and Work With Files
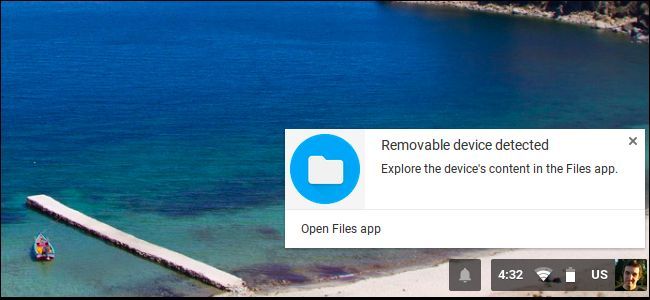
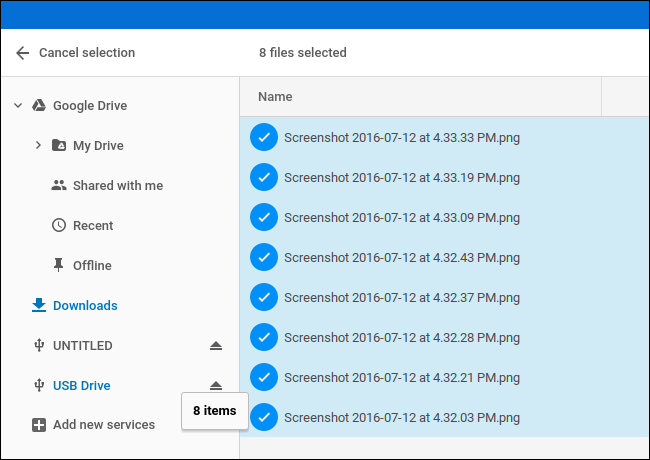
To use an external storage device on Chrome OS, just connect it to your Chromebook and open the Files app. The drive will appear in the left pane of the files app, below Google Drive and the Downloads folder, which contains all the files stored locally on your Chromebook.
To move files to the drive, you can either drag and drop them from the Downloads folder or Google Drive, or right-click them, select "Copy" and then right click in the drive and select "Paste". When you use the "Save As" dialog to download a file in Chrome OS, you can choose to download it directly to an external drive.
Common keyboard shortcuts like Ctrl+A to select all files, Ctrl+C to copy files, Ctrl+X to cut files, and Ctrl+V to paste files also work here. Right-click inside the drive and select "New Folder"--or press Ctrl+E--to create a new folder on the drive.
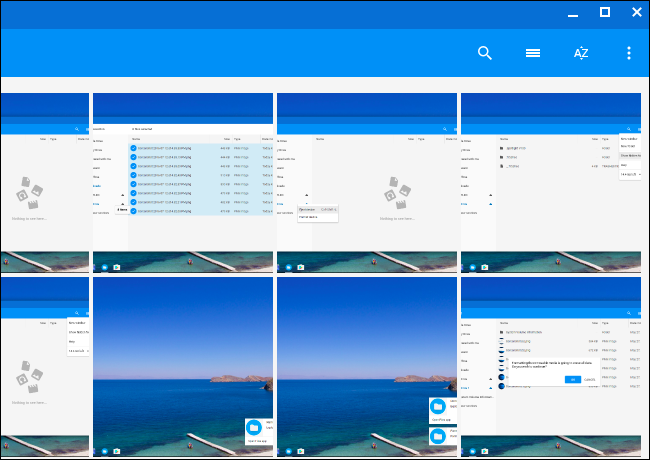
The options at the top right corner of the window allow you to change the view, so you can view a grid of thumbnail previews instead of a list of files and sort the files by file name, size, type, or date modified. There's also a search button for quickly finding files.
Many files, including videos, music files, images, PDFs, and other documents can be opened directly from the external drive. Just store them on the drive and double-click them.
How to See How Much Storage Space is Available
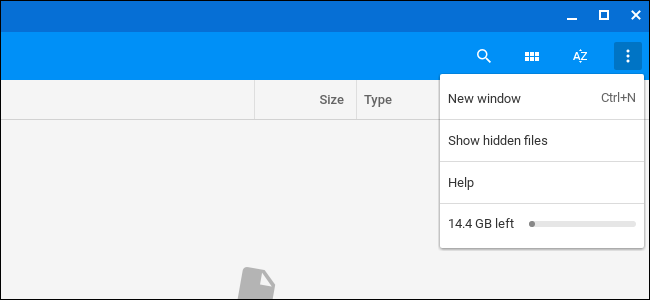
To see how much storage space is available on your external drive, select it in the left pane and then click the menu button at the top right corner of the Files window. You'll see an indication of how much space is left. Delete files from the drive to make more room. You can also use this trick to see how much space is available on your Chromebook. Just select the "Downloads" folder first and then click the menu button. (Though this experimental feature will give you more information.)
There's also an option to view normally hidden files here.
How to Format a Drive
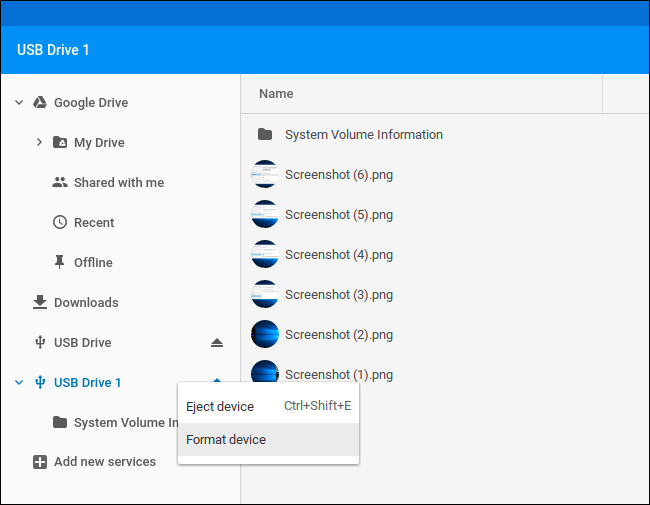
To erase and format the drive, right-click the name of the drive and select "Format Device". Chrome OS will format the drive with the exFAT file system. There's no way to choose a different file system, change the drive's partition layout, or name the drive.
Warning: Formatting a drive will erase the current file system and any files on the drive at the moment.
How to Eject a Drive
When you're done with the drive, be sure to eject it before removing it from your Chromebook. This protects against data loss by ensuring your Chromebook is done writing to the drive before you remove it. It's the same reason you should "safely remove" drives on Windows
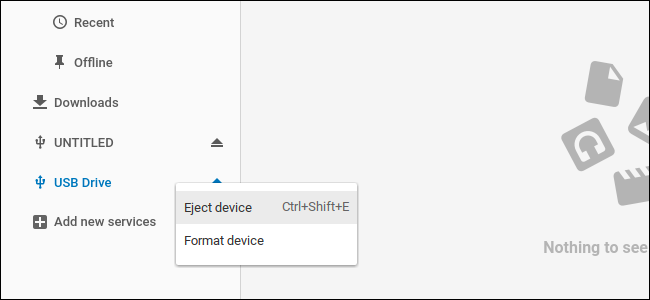
To do so, either click the "Eject" icon to the right of the drive's name in the Files app or right-click the drive and select "Eject Device".
External storage devices work alright on Chrome OS, but you won't find a lot of extra features. For example, there's no way to partition your device or rename it without heading to a Windows, Mac, or Linux computer. And, while you can connect a DVD drive to your Chromebook via a USB cable, you can only access the files on it. There's no way to play copy-protected DVD movies without ripping them first. But if all you need is some extra space, an external drive will do the trick.

