Any business or project could use a handy survey or quiz, which you can easily make with Google Forms. All you need to do is decide what the digital document is about and then compose it in a few steps.
Here’s a detailed guide on how to create a Google Form, from navigating your options to inserting elements. The more you get to know the software, the faster you’ll be able to use it. And it’s a good tool to have in your arsenal.
1. Start a New Form
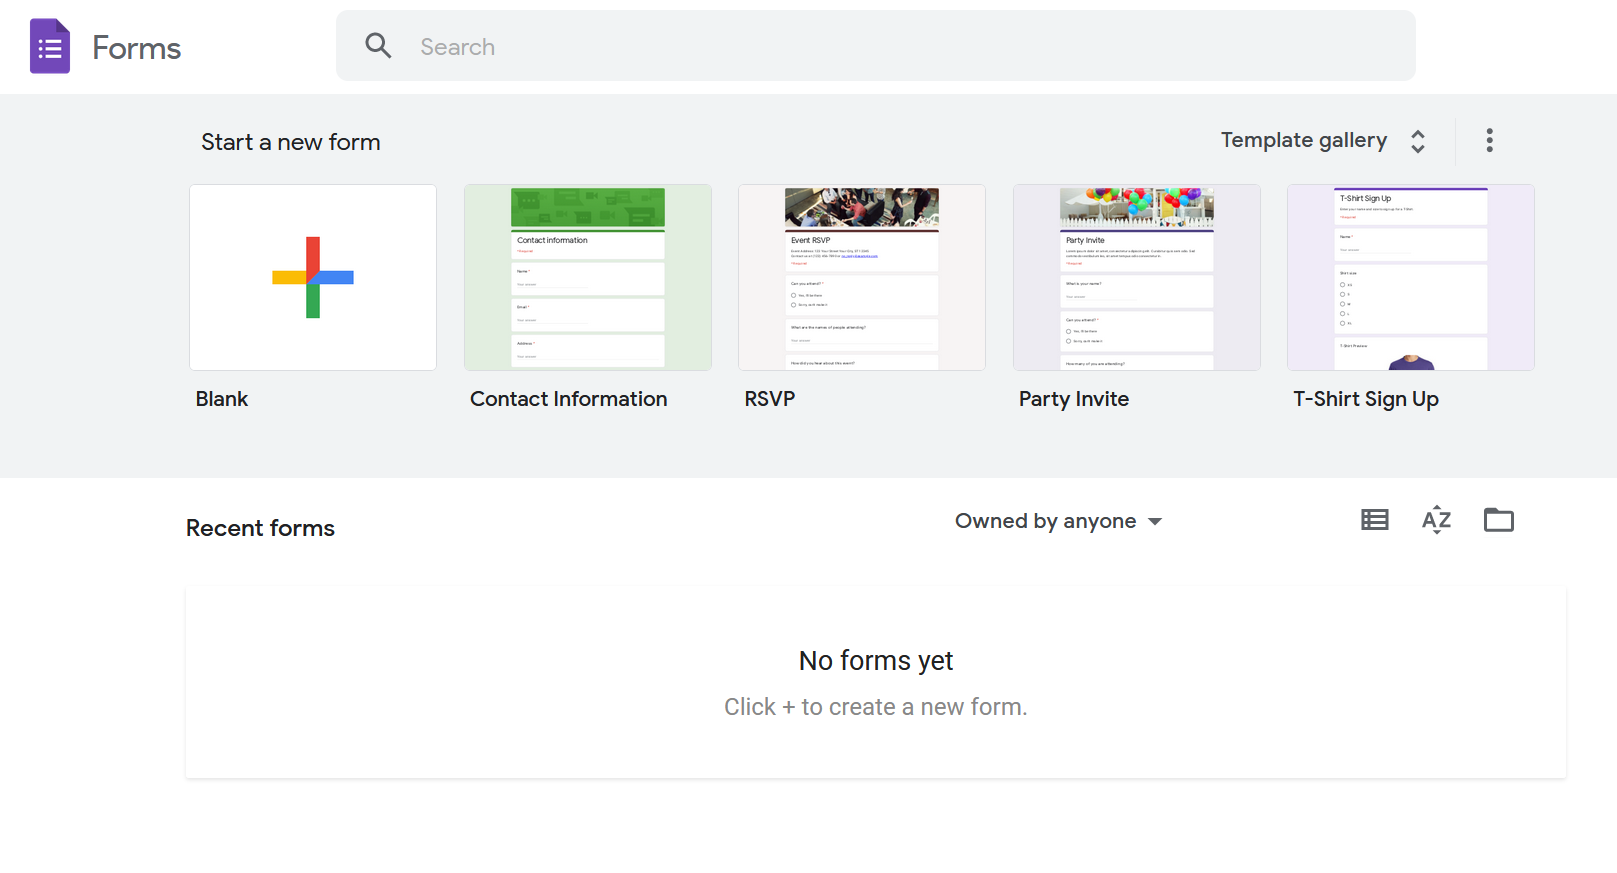
On the main Google Forms page, click on the type of document you want to create. There’s a huge range of premade choices, including RSVP, feedback, order, and contact information forms. You can select any of them and make changes to fit your project.
Alternatively, go for a Blank form. It lets you put your document together from scratch. Getting it just right takes more time and planning, but you’re sure to end up with something unique.
2. Name and Describe Your Google Form
After starting a blank form, the first two details you'll need are the title and description. You can fill them in later, but make sure they’re clear and concise.
If you’re creating a Google questionnaire, for example, you could explain what it’s for and what to keep in mind. When asking for updates from your remote team, you can give further instructions to staff in different departments.
3. Set Up Your Questions
This is where your plan is important. Are you happy with a multiple-choice form, or would you rather recipients express themselves freely? You can ask for short and long answers, checkboxes and lineal scales, file uploads, and more.
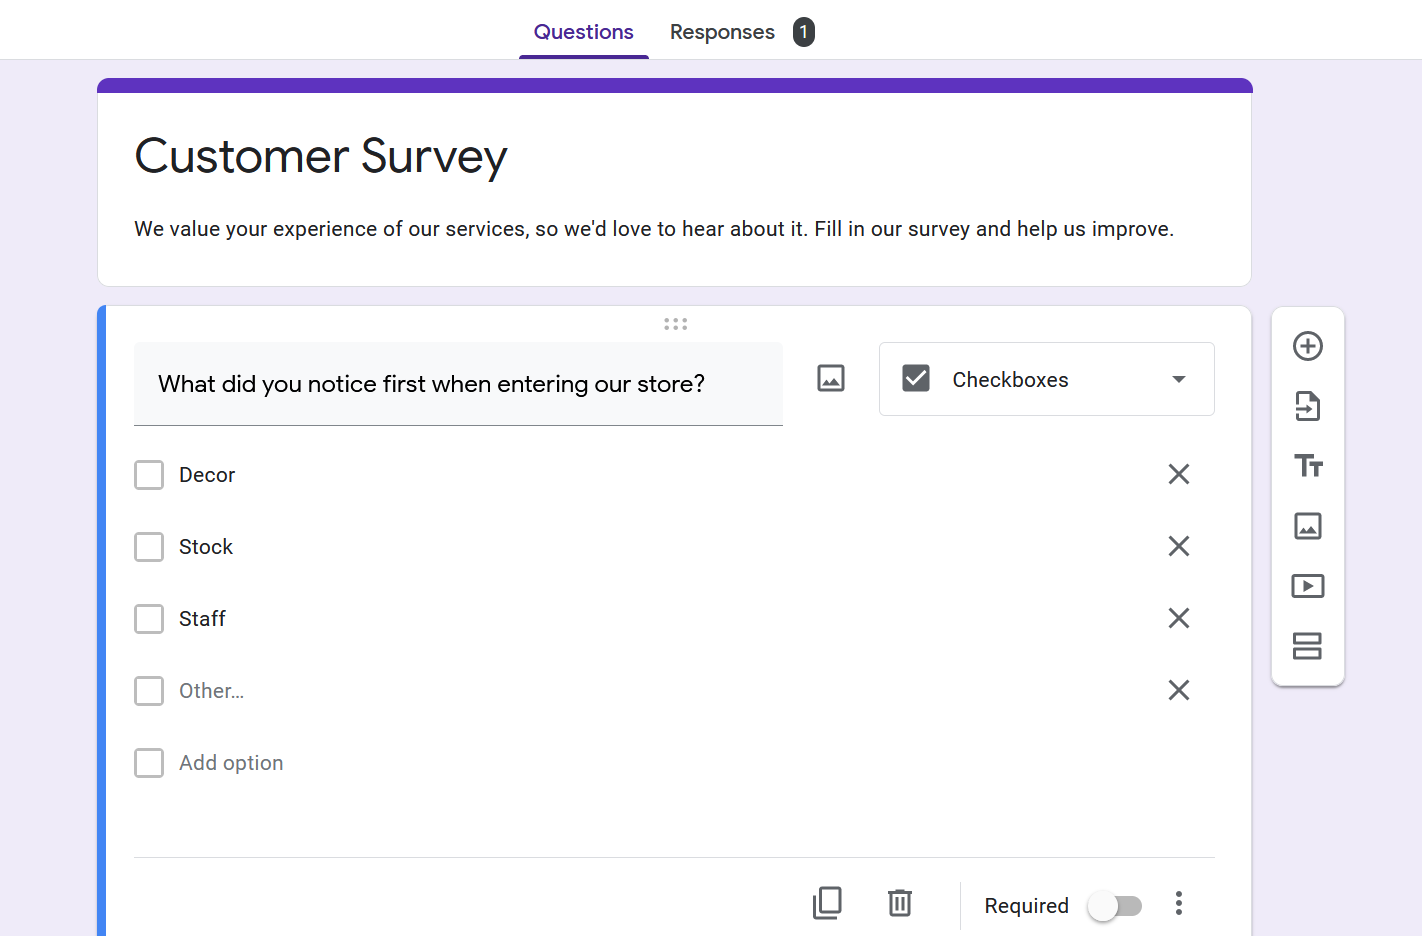
First, type in your question or import it from a previous form. Then, select the drop-down menu beside the question field to choose how recipients should answer it. To add more queries, click the Plus icon from your form’s righthand toolbar.
Remember to keep your form short. People don’t have the time or patience to answer everything on your mind, so either stick to a maximum of 10 questions or specify those you definitely need by activating their Required buttons.
4. Add Multimedia
Images and videos can make your form more attractive. For example, you can beautify a specific question with a picture. To do that, click the Add image icon between the question field and answer menu to see your options.
With your device, camera, URL, Google Drive, and Google Images as available sources, there’s lots of flexibility in this department. By choosing the image icon on your sidebar, you can include photos and infographics between questions as well.
Under that, you’ll also find the Add video icon. It lets you bring in footage via URL or YouTube’s library.
5. Add Titles and Sections
You can break up the form further with two more features available from the sidebar. Firstly, if you have multiple topics to discuss, define them with additional titles and descriptions.
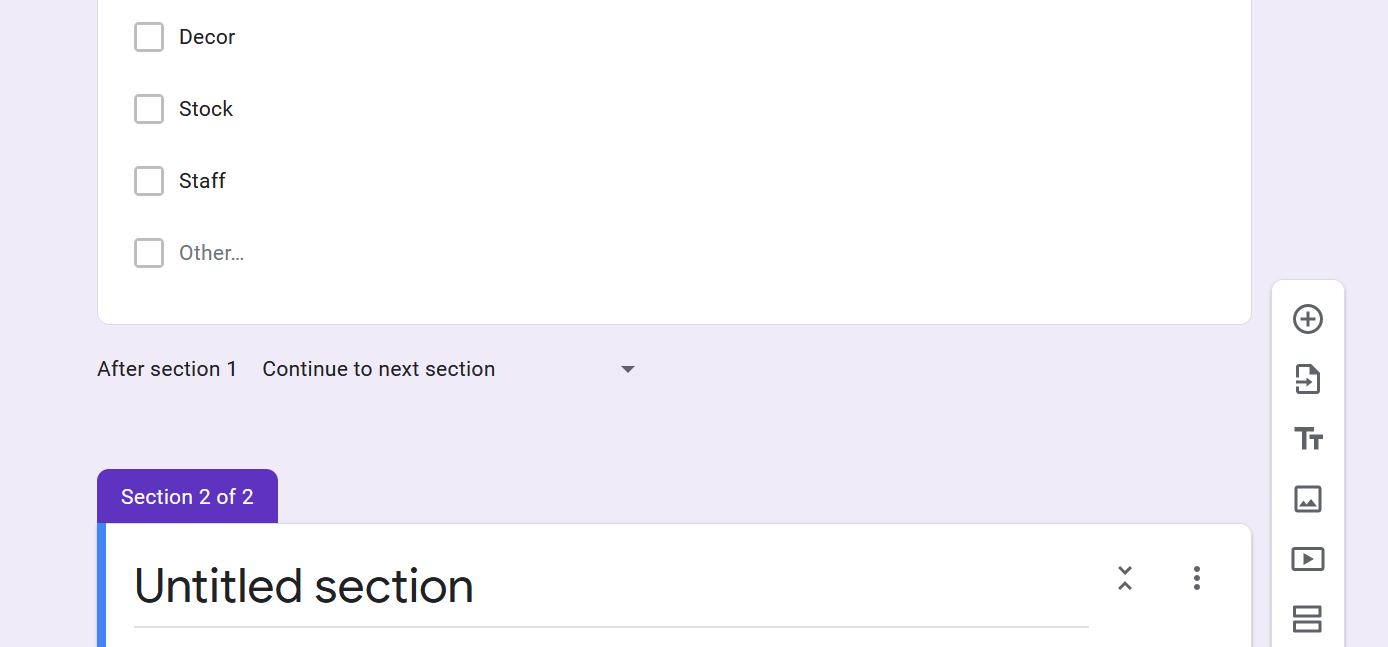
Secondly, consider using sections, especially when planning how to create a long Google form. If you select one of your existing fields and click the Add section icon, that field and anything above it will be classed as Section 1. Section 2 will automatically start after it.
Below each section, you’ll find a drop-down menu, where you can tell users what to do after completing it. They can continue to the next section, jump to another one, or submit the form.
6. Customize Your Theme
There are other tools at your disposal to make your Google form as attractive as possible. At the top of the main page, you’ll find the Customize theme icon. Click on it, and a new sidebar will offer to add a header image and change the document’s colors and font.
Depending on the image you choose, the editor will automatically suggest matching hues for the form and its background, but only the first element lets you pick a custom color. The fonts are also restricted to four options. Use everything wisely, however, and you can produce original forms every time.
7. Set Up Your Response Options
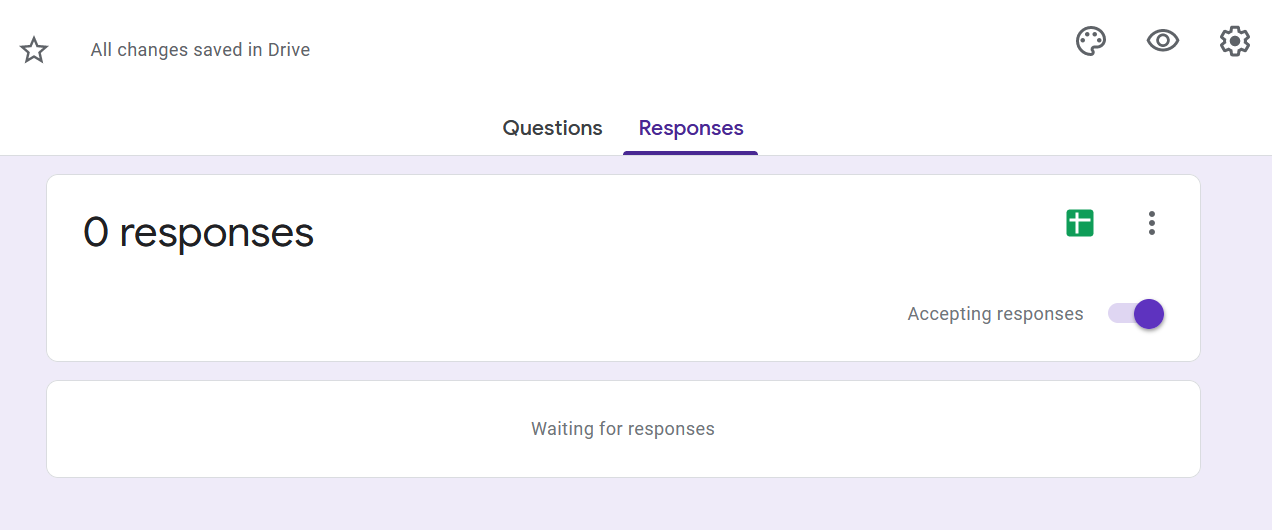
It’s as easy to complete and return Google Forms as it is to make them. Even better, the system can gather them in one place, as long as the Accepting responses toggle is on. Make sure it is before sending out the document.
You also have the option of integrating Google Forms with Sheets. Whether you use a new or existing spreadsheet, it’ll turn your form’s questions into columns to display recipients’ responses as they’re collected.
There are additional features to play with through the More icon featuring three dots. You can get email alerts when responses come on. You can download and print them, as well as unlink them from their spreadsheets, for example.
8. Adjust Your Settings
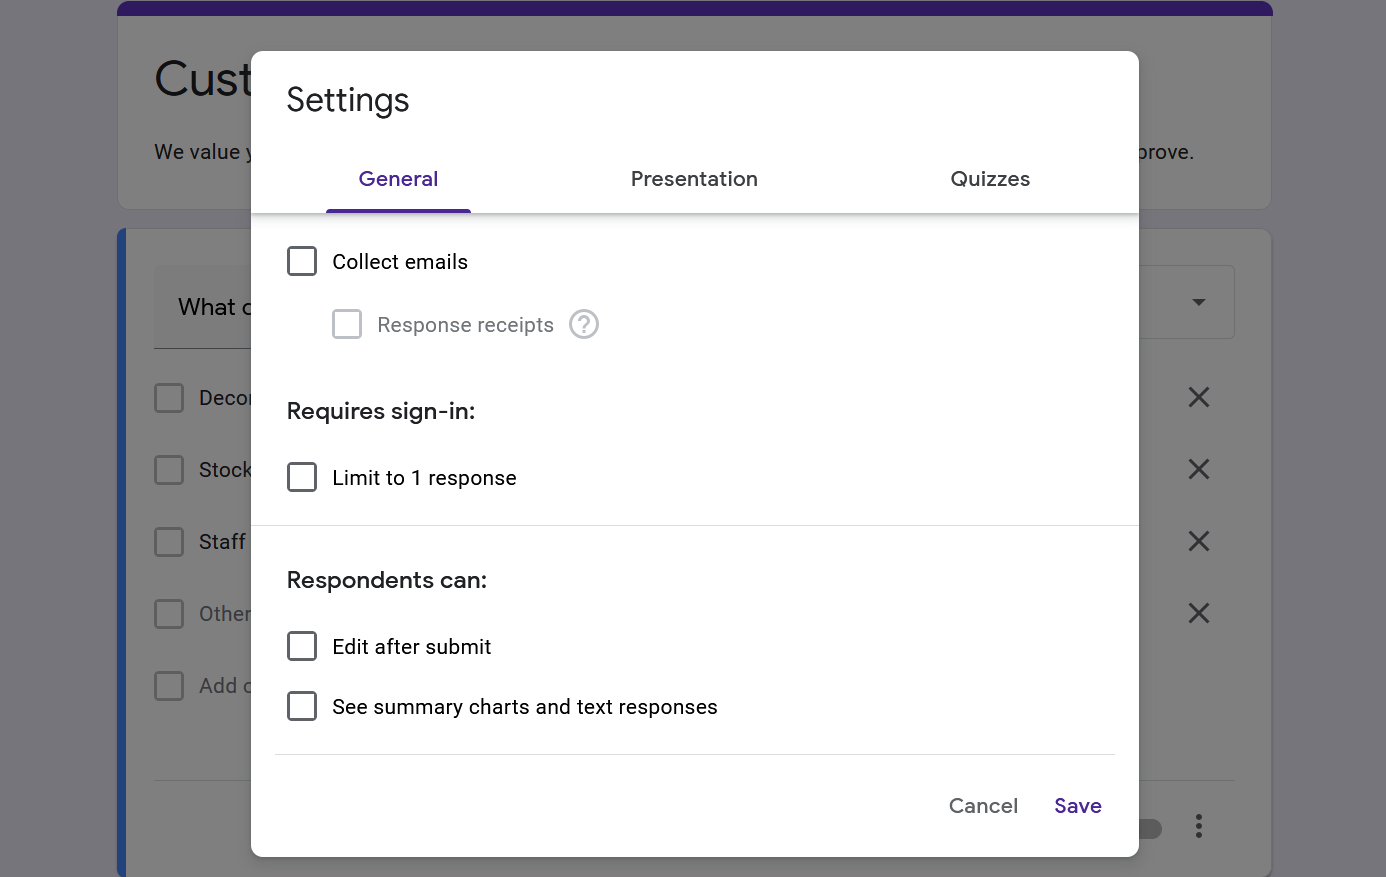
Once you figure out how to create a Google Doc form just the way you like it, you should fine-tune its performance. Click the Settings icon at the top of the page, and you’ll get a window with three tabs: general, presentation, and quizzes.
You can also select from several other options, such as collecting respondents' emails or allowing them to edit their submission. Additionally, you can display a progress bar and a confirmation message.
If you want the form to be a quiz, verify it here, and each question will let you assign it points and feedback. People taking the test can see their marks immediately or after you’ve reviewed their responses. You can also reveal point values and answers, both right and wrong.
9. Preview Your Form
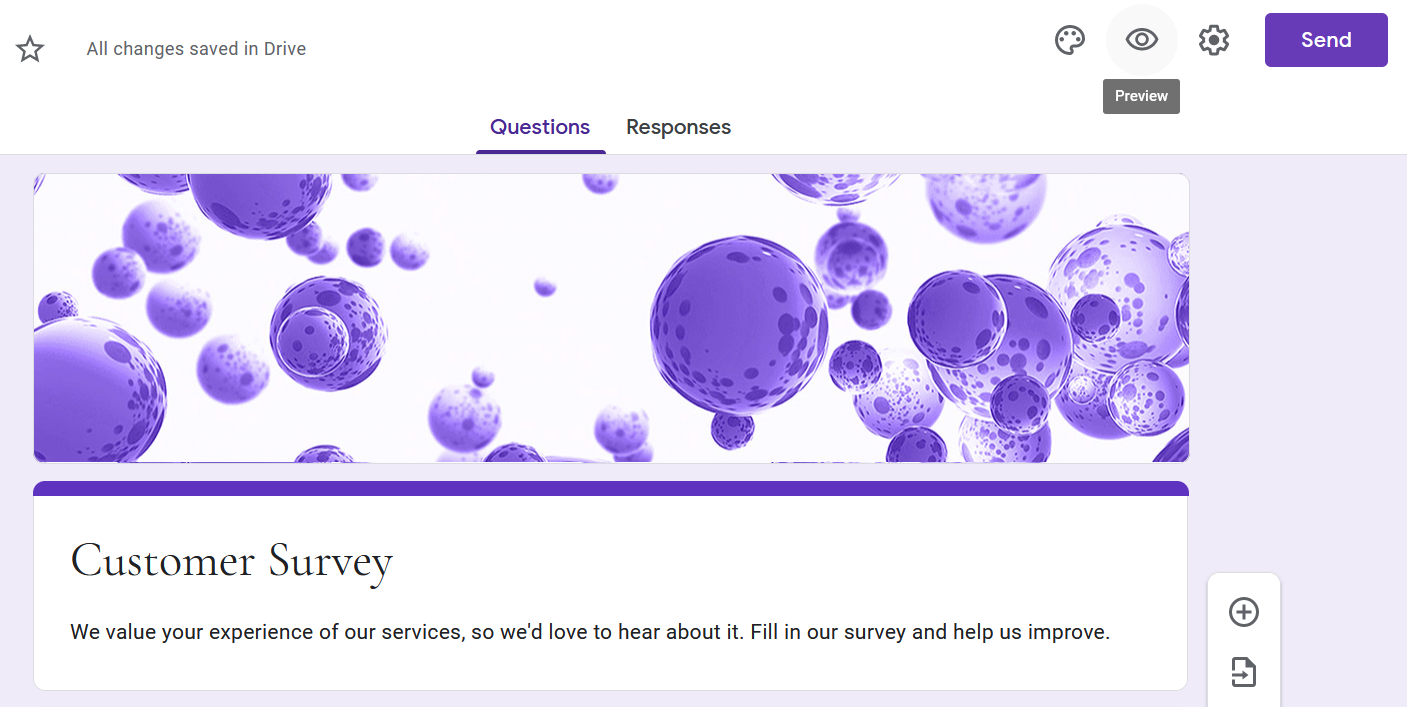
The final and essential step for Google Forms designers is to look at the document as a recipient would. Just click the Preview icon, and your browser will open a new tab, presenting you with the finalized form.
This is your chance to inspect how everything looks and works. Take your own Google questionnaire or quiz to make sure the questions, point values, and overall layout make sense. Go ahead and submit the preview form to see if that process functions well too.
10. Send Your Form
When it’s time to distribute the form, click the Send button. You can share it via email, link, embedded HTML, Facebook, and Twitter. Choose the method you want and fill in the necessary fields before sending the document.
While you can include your collaborators here, it’s something you can do much sooner. You’ll find the option in the menu that drops down from the More icon on the main page.
Enhance Your Workflow With Google Forms
Learning how to create a Google form is a matter of exploring all your available tools. Try out different templates, themes, settings, and so on. Then, you’ll have a pretty good idea of what you can do with all kinds of forms.
From there, find out how to integrate Google Forms with other platforms you like to use. WordPress sites and social media profiles, for example, can benefit a lot from professional polls, quizzes, and questionnaires.


