Learning to code and web development can be a daunting process when you don't know where to start. And while Linux is generally considered better for coding than Windows, you don't need to change your operating system to do most programming. You just need to have the correct tools.
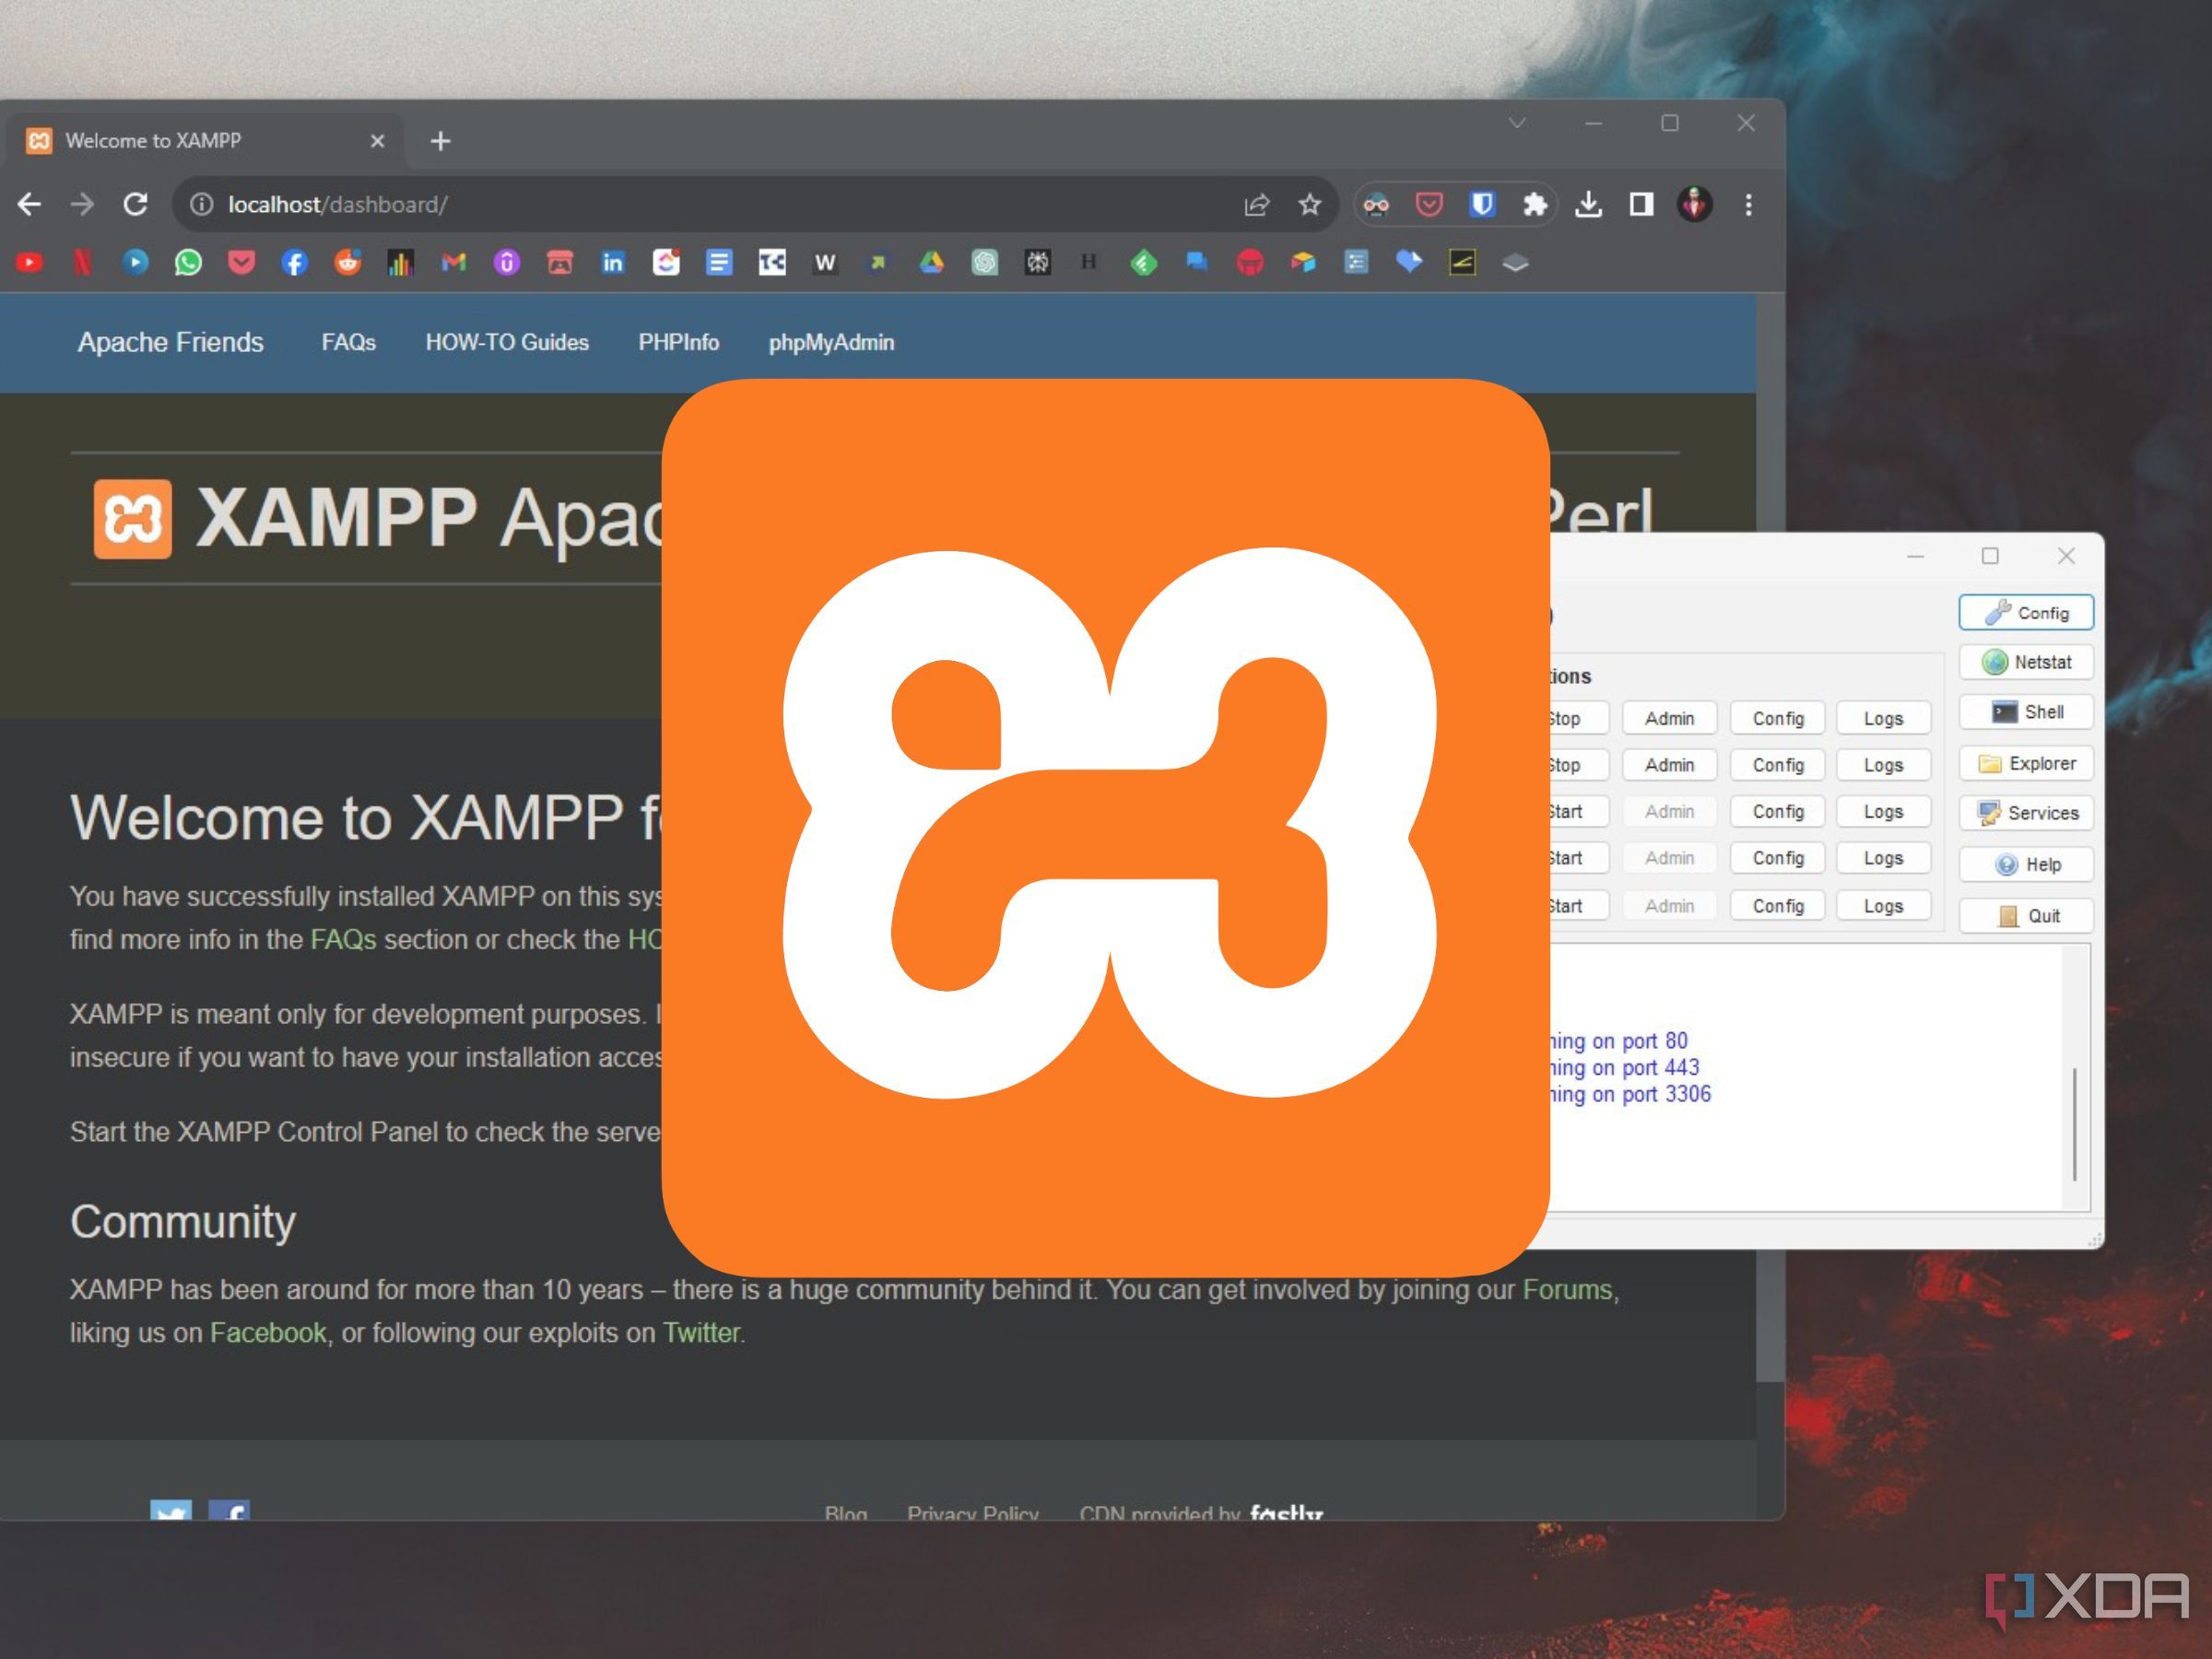
One of the most important tools you can use is XAMPP, a cross-platform, open-source web server that’s free to use. You’ll want to use XAMPP as it’s easier than installing or configuring software like MariaDB on your own. It bundles MariaDB, MySQL, interpreters for PHP and Perl, and the Apache HTTP Server and creates a local server environment on your machine.
Fortunately, XAMPP is easy to configure and works well on most modern laptops. If you’re on Windows 11 or Windows 10, the setup process is relatively easy. But if you’re unsure of where to begin, we’ve compiled a few step-by-step instructions to help you get started.
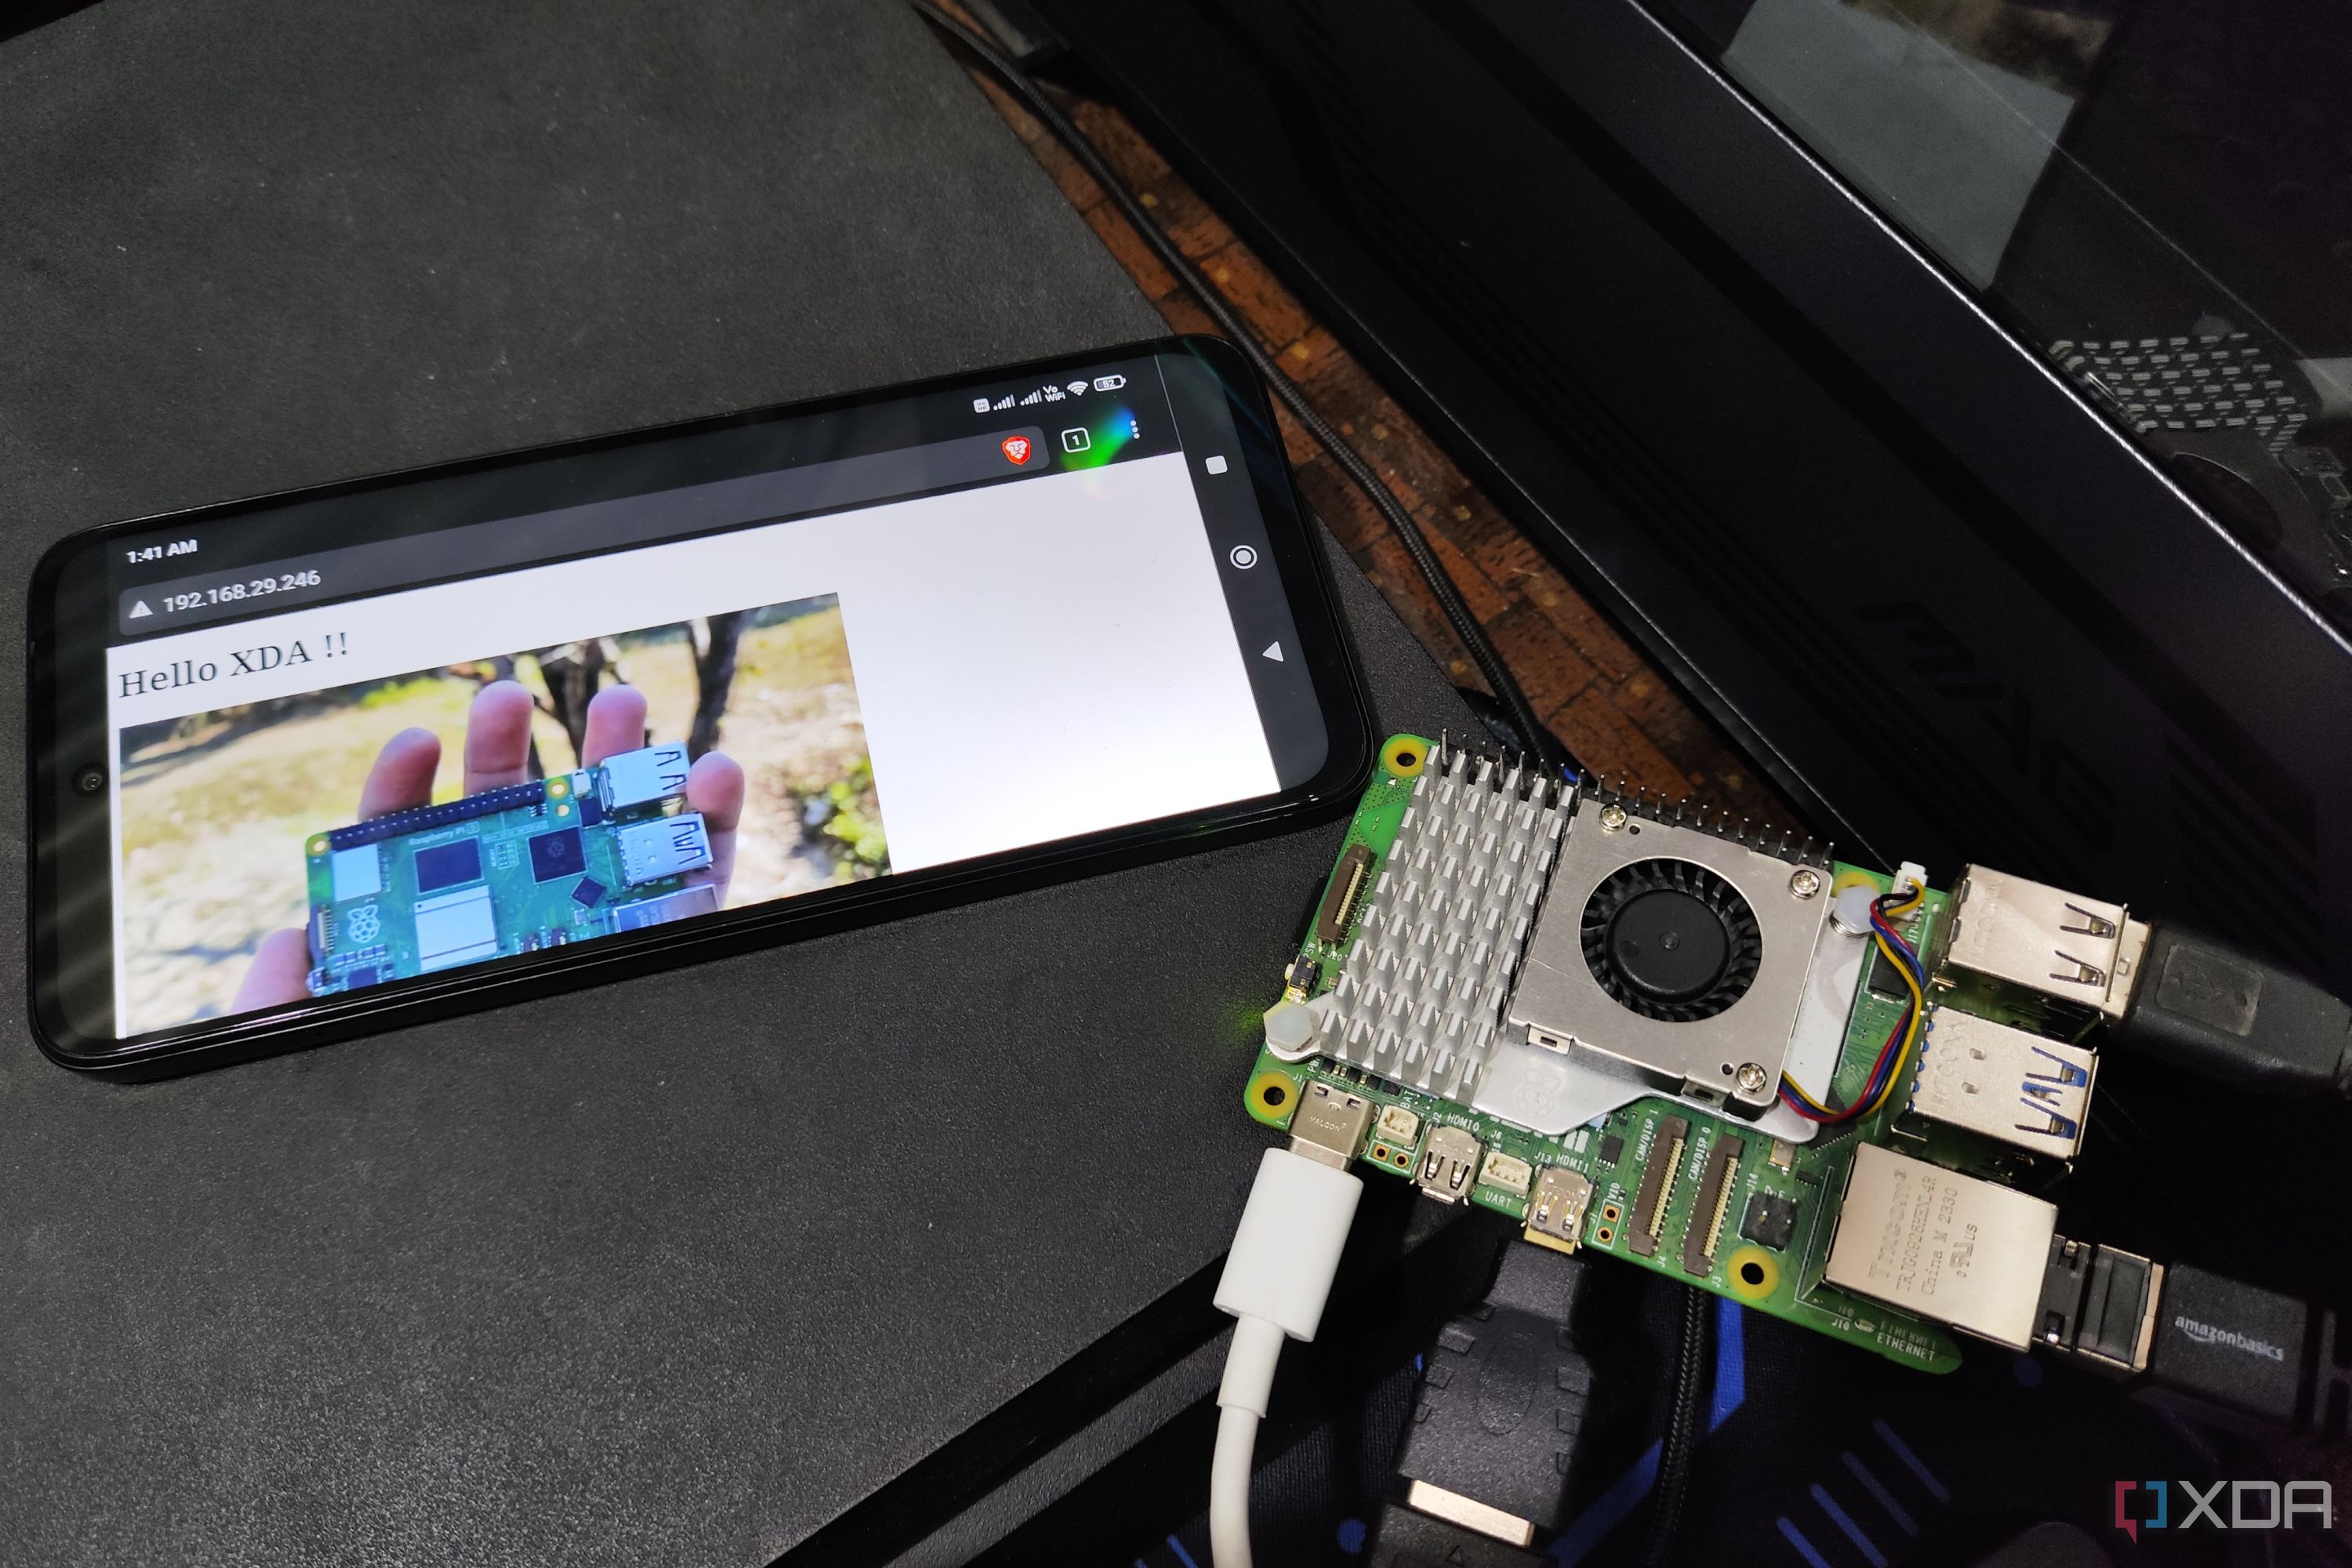
How to set up a Raspberry Pi web server
Want to configure your own web server without spending a fortune on expensive hardware? Here's how you can do so using just your Raspberry PiHow to install XAMPP on Windows 11 and Windows 10
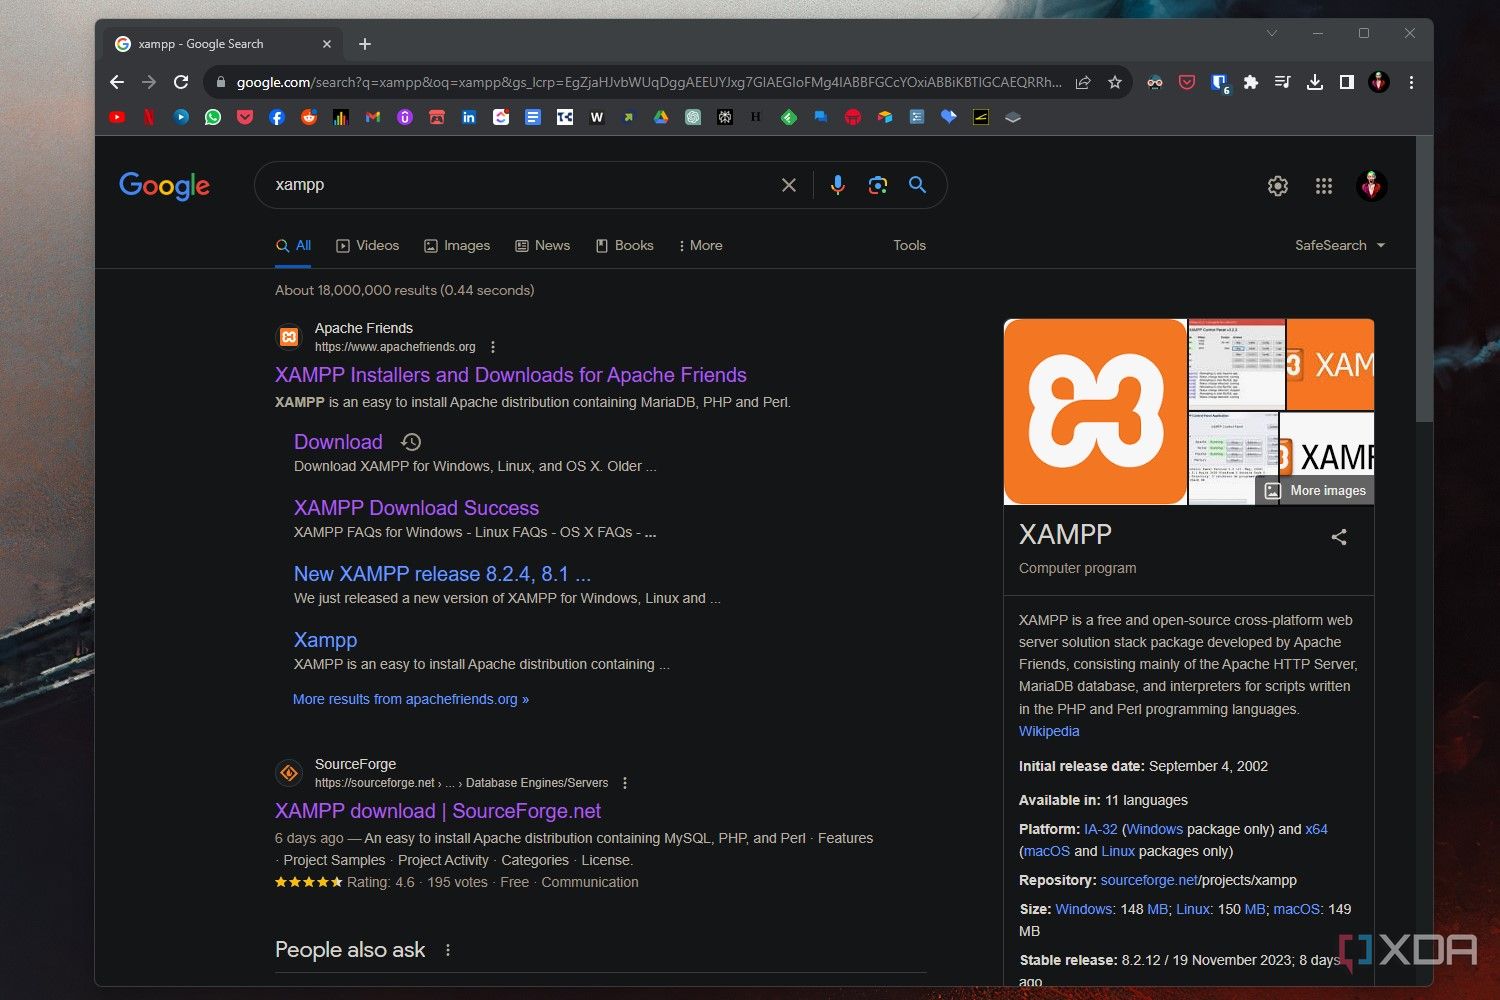
To install XAMPP, you must first download the app from the official website. After the download is complete, you need to launch the setup wizard and select all the components that you want to install with XAMPP. The process is the same for both Windows 10 and 11. Here are the exact steps to follow:
1. Head to the official XAMPP website.
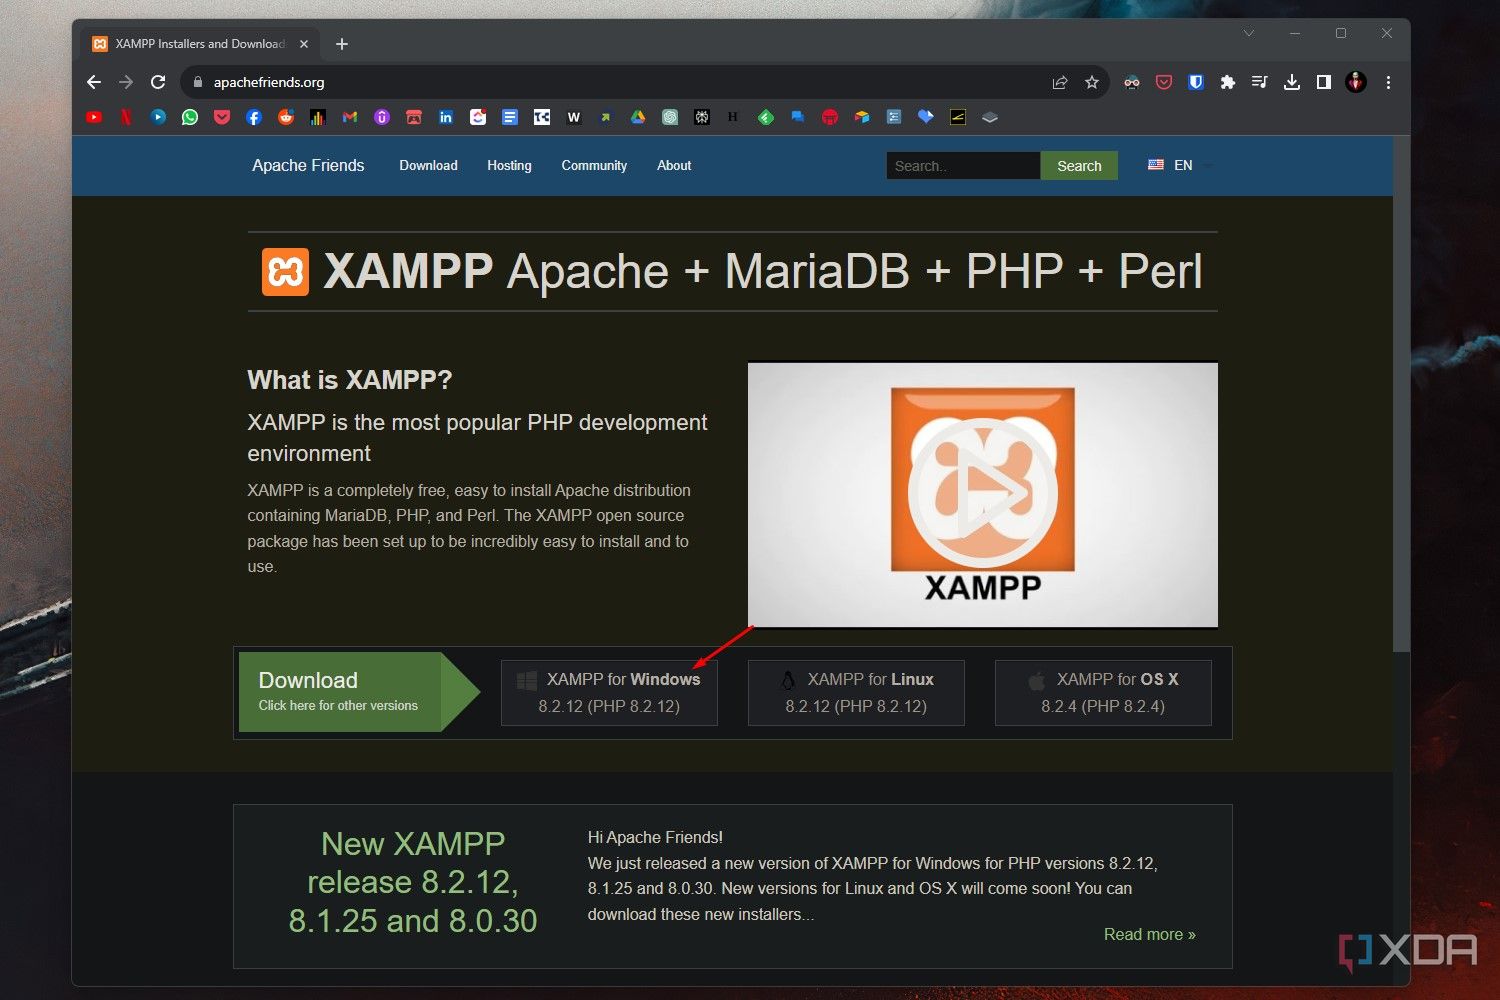
2. Click the XAMPP for Windows button to download the latest version that’s supported for Windows 11. Wait for the download to begin automatically.
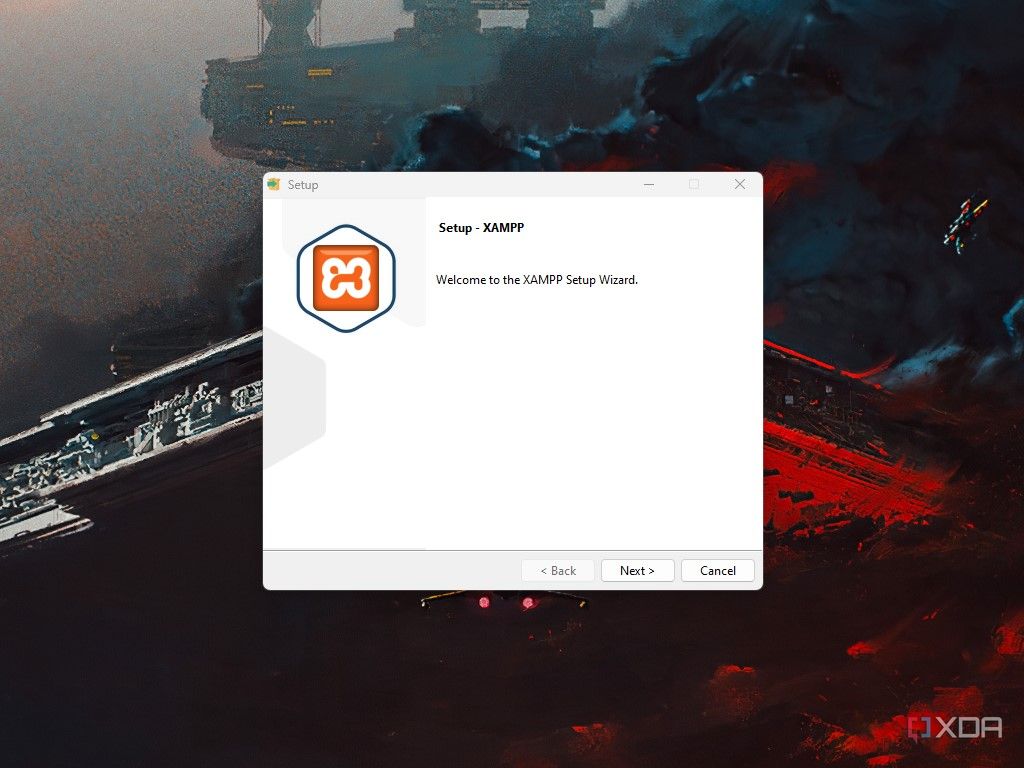
3. After the download is finished, click the EXE file to launch the setup wizard, and click Yes when the confirmation box pops up. Another warning box will pop up after this. Ignore this and click OK to continue with the installation.
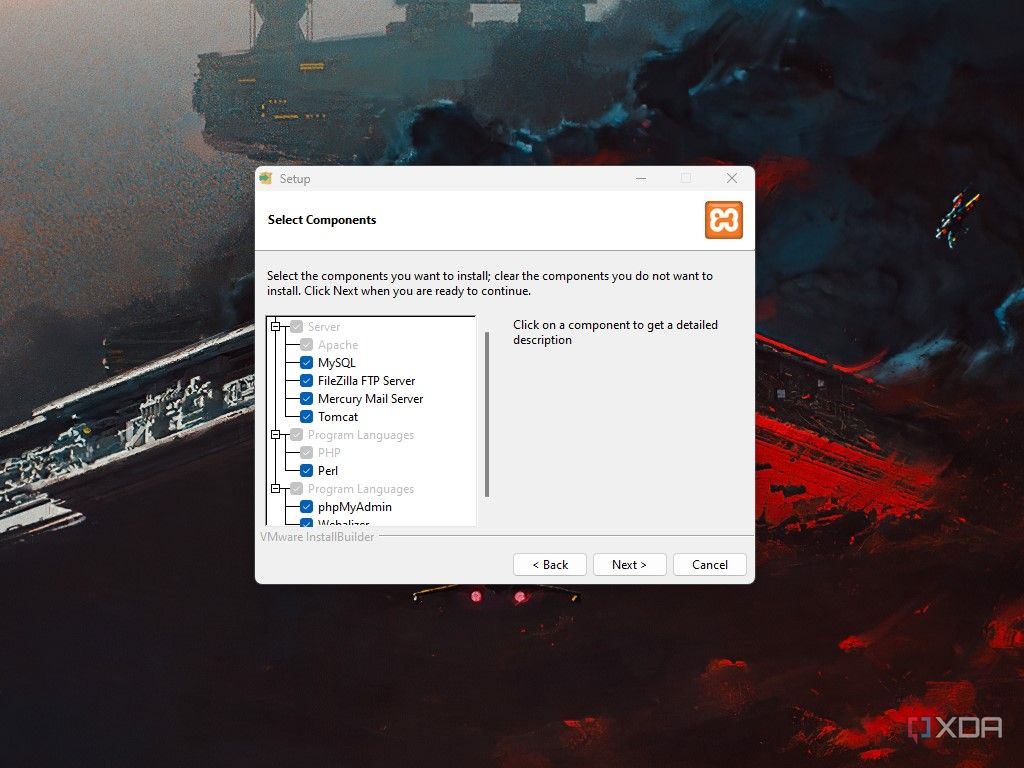
4. Follow the instructions in the setup wizard to install XAMPP. When you reach the Select Components screen, check the boxes next to all the components you want to install (MySQL, FileZilla, Tomcat, Perl, and more). Click Next to continue.
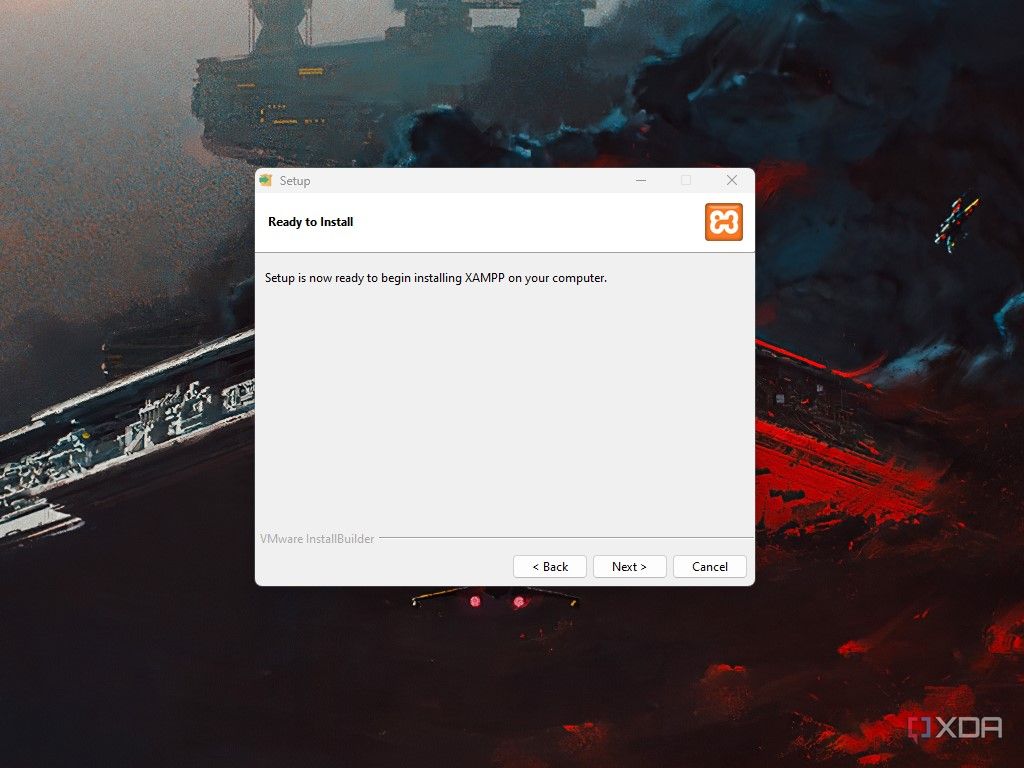
5. After selecting the components, you'll be taken to the Ready to Install screen. Click Next.
6. After the installation is done, click Finish, and XAMPP will launch itself automatically. If not, you’ll find the app in your Start Menu.
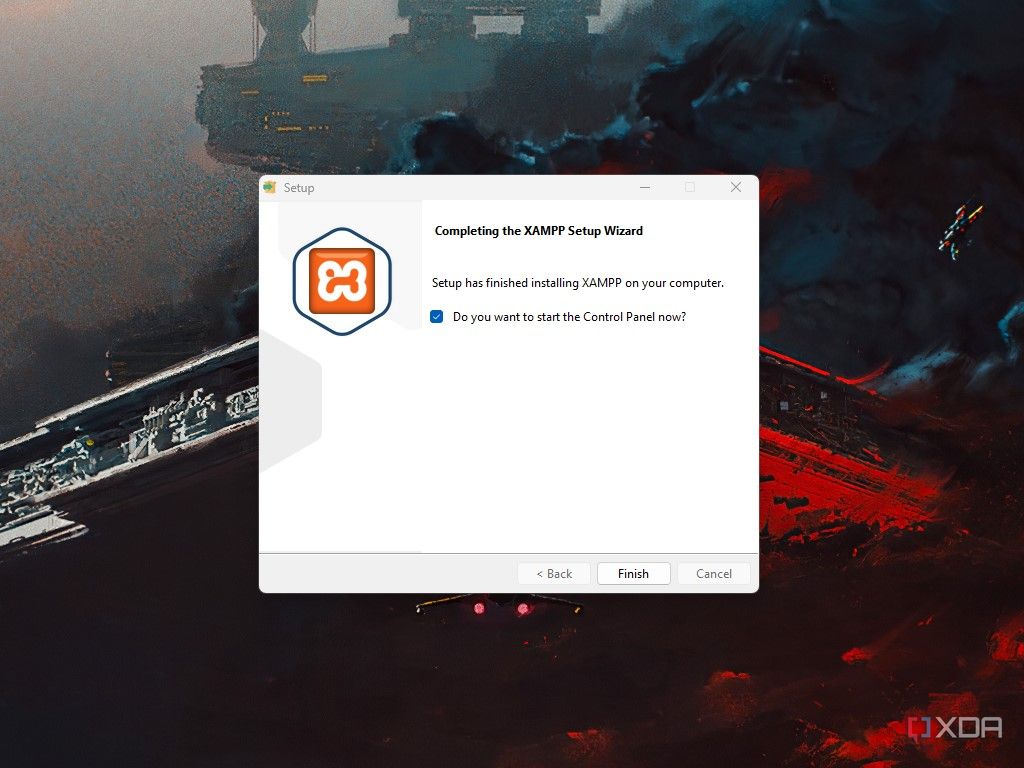
That’s all there is to it. You’ve now successfully installed XAMPP on your system and are ready to embark on your web development journey.
How to use XAMPP on Windows 11
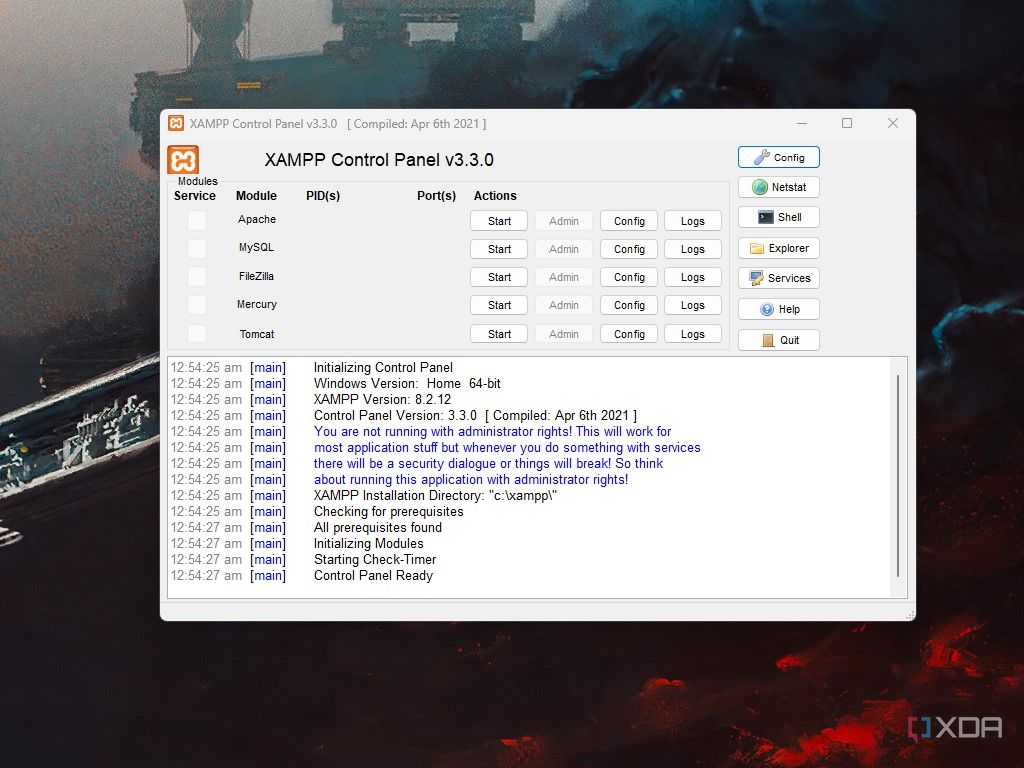
So, you’ve successfully installed XAMPP on your Windows 11 PC, but how do you use it? If you’re feeling a bit lost, here’s everything you need to know about the interface:
1. To get started, click the Start button under the Actions column in front of Apache to start the Apache web server. Similarly, click the Start button under the Actions column in front of MySQL to start the MySQL database.
2. In the Ports column, you’ll see the port numbers for both Apache and MySQL when the servers are running.
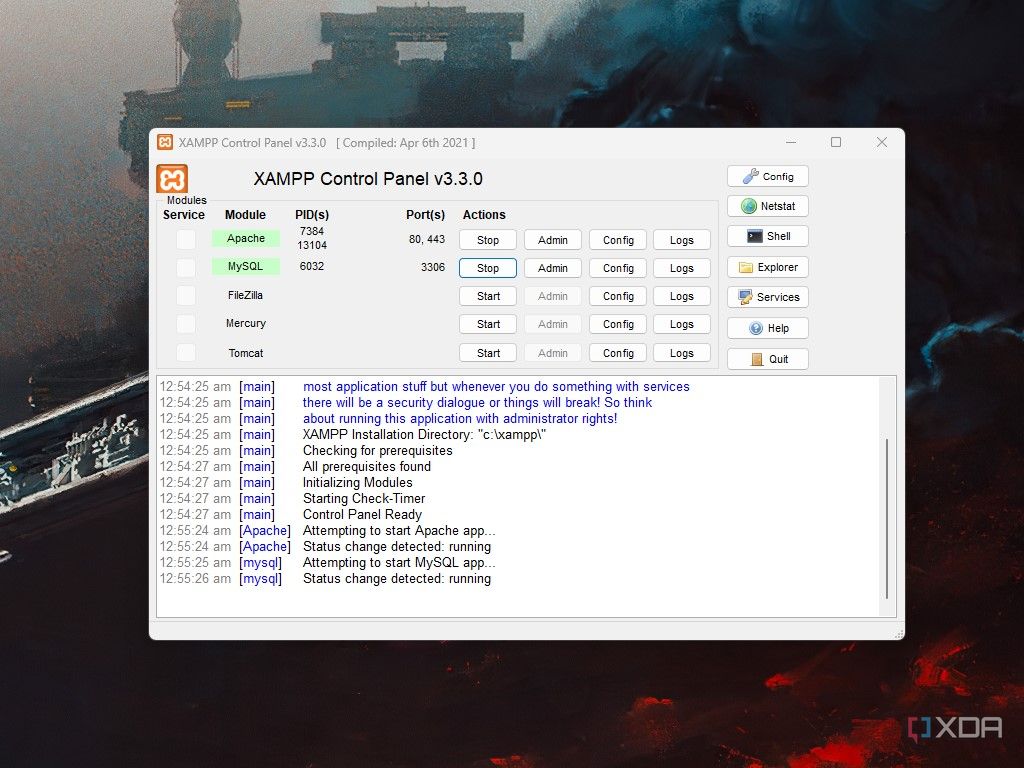
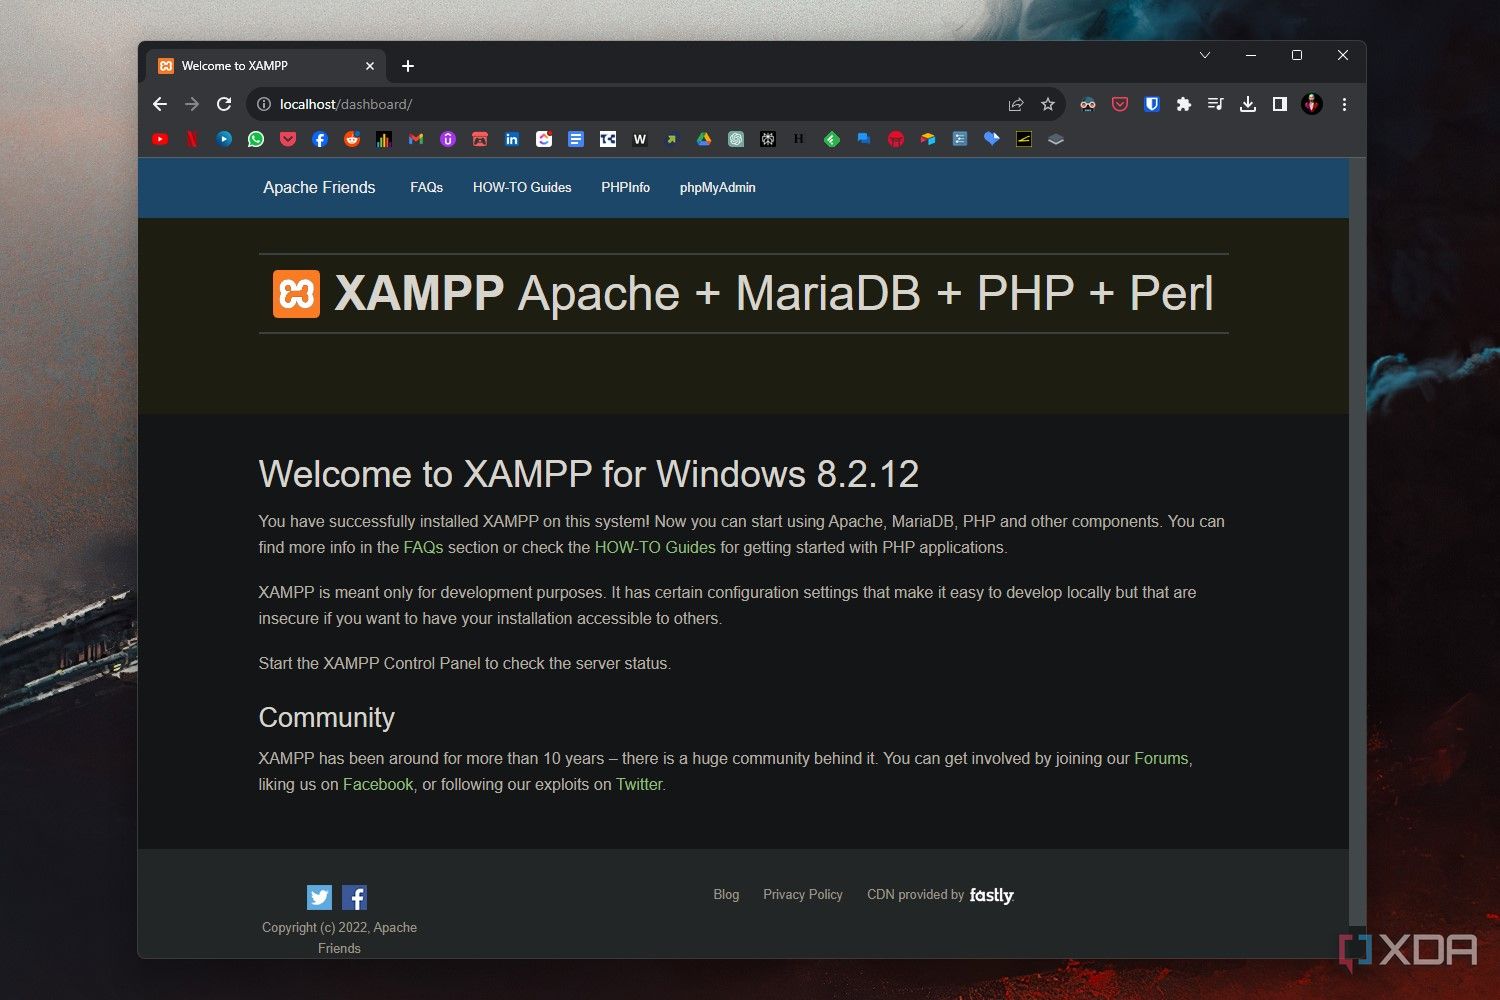
3. To check if everything is working properly, go to the web browser of your choice, type localhost in the address bar, and hit Enter. If you see the XAMPP welcome page, the Apache server is working properly.
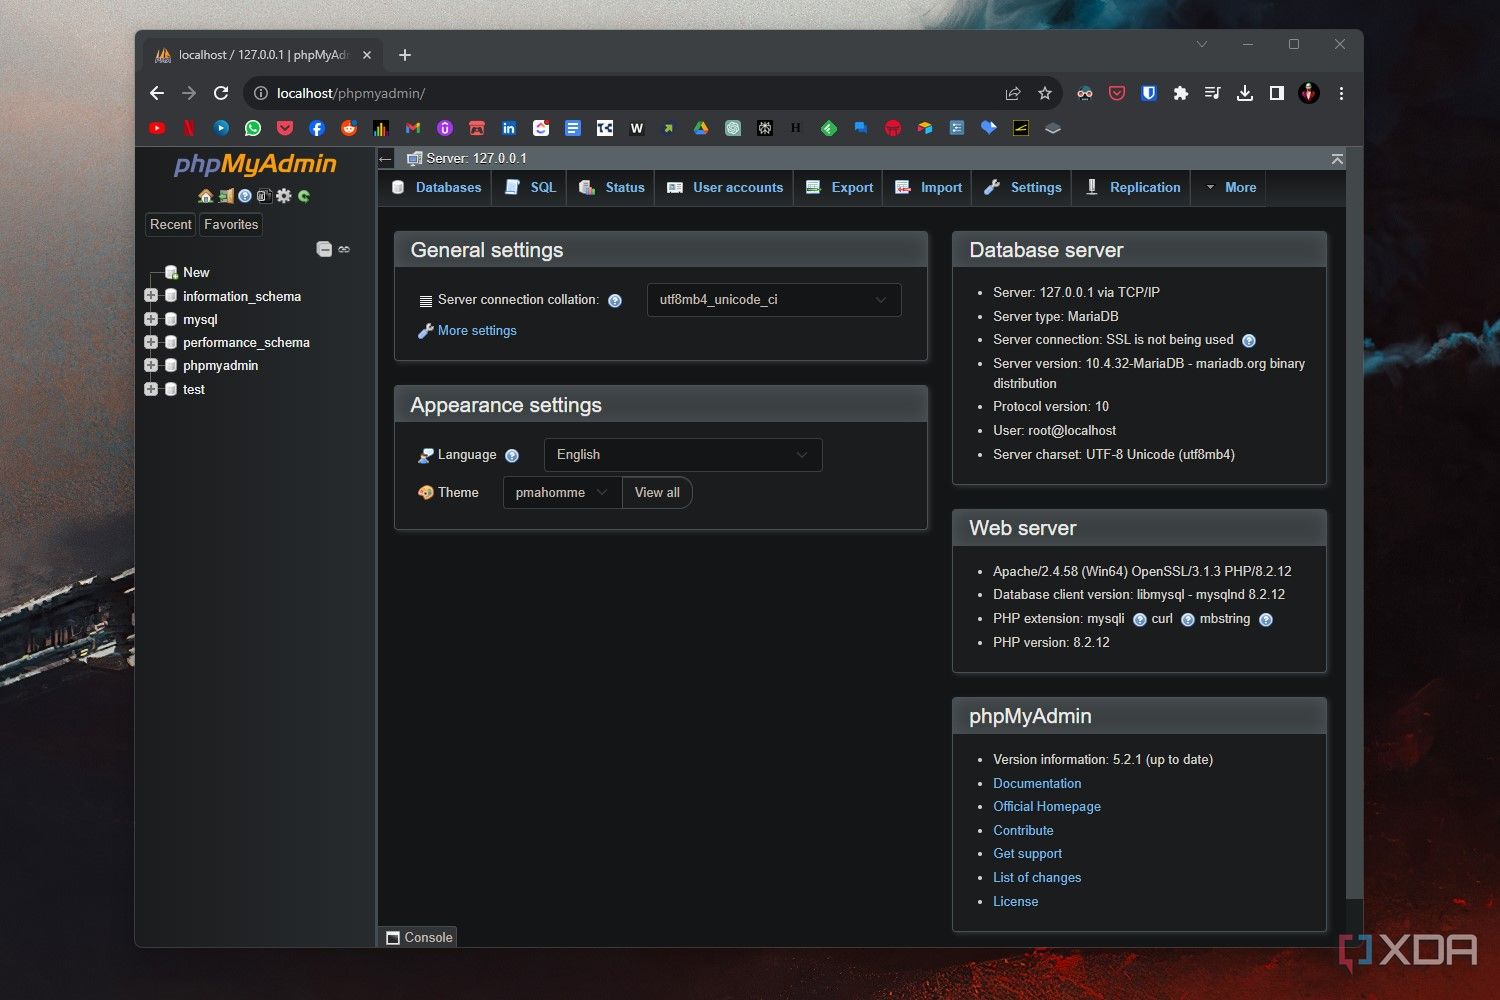
4. Go through the dashboard to find FAQs and how-to guides to get started with XAMPP and PHP applications.
Getting started with web development
With XAMPP installed and ready to use on your Windows PC, you’re ready to start building your fundamental skills in web development. Your learning journey doesn’t stop there though, as you’ll have to get comfortable dealing with MySQL and PHP files, depending on your plan. The learning curve might be a bit steep, but you’ll handle it with a bit of perseverance. Good luck!

