Introduction
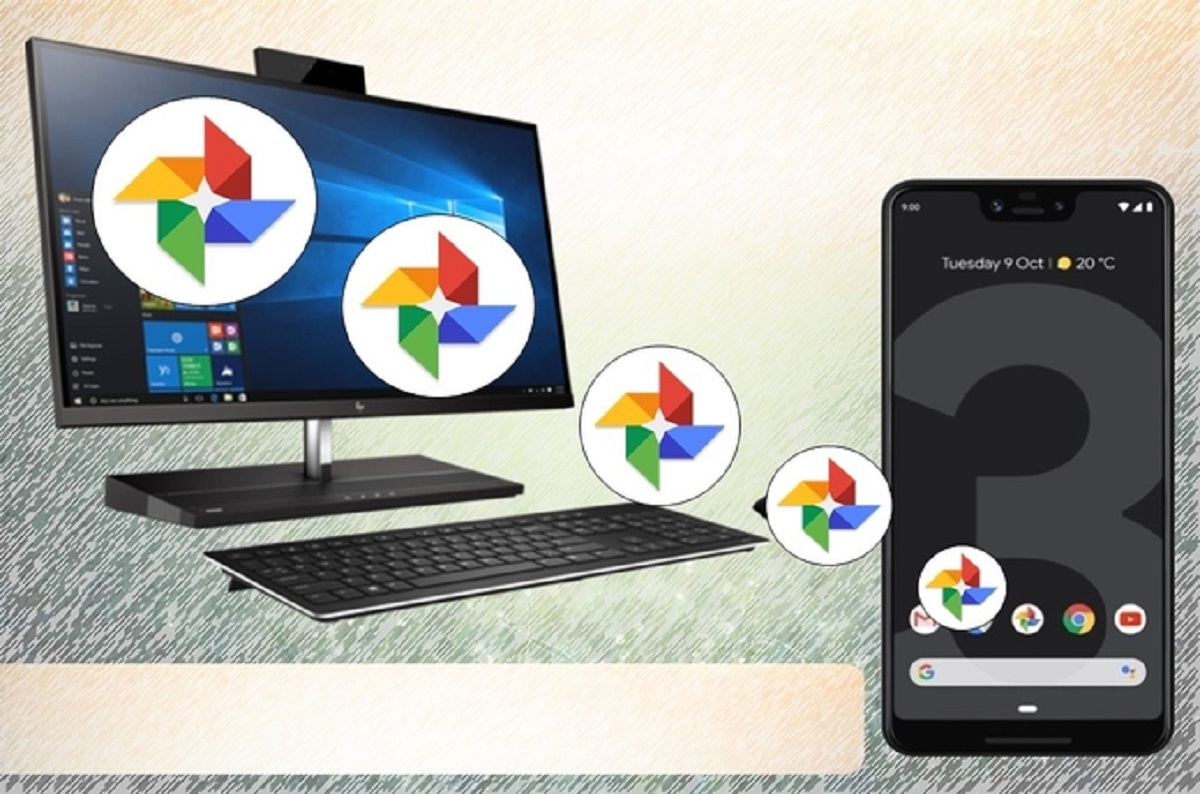
Google Photos has become one of the most popular platforms for storing and organizing our digital memories. With its convenient features and easy-to-use interface, many of us rely on Google Photos to backup and access our photos from anywhere. However, there may be times when you need to transfer your pictures from Google Photos to your computer. Whether you want to create backups, edit your photos using specialized software, or simply free up space on your phone or tablet, transferring pictures from Google Photos to your computer is a straightforward process.
In this article, we will guide you through the step-by-step process of transferring your pictures from Google Photos to your computer. We will show you how to access your Google Photos account, select the pictures you want to transfer, download them, and finally, transfer them to your computer.
By following these simple steps, you will be able to effortlessly transfer your pictures from Google Photos to your computer and have them readily available for editing, sharing, or safekeeping.
Step 1: Accessing Google Photos
The first step in transferring your pictures from Google Photos to your computer is accessing your Google Photos account. Here’s how you can do it:
- Open a web browser on your computer and visit the Google Photos website.
- If you are not already signed in to your Google account, click on the “Sign In” button and enter your credentials.
- Once you are signed in, you will be redirected to your Google Photos dashboard.
Alternatively, you can also access Google Photos by typing “photos.google.com” directly into your browser’s address bar.
Once you have successfully accessed your Google Photos account, you will be able to view all your stored photos and albums. Make sure that your Google Photos account is properly synced and up to date with all the pictures you wish to transfer to your computer.
Now that you’ve accessed your Google Photos account, let’s move on to the next step and learn how to select the pictures you want to transfer.
Step 2: Selecting the Pictures
Once you have accessed your Google Photos account, the next step is to select the pictures you want to transfer. Follow these steps to make your selections:
- On the Google Photos dashboard, navigate through your albums or browse through the main library to find the pictures you wish to transfer.
- To select multiple pictures at once, hold down the Ctrl or Command key on your keyboard while clicking on each photo you want to transfer. Alternatively, you can click on the first photo, hold down the Shift key, and then click on the last photo to select a range of pictures.
- If you want to select all the pictures in a particular album, click on the three-dot menu icon on the top right corner of the album and choose “Select all” from the options.
As you select the pictures, they will be highlighted or marked with a checkmark, indicating that they are selected for transfer. Take your time to carefully review your selections and make sure you have chosen all the desired pictures before proceeding to the next step.
Now that you have selected the pictures you want to transfer, let’s move on to the downloading process in the next step.
Step 3: Downloading the Pictures
After selecting the pictures you want to transfer from Google Photos, the next step is to download them to your computer. Follow these steps to download your selected pictures:
- With the desired pictures selected, click on the three-dot menu icon located at the top right corner of the Google Photos interface.
- From the drop-down menu, choose the “Download” option.
- A prompt will appear asking you to confirm the download. Click on “Download” or “Save” to proceed.
Now, Google Photos will proceed to download the selected pictures to your computer. The time it takes for the download to complete will depend on the number and size of the pictures you are transferring.
It’s important to note that Google Photos may compress the photos during the download process. This compression is done to optimize the file size and make the download faster. However, the compression is minimal and usually doesn’t affect the overall quality of the pictures significantly.
Once the download is complete, you can find the downloaded pictures in your computer’s default download location or the folder you specified during the download process.
Now that you have successfully downloaded the pictures from Google Photos to your computer, it’s time to move on to the final step: transferring the pictures to your computer.
Step 4: Transferring the Pictures to Your Computer
Now that you have downloaded the pictures from Google Photos to your computer, the final step is to transfer them to a desired location. Here’s how you can do it:
- Locate the folder where the downloaded pictures are saved on your computer.
- Open a new File Explorer (Windows) or Finder (Mac) window.
- Navigate to the location on your computer where you want to transfer the pictures to.
- Drag and drop the downloaded pictures from the original folder to the desired location on your computer.
Alternatively, you can right-click on the downloaded pictures, select “Copy” or “Cut”, then navigate to the desired location, right-click and select “Paste” to transfer the pictures.
After the transfer is complete, the pictures will be available in the new location on your computer. You can now access, edit, share, or organize the pictures as you wish.
It’s always a good practice to create a backup of the transferred pictures. You can store them in an external hard drive, cloud storage, or any other secure location to ensure their safety and prevent any accidental loss or damage.
With the pictures successfully transferred to your computer, you have completed the process of transferring pictures from Google Photos. You can now enjoy the convenience of having your photos readily accessible on your computer, allowing you to edit, share, and cherish your memories with ease.
Conclusion
Transferring pictures from Google Photos to your computer is a simple process that allows you to have easy access to your photos for editing, sharing, and safekeeping. By following the steps outlined in this guide, you can effortlessly transfer your pictures and optimize your digital photo management. Here’s a recap of the steps:
- Access your Google Photos account by visiting the Google Photos website and signing in.
- Select the pictures you want to transfer by navigating through your albums or using the selection options.
- Download the selected pictures to your computer by clicking on the three-dot menu icon and choosing “Download”.
- Transfer the downloaded pictures to your desired location on your computer by dragging and dropping them or using the copy-paste method.
Remember, it’s always a good practice to create regular backups of your digital photos to prevent any potential loss or damage. Consider storing your transferred pictures in an external hard drive, cloud storage, or other secure storage solutions.
With your pictures now safely transferred to your computer, you can enjoy the freedom to edit, organize, and share them as you please. Whether you want to apply advanced image editing techniques, create photo albums, or simply enjoy your memories on a larger screen, having your pictures on your computer provides you with greater flexibility and control.
Take advantage of the straightforward process outlined in this guide and empower yourself with the ability to manage your digital photos effectively. By transferring your pictures from Google Photos to your computer, you can enhance your photo management experience and ensure your precious memories are always within reach.