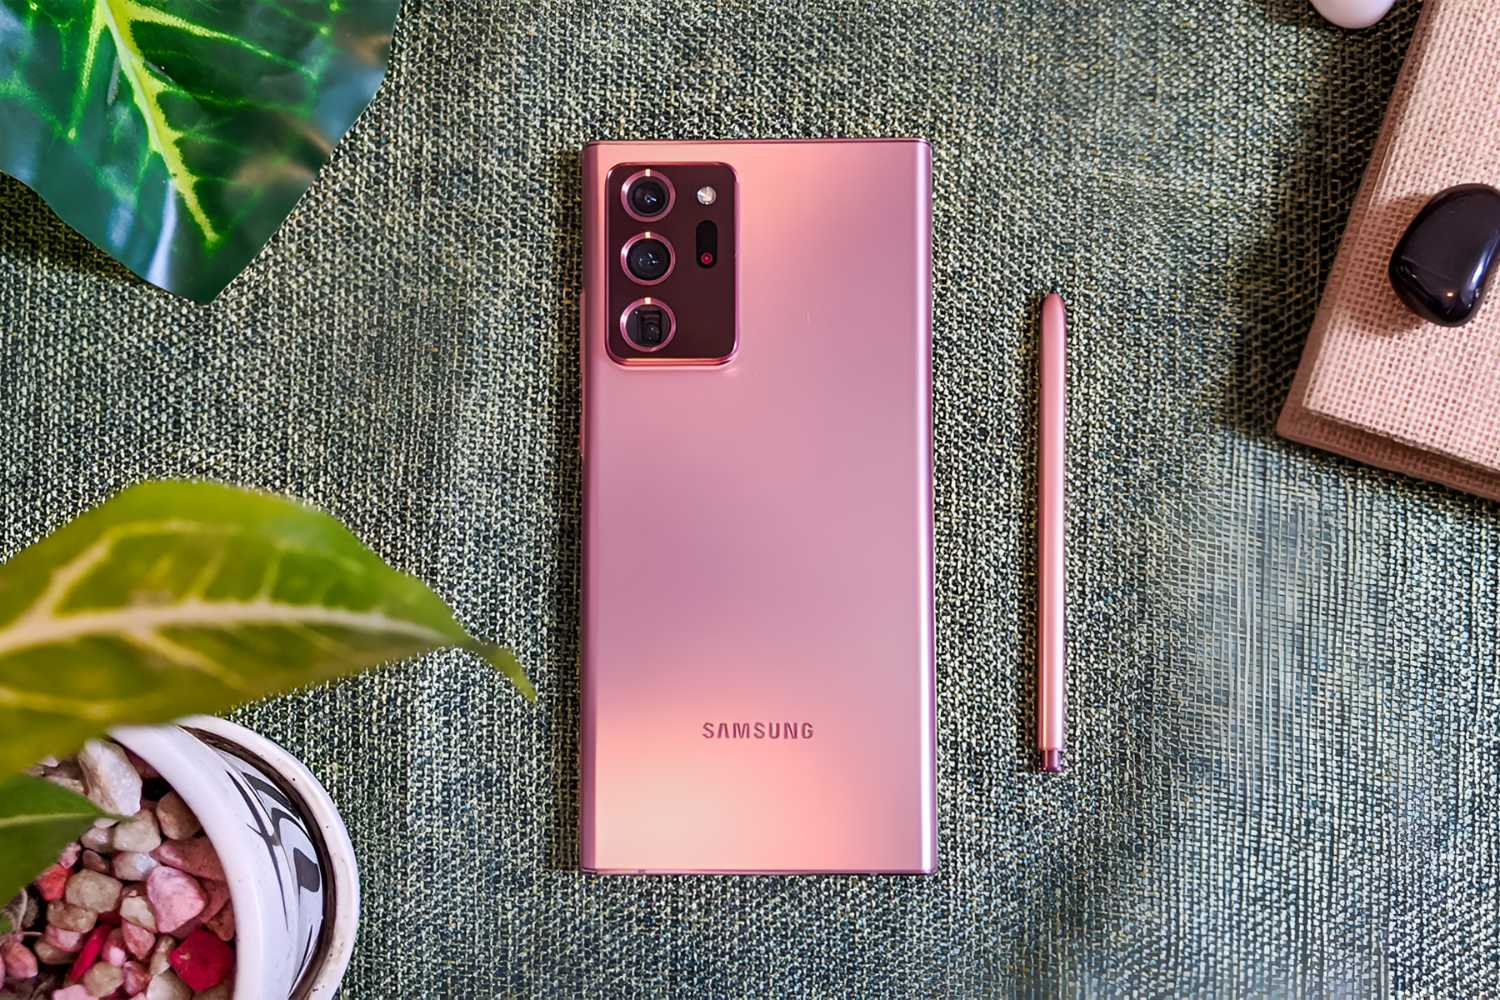
Introduction
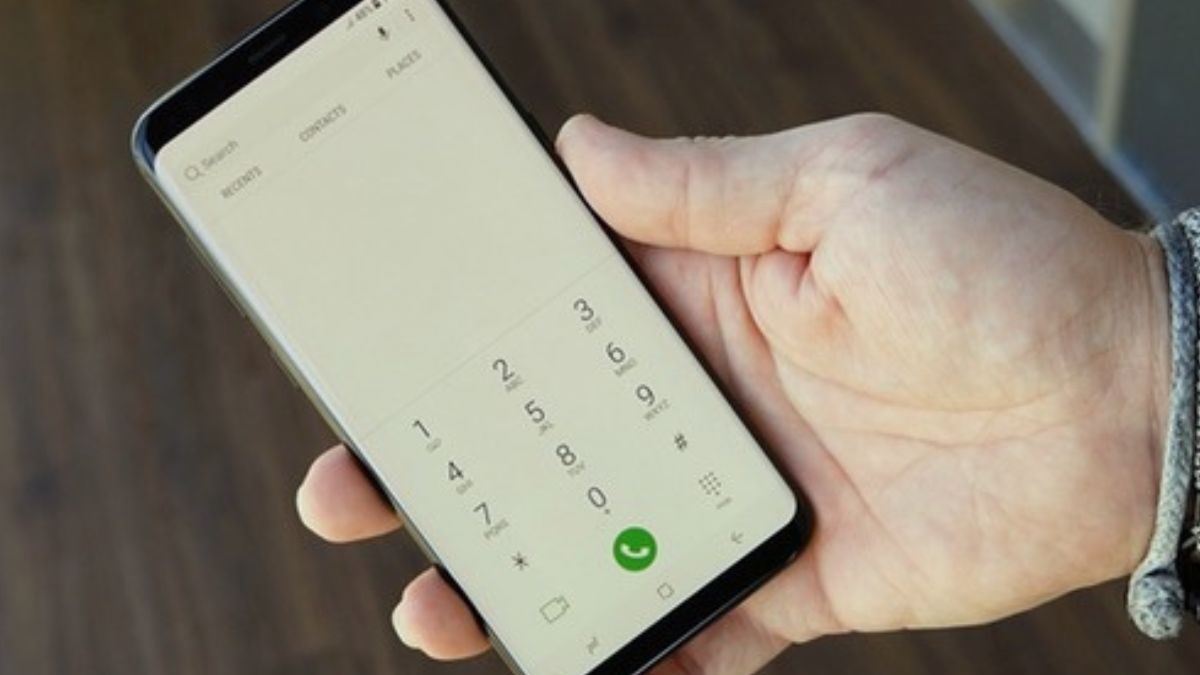
When it comes to staying connected in today's fast-paced world, a reliable smartphone is an indispensable tool. Whether it's for making calls, sending messages, or accessing the internet, your smartphone's functionality heavily relies on the presence of a SIM card. This tiny, yet crucial component is what enables your device to connect to your mobile network, allowing you to communicate and access data on the go.
In this comprehensive guide, we will walk you through the process of locating and inserting a SIM card into your Samsung phone. Whether you're a new Samsung user or simply need a refresher, this step-by-step tutorial will equip you with the knowledge to effortlessly manage your device's SIM card. From removing the back cover to securing it back in place, we'll cover every detail to ensure a seamless experience.
So, if you're ready to dive into the world of SIM cards and gain a deeper understanding of your Samsung phone's hardware, let's embark on this enlightening journey together. By the end of this guide, you'll be equipped with the expertise to handle your device's SIM card with confidence, ensuring uninterrupted connectivity and communication whenever you need it.
Step 1: Removing the back cover
The process of accessing the SIM card slot on a Samsung phone typically begins with removing the back cover. This step may vary slightly depending on the specific model of your device, but the general concept remains consistent across most Samsung smartphones.
To initiate the removal of the back cover, locate the small notch or indentation along the edge of the device. This is often positioned near the charging port or on the side of the phone. Once you have identified the notch, gently insert your fingernail or a suitable tool into the groove. Apply slight pressure while carefully prying the back cover away from the body of the phone. It's essential to exercise caution during this step to avoid causing any damage to the cover or the phone itself.
As the back cover begins to detach, continue to work your way around the edges, gradually releasing the clips securing it in place. Take your time and ensure that each section is loosened evenly to prevent any undue stress on the cover. Once all the clips have been disengaged, carefully lift the back cover away from the phone and set it aside.
It's important to note that some Samsung models feature a sealed design, which means the back cover is not removable. In such cases, the SIM card slot may be accessible through a dedicated tray located on the side of the device. If your Samsung phone falls into this category, refer to the manufacturer's instructions or user manual for specific guidance on accessing the SIM card slot.
By successfully completing this initial step of removing the back cover, you have set the stage for the next phase of the process – locating the SIM card slot within your Samsung phone. This pivotal step brings you one step closer to ensuring seamless connectivity and functionality for your device.
Step 2: Locating the SIM card slot
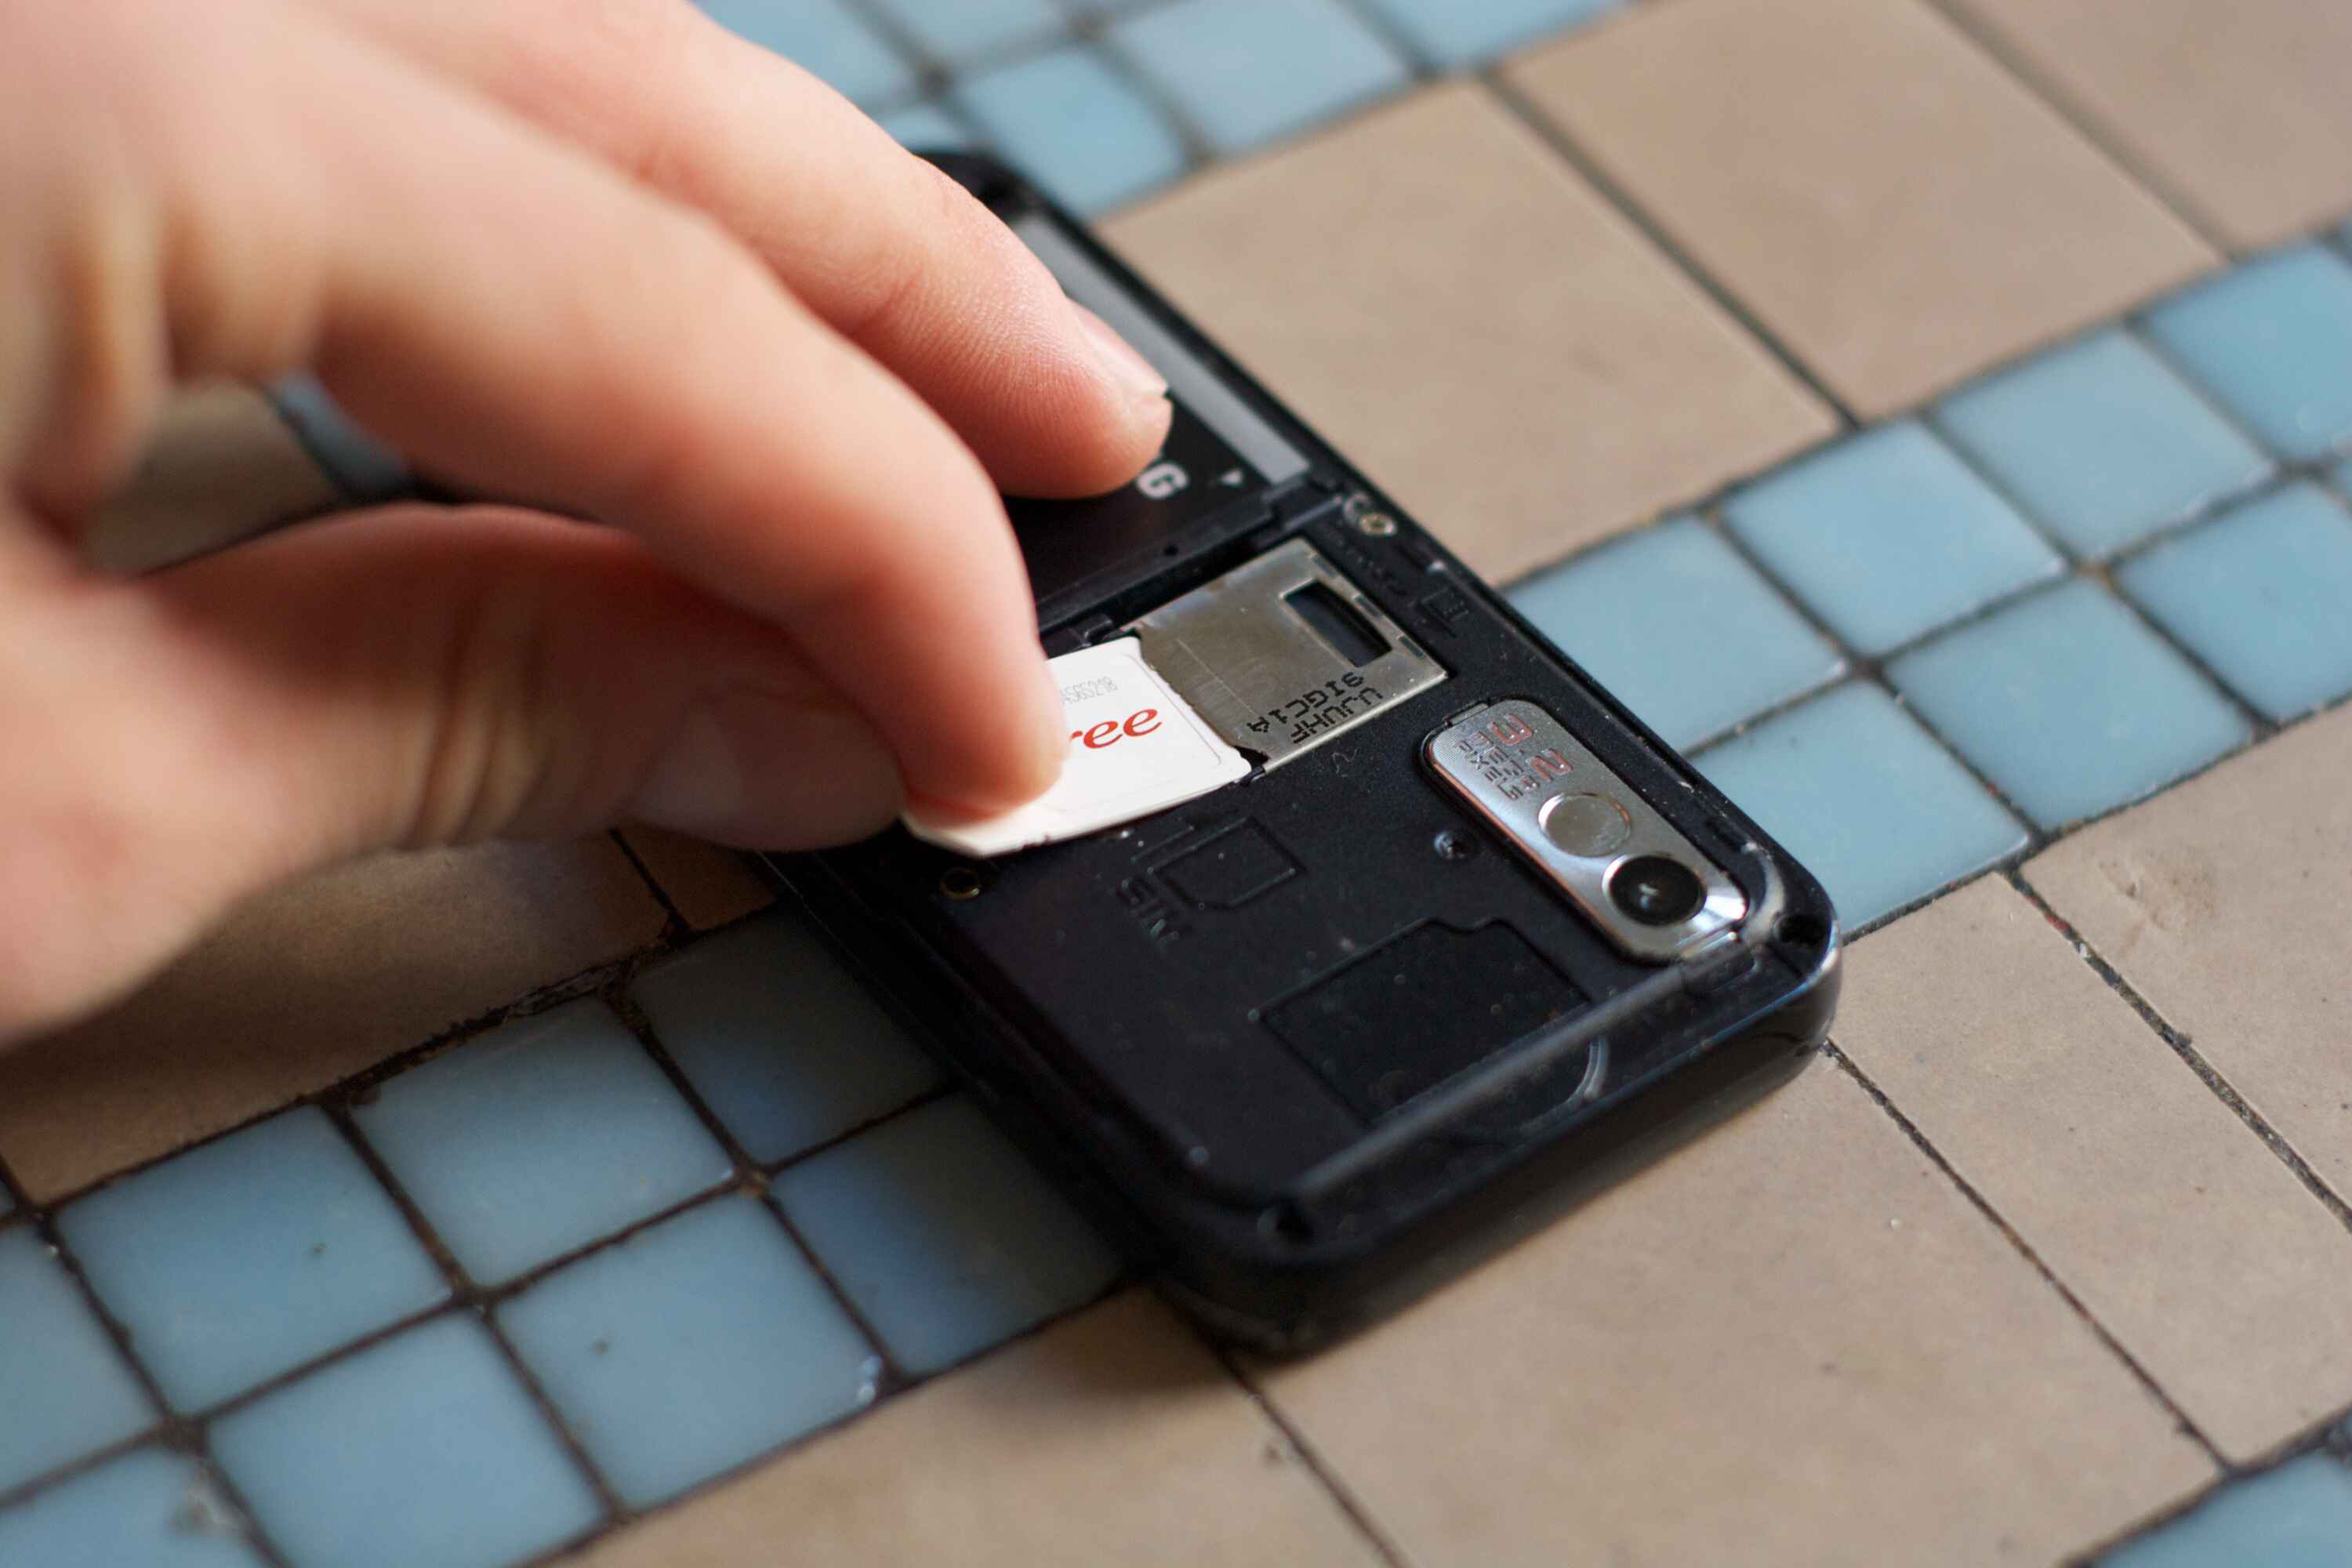
Upon successfully removing the back cover of your Samsung phone, the next crucial step is to locate the SIM card slot. This essential component is where the SIM card will be inserted to enable your device to connect to your mobile network. The precise location of the SIM card slot may vary depending on the specific model of your Samsung phone, but there are common placements that are typically observed across various devices.
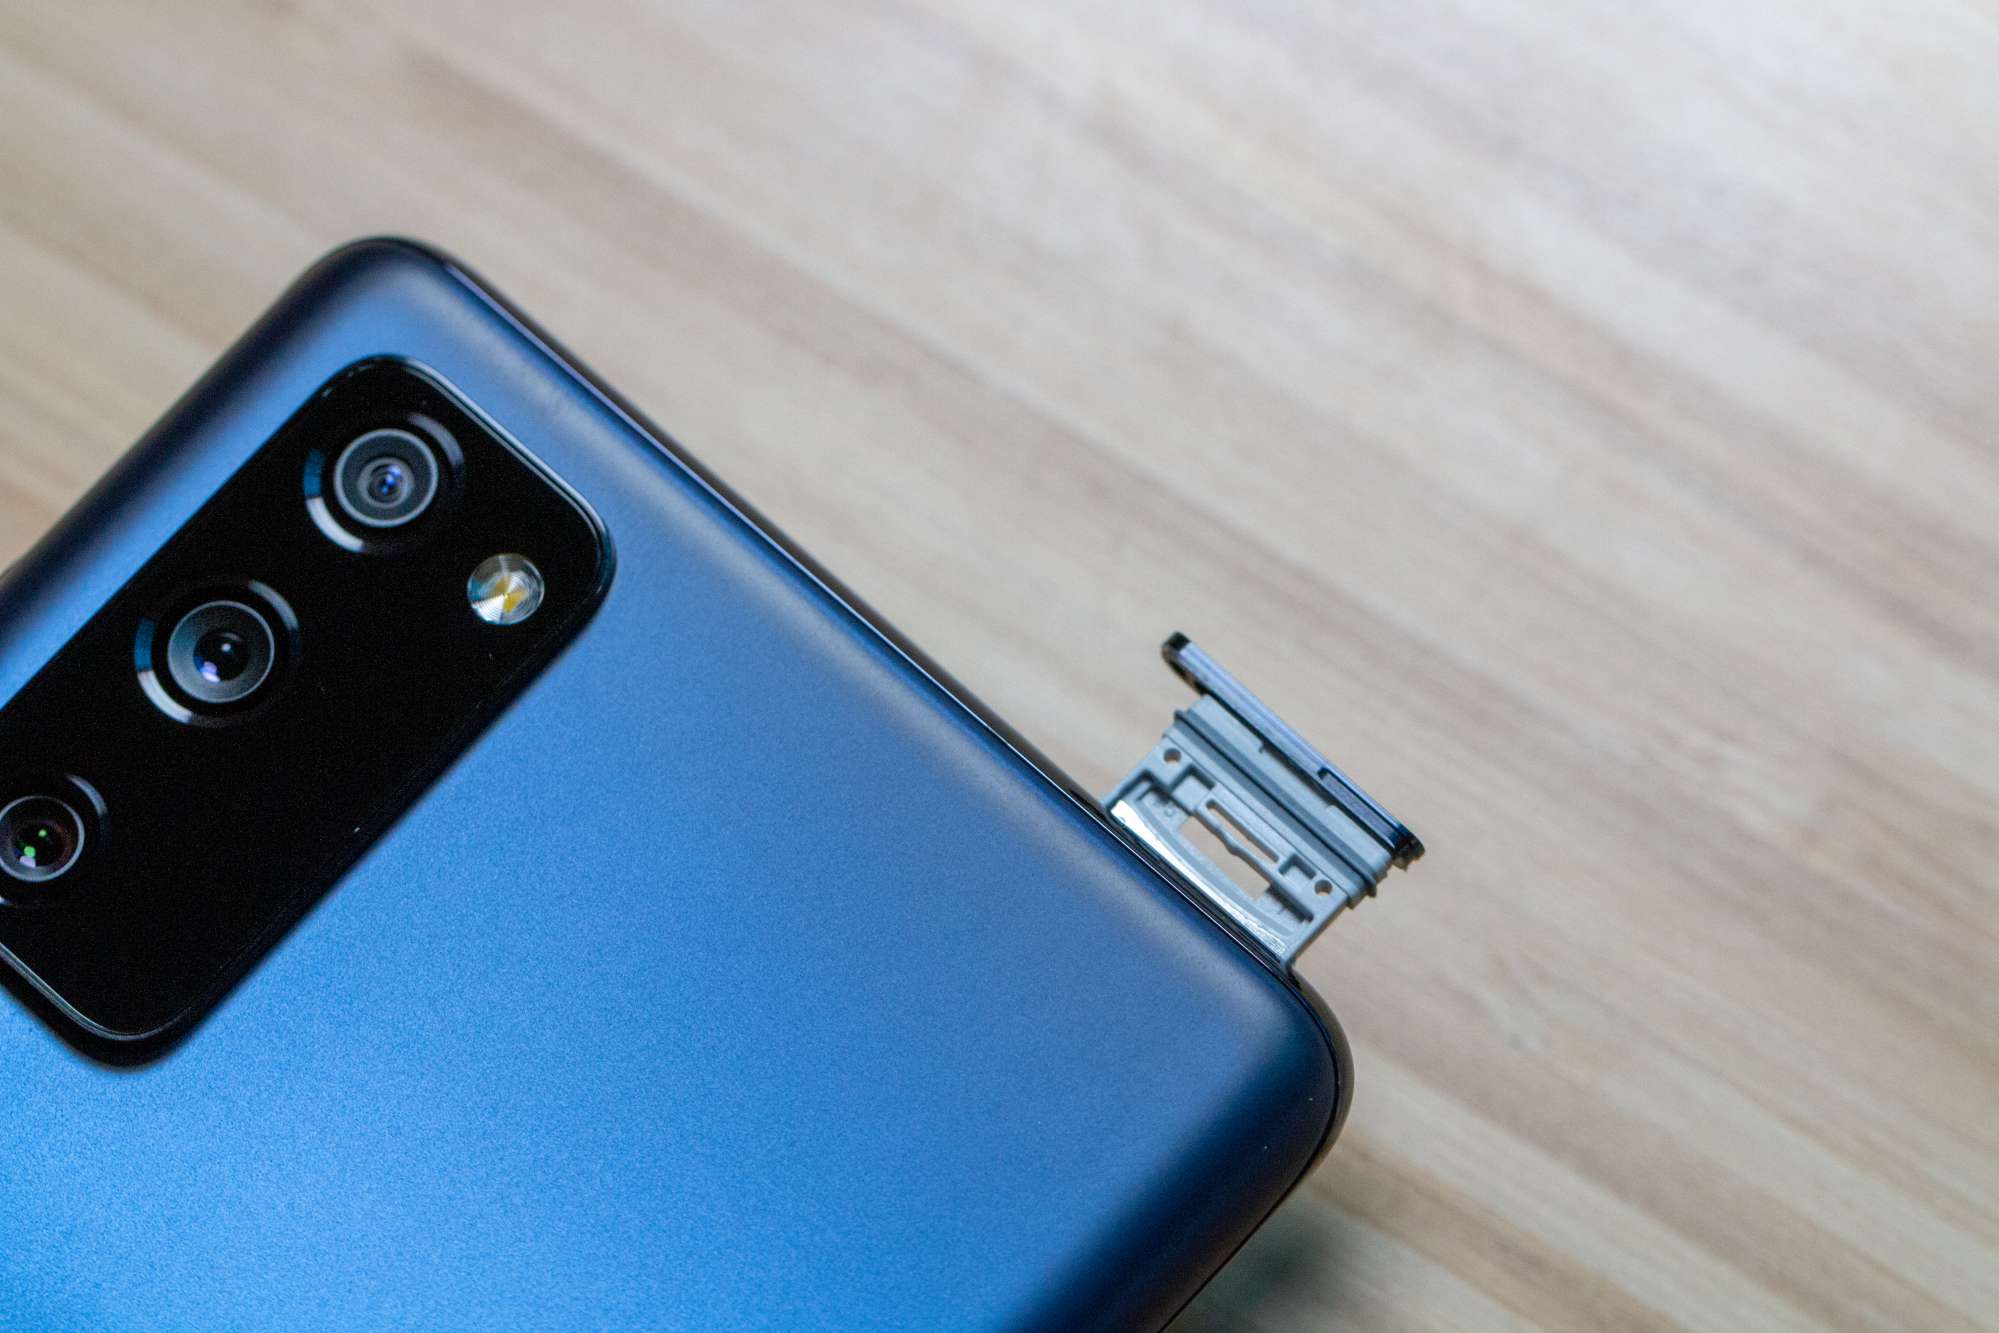
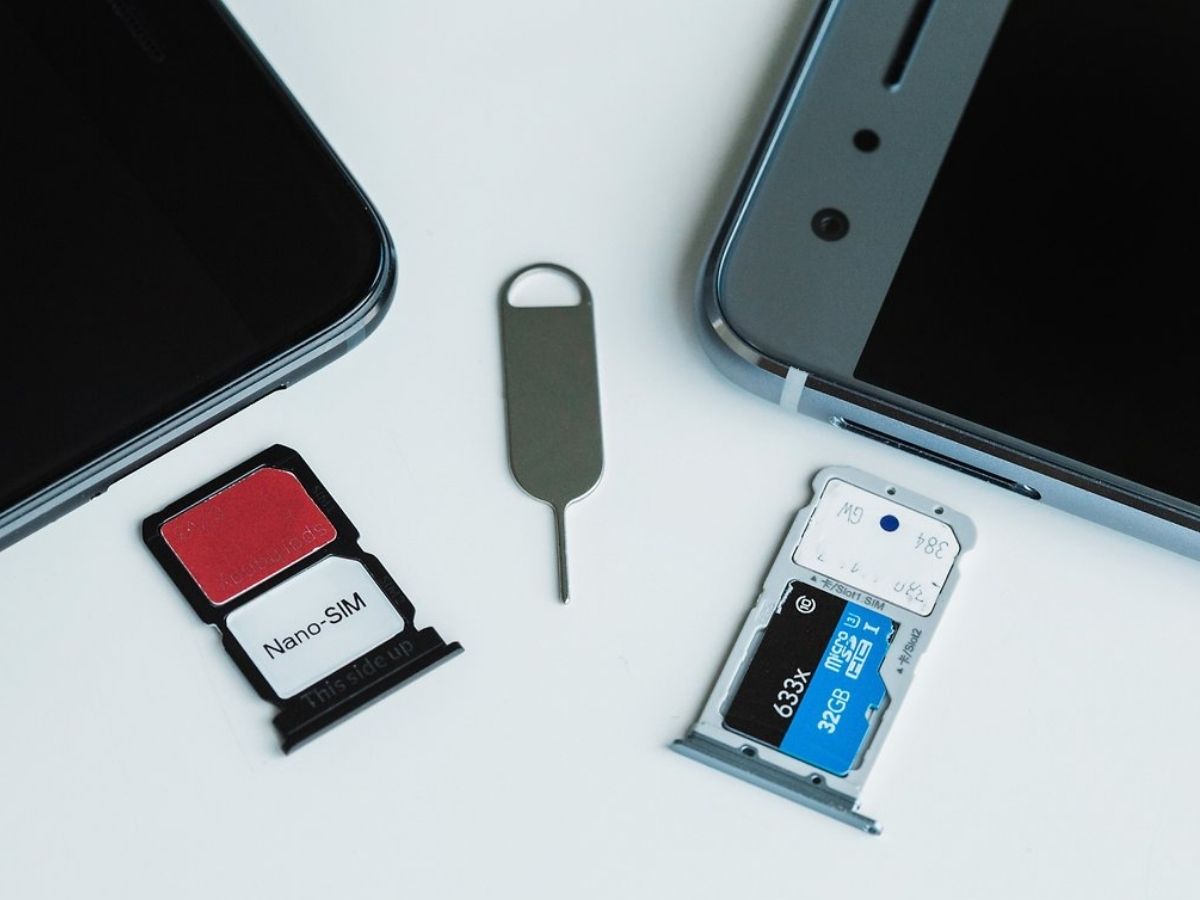
In most Samsung smartphones, the SIM card slot is positioned either on the side of the device or beneath the back cover. If the SIM card slot is located on the side, it is often accompanied by a small pinhole or a tray that can be ejected using a SIM ejector tool or a paperclip. On the other hand, if the SIM card slot is situated beneath the back cover, you will likely find it near the battery compartment, alongside the device's battery.
To ensure that you accurately locate the SIM card slot, it is advisable to refer to your device's user manual or visit the official Samsung support website for detailed instructions specific to your model. By doing so, you can familiarize yourself with the exact positioning of the SIM card slot, minimizing the risk of any potential damage to your device during the process.
Once you have successfully identified the SIM card slot, take a moment to inspect the surrounding area to ensure that it is free from any dust or debris that may hinder the insertion of the SIM card. This simple precaution can help maintain the optimal functionality of your device and prevent any potential connectivity issues in the future.
By effectively locating the SIM card slot within your Samsung phone, you have reached a pivotal milestone in the process of managing your device's connectivity. This critical step sets the stage for the subsequent phase, where you will learn how to insert the SIM card with precision and confidence, ensuring seamless integration and functionality within your Samsung phone.
Step 3: Inserting the SIM card
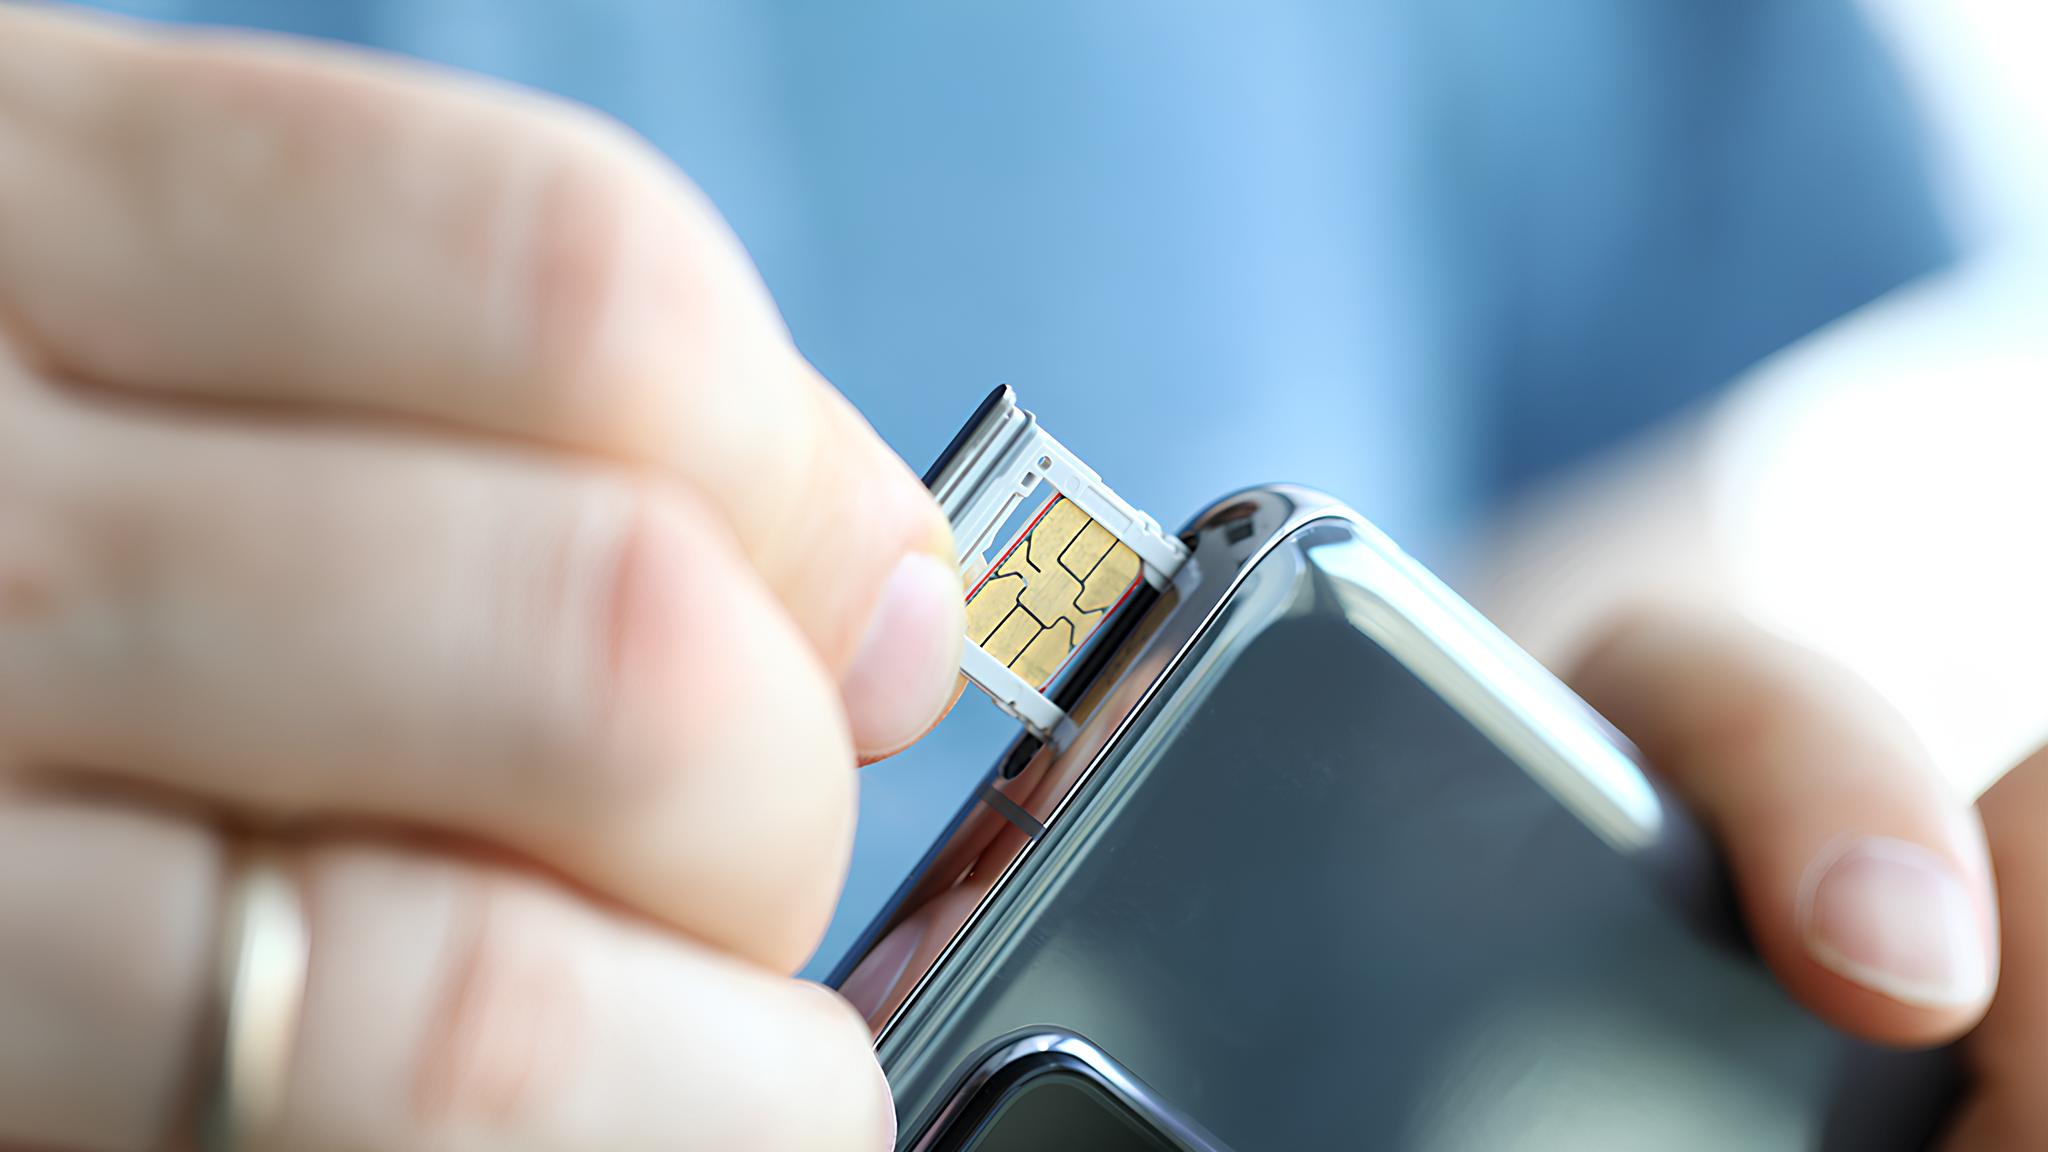
With the SIM card slot successfully located within your Samsung phone, the next pivotal step is to insert the SIM card with precision and care. This process is essential for ensuring seamless connectivity and network access on your device. Before proceeding, it's important to identify the type of SIM card required for your specific Samsung model. Whether it's a standard SIM, micro-SIM, or nano-SIM, selecting the appropriate size is crucial for a secure and functional fit within the SIM card slot.
To commence the insertion process, carefully remove the SIM card from its packaging, ensuring that you handle it with delicacy to avoid any potential damage. Once the SIM card is in hand, take a moment to inspect it for any signs of damage or irregularities, such as scratches or bends. It's vital to ensure that the SIM card is in pristine condition before proceeding with the insertion.
Next, align the SIM card with the designated orientation within the SIM card slot. Most Samsung phones feature a diagram or indicator within the SIM card slot to illustrate the correct positioning of the card. Align the notched corner of the SIM card with the corresponding notch or outline within the slot, ensuring a proper fit and orientation.
With the SIM card securely aligned, gently but firmly press it into the slot until it is fully seated. It's crucial to exert even pressure to avoid any potential damage to the SIM card or the slot itself. Once inserted, perform a visual inspection to confirm that the SIM card is flush with the slot and sits level within the designated compartment.
Following the successful insertion of the SIM card, take a moment to power on your Samsung phone to verify that the device detects the SIM card and establishes connectivity with your mobile network. If the SIM card is recognized and functional, you have effectively completed this crucial step, setting the stage for the final phase of the process.
By meticulously following the steps outlined in this guide, you have gained the expertise to seamlessly manage your Samsung phone's SIM card, ensuring uninterrupted connectivity and network access. With the SIM card securely in place, you are now equipped to fully harness the communication and data capabilities of your device, empowering you to stay connected and engaged in today's dynamic digital landscape.
Step 4: Replacing the back cover
Having successfully inserted the SIM card into your Samsung phone, the final step in this process involves replacing the back cover to secure the SIM card and ensure the overall integrity of your device. This step is crucial for safeguarding the SIM card, protecting the internal components, and maintaining the sleek and functional design of your Samsung phone.
To initiate the replacement of the back cover, carefully position the cover back onto the body of the phone, ensuring that it aligns with the edges and corners in a precise manner. Take note of any guiding grooves or alignment markers that facilitate the proper placement of the back cover. By aligning the cover accurately, you can ensure a seamless fit and prevent any potential gaps or misalignment that may compromise the device's integrity.
Once the back cover is positioned correctly, gently press along the edges and corners to facilitate the engagement of the clips, securing the cover in place. It's important to apply even pressure and work your way around the perimeter of the phone to ensure that all clips are properly engaged. This meticulous approach helps to maintain a uniform and secure attachment of the back cover, minimizing the risk of any loose or protruding sections.
As the back cover is secured, perform a visual inspection to confirm that it sits flush with the body of the phone and exhibits a uniform fit along all edges. This comprehensive assessment ensures that the cover is properly aligned and fully seated, providing a seamless and aesthetically pleasing finish to your Samsung device.
With the back cover securely in place, take a moment to power on your Samsung phone and verify that the device functions as expected. By ensuring that the SIM card remains undisturbed and the back cover is securely attached, you can experience uninterrupted connectivity and optimal performance from your Samsung phone.
By meticulously following the steps outlined in this guide, you have gained the expertise to seamlessly manage your Samsung phone's SIM card, ensuring uninterrupted connectivity and network access. With the SIM card securely in place and the back cover seamlessly reattached, you are now equipped to fully harness the communication and data capabilities of your device, empowering you to stay connected and engaged in today's dynamic digital landscape.
This comprehensive guide has equipped you with the knowledge and confidence to effectively manage your Samsung phone's SIM card, enabling you to navigate the intricacies of hardware management with ease and precision. With these essential skills at your disposal, you can embrace the seamless connectivity and functionality offered by your Samsung device, ensuring a seamless and empowering user experience.