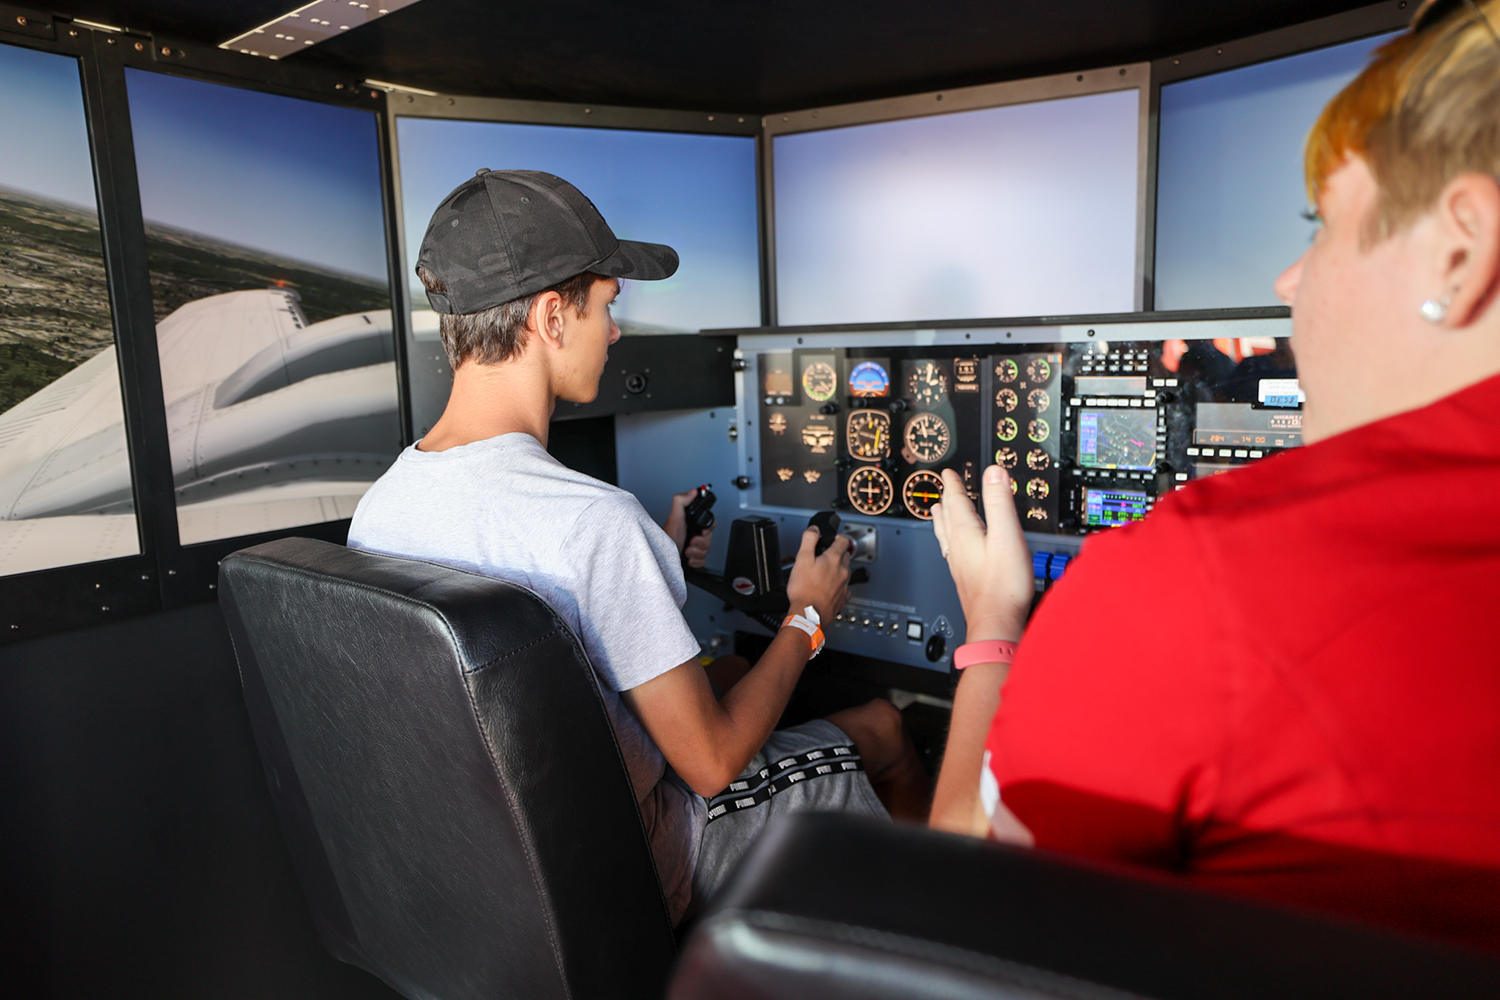
Learning how to fly is challenging. Some say talking to ATC on the radio is one of their biggest challenges. Fortunately, with your Redbird flight simulator, you can access computer-based air traffic control in a hidden menu.
The ATC included in the hidden menu works with number keys that correlate with specific requests. On the screen, for example, the “1” key may be associated with “TUNE ATIS." So if a learner wishes to “quick tune” ATIS, they would press the “1” key. Other requests, such as “taxi” or “takeoff,” are made in the same manner.
Enabling ATC
- Start a mission or free flight to access ATC in the hidden menu.
- After starting the flight, un-pause the simulator and press the ALT button on the keyboard.
- Menu selections will appear at the top of the screen, as shown below.
Numerous options are contained within those menus to customize the flight.
![]()
To turn on ATC, click the Vehicle menu and enable Air Traffic Control.
A learner can either click the menus with the trackpad or use hotkeys.
- To turn on ATC with the trackpad, press the ALT button, click the Vehicle menu, and turn on Air Traffic Control.
- If hotkeys are preferred, once you press the ALT key, press “e” then “a'' to enable ATC.
An ATC window appears with numerical selections. By enabling ATC, a learner can “talk” on the radio and listen to the controller.
The controller and the pilot voice are both computerized. To change the computerized pilot voice:
- Navigate to the Options Menu, then Settings.
- Be sure “Use a Pilot Voice” is selected, and choose which voice you’d like to use in the Pilot Voices list.
For beginners
Enabling the computerized pilot voice and the text of the ATC transmissions is a great idea. To display the text on the screen for ATC communications, go under the General Settings menu and select “Show Message Log in ATC Menu." That is very useful when learning proper phraseology, as you can hear and see the transmissions.
As a learner becomes more proficient with the radio
You may wish to turn off both the computerized pilot voice and the text transmission. To do this, unselect “Use a pilot voice” and “Show message log in ATC menu."
Now, the learner will be able to hear the controller but not see what they’re saying. On transmission to ATC, the learner will still press the accompanying number, but s/he will not hear the computerized pilot. The learner can practice speaking out loud, although the computer ATC will assume s/he said everything correctly, which is why it is best to use this once the learner is proficient in radio calls.
An Example Scenario
At Nashville (KBNA) the ATIS is 135.1. When sitting on the ground at BNA, a learner may physically tune the comm radio to 135.1 to hear the ATIS according to the set weather.
To make it easier, a learner may use the ATC menu (as previously mentioned). Once activated, the learner is presented with a numerical menu with options like the following.
Choose an option for Nashville Ground on 121.9.
- Tune Nashville Ground on 121.9.
- Tune Nashville ATIS on 135.1.
If the learner presses “2," the radio is automatically tuned to 135.1 and begins playing on the comm radio.
After listening to and copying the ATIS, the learner is presented with 1 (Tune Nashville Ground on 121.9).
The learner then presses “1” to automatically tune Nashville Ground on 121.9. S/he then sees the following.
Choose an option for Nashville Ground on 121.9.
- Tune Nashville ATIS on 135.1.
- Request Taxi - Remain in Pattern.
- Request Taxi - Depart Straight Out.
- Request Taxi - Depart North.
- Request Taxi - Depart South.
- Request Taxi - Depart East.
- Request Taxi - Depart West.
- Taxi to Parking and Fueling Options.
If the learner wishes to request taxi with a straight-out departure, s/he would press “3."
At that point, s/he would hear the computerized pilot voice “request taxi” for a straight-out departure.
“Nashville Ground, Cessna 172SP with Charlie, request taxi to the active, departing straight out.”
ATC will then reply something like this:
“Cessna 172SP, taxi to and hold short of runway 20C using taxiway U2, T4, S7. Contact tower on 118.6 when ready.”
The learner would be presented with the following options.
Choose an option for Nashville Ground on 121.9.
- Acknowledge Instructions.
- Say Again.
- Select Another Runway for Takeoff.
Just like in the real world, learners must read back all clearances. If a learner presses “1," the computerized pilot then says,
“Taxi to and hold short of runway 20C using taxiway U2, T4, S7, Cessna 172SP.”
If the learner does not respond, the controller will ask, “Did you receive my last transmission?”
Although it’s not perfect, it demonstrates the power of the flight simulator to accurately present proper air traffic control phraseology and flow.
As previously mentioned, it is a good idea to leave the text transmission on at first. Once a learner is more proficient, s/he can turn off the text and listen to the instructions, just as in a real airplane. Grab that kneeboard and get ready to copy!
If text transmissions are off, and the learner does not write down the clearance quickly or clearly:
- S/he may press “2” to have the clearance re-read.
- Once copied, s/he would read back by pressing “1."
- If the learner wishes to request a different runway for departure, s/he may request it by pressing “3."
Once holding short of the correct runway, the learner would then be presented with the following.
Choose an option for Nashville Ground on 121.9.
- Tune Nashville Ground on 121.9.
- Tune Nashville ATIS on 135.1.
- Request Takeoff Clearance VFR from Nashville Tower. S/he should press “3."
The computerized pilot says, “Nashville Tower, Cessna 172SP ready at runway 20C, departing straight out.”
Note: Proper phraseology would detail the Cessna stating s/he is holding short of Runway 20C, ready for takeoff straight out.
The controller replies, “Cessna 172SP, cleared for takeoff runway 20C departing straight out approved.”
The learner then sees the following.
Choose an option for Nashville Tower on 118.6.
- Acknowledge Takeoff Clearance.
- Say Again.
S/he should press “1,” and proceed with the takeoff.
“Cleared for takeoff runway 20C, Cessna 172SP.”
Once the learner has taken off and is still in the airport’s airspace, s/he will be presented with the following.
Choose an option for Nashville Tower on 118.6.
- Request Touch and Go.
- Request Full Stop Landing.
The learner can choose either option and follow the instructions, or s/he may do nothing and continue flying straight out. As the learner nears the airspace boundary, s/he will be presented with the following.
Choose an option for Nashville Approach on 118.4.
- Tune Nashville Approach on 118.4.
- Nearest Airport List.
If the learner presses “1," s/he is presented with the following.
Choose an option for Nashville Approach on 118.400.
- Request Class C Airspace Transition.
- Create or Open an IFR Flight Plan.
- Nearest Airport List.
If they choose “3," they are presented with a list of airports within the area ordered by closest to farthest from the aircraft. If a towered airport is selected, the options for ATIS, airspace transition, touch and go, and full-stop landing are available.
If a learner selects a touch-and-go or full-stop landing, s/he will receive pattern entry instructions. The learner must enter the pattern correctly to get a landing clearance.
Once in the correct pattern entry position, the learner will receive a clearance to land. It is important to note that learners can take away several lessons from this portion of ATC instruction, as it is specific for pattern entry instructions.
For instance, “Cessna 172SP, enter left downwind for runway 18.” The learner must enter a left downwind to receive the clearance to land.
A learner can also request a different runway for landing or cancel landing intentions. If a learner is lost or unfamiliar, s/he can request the airport direction. ATC will reply with something like, “The airport is at your ten o’clock, 8 miles.”
Once landed and off the runway, the learner will be prompted to contact Ground for taxi request/clearance. Learners can choose to taxi to parking; however, if there are several parking areas, they may be unable to select a specific one.
If a learner chooses a non-towered field from the Nearest Airport List, like Music City Executive Airport (KXNX), then s/he will be prompted for the AWOS/ASOS and the CTAF, respectively. Learners may select to announce a full-stop or touch-and-go landing and the intended runway. Position reports may be given, just as in a real-world scenario at a non-towered field.
Using Simulated ATC Effectively
The flight simulator enables IFR students and pilots to file a flight plan and properly use ATC to talk to departure, en-route, and approach controllers and receive clearances. For additional realism, under the Scenario menu is a Flight Planner option.
A learner can create VFR or IFR flight plans with routing and save them for future use. If a flight plan is selected, ATC will know the plan, too!
It is critical to remember that the ATC is simulated. Although imperfect, it is a solid ATC system wrapped into your Redbird.
I recommend that learners work closely with their flight instructors to review and understand proper phraseology and pacing in the real-world environment. The ATC system within the simulator can greatly increase the speed and understanding of a student pilot beginning to talk and listen on the radio.
Share this
The Engine Failure Fallacy

How to Create CFI Lesson Plans for the Flight Instructor Checkride