Crusades are the action component of Cult of the Lamb, where you hack and slash your way through dungeons to obtain resources, advance the story, and generally kill everything in your way.
Maps[]
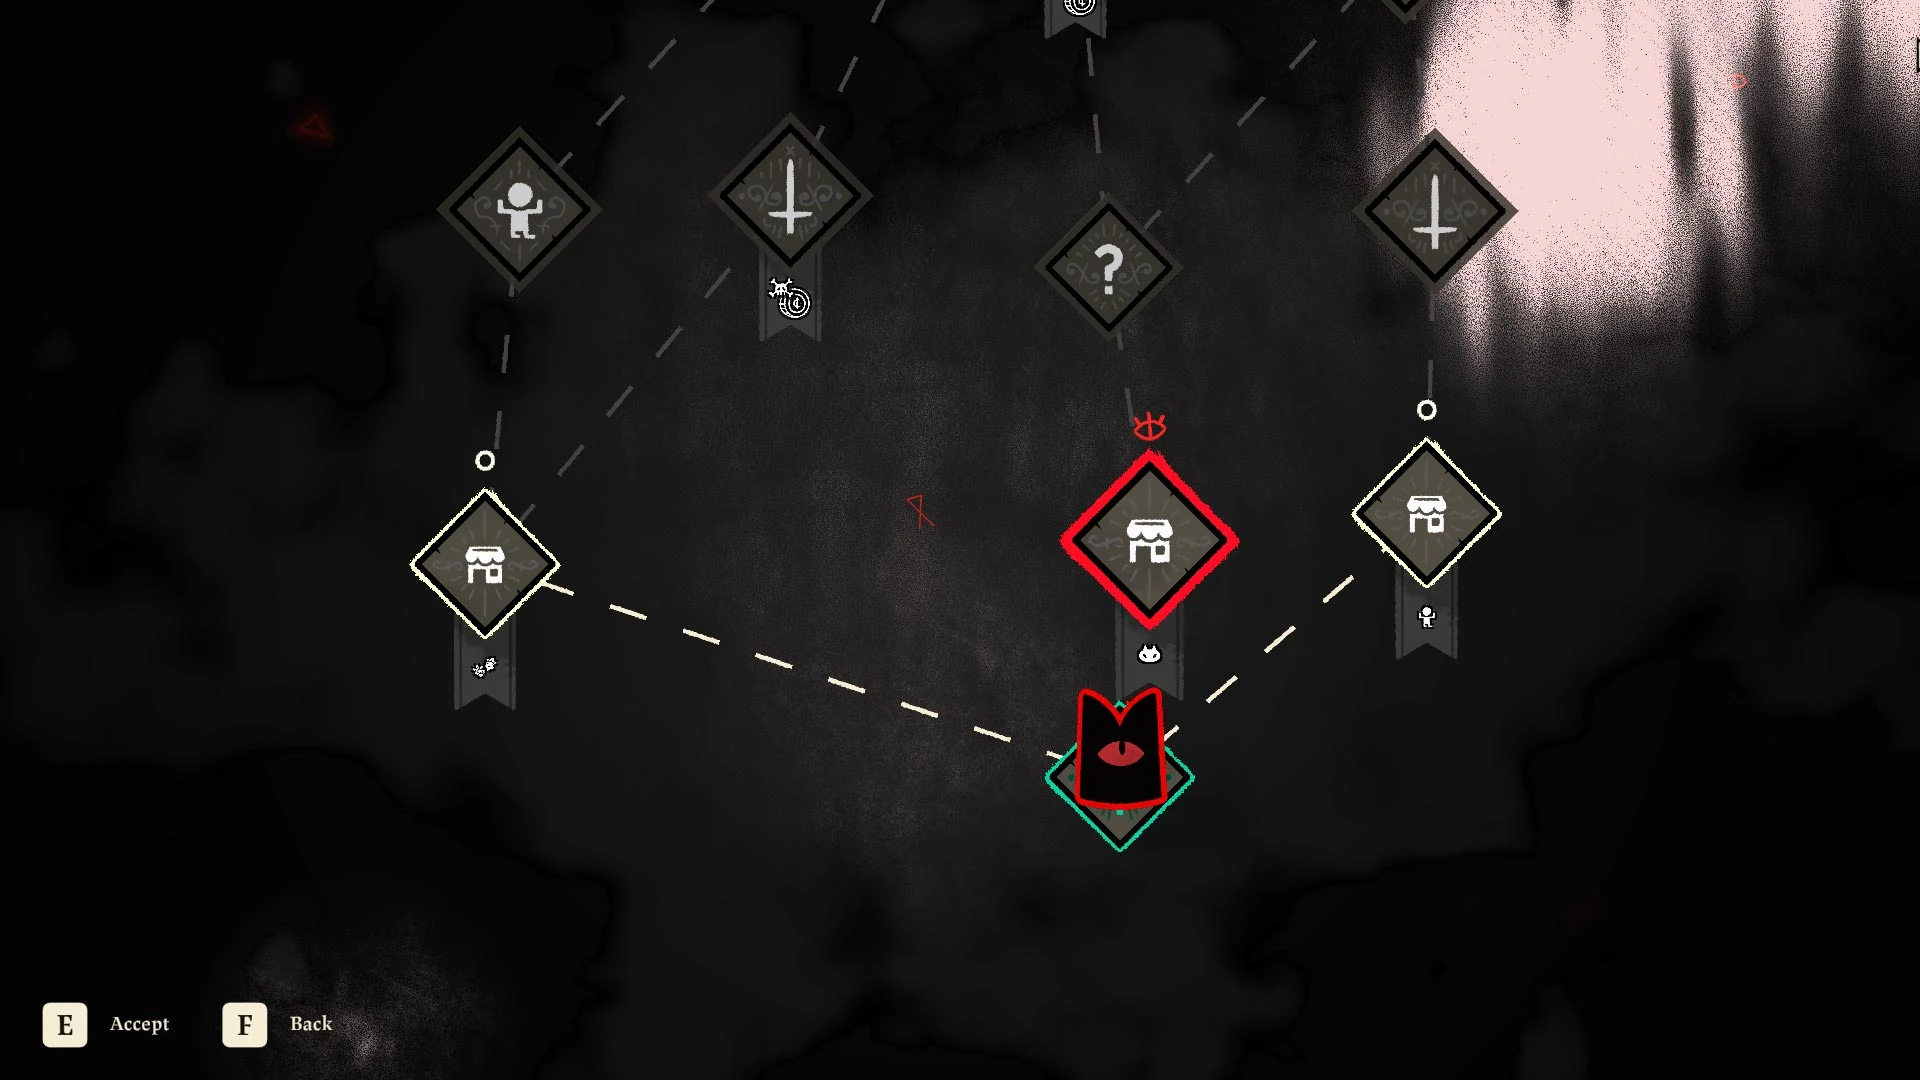
Each crusade has a randomly generated map for that run, which can lead you through several kinds of areas, including:
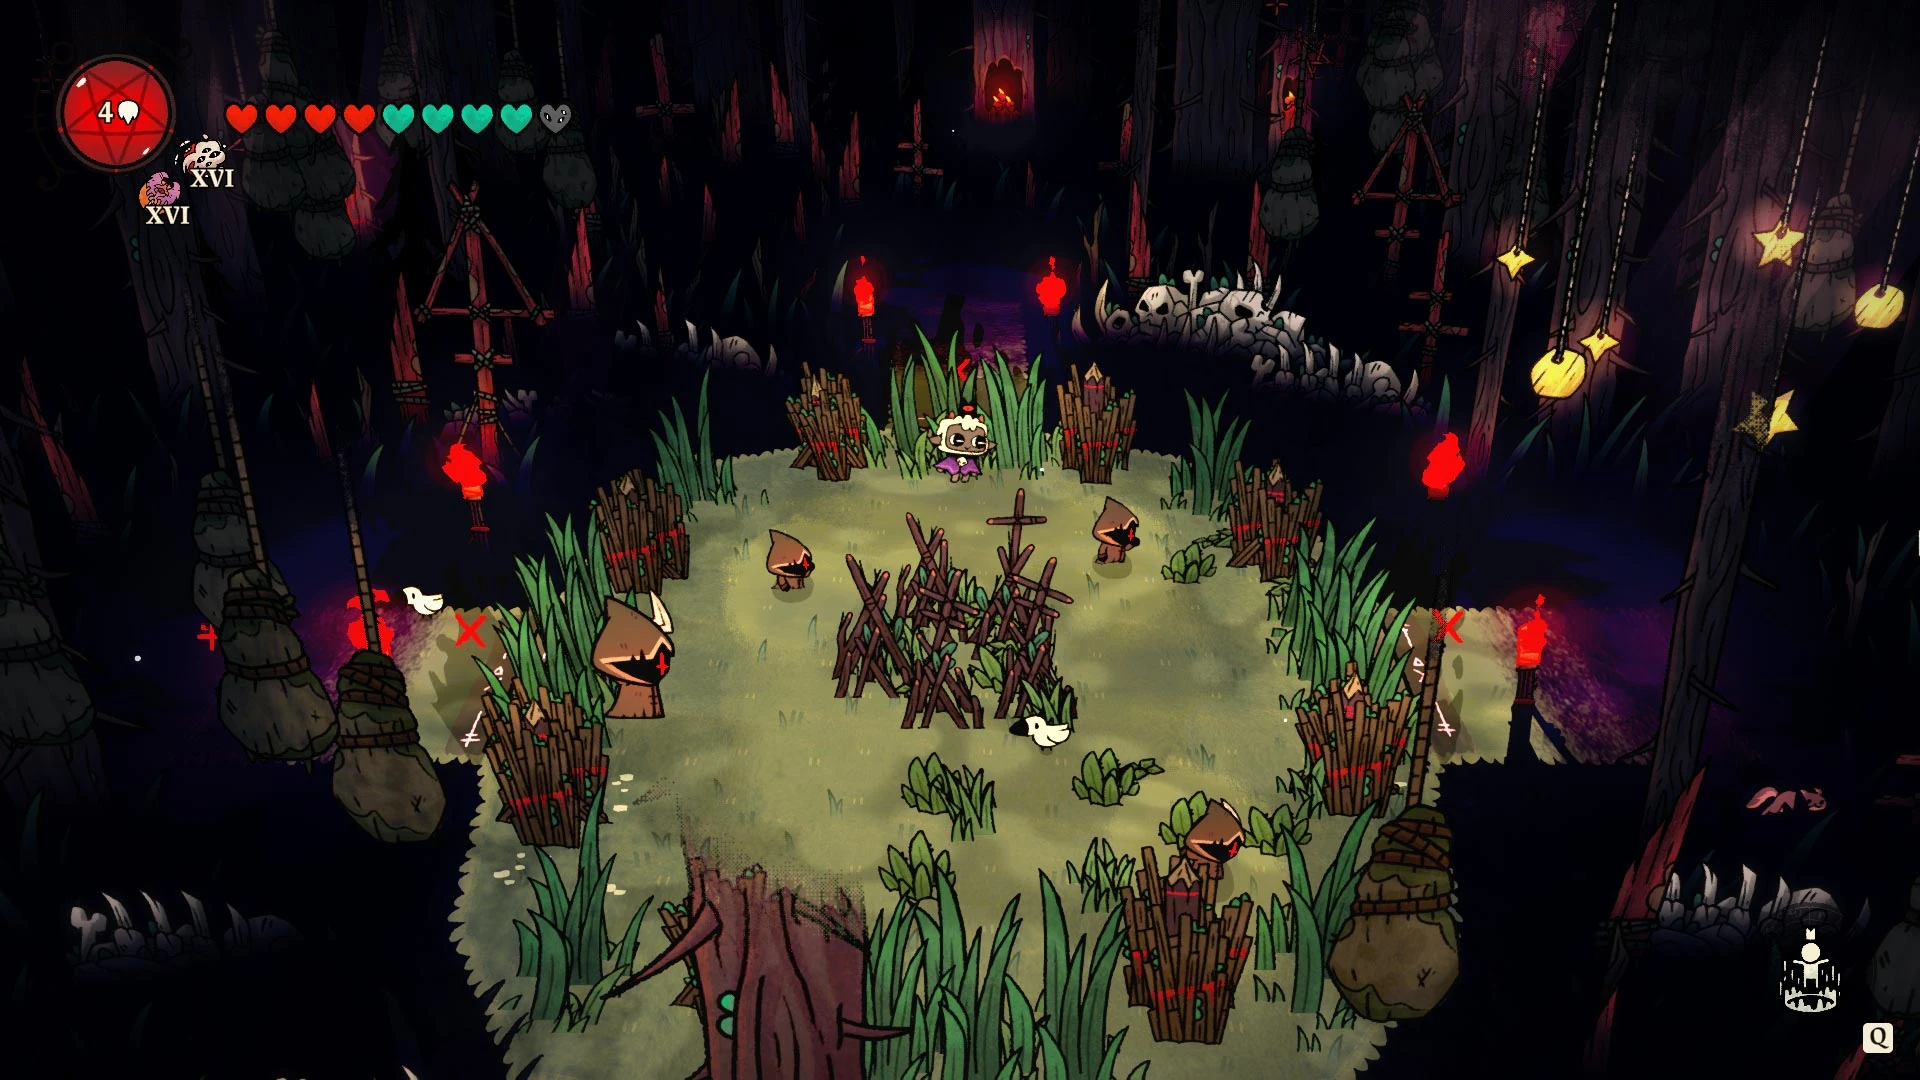
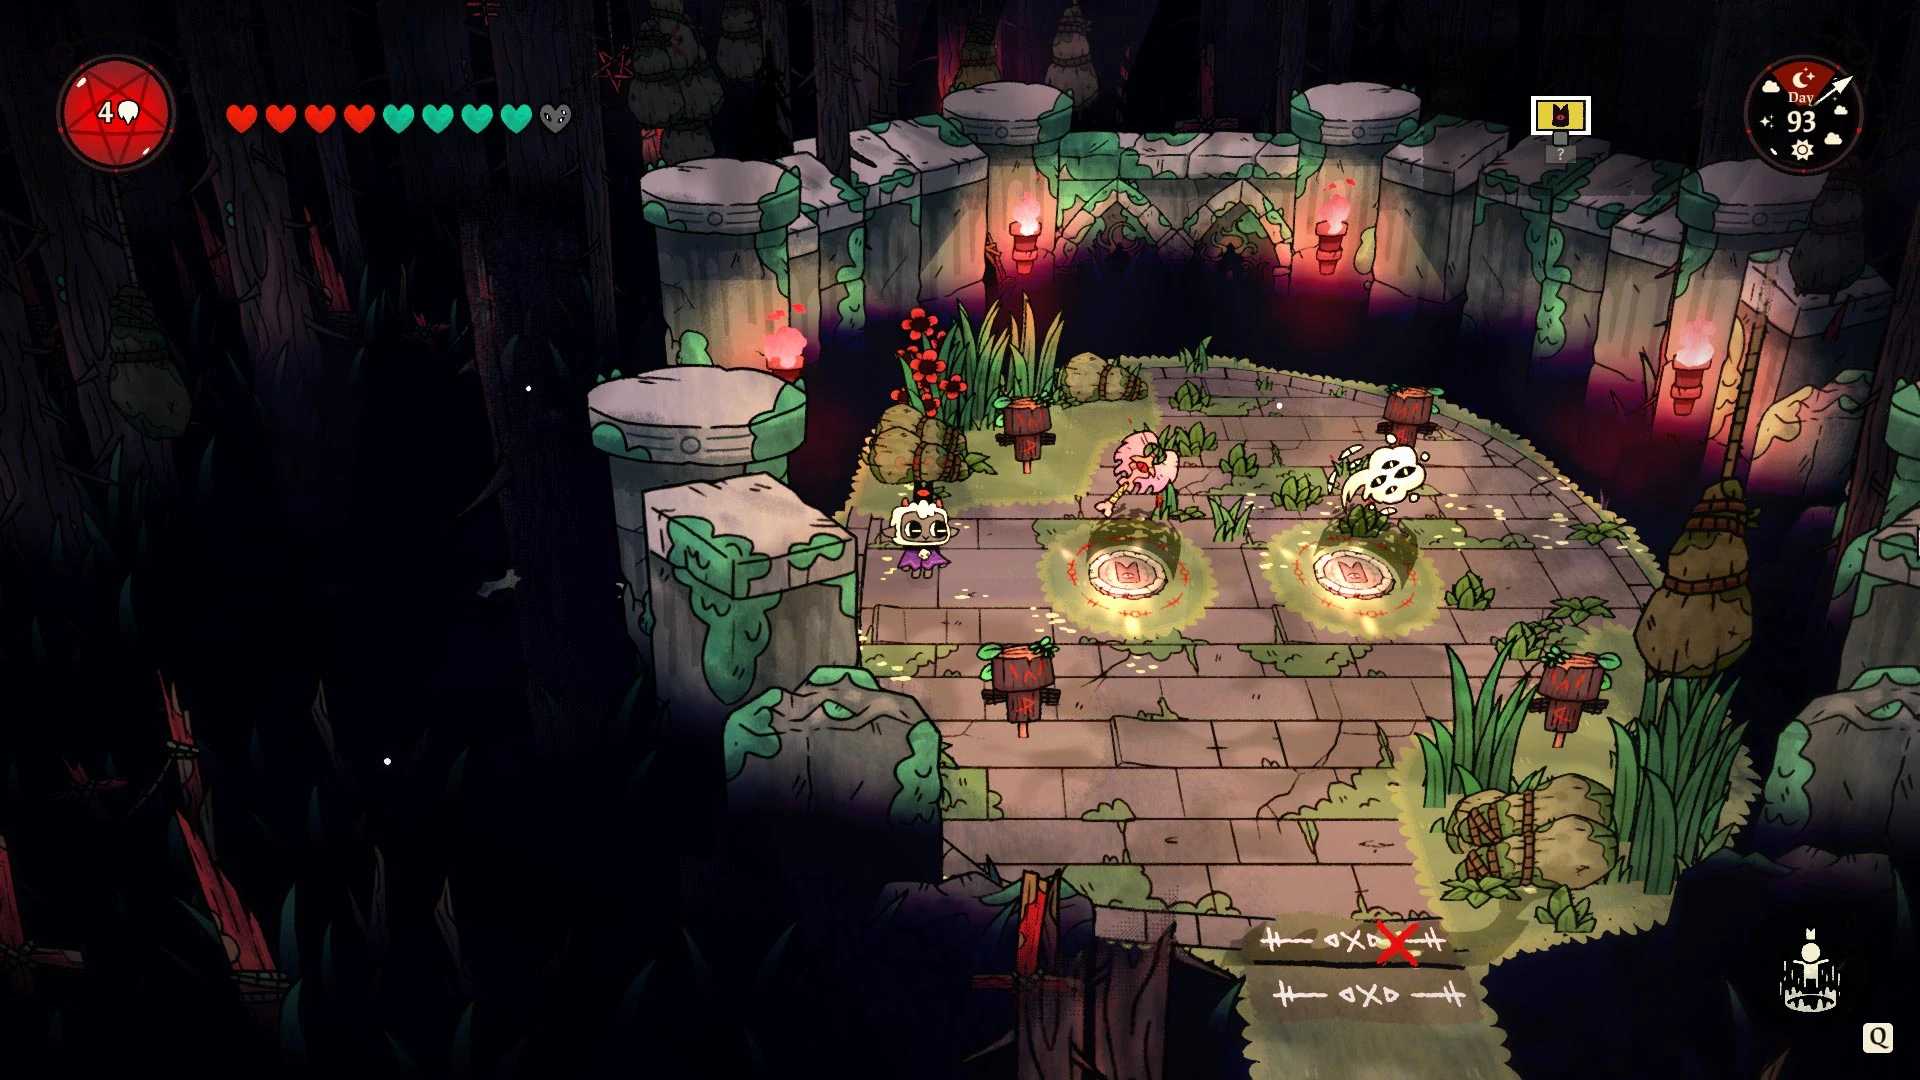
 Combat area[]

In this area there are multiple rooms with enemies you have to clear to advance.
There can be some modifiers signified by the icon below the tab:
- Chests drop Food ingredients not Coins
- Chests drop double the Coins
- Chests drop double the Coins + enemies drop poison pools
- Enemies have half health + You receive double damage
- Loses 1 max Heart, gain 1-3 Black Hearts
- Loses 1 max Heart, gain 1 Tarot card.


There are several types of room in a Combat area, indicated by their icons in the minimap:
No icon[]
This room has enemies you have to defeat to get out.
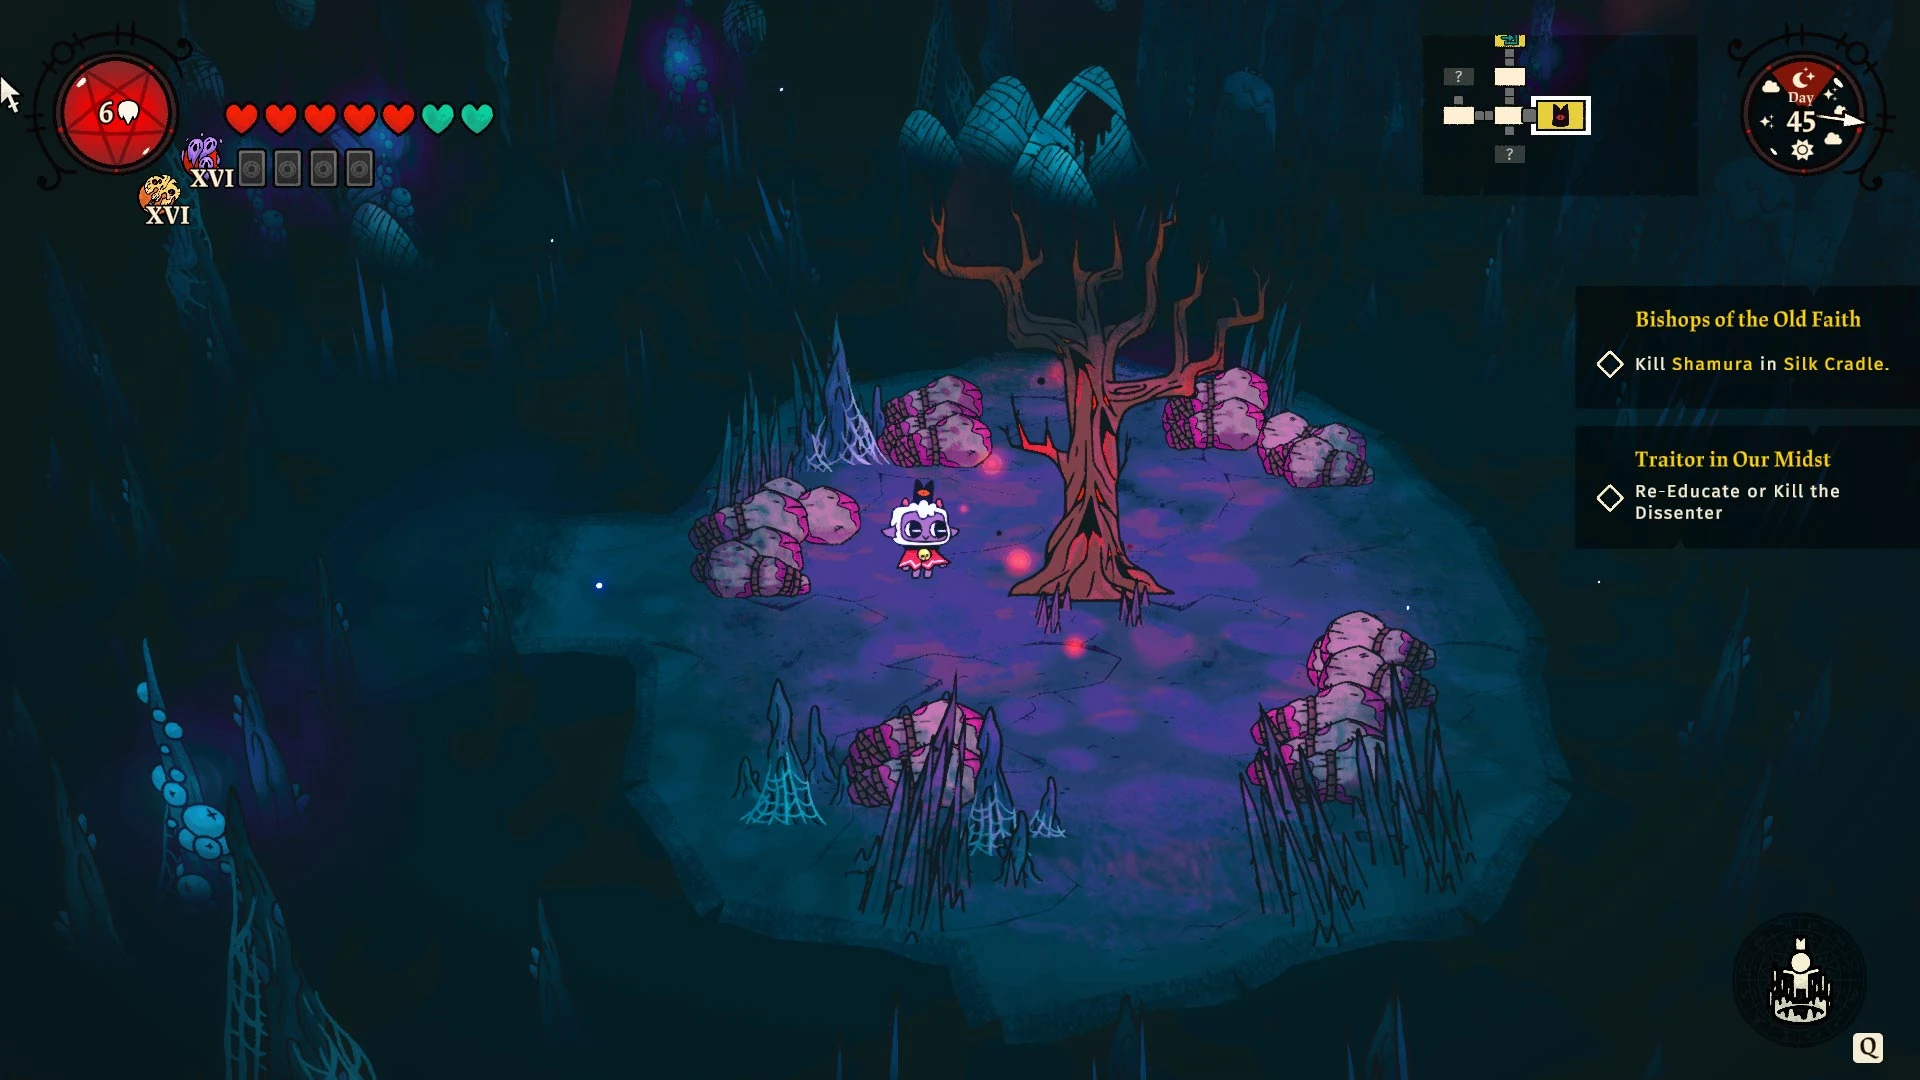
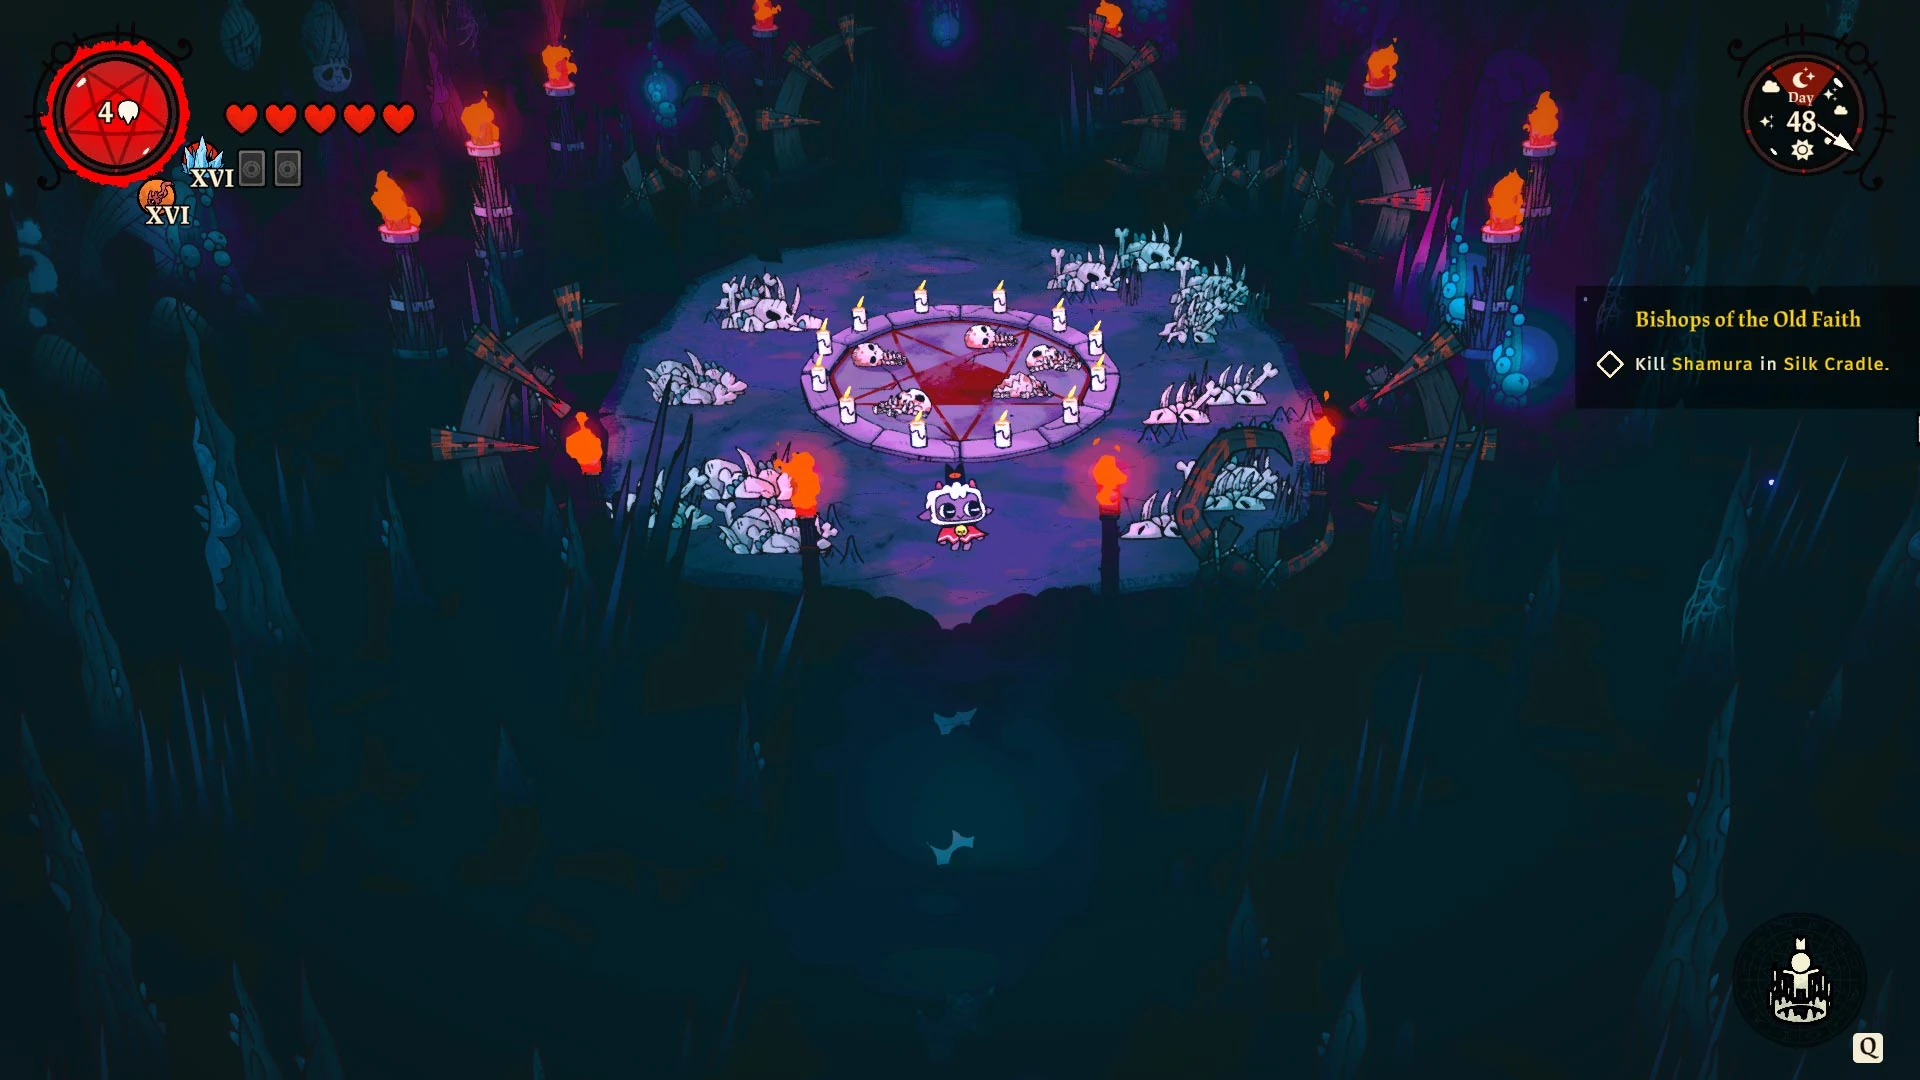
Entrance[]
The room you start the area with. In the very first Entrance room of the run it will spawn a Weapon and a Curse.
In other entrance rooms, a Bishop statue will spawn. Breaking it gains some Devotion and 2 ![]() Stone. After the Bishop has been defeated, breaking the statue will reveal a portal allowing the player to fight the Bishop again.
Stone. After the Bishop has been defeated, breaking the statue will reveal a portal allowing the player to fight the Bishop again.
Bonus room[]
There can be some special bonuses in this room:
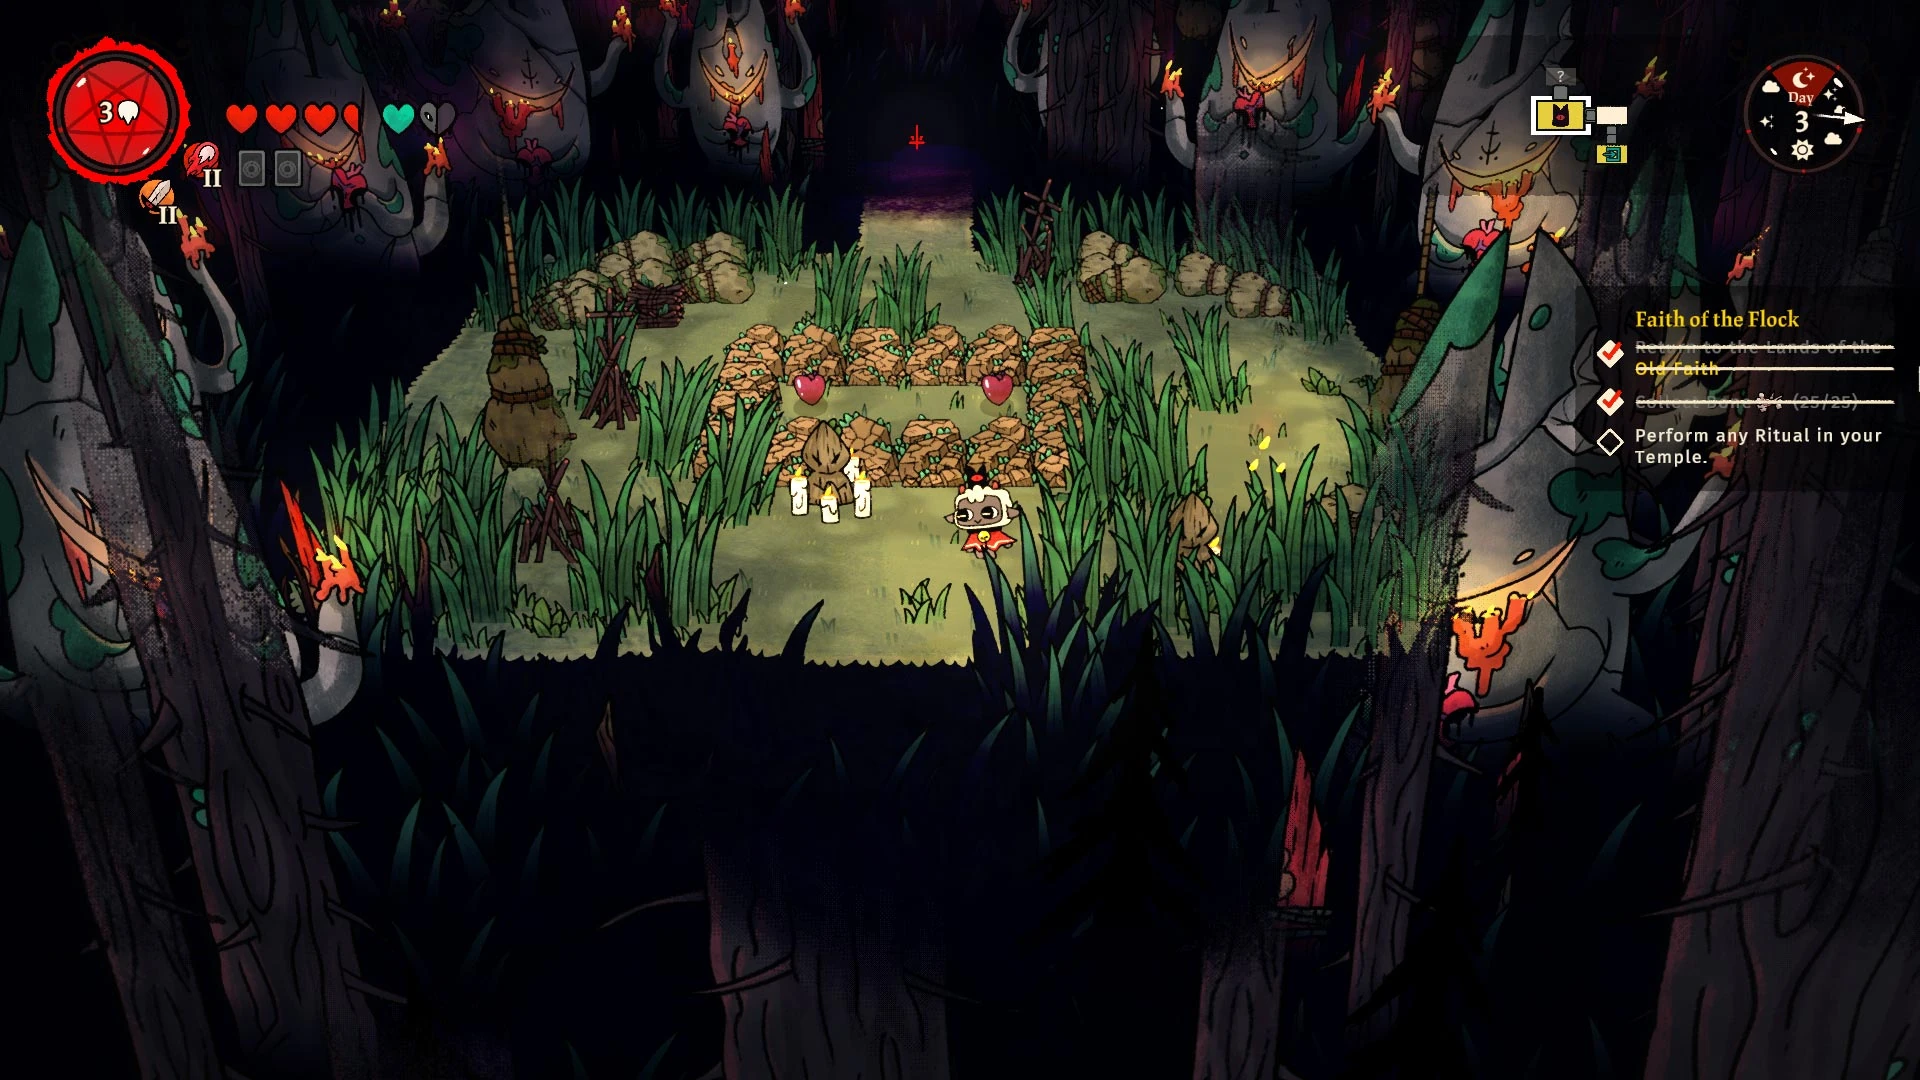
2 Heart pickups. They can be either 2 Red Hearts or 2 Blue Heart pickups.
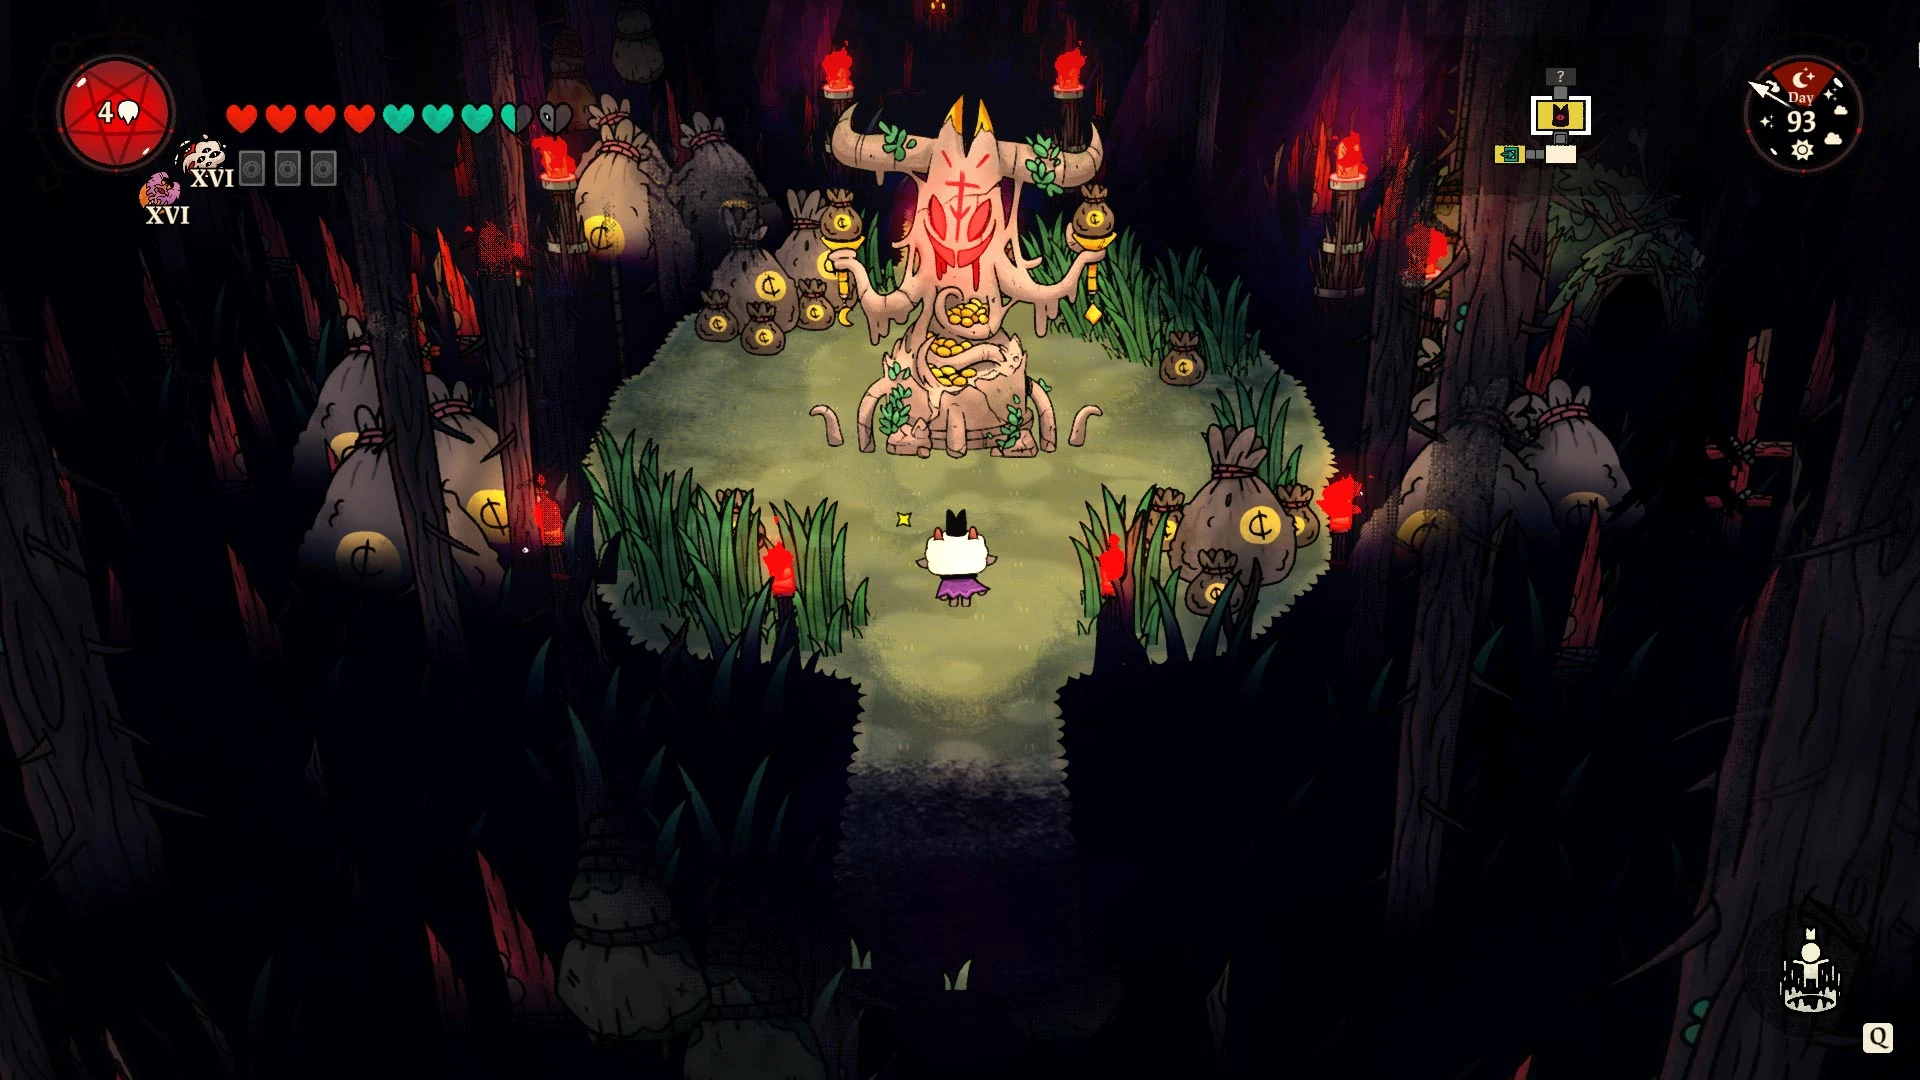
Offering room: Pay the statue some Coins to get more Coins or some resources in return.
The statue can be offered with Coins 3 times: first time is 20 ![]() Coins, 2nd time is 30
Coins, 2nd time is 30 ![]() Coins, 3rd time is 45
Coins, 3rd time is 45 ![]() Coins.
Coins.
List of possible resources (sorted by most common to rarest):
- 5-50 Coins
- 7-12 Lumber and 7-12 Stone
- 15 random items. The items can be Berry, Minnow, Meat or Pumpkin
- 1 general Follower form
- 2.5 - 7 Blue Hearts
Be caution that the bags in the room are breakable and drop ![]() Coin and
Coin and ![]() Gold Nugget, but if you destroy >60% of them before offering to the statue, the statue will be angry and take your coins without returning anything.
Gold Nugget, but if you destroy >60% of them before offering to the statue, the statue will be angry and take your coins without returning anything.
Cursed Tree: Chopping down this tree gives you some ![]() Lumber and 1-3 Diseased Hearts.
Lumber and 1-3 Diseased Hearts.
Health altar. Pray to it to sacrifice 1 Red Heart, and gain a buff in return. The buff can be:
- Increase all damage by x1.25
- Gain 1-3 Blue Hearts/Diseased Hearts
- Gain 1 random Tarot Card
Tarot Cards shop[]
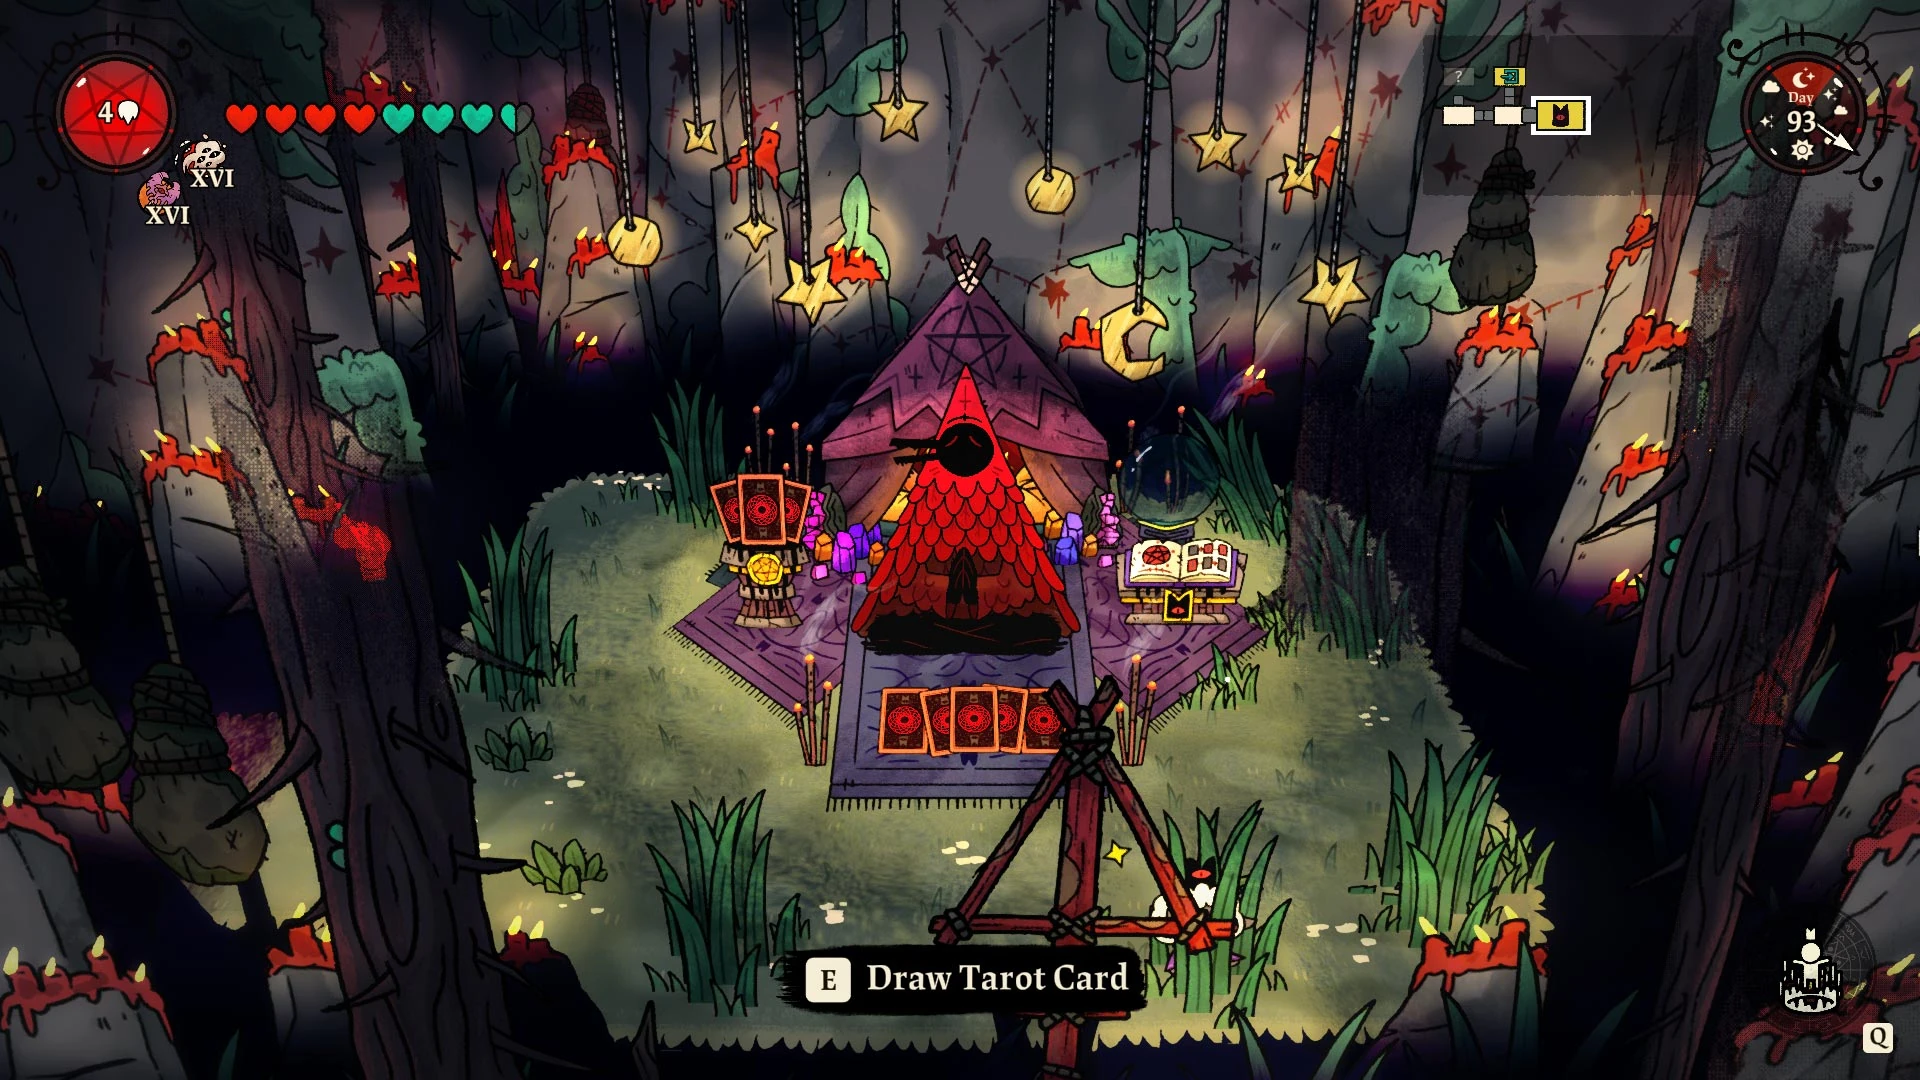
The shop of Clauneck, where you can choose 1 between 2 Tarot Cards for free.
You can also buy another Tarot Card here for ![]() Coin. The cooldown for buying a card is 0.75 days.
Coin. The cooldown for buying a card is 0.75 days.
On occasion, the icon is also used for special rooms that only contain a single Tarot Card to pick up.
Adjacent Tarot Card shop rooms are indicated by hanging stars over the entrance.
Gear shop[]
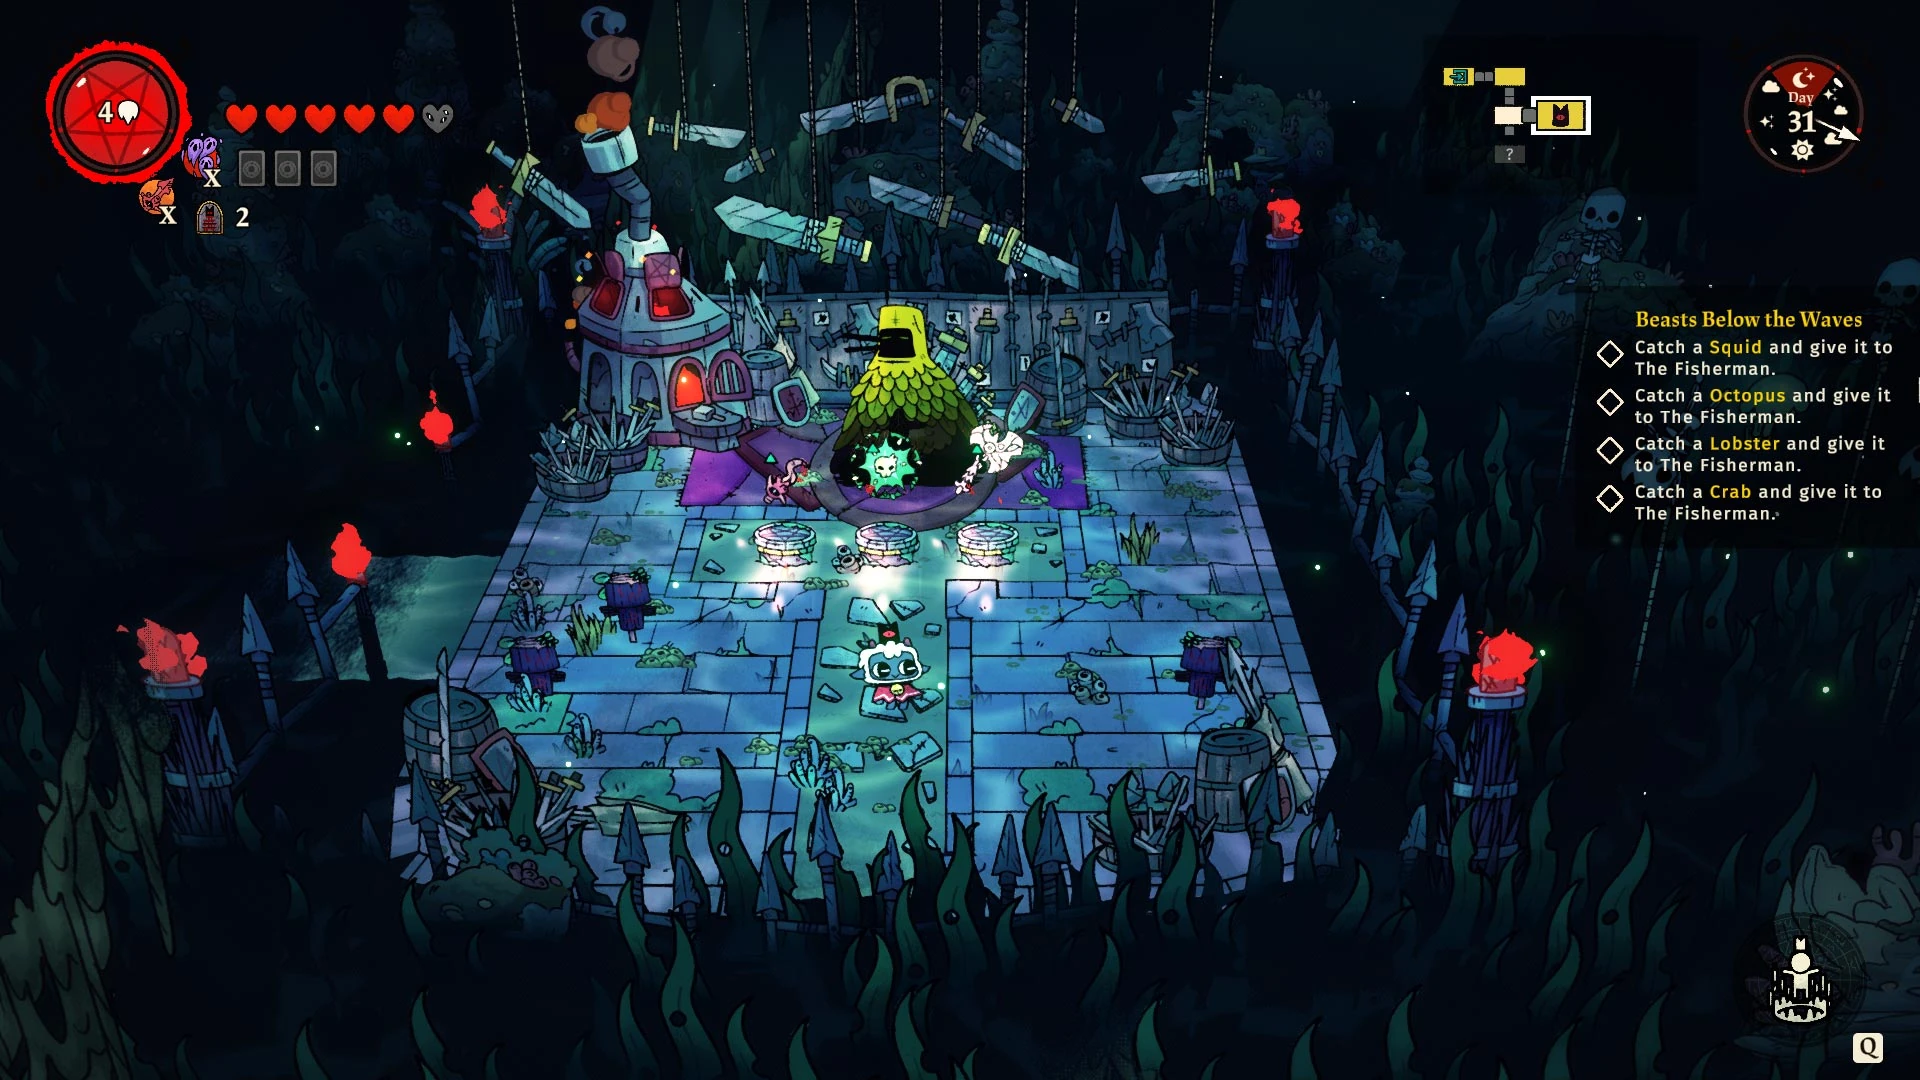
The shop of Kudaai, where you can choose 1 out of 3 items for free. The items can be Weapons or Curses.
Adjacent Gear shop rooms are indicated by hanging swords over the entrance.
Teleport room[]
Appears at the end of the area to advance to the next area, or to end the run.
Bones[]


A room that has lots of ![]() Bone.
Bone.
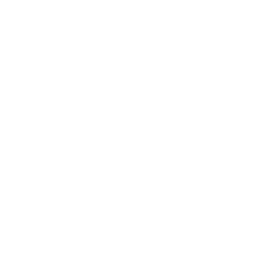
Vegetables[]


A room that has lots of vegetables. Depending on the biome, the ingredients spawning are different:
- Darkwood: Berry
- Anura: Pumpkin
- Anchordeep: Cauliflower
- Silk Cradle: Beetroot
- Any locations but with a specific icon : Grapes, Hops, Cotton
Lumber[]

A room that has lots of ![]() Lumber.
Lumber.
Fertilizer[]

A room that has lots of ![]() Fertilizer.
Fertilizer.
Stone[]

A room that has lots of ![]() Stone.
Stone.
Coins[]
A room that has lots of ![]() Coin.
Coin.
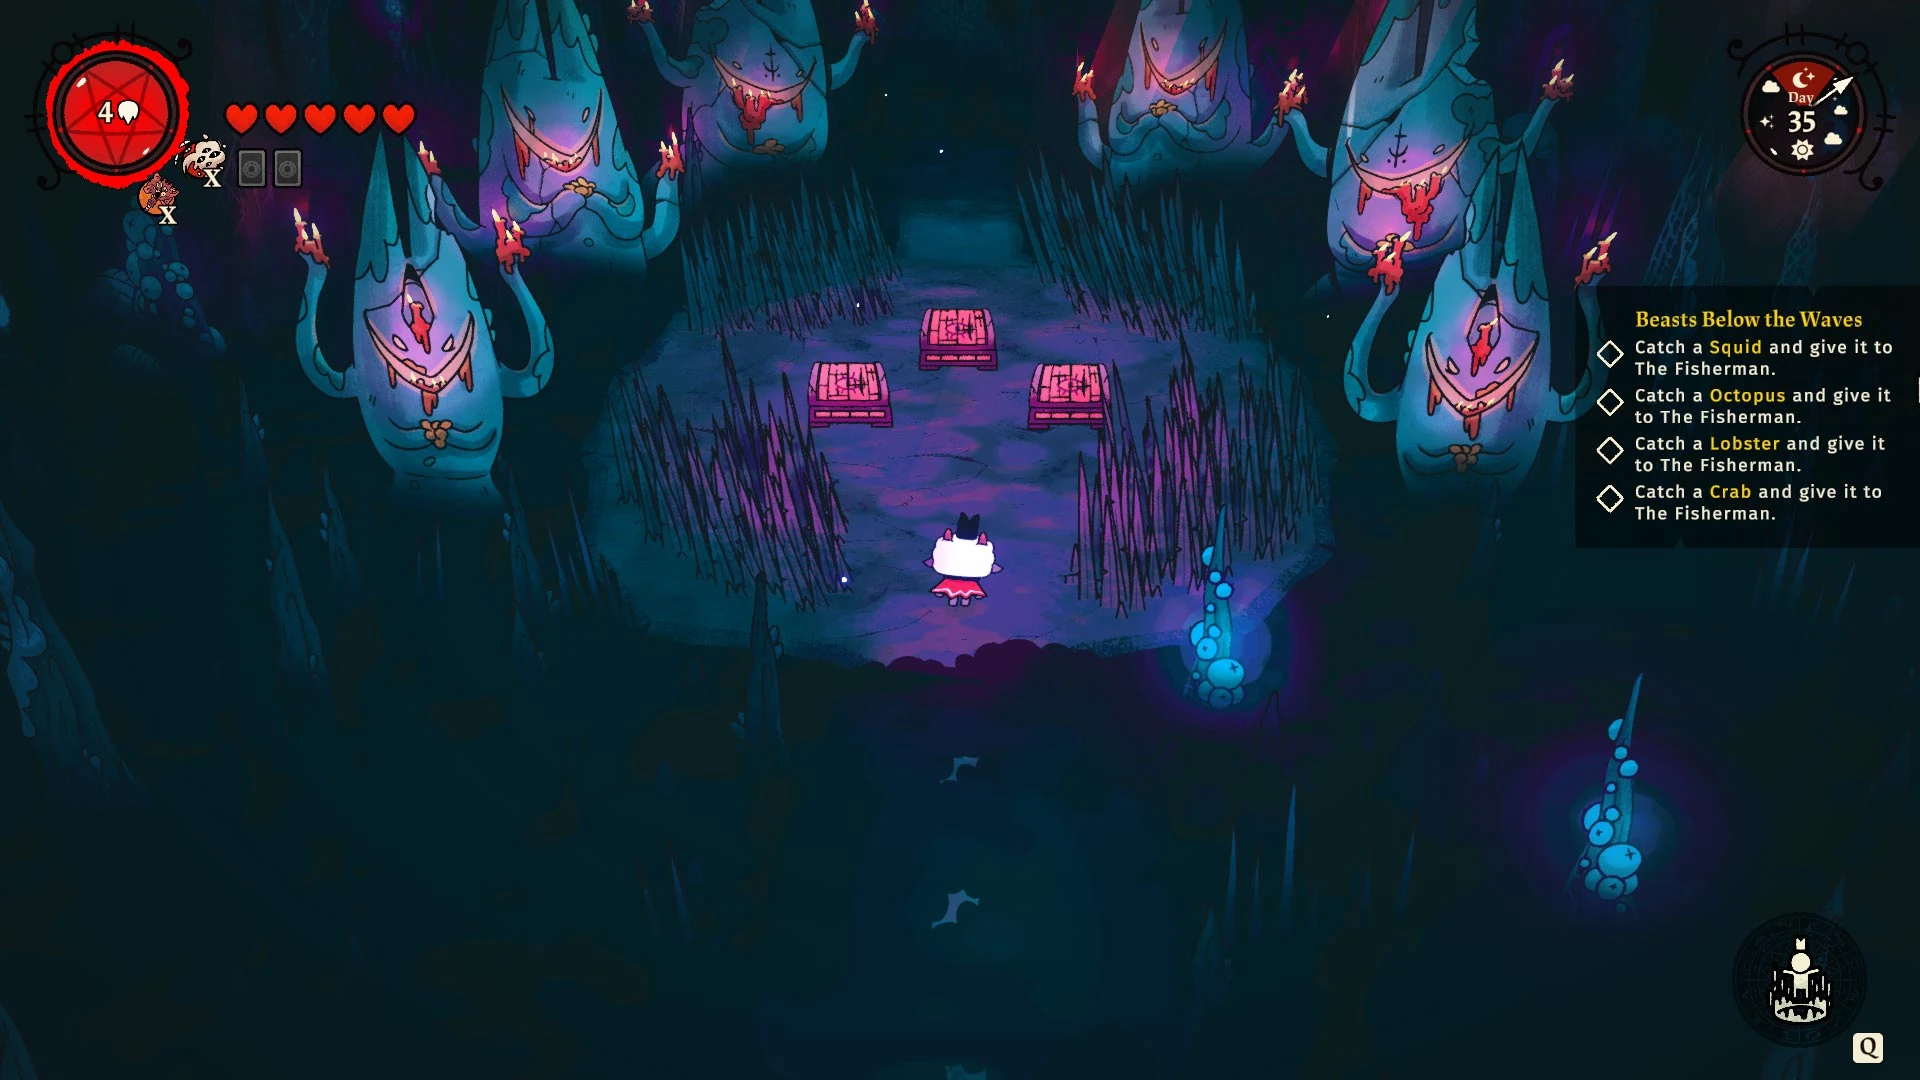
Meat[]
A room that has lots of ![]() Meat.
Meat.
Shop[]
There are several types of shop, signified by the icon below the tab:
Follower[]

Helob's shop, which sells 1 Follower (at a significant discount, sometimes free)
Cat[]
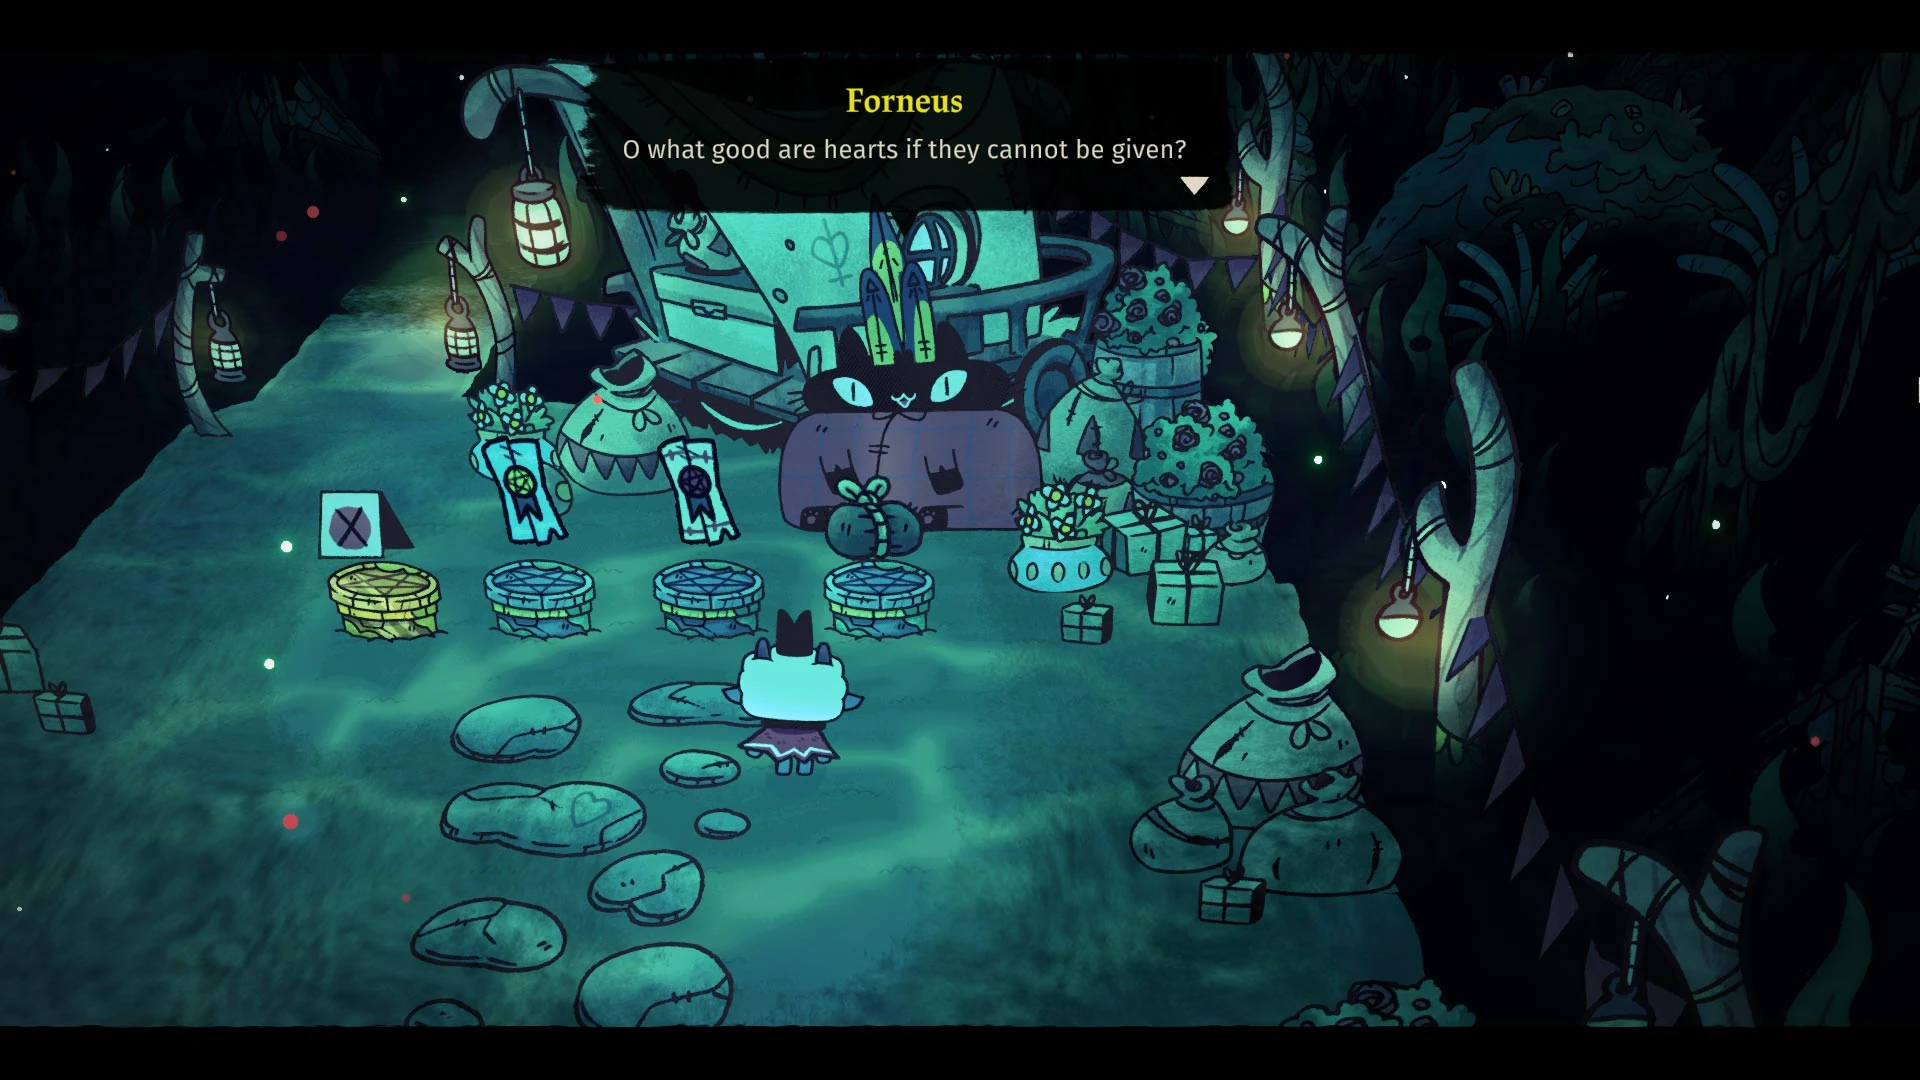
Forneus' shop, where you can pick a free item out of 3 items: 1 Decoration blueprint, 1 Follower form, and the other is 1 Small Gift/Big Gift/Commandment StoneFragment.
The shop also sells the Ambrosia card that you can unlock with 50 ![]() Coin.
Coin.
Food[]
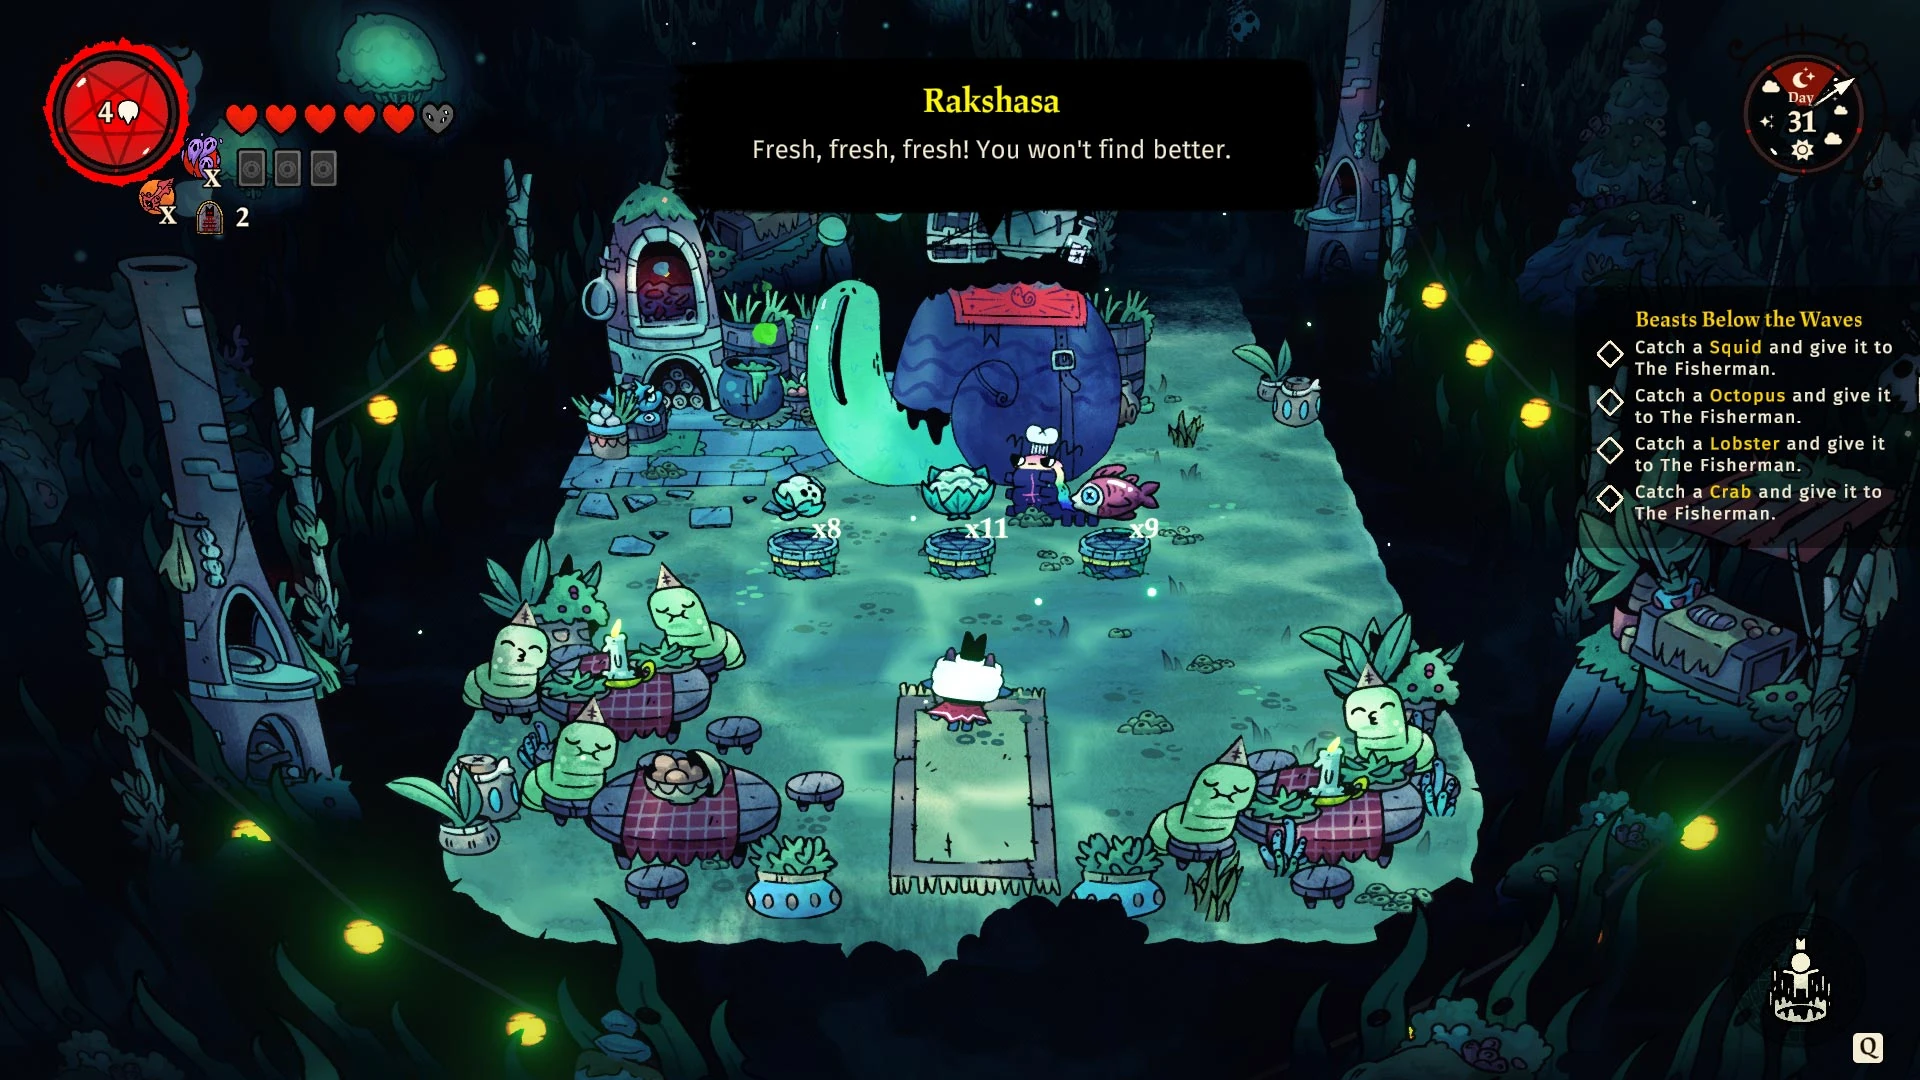
Rakshasha's shop that has 1 free item. The items can be food ingredients or food seeds.
Robes[]
Berith's shop sells a random Robe blueprint for ![]() Gold Bars. He will not sell any more items once you have bought all of his blueprints.
Gold Bars. He will not sell any more items once you have bought all of his blueprints.
Destroying the items around his shop may yield a Worm Follower form.
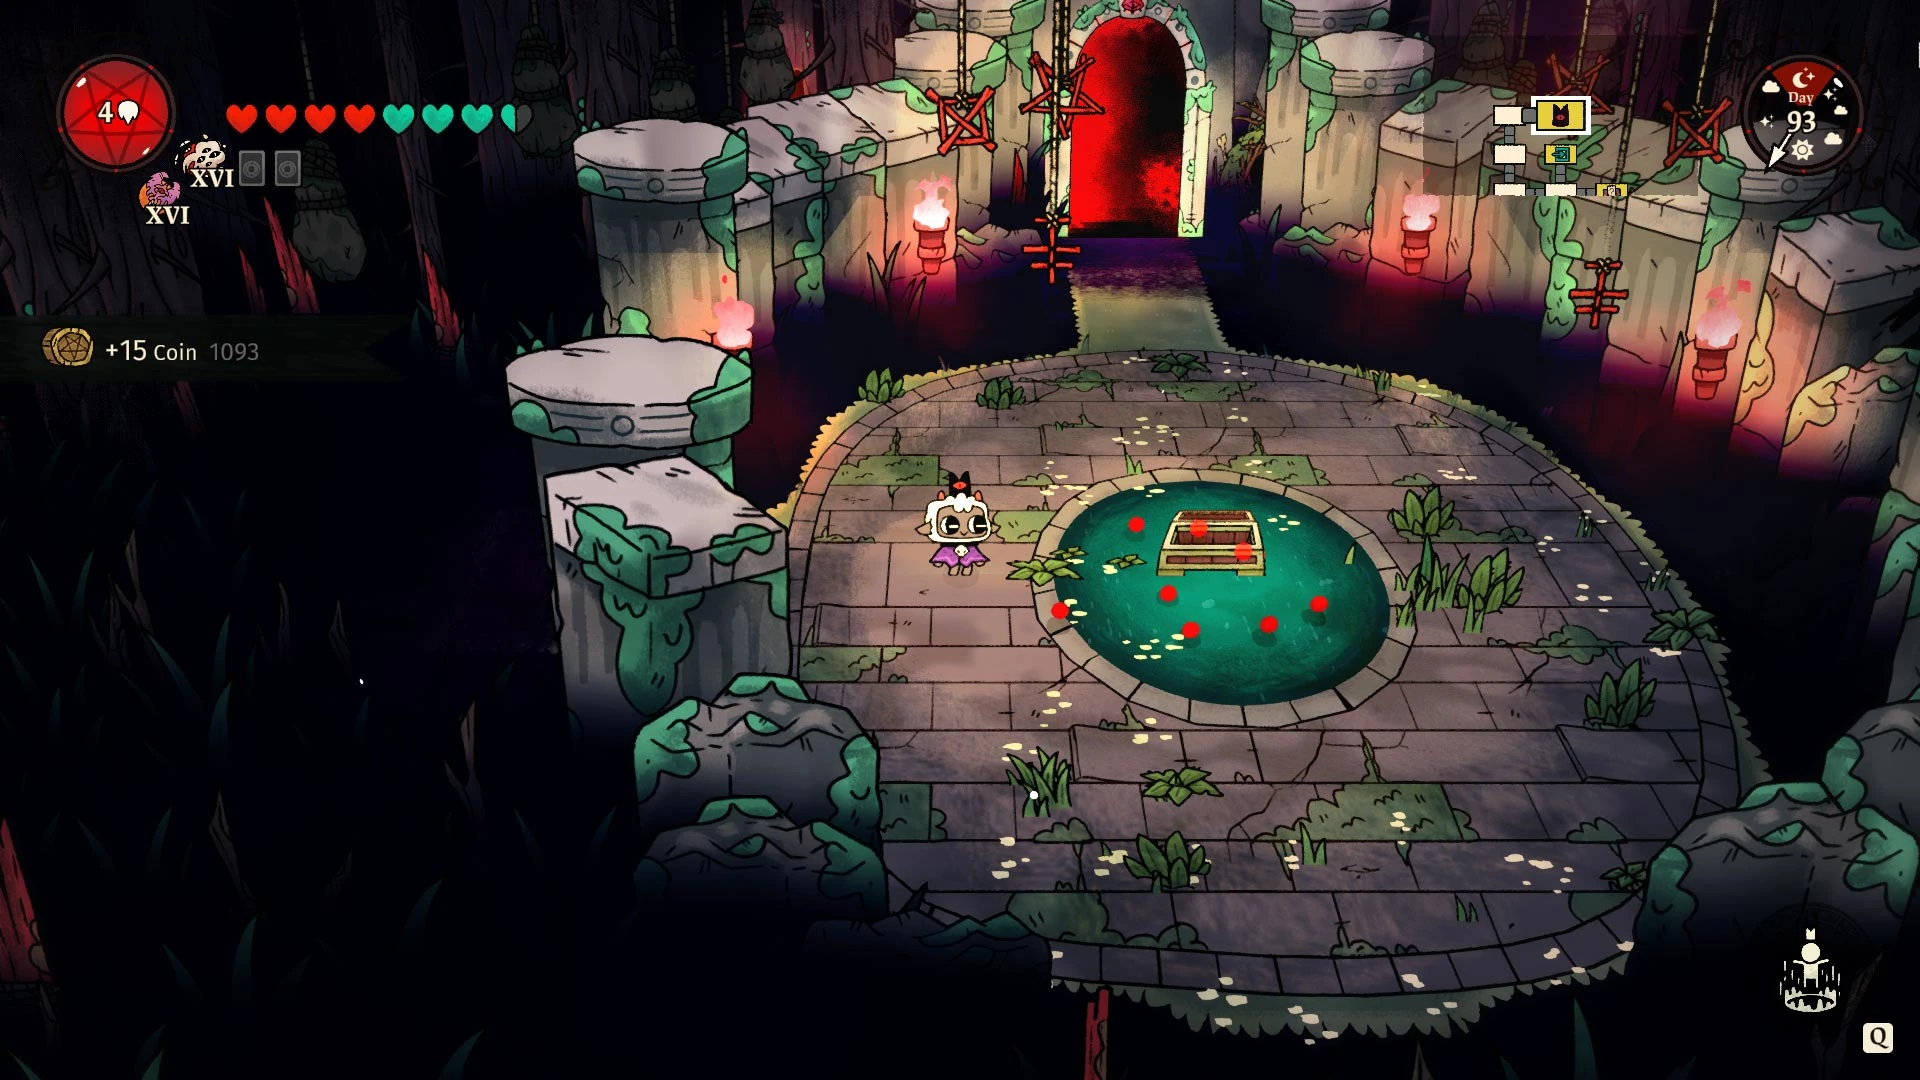
Hearts[]

Has a pool that fully heals you, and some Hearts in breakable objects.
In this room there is the Hearts III Tarot card that you can unlock with 100 ![]() Coin.
Coin.
If you have the demon Hathor, Ratoo will claim that Hathor is his heart, and ask you to return it to him. If you choose to give him Hathor, you will lose the demon, and permanently lose the Follower that turned into Hathor. In exchange, you will permanently gain half a heart.
Tarot Cards room[]

A room that has 1-3 Tarot Cards, or Clauneck's shop.
")
")
Follower[]

1 Follower that either has to be saved, or can be recruited by dialogue choices.
")
")
")
Random[]

This room can be:
Challenge[]
A challenge from Ratoo. The challenge can be:
- Completing 3 enemies rooms without getting hit
- Completing 3 enemies rooms without using Dodge
- Completing 3 enemies rooms without using Curses
After completing the challenge, Ratoo will reward you with some ![]() Coin, some Resources, a Follower form or a Decoration blueprint. Nothing will be rewarded if you fail the challenge. This location otherwise acts like a Combat area, with at least enough rooms to complete the challenge.
Coin, some Resources, a Follower form or a Decoration blueprint. Nothing will be rewarded if you fail the challenge. This location otherwise acts like a Combat area, with at least enough rooms to complete the challenge.
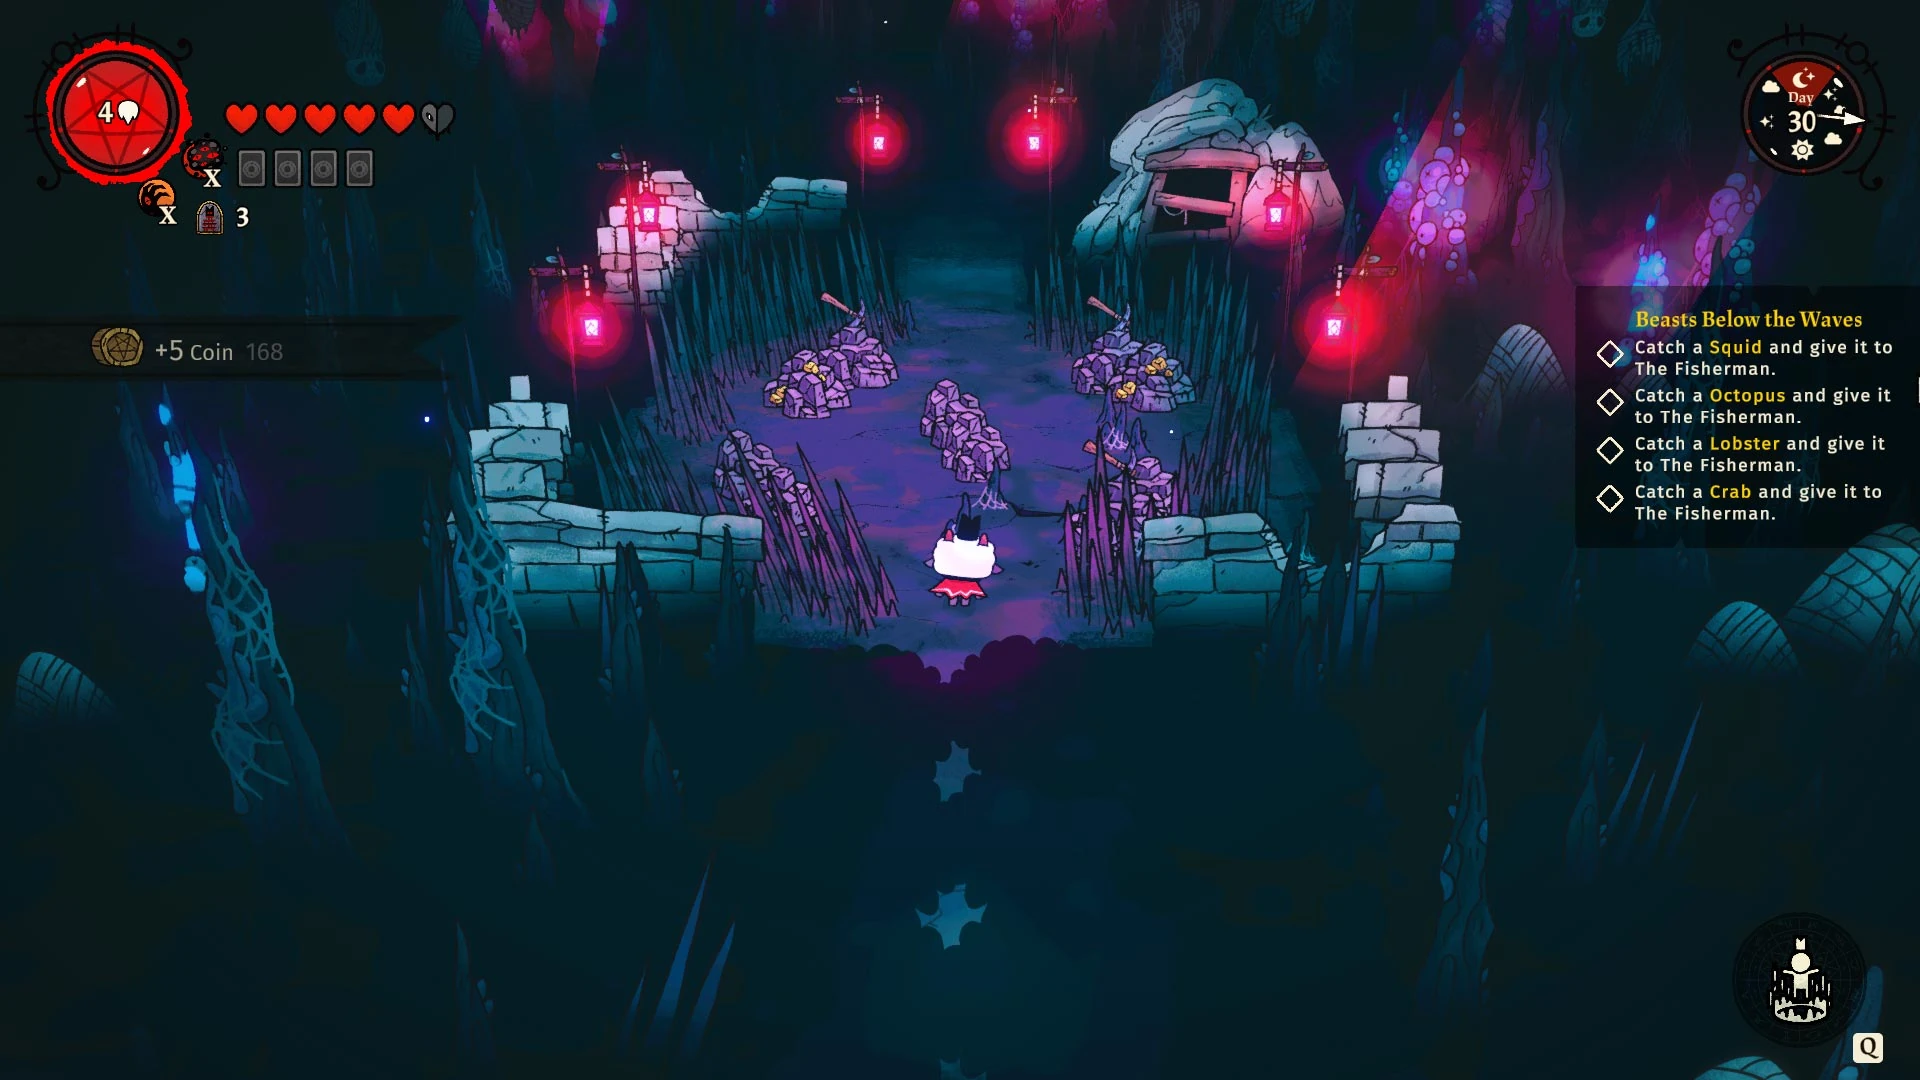
Treasures[]
A treasure trove which gives you ![]() Coin
Coin
Cursed altar[]
You will be forced to take a debuff for the rest of the run. The debuff can be:
- Dodge distance reduced by half
- Curses cost x2 Fervour
- Convert all Red Hearts to Blue Hearts
- Loses all Blue Hearts, Diseased Hearts and Spirit Hearts (if you have any. Can die if you do not have any Red Hearts)
- Enemies' projectiles become faster by x1.5
- Double the chance of Elite enemies in combat area
- Enemies have x1.5 HP
- Remove all Demons (if you have any)
- Remove all collected items of the run
Bonus choice[]
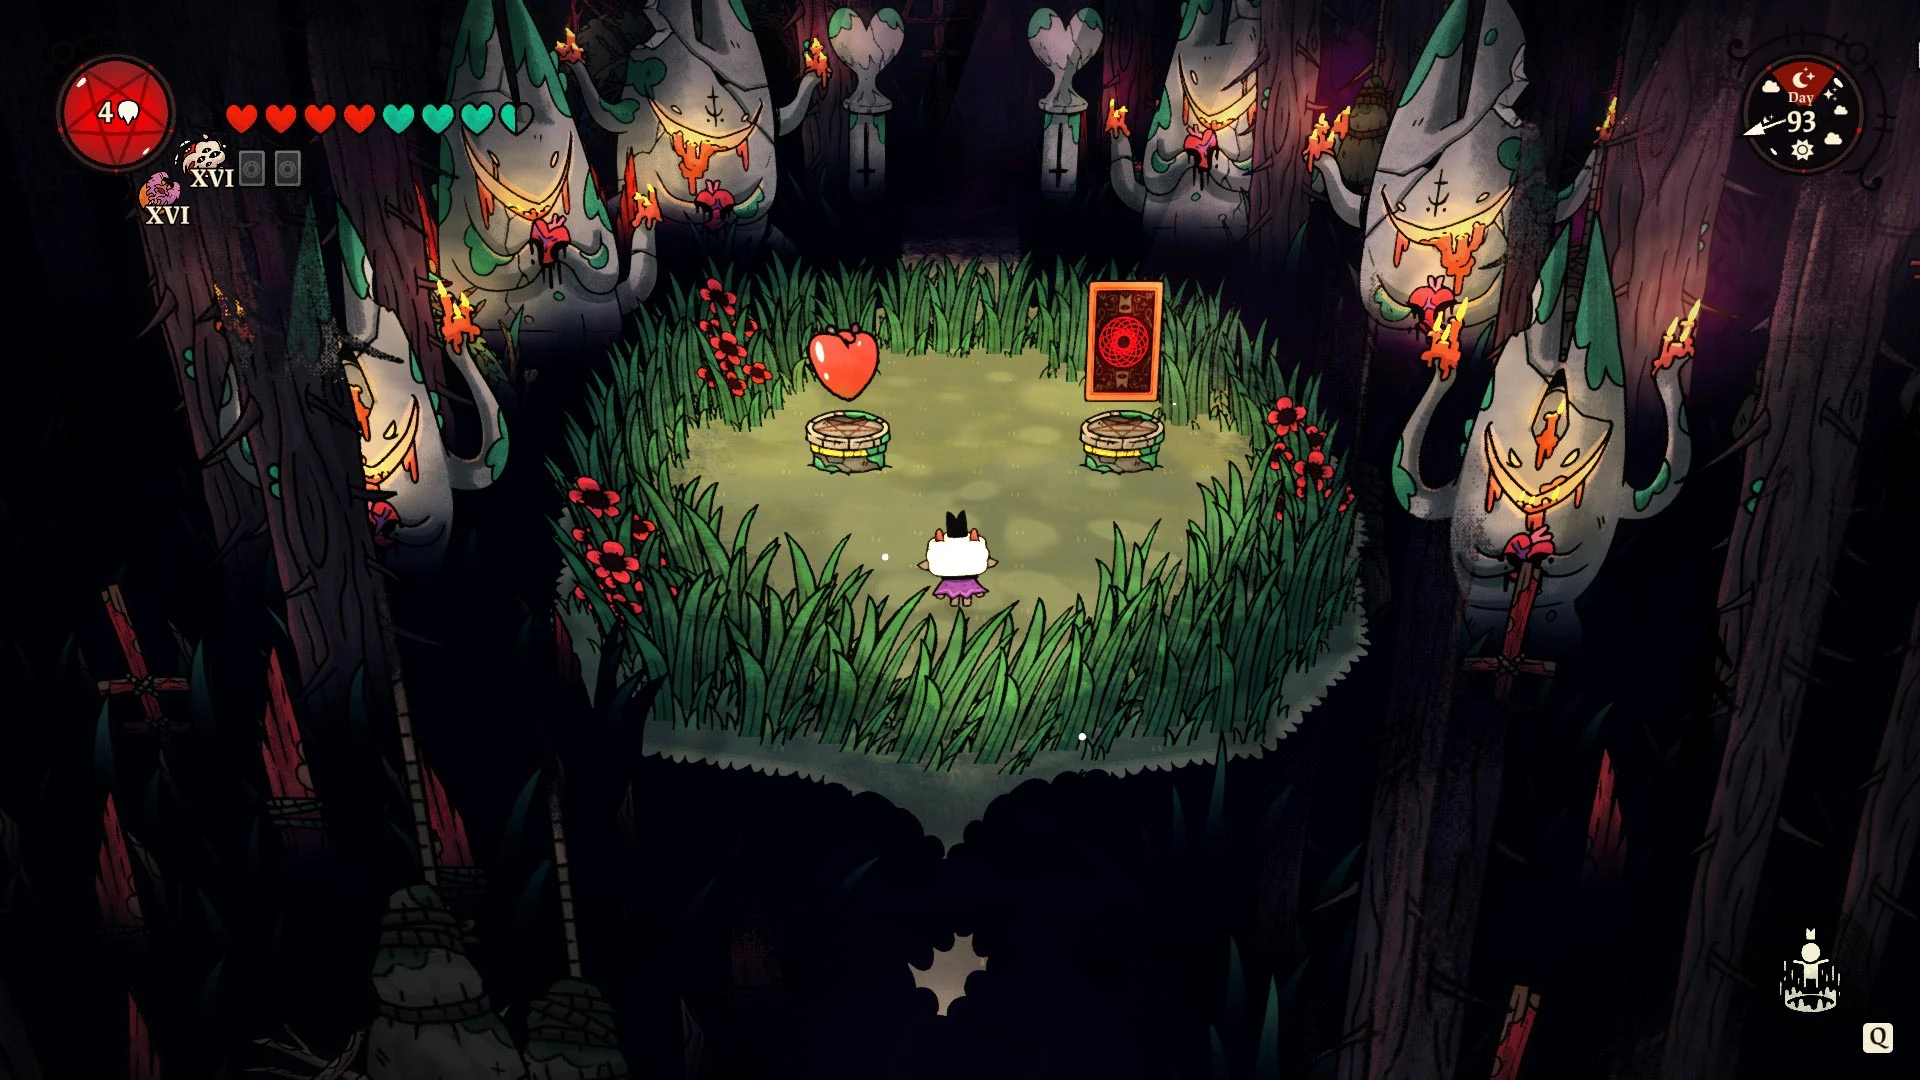
2 pickups that you can choose one for free. The pickups can be Red Heart, Blue Heart, Diseased Heart or Tarot Card.
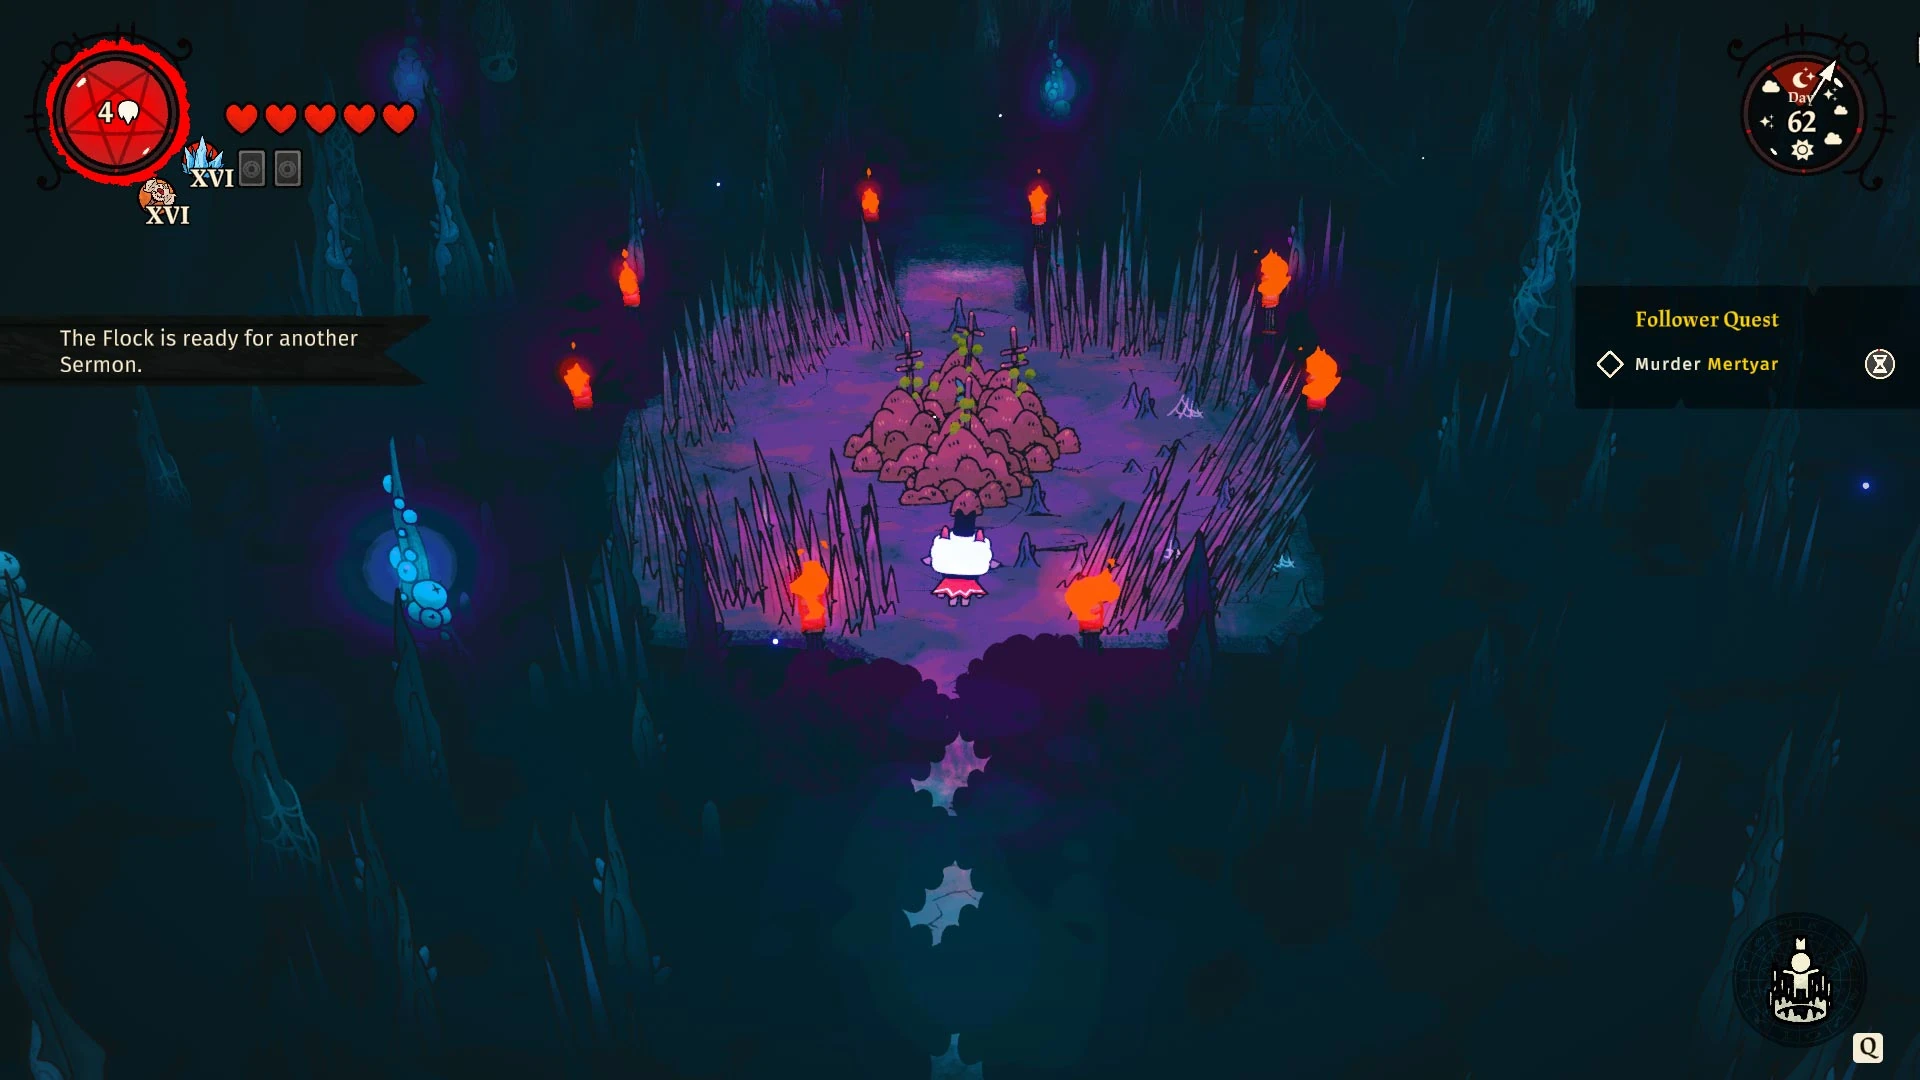
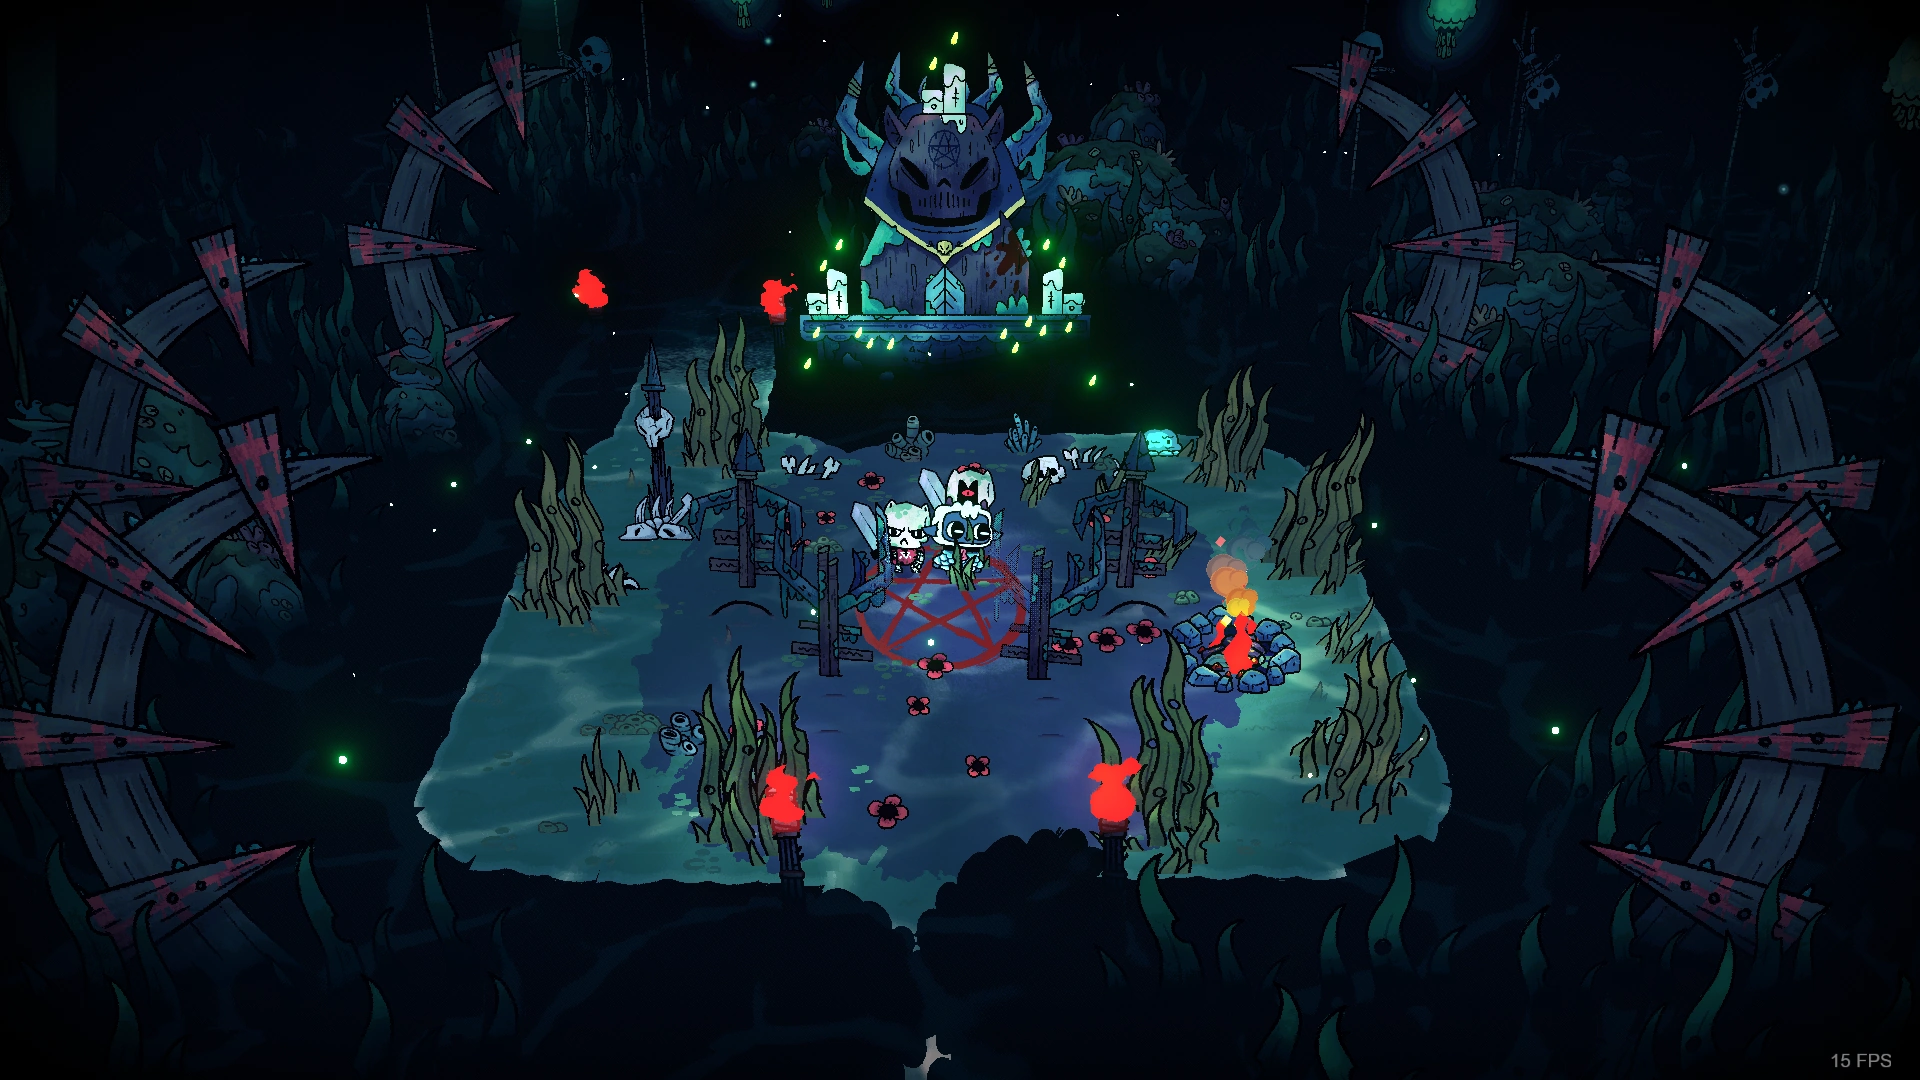
Monch[]

An NPC that increase 1 Follower's Loyalty. They will increase the Loyalty of a chosen Follower by 60.
Spoiler Alert! The Ripped Note can be found behind the bonfire.
|
Mini boss[]
A boss fight.
Dissenter[]
An encounter with a Follower that has either dissented and deserted the cult, or was absolved too many times and was forcibly removed from the cult. Both acts as mini-bosses.
Graveyard[]
A room with multiple graves you can exhume. They contain ![]() Bone and Skeletons.
Bone and Skeletons.
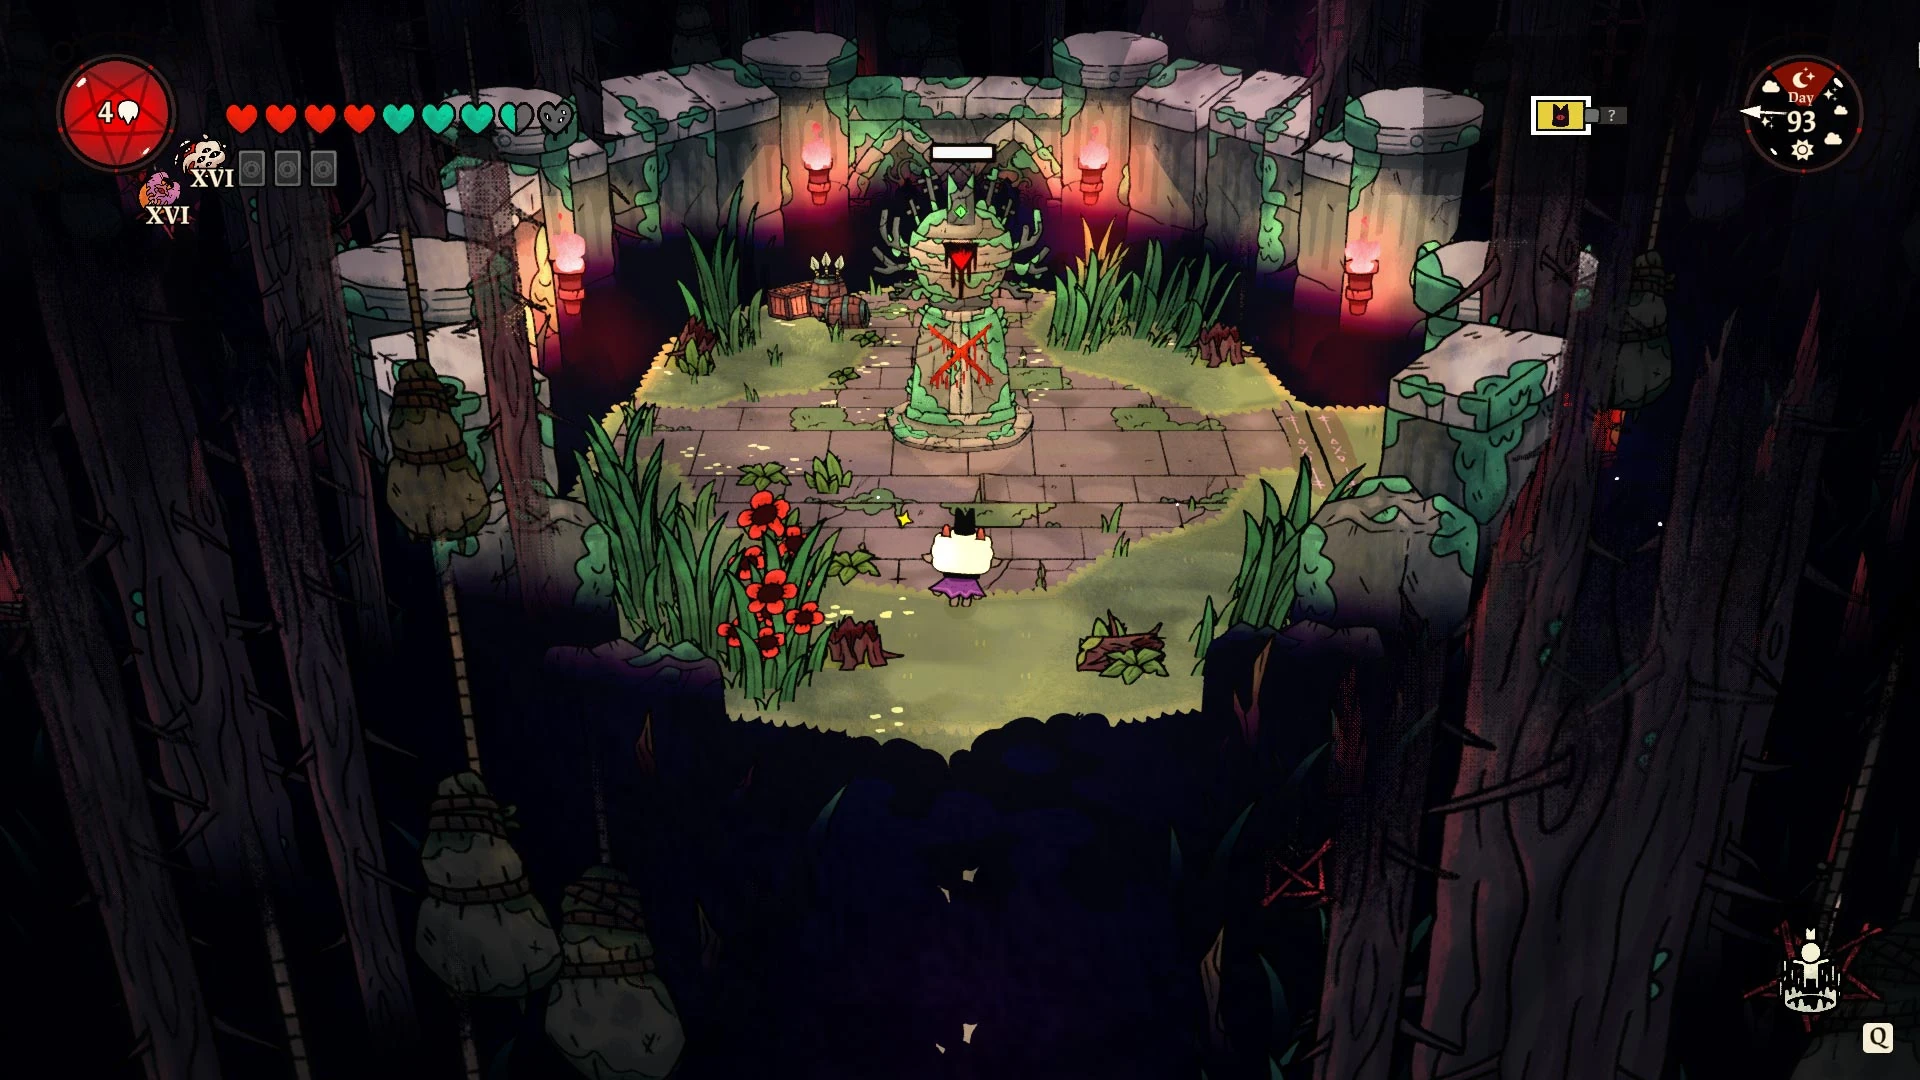
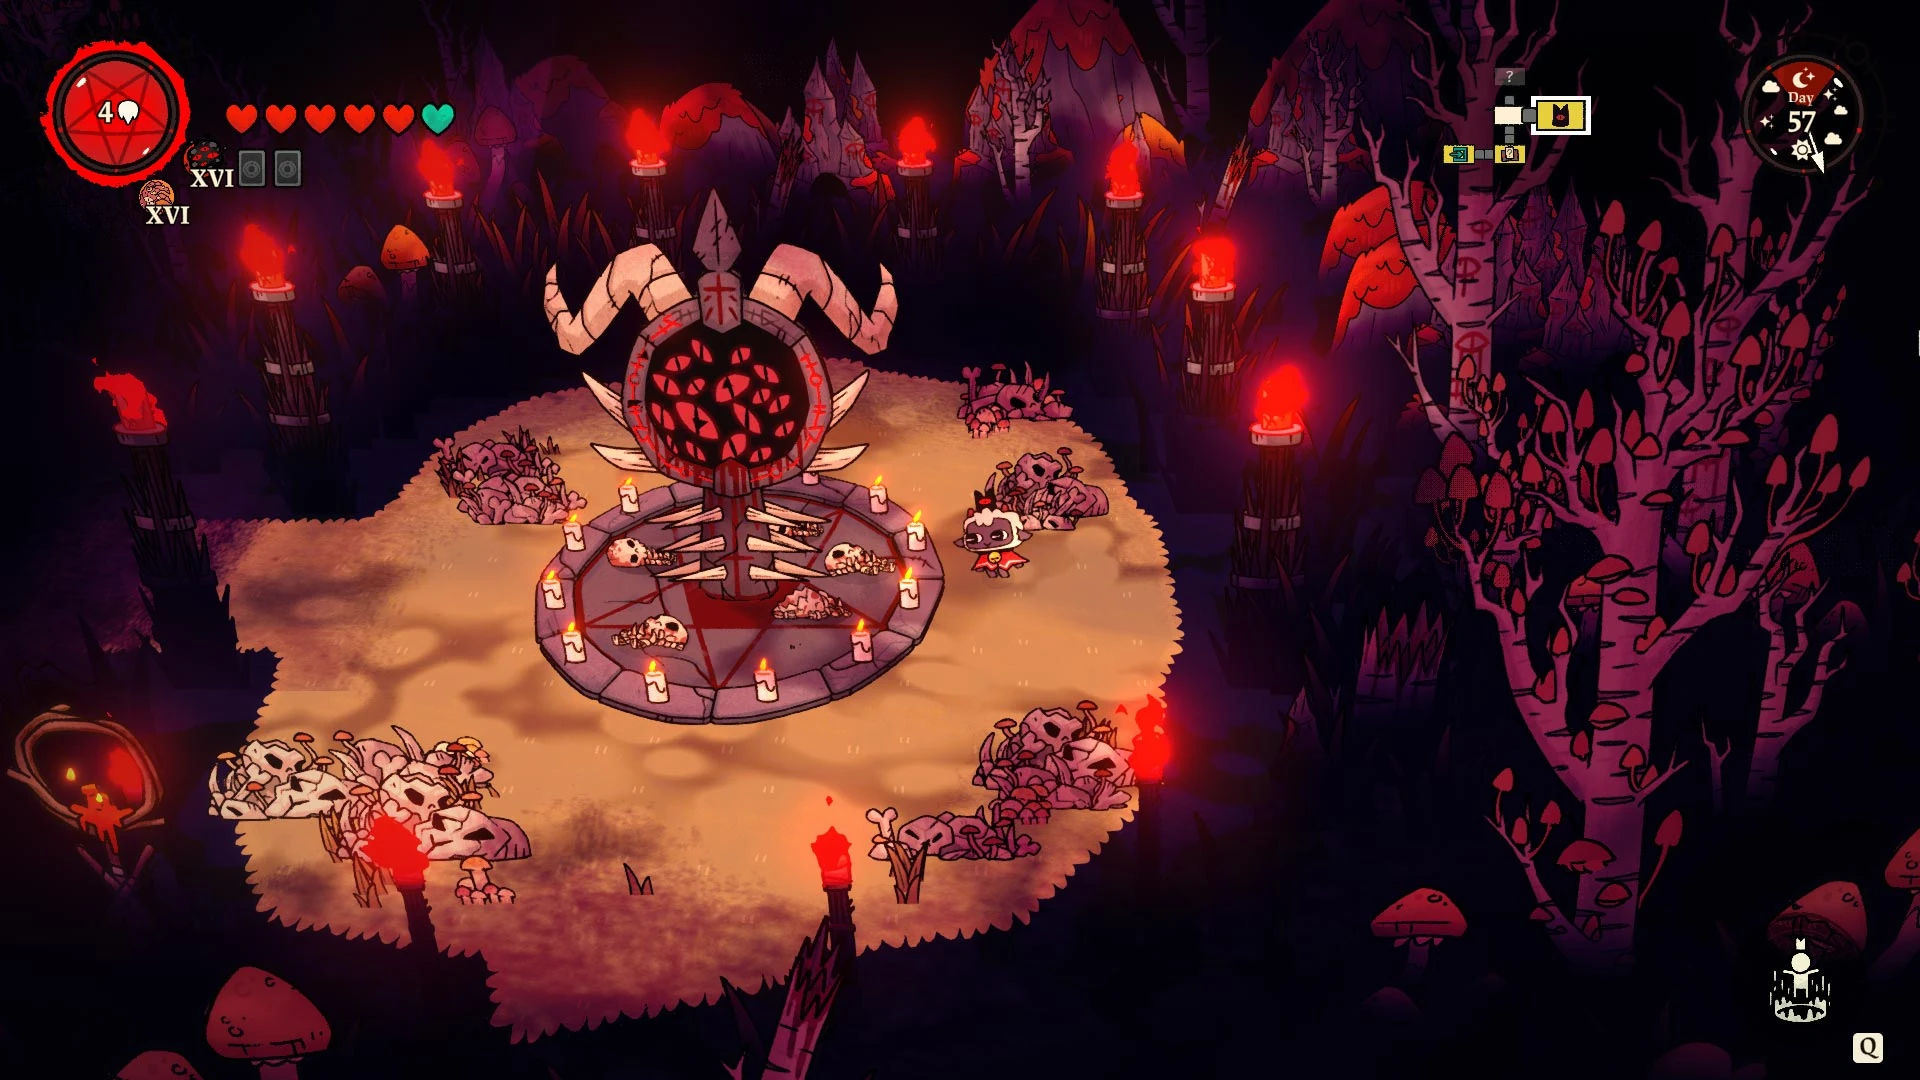
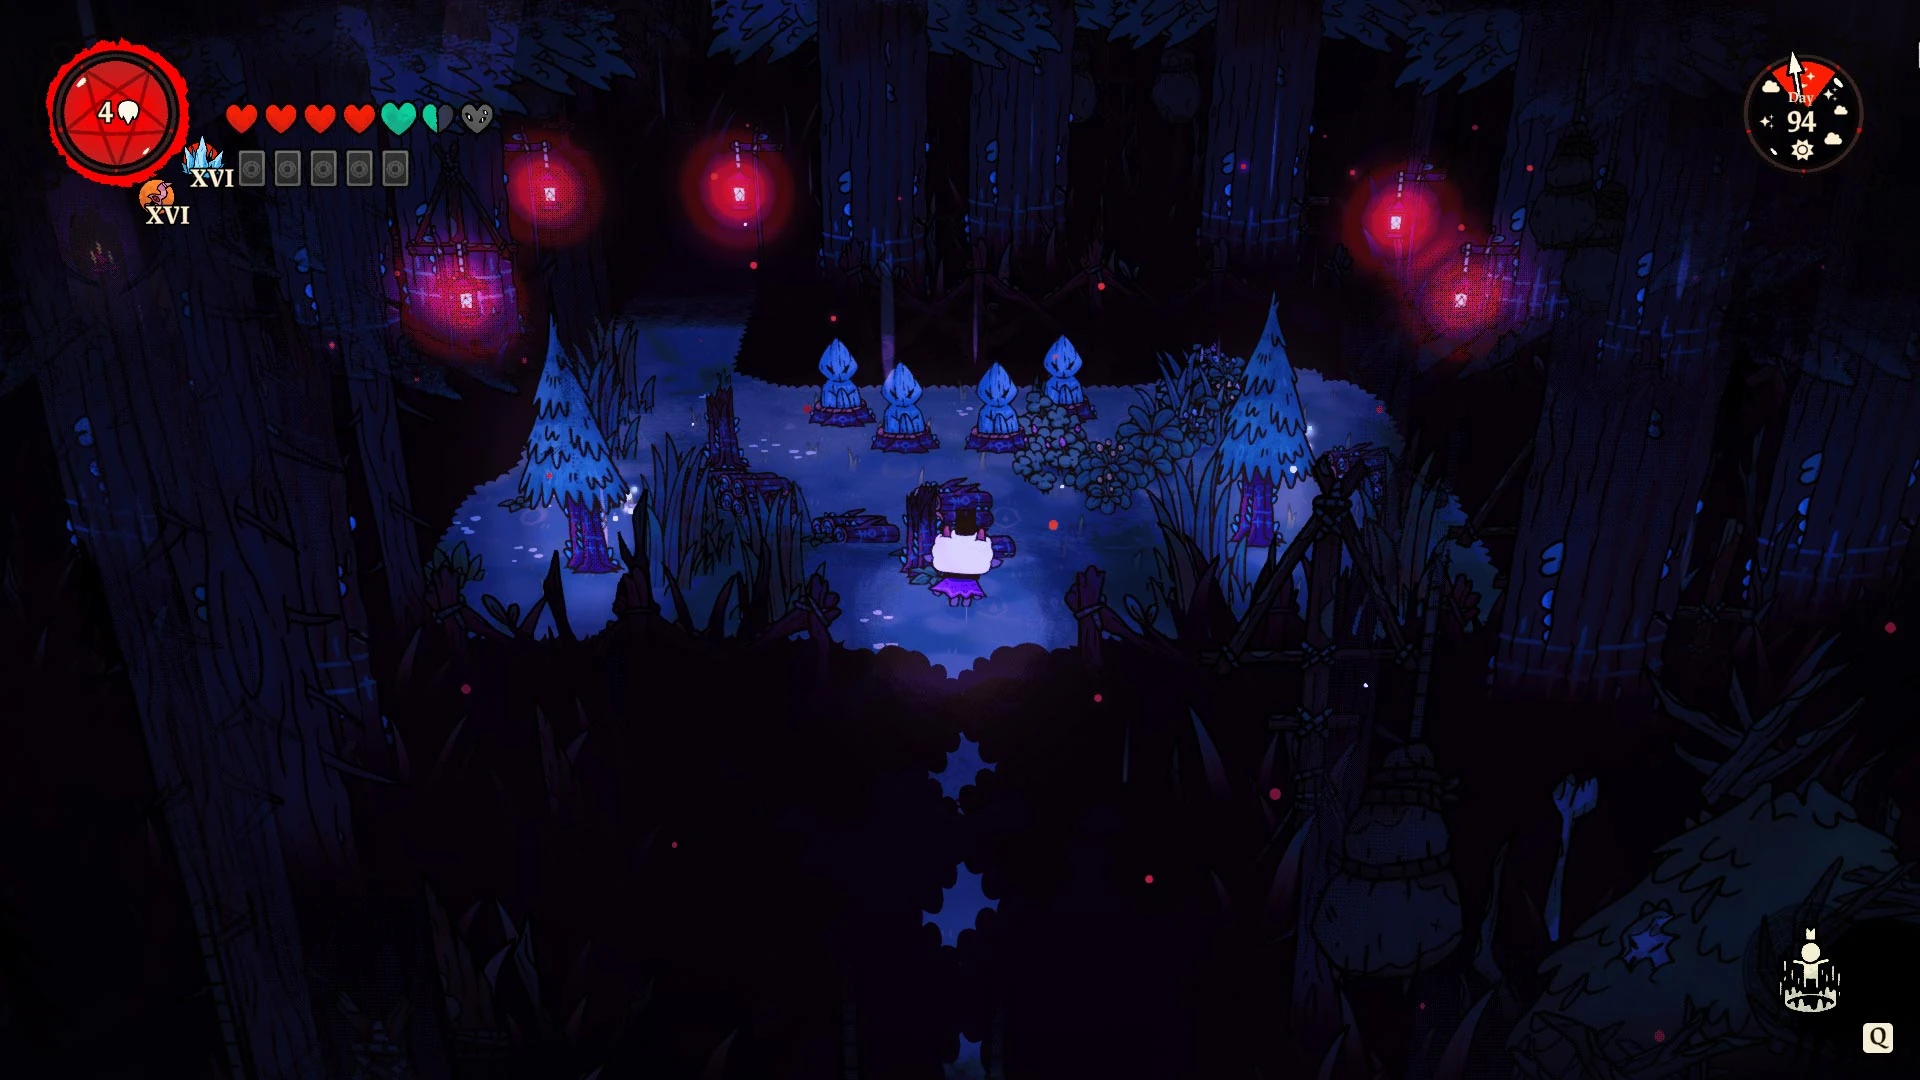
Red Crown[]
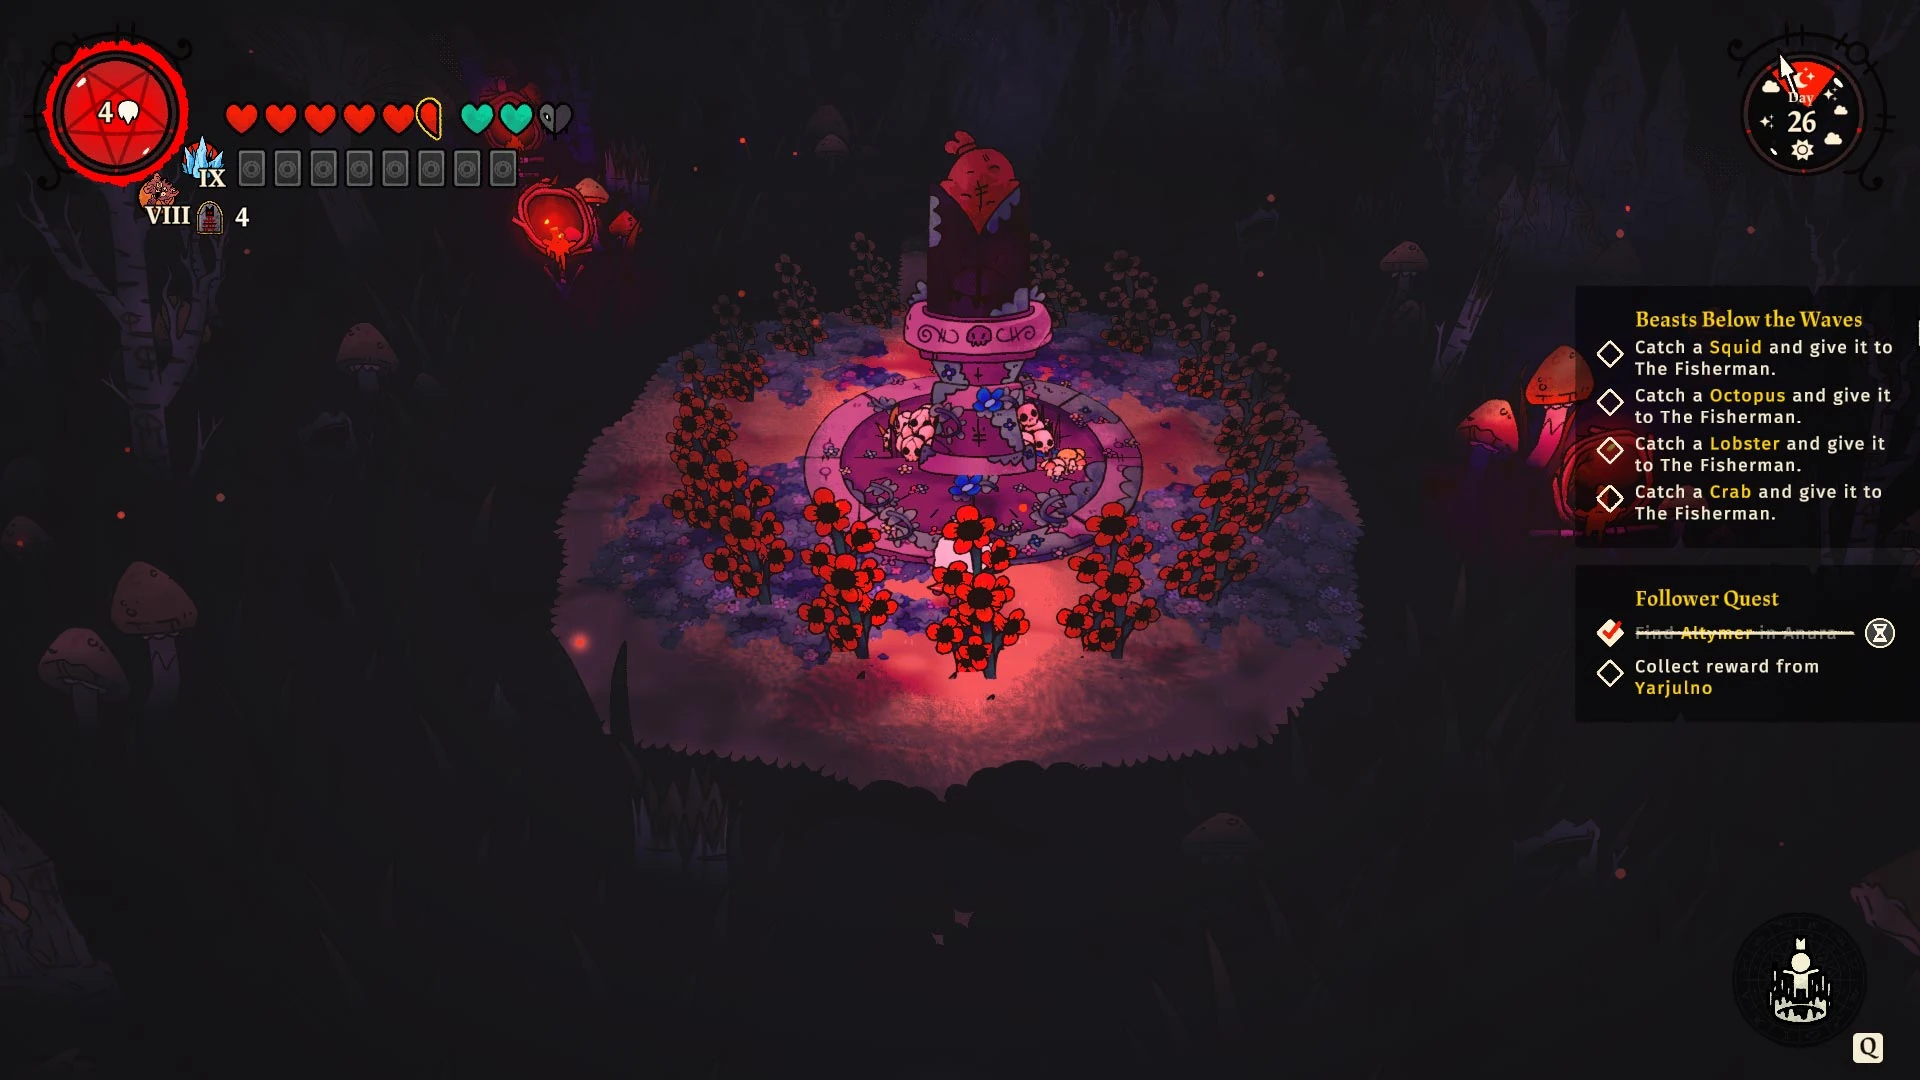
There is a Red Crown statue. Praying to it will allow you to not lose any of items upon dying in the current run.
Regardless of the biome it appears in, the statue will always be surrounded by Camellia flowers which can be harvested by attacking them.
Boss area[]

At the end of this area there is a boss room. You have to fight a mini-boss, or the Bishops (if all 3 mini-bosses have been defeated), or a Witness (if the Bishop has been defeated). When the Witness has also been defeated, you'll fight any of the minibosses or the Witness again.