How to Create Bootable USB Drive of Windows 10/11 using Rufus?
Microsoft has refined the process of creating and setting up media for its operating system with Windows 11, building upon its previous efforts with Windows 10. As modern systems now utilize the Unified Extensible Firmware Interface (UEFI)—a successor to the Basic Input/Output System (BIOS)—tools like the Windows USB/DVD Download Tool are becoming outdated.

If you encounter issues during a Windows 11 installation using bootable media, you might face errors such as system unrecognized media, sometimes attributable to the GUID Partition Table error message.
In this article, we will demonstrate how to use Rufus to create a Windows bootable installer. Rufus simplifies and automates this process based on your computer’s specific configuration.
You will need to prepare a few things before you begin. Rufus won’t automatically download the ISO file for you, so you must source it on your own.
- First, visit this website.
- Under Download Windows 11 Disk Image (ISO), select Windows 11, and then click Download.
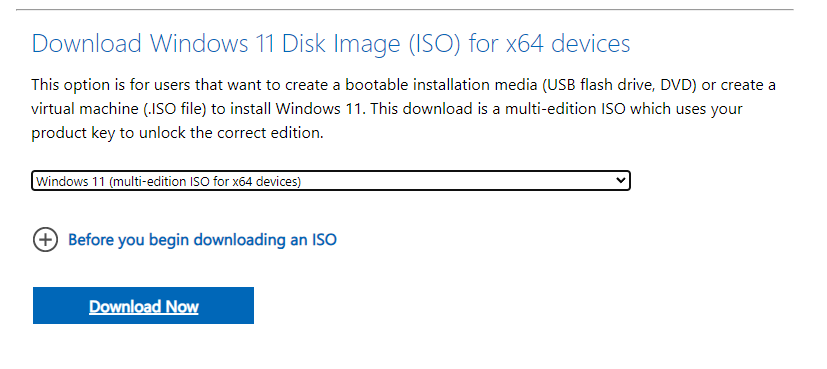
- Next, you will be prompted to choose the architecture and language of the Windows operating system you wish to download.
- Select the appropriate options and start the ISO download.
Note: Download links are typically valid for 24 hours from the time they are created. Make sure to complete the download within this period.
Afterwards, you’ll need to transfer the ISO file to your USB flash drive. Download Rufus from this [link], a utility that effortlessly creates bootable media for both MBR and GPT partitions.
- Launch Rufus and select the device (USB) that you wish to make bootable.
- Select the GPT partition scheme for UEFI. Keep the File System & Cluster Size settings at their defaults, and name your drive.
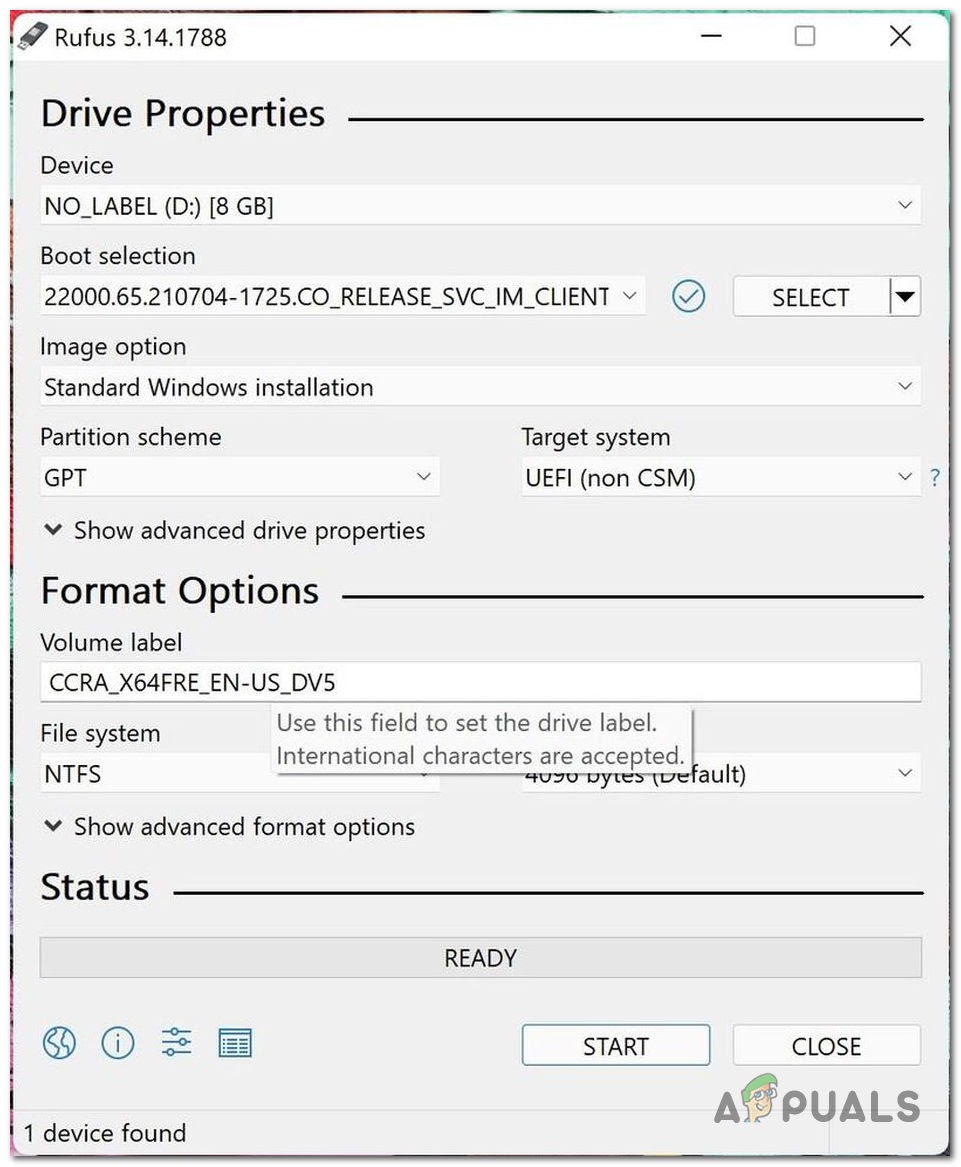
- Check Create a bootable disk using, making sure the ISO Image option is selected from the dropdown menu. Click the drive icon next to the dropdown to locate and select your ISO file.
- Hit Start and wait for Rufus to finish writing the ISO to your USB flash drive.
With these steps completed, you can proceed with the Windows installation using the installer created with Rufus.
Creating Bootable Windows Media Using PowerShell (Advanced Users)
For experienced users, another advanced option for creating bootable Windows media is utilizing PowerShell, a powerful scripting tool built into Windows. Before you get started, download the Windows 10 or Windows 11 ISO file from the official Microsoft website using the following links:
– Download Windows 10 ISO
– Download Windows 11 ISO
- Plug your USB flash drive into your PC.
- Open PowerShell with administrative privileges. Search for ‘PowerShell’ in the Start menu, right-click on ‘Windows PowerShell’, and choose ‘Run as administrator’.
- List all the disk drives connected to your PC with the following command. Identify the disk number that corresponds to your USB flash drive.
Powershell

Get-Disk
- The next command will erase all data on the USB drive. Ensure you replace # with the correct disk number to prevent data loss on another disk.
powershell

$USBDrive = Get-Disk -Number #
- Clear the data from the USB drive.
powershell

$USBDrive | Clear-Disk -RemoveData -Confirm:$false
- Initialize the USB as a GPT disk, which is necessary for UEFI systems.
powershell

Initialize-Disk -Number $USBDrive.Number -PartitionStyle GPT
- Create a new primary partition, format it as NTFS, and assign it a drive letter. Substitute X with the drive letter you want to use for your USB drive.
powershell

$Partition = $USBDrive | New-Partition -UseMaximumSize -AssignDriveLetter

$Partition | Format-Volume -FileSystem NTFS -NewFileSystemLabel "WIN11" -Confirm:$false

$DriveLetter = ($Partition | Get-Volume).DriveLetter
- Mount the ISO image with the following command, replacing C:\path\to\your\windows.iso with your ISO file’s actual path.
powershell

Mount-DiskImage -ImagePath "C:\path\to\your\windows.iso"
- Upon mounting the ISO, a new volume will appear, corresponding to the ISO file. Note its drive letter.
- Use xcopy to copy all files from the ISO to your USB drive. Replace Y: with the mounted ISO’s drive letter, and X: with your USB drive’s letter.
powershell

xcopy Y:\* X:\ /E /H /F
- After the copy is complete, dismount the ISO image.
powershell

Dismount-DiskImage -ImagePath "C:\path\to\your\windows.iso"
- Your bootable USB drive is now ready. Eject the USB safely and use it to install Windows 10 or Windows 11 on a UEFI-compatible computer.
Always back up important data before beginning, double-check that you are using the correct drive letters, and ensure no file operation interruptions occur during the copying process to successfully create your bootable USB drive.