
Updated: May, 2 2022
How to Draw Men Step by Step
From Captain America to Homer Simpson, knowing how to draw men is an essential part of creating believable characters in your art.


For centuries, the study of the human body has been one of the greatest pursuits of the scientific and medical professions. However, doctors and scientists aren’t the only ones who have taken an interest in human anatomy through the ages. As early as the 14th century, artists were dissecting bodies in secret (sometimes with medical professionals by their side, most times not!) to understand the ins and outs of the human body for their drawings. When it comes to drawing men, learning a bit about anatomy can be extremely helpful, regardless of whether you’re sketching realistic humans or cartoon versions of them. However, you don’t need to be an expert in every muscle and tendon to get started. Here are some simple steps you can follow to start drawing men in no time.
How to Draw Men
Whether you’re new to drawing or a seasoned artist, sketching and formulating the basic structure of the subject you want to bring to life before you commit to your final piece is helpful.
When it comes to learning how to draw men, the same rule applies: Choose what (or who) you want to depict, sketch in the basic structure using simple shapes, and then add definition until you get your desired result. Let’s get started!
Step 1: Find References
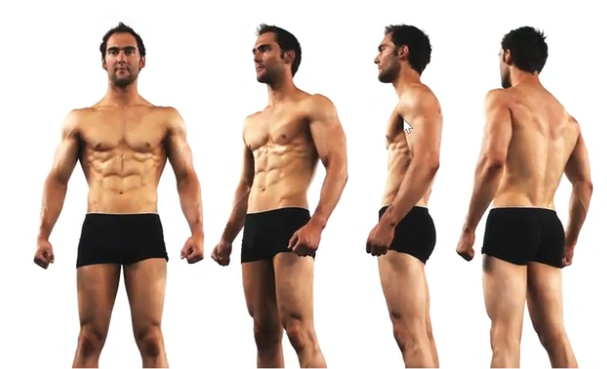
While it’s not necessary to learn the names of every muscle group of the human body, it’s definitely useful to see muscles in action when learning how to draw them. And there’s no better way to do this than to see real human people doing real human things, like walking, dancing, stretching, running, or simply grabbing an object (or another human’s hands!).
To observe these motions, you could join a life drawing class, go people-watching in the park, collect images from anatomy books, or browse the internet for photos. Last but not least, your best reference is sometimes yourself. You have a body, after all! If you want to know what a certain pose will look like, you can make the shape and feel where the muscles are stretched and more relaxed, and what they look like doing it.
Now, if you don’t exactly have a man’s body and you came here to learn how to draw men, not to worry! You can still use yourself to get the general feel of how to draw the different parts of the body. Alternatively, ask a friend to model for you.
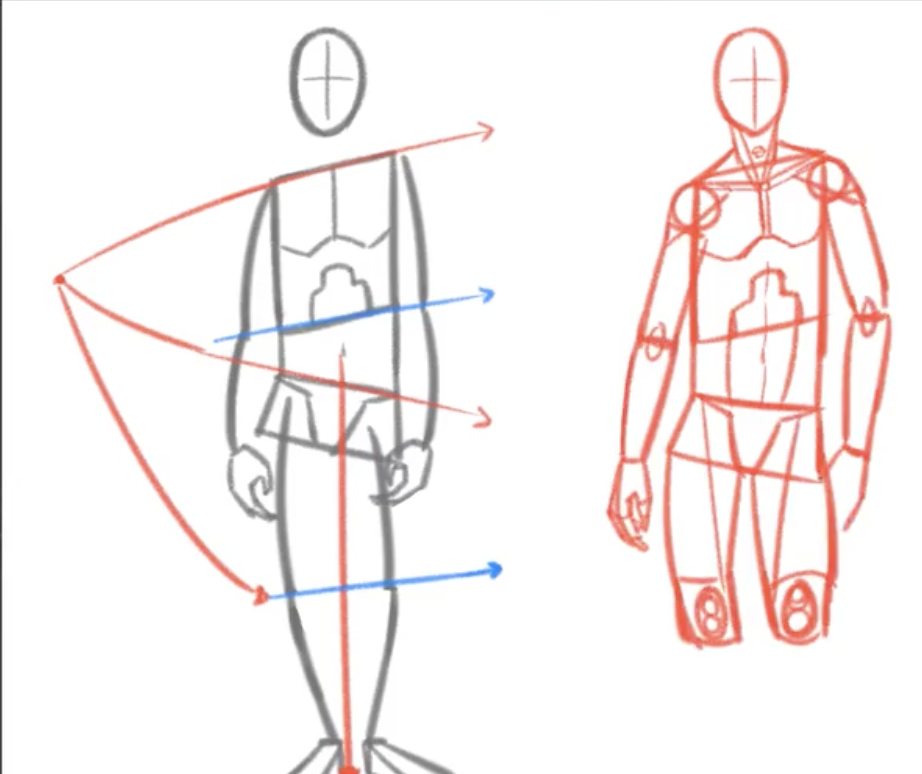
Step 2: Block the Pose
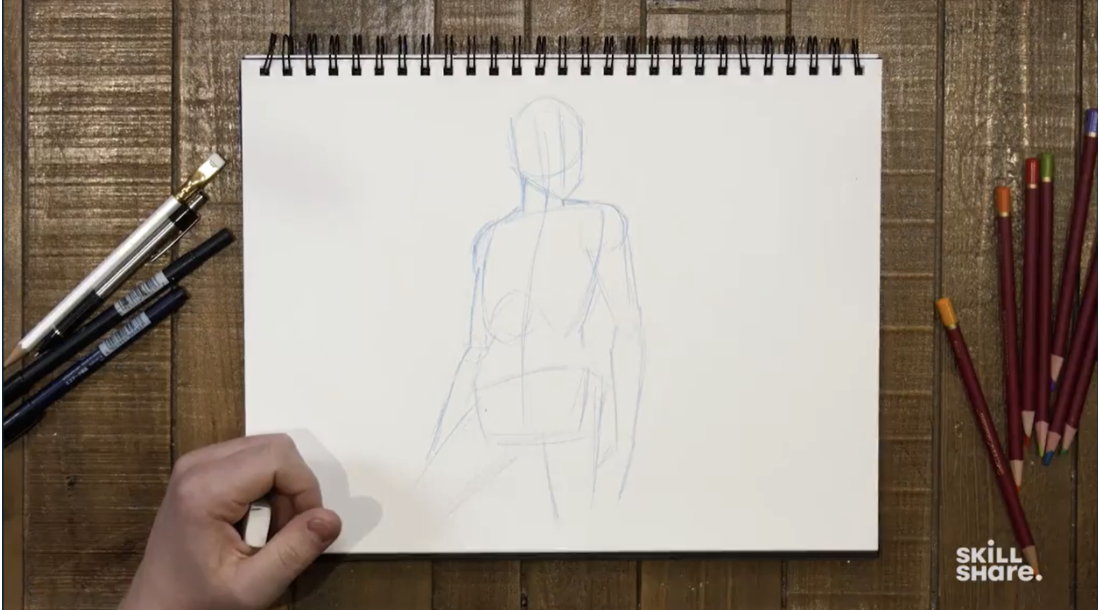
Now that you have your reference photo (or model!), you can “block” the pose you want to draw. In other words, you’ll simplify the silhouette of the pose by drawing simple lines and shapes to indicate bone structure and proportions.
Do this very lightly on your paper, since it will serve as a general guideline of where your different body parts go before you start adding definition. Use lines to indicate the spine and limb movements (as if drawing a stick man) and add cylinders to give volume to the neck, torso, arms, and legs. Shoulders, elbows, and knees can be indicated by circles at this stage.
Also keep in mind a few basic rules about how mens’ different body parts relate to each other. For example, a man’s body is typically eight heads tall.
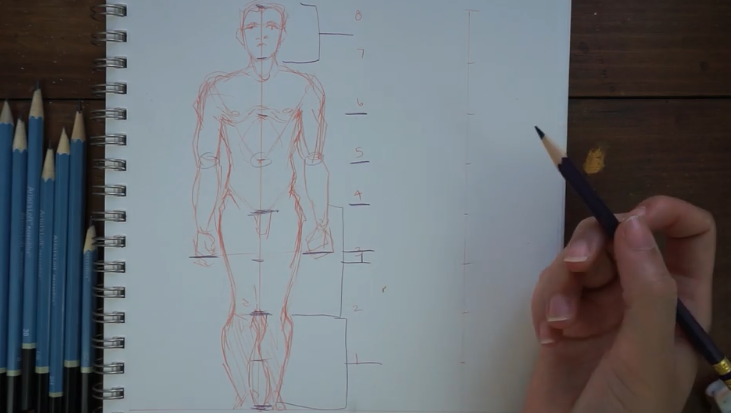
Use this measurement to place some markers: The nipples sit at the second head mark, the navel one head below the nipples, the crotch one head below the navel. You can split the legs into two heads above and two heads below the knee.
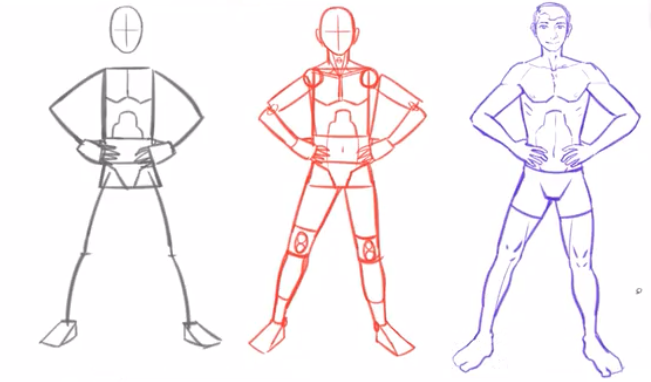
Step 3: Shape the Figure
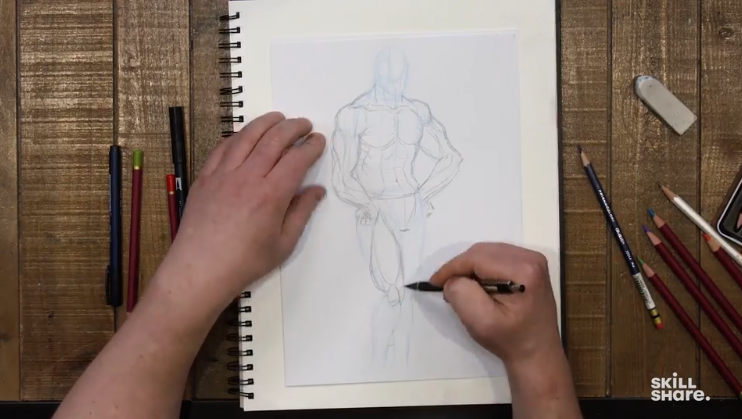
Once you’ve got the basics penciled in and you’re happy with the proportions, that’s when you can start shaping the anatomy on top. As Skillshare instructor Jazza says of the shaping process, “I think of it a little bit like putting meat on the bones.”
When it comes to shaping, it’s even more important to take into account the differences between men’s and women’s bodies. For example, as a general rule, the width of the shoulders in a man’s body is three heads wide. Draw a triangle to join them to the navel, as the male form tends to be more of a triangular shape from waist to shoulders. Men’s hips also tend to be narrower and boxier than a woman’s.
When adding muscle and shape to your character, look back to your reference images to see how the muscles wrap around the bones, how they interact, separate, or merge with one another, and whether they are well-defined or have a little bit more fat around them. All of this will depend heavily on the kind of character you are drawing and the kind of pose they’re in.
Step 4: Add Definition and Details
For the final step, it’s time to add the details. This will, of course, depend on whether you’re drawing a cartoon character, a superhero, or a realistic portrayal of someone from real life. At the end of the day, drawing men isn’t just about the muscles or the perfect measurements, but also about the personality you infuse into them, the environment they’re interacting with, their movement, and even their mood.
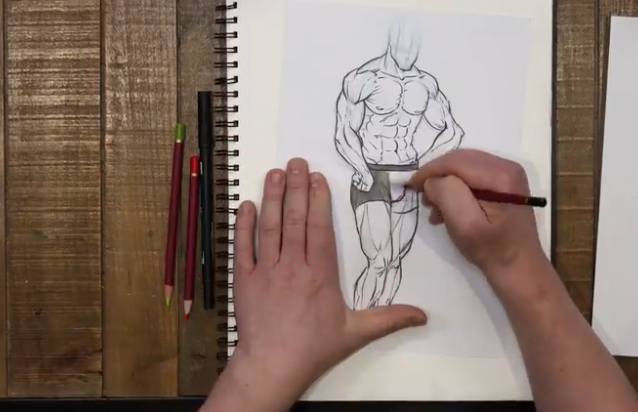
In this step, it’s time to make choices about what you’ll include in the final presentation. Will you be adding volume through light and shade or will it be a line drawing? How defined will each muscle area be in your final character? This can make all the difference if you’re drawing a superhero or a regular guy who prefers to go to the library than to fly around saving the world.
A great way to practice definition is to use images of bodybuilders as references—they’ve dedicated countless hours of training to ensure all the muscles in their bodies are visible and well-defined.
Dive Into Anatomy Drawing
Beginner’s Introduction to Draw the Human Figure | Anime and Manga
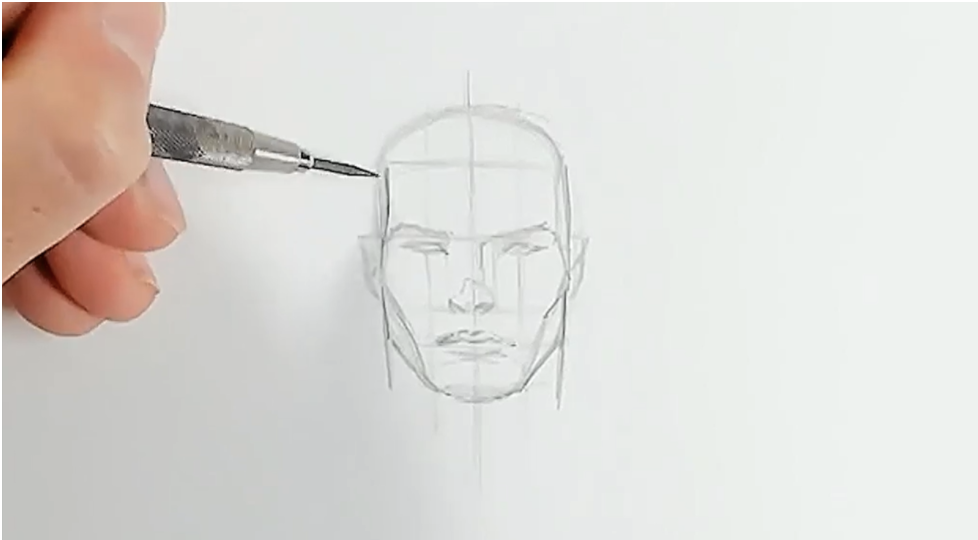
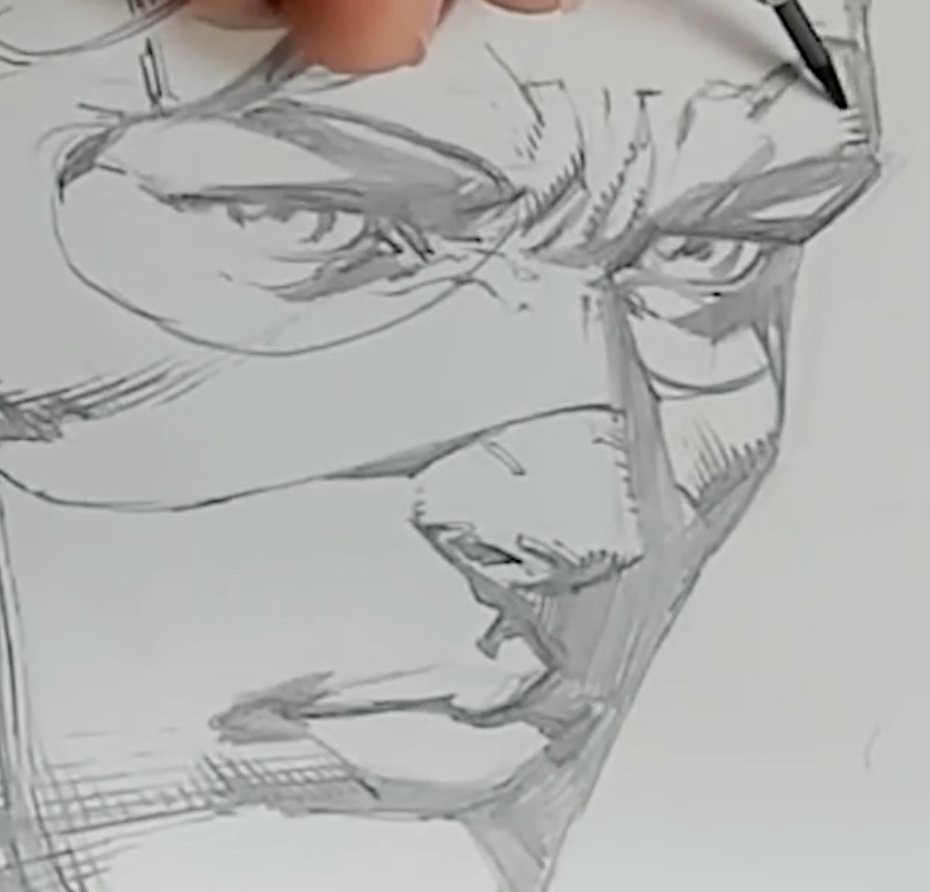
Bonus: Add Details to the Head and Face
By now, you should have a pretty good drawing of your character’s body and pose. But what about the head and face? They’re pretty important elements too, right? Even though we could dedicate a whole tutorial just to that area (and we have), as a general rule, you can apply the same guidelines to the head and face as you did with the rest of the body.
Start by blocking the general shape of the head by using circles and cylinders, and use guidelines to mark the placement of the eyes, eyebrows, nose, ears, and mouth. Just like with the body, the face also follows a general structure you can use to draw these guidelines.
Once you have your basic sketch, you can start shaping the features depending on the position of the head, the kind of character you’re drawing, or the emotion you want to convey.

Finally, start focusing on the details: the hairstyle, the gestures, the specific traits that make your character or subject unique. Return to your reference as many times as needed, or until you feel comfortable enough to draw men by memory. After a while, you will notice how drawing men starts becoming as easy as writing your name. The most important thing, as you probably know by now, is to continue practicing.
Bring Your Characters to Life
How to Draw Superhero Heads
Try Skillshare for free! Sign up for a 7 day free trial today!
Get Started- Unlimited access to every class
- Supportive online creative community
- Learn offline with Skillshare's app
Join Skillshare
Join today for unlimited access to thousands of classes and more.
Try Skillshare For Free


