Decor
DIY Transformation Guide: Repurpose Dresser
Feeling inspired to give your old dresser a fresh look?
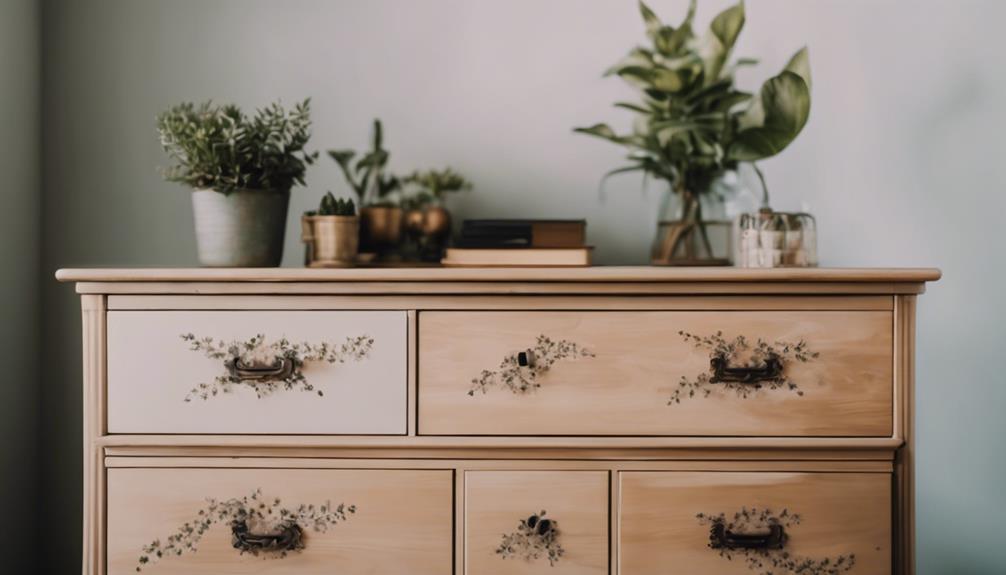
Transform your old dresser into a unique statement piece with our DIY transformation guide. Swap out hardware for a modern touch and choose bold colors for a fresh look. Repurpose into a bookshelf, entryway table, or garden planter box for a creative twist. Vintage dresser? Turn it into a chic bar cart or add botanical-inspired motifs. Refurbish antique pieces with modern finishes to increase value. Upcycle for functional furniture like a bathroom vanity or kitchen island. Stay tuned for inspiring before and after examples showcasing the incredible potential of dresser repurposing projects.
Key Takeaways
- Identify dresser's potential new function.
- Plan design elements like paint, hardware, or decorative details.
- Consider structural modifications for repurposing.
- Utilize dresser's existing features creatively.
- Complete transformation with personal touches for a unique piece.
Easy DIY Dresser Makeovers
With a little creativity, you can breathe new life into an old dresser by repainting it with a fresh color or swapping out the hardware for a modern touch. This DIY project is a great way to repurpose a dresser and give it a new look without breaking the bank.
You can choose a bold, bright color to make a statement or a soft, pastel shade to create a calming atmosphere. Adding new hardware, such as knobs or handles, can also give your dresser a sleek, modern look.
To take your dresser makeover to the next level, consider adding decorative elements like wallpaper, trim, or unique drawer liners. You can also try techniques like distressing, stenciling, or decoupage to achieve a one-of-a-kind look.
With a little creativity and some elbow grease, you can turn an old, outdated dresser into a stunning piece of furniture that showcases your personal style. So, get creative and start planning your DIY dresser makeover today!
Creative Repurposing Ideas
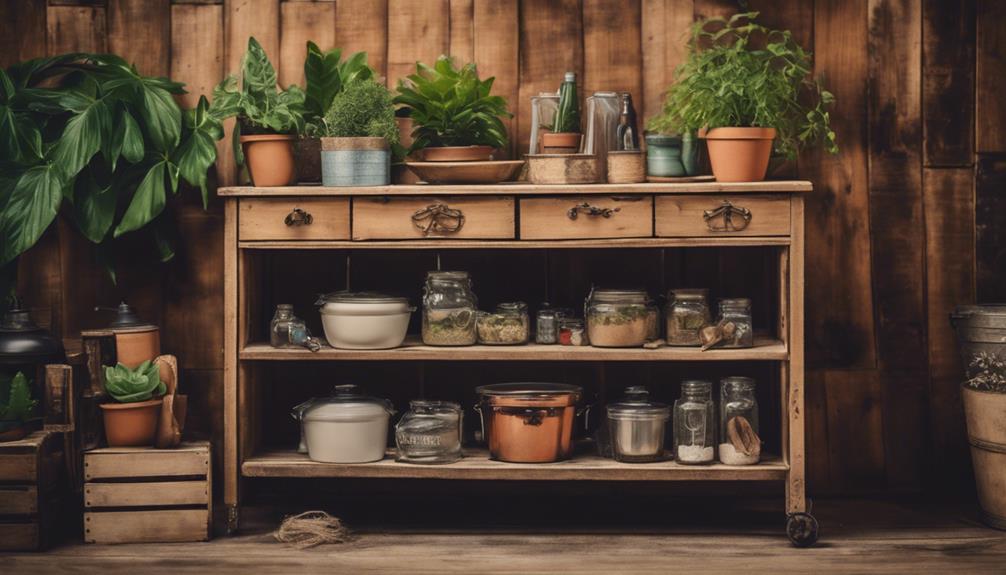
Now that you've given your dresser a fresh new look, it's time to think outside the box and explore some creative repurposing ideas.
You can transform your dresser into upcycled storage solutions, vintage chic makeovers, or even furniture reinvention ideas that will give your home a unique touch.
From storage benches to garden potting stations, the possibilities are endless, and it's up to you to decide what kind of creative spin you want to put on your repurposed dresser.
Upcycled Storage Solutions
How can you breathe new life into an old dresser and turn it into a functional storage solution that's both unique and creative?
By repurposing an old dresser, you can create a one-of-a-kind storage solution that's both functional and stylish. For instance, you can convert it into a bookshelf or entryway table, providing ample storage space in a unique way.
Alternatively, you can transform it into a bench, offering both seating and storage solutions, making it a versatile furniture piece for any room.
You can also repurpose the dresser into a desk or baby changing table, catering to specific needs while maintaining its original charm. If you're an avid gardener, consider converting it into a garden potting bench, utilizing the dresser's structure effectively.
Another creative idea is to create labeled basket storage or a garden planter box from the repurposed dresser, adding a touch of style and organization to any space.
The possibilities are endless, and with a little creativity, you can turn an old dresser into a functional and stylish storage solution that reflects your personal style.
Vintage Chic Makeovers
You can transform a vintage dresser into a stunning showpiece by incorporating creative repurposing ideas that blend elegance and whimsy. With a little creativity, you can breathe new life into an old dresser and create a unique piece that reflects your personal style.
Here are some ideas to get you started:
- Transform a vintage dresser into a chic bar cart by adding wheels, glass shelves, and a fresh coat of paint.
- Repurpose a dresser by covering it with unique artwork or decoupage for a one-of-a-kind statement piece.
- Create a botanical-inspired design on a dresser using stencils, botanical prints, or hand-painted floral motifs.
- Achieve a personalized and eclectic look by combining different finishes like distressed paint, metallic accents, and decoupage.
- Turn a vintage dresser into a stylish buffet by painting it in a bold color, adding decorative hardware, and lining the drawers with colorful paper.
Furniture Reinvention Ideas
Your old dresser can be reborn as a functional and stylish piece of furniture that serves a new purpose, such as a bookshelf, entryway table, bathroom vanity, kitchen island, or even a bench. With a little creativity and some DIY skills, you can repurpose your dresser to fit your current needs. Here are some furniture reinvention ideas to get you started:
| Before | After | Benefits |
|---|---|---|
| Dresser | Bookshelf | Functional storage and decorative element |
| Dresser | Entryway Table | Stylish organization for keys, mail, and essentials |
| Dresser | Bathroom Vanity | Unique touch and maximized storage |
| Dresser | Kitchen Island | Additional workspace and storage |
| Dresser | Bench | Practical seating and storage combination |
Transforming Old Furniture
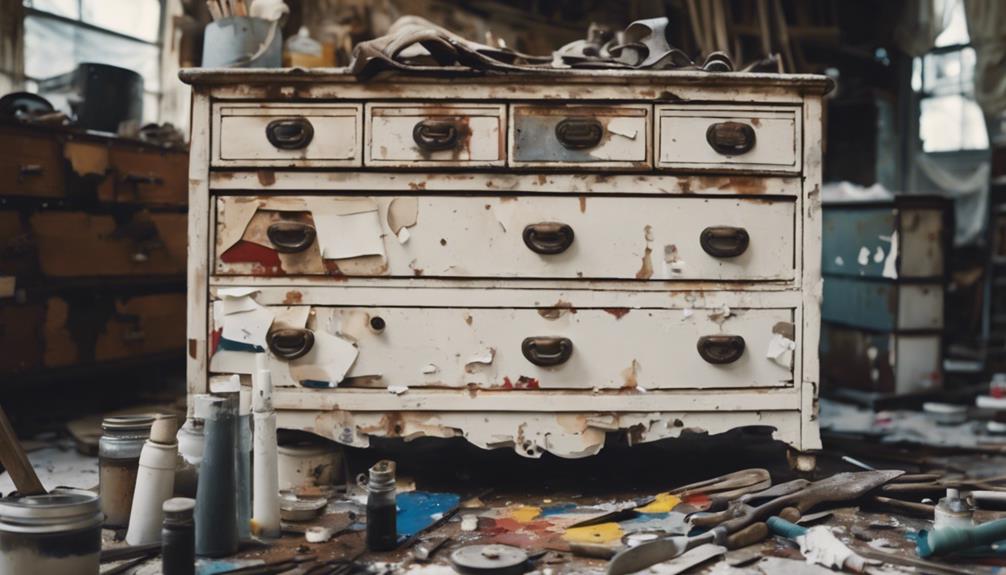
One person's trash can become another's treasure when transforming old furniture, and a dresser is no exception. By repurposing an old dresser, you can breathe new life into an outdated piece and save money on buying new furniture.
This DIY project allows you to get creative and customize the piece to fit your personal style and home decor preferences.
Here are just a few benefits of transforming old furniture:
- Gives old furniture a new purpose, reducing waste and supporting sustainability
- Allows for customization to fit your personal style and home decor
- Can serve multiple functions, such as turning a dresser into a bench or bookshelf
- Offers a cost-effective way to refresh and repurpose furniture
- Showcases your individual creativity and craftsmanship
Upcycled Dresser Projects
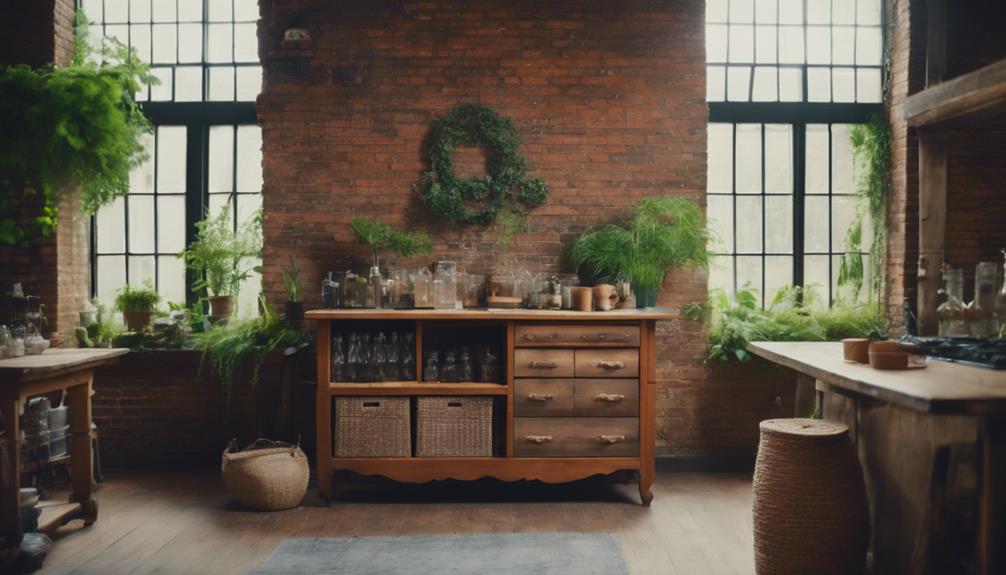
As you explore upcycled dresser projects, you'll discover creative ways to breathe new life into old furniture.
You can transform a dresser into a functional desk or convert it into a pet station, giving you a unique and personalized piece that adds character to your home.
Let's take a closer look at these innovative ideas and see how you can turn an old dresser into a one-of-a-kind masterpiece.
Dresser to Desk Conversion
Converting an old dresser into a functional desk can be a brilliant way to breathe new life into a discarded piece of furniture while gaining a unique and personalized workspace. By repurposing a dresser, you can customize the design to fit your specific needs and decor preferences. This desk conversion is a cost-effective way to create a one-of-a-kind piece of furniture that reflects your style.
Here are some benefits of upcycling a dresser into a desk:
- You'll get a functional and stylish workspace solution
- You can customize the design to fit your specific needs and decor preferences
- It's a cost-effective way to create a unique piece of furniture
- You'll have ample storage space with the existing drawers and compartments
- You'll reduce waste and give new life to an old, discarded dresser
Benefits of upcycling a dresser into a desk:
- You'll get a functional and stylish workspace solution
- You can customize the design to fit your specific needs and decor preferences
- It's a cost-effective way to create a unique piece of furniture
- You'll have ample storage space with the existing drawers and compartments
- You'll reduce waste and give new life to an old, discarded dresser
Dresser Turned Pet Station
You can transform an old dresser into a functional pet station by repurposing its drawers into feeding areas and storage spaces for pet supplies. This creative upcycle allows you to customize a cozy spot for your furry friend, keeping all their essentials within reach.
Utilize the dresser top as a comfortable bed or resting spot, and repurpose the drawers to store food, toys, and grooming tools.
To take your pet station to the next level, consider adding hooks for leashes, shelves for toys, and baskets for grooming essentials. You can also give the dresser a fresh new look by painting or staining it to match your home decor. This will create a cohesive and stylish space that's both functional and visually appealing.
Upcycling a dresser into a pet station is a practical and stylish way to keep pet essentials organized and easily accessible. By repurposing an old dresser, you'll not only reduce waste but also create a unique and functional space that you and your pet will love.
Refurbishing Antique Pieces
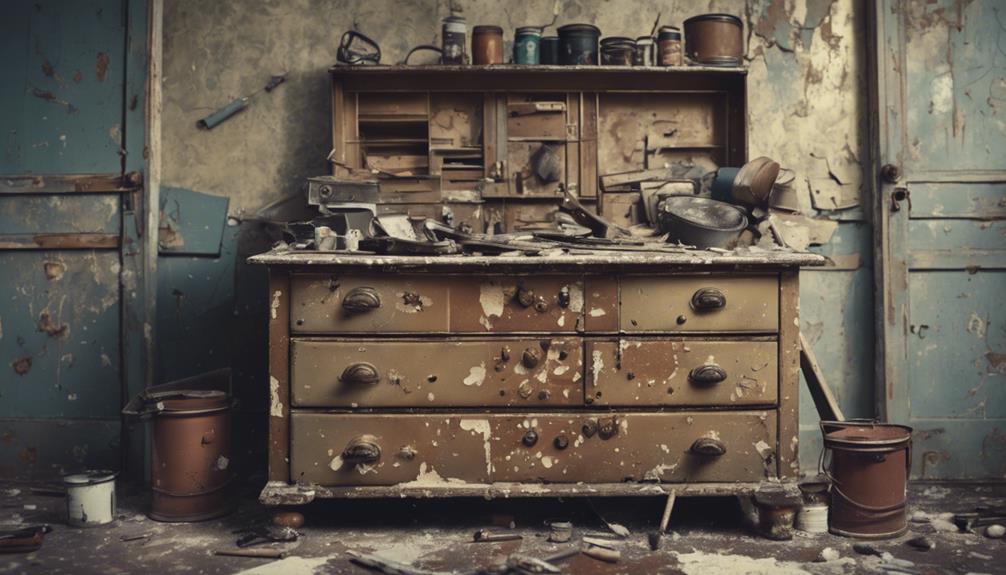
By embracing the challenge of refurbishing antique pieces, you can breathe new life into these treasures, preserving their unique character while adapting them to modern tastes.
Refurbishing an antique dresser requires a delicate balance between preserving its original charm and updating it with modern finishes or hardware. This process not only increases the dresser's value and appeal but also makes it a sought-after piece for collectors or interior decorators.
Here are some key considerations when refurbishing antique pieces:
- Sanding and staining can help restore the original wood finish.
- Painting or refinishing can update the color and style.
- Replacing hardware with modern knobs or handles can add a touch of modernity.
- Creative repurposing can turn an antique dresser into a functional piece, such as a bathroom vanity or kitchen island.
- Attention to detail and careful planning are essential to preserving the original character of the piece.
Painting and Decorating Tips
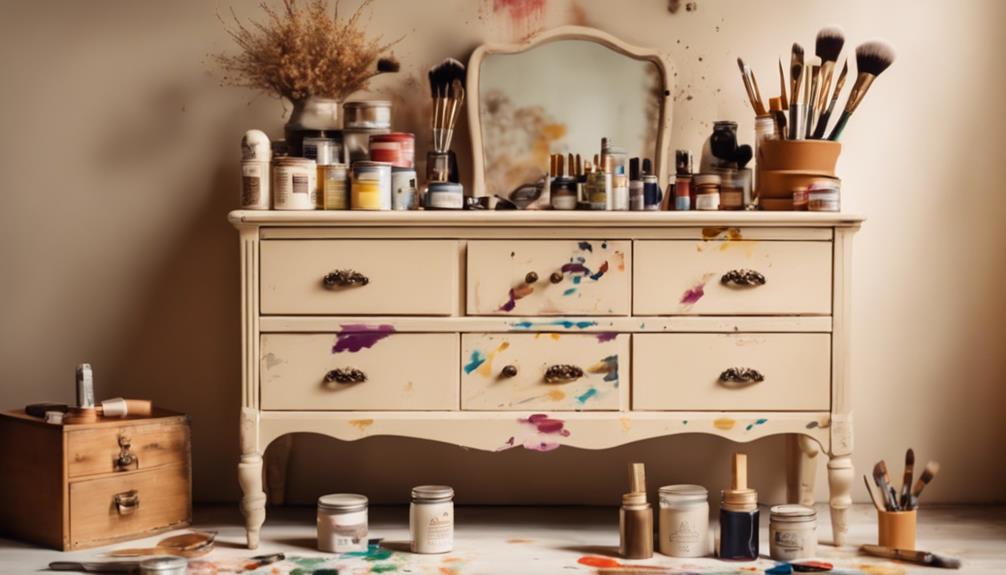
To achieve a flawless, professional-looking finish, choose the right paint and application technique for your refurbished dresser. When it comes to painting the dresser, consider using chalk paint for a smooth and easy application. This type of paint is perfect for dressers, and it's easy to work with, even for beginners.
If you want to add a unique touch to your dresser, try using distressing techniques to give it a vintage look. You can also experiment with stencils and patterns to add designs to the surface. For a modern and glamorous touch, try using metallic paint or accents.
Remember to safeguard your painted dresser with a clear topcoat to guarantee durability and protection.
When you're ready to get creative, don't be afraid to try new things. Paint the dresser in a bold color, or add a fun design element. With a little patience and practice, you can turn your old dresser into a one-of-a-kind masterpiece.
Unique Storage Solutions
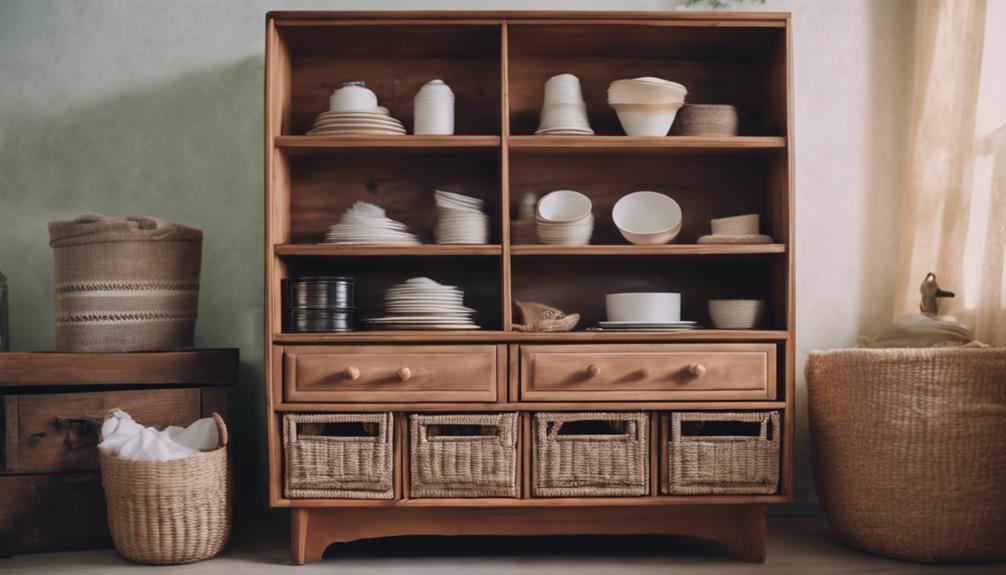
Dressers can be repurposed into a wide range of unique storage solutions, offering clever ways to organize and declutter your space. You can transform a dresser into a functional piece that serves multiple purposes, making your life easier and more efficient.
Here are some creative ways to repurpose a dresser for storage:
- Turn a dresser into a bench, providing both seating and storage functionality in a creative way.
- Repurpose a dresser as a changing table or a garden potting bench for practical and stylish use.
- Utilize a dresser for labeled basket storage or as a garden planter box to add functionality to your space.
- Get creative by repurposing a dresser into unconventional furniture pieces like a cat litter box, bar, or garden planter for a unique touch.
- Convert a dresser into a bookshelf, entryway table, bathroom vanity, kitchen island, or desk to maximize storage and functionality.
Functional Furniture Designs

You can breathe new life into an old dresser by repurposing it into functional furniture designs that serve multiple purposes and elevate your space. For instance, you can convert a dresser into a bookshelf, adding functional storage and a unique design element to any room.
Alternatively, you can transform it into a bench, providing seating and storage solutions in entryways, bedrooms, or living spaces. If you need a stylish and functional workspace, consider turning a dresser into a desk for your home office or study area.
You can also repurpose a dresser as a bathroom vanity, giving it a fresh new life. Additionally, you can utilize a dresser as a baby changing table, offering a practical and customized solution for nursery organization.
You can even turn a dresser into a garden potting bench, repurposing the piece for outdoor use and storing gardening tools. By repurposing your old dresser, you can create functional furniture designs that cater to your specific needs and enhance your living space.
DIY Furniture Makeovers
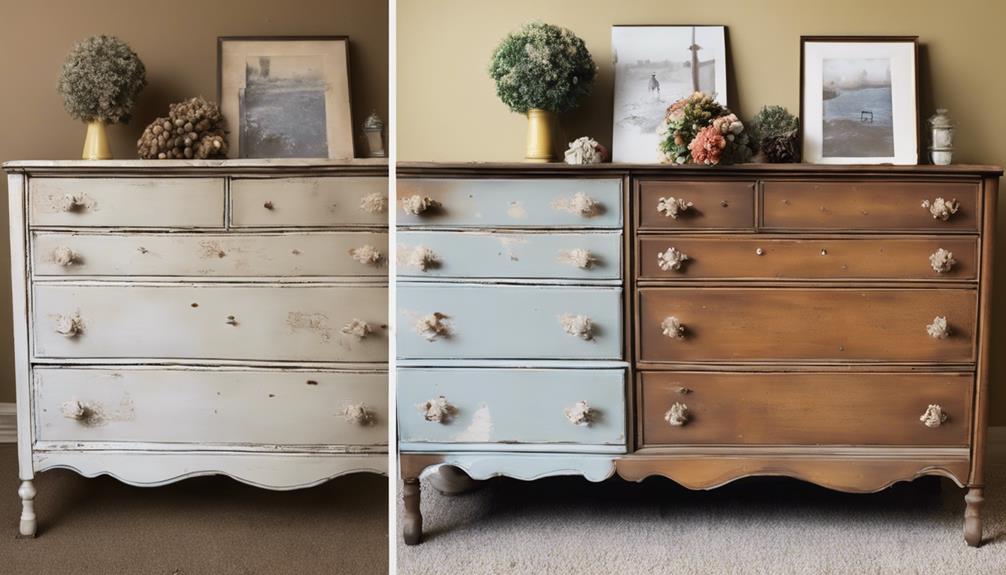
As you start exploring DIY furniture makeovers, you'll discover a world of creative possibilities.
You'll learn about furniture revamp ideas that'll inspire you to think outside the box, painted perfection methods that'll give your dresser a fresh new look, and upcycled design inspiration that'll help you turn your old dresser into a one-of-a-kind piece.
From there, the possibilities are endless, and you'll be amazed at how a little creativity can transform an old dresser into a stunning new piece of furniture.
Furniture Revamp Ideas
Transforming a dresser into a functional piece that serves a new purpose can be a thrilling DIY project, and with a little creativity, the possibilities are endless.
You can turn an old dresser into a new piece of furniture that serves a completely different function, giving it a fresh lease on life.
Here are some furniture revamp ideas to get you started:
- Bookshelf: Remove the drawers and attach wooden planks to create a unique bookshelf.
- Entryway table: Replace the drawers with a wooden top and add some decorative legs for a stylish entryway table.
- Bathroom vanity: Convert the dresser into a one-of-a-kind bathroom vanity with a sink and mirror.
- Kitchen island: Add some casters and a butcher-block top to create a mobile kitchen island.
- Garden potting bench: Remove the drawers and attach a wooden top with a lower shelf for a functional potting bench.
Remember to update the drawer pulls and hardware to match your new piece of furniture.
With a little imagination, you can turn an old dresser into something truly unique and functional. Get creative and have fun with it!
Painted Perfection Methods
With a fresh coat of paint, your repurposed dresser can be elevated from a mere DIY project to a stunning work of art that showcases your personal style.
When it comes to repainting your furniture, you've got options. Chalk paint is a popular choice for transforming dressers, providing a smooth finish and easy application. If you're going for a vintage vibe, milk paint can give your dresser an antique look with a durable finish.
Either way, repainting is a great way to breathe new life into old furniture and make it a one-of-a-kind piece that reflects your taste.
By repurposing a dresser, you're not only reducing waste but also creating a unique piece that adds character to your space. Whether you're upcycling a dresser into a bathroom vanity or turning it into a bench, a fresh coat of paint can make all the difference.
With the right techniques and materials, you can turn an old dresser into a stunning piece of furniture that's both functional and stylish.
Upcycled Design Inspiration
You can harness your creativity and transform an old dresser into a functional work of art that reflects your personal style, from a bookshelf or bench to a garden potting bench or more. With upcycled design inspiration, you can turn an old piece of furniture into a unique piece that showcases your creative skills.
DIY furniture makeovers offer a budget-friendly way to repurpose dressers and create a one-of-a-kind piece that adds character to your home.
Here are some inspirational ideas to get you started:
- Convert an old dresser into a bookshelf with built-in reading nook
- Transform a dresser into a bench with storage for a stylish entryway
- Upcycle a dresser into a garden potting bench with built-in planters
- Create a kitchen island from an old dresser with added countertops and storage
- Turn a dresser into a pet station with built-in feeding and sleeping areas
With the right tools and materials, you can tackle a dresser transformation project and create a unique piece of furniture that reflects your personal style.
Inspiring Before and After Examples
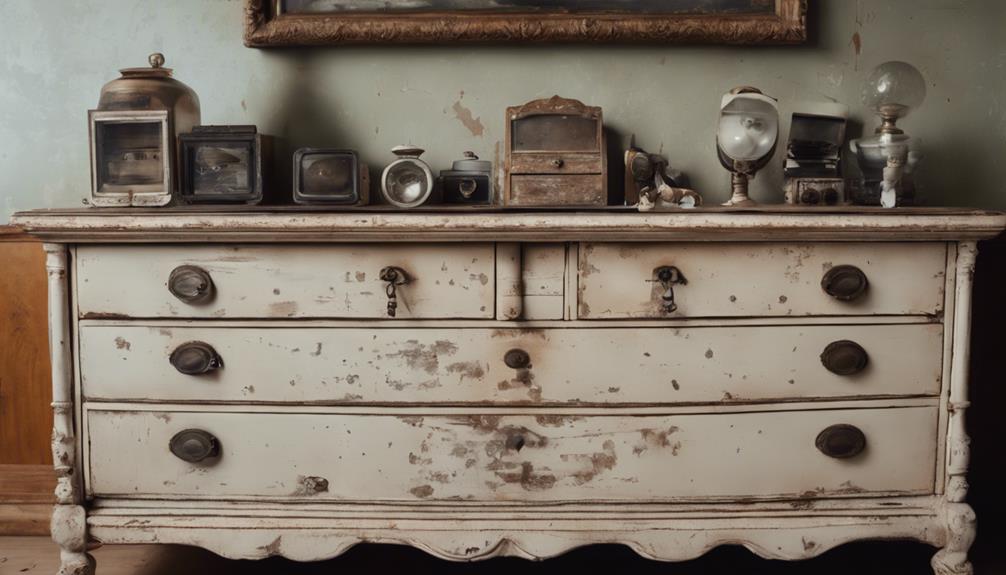
After scouring through thrift stores, garage sales, or your own attic, you've finally stumbled upon the perfect old dresser, ripe for a makeover. Now, it's time to get inspired by some amazing before and after transformations.
Witness the stunning metamorphosis of worn-out dressers into functional and stylish pieces that will be the envy of your friends.
Flip through before and after photos that showcase the incredible potential of dresser repurposing projects. You'll be amazed at how creative ideas and techniques can completely transform the look and function of a dresser.
A simple DIY project can turn a neglected dresser into a statement piece, adding character and charm to any room. Imagine transforming a dresser drawer into a new piece that complements your home decor.
With a little creativity, you can breathe new life into an old dresser, turning it into a one-of-a-kind masterpiece. Get ready to be inspired by the dramatic changes that await you in this section!
Frequently Asked Questions
How to Turn an Old Dresser Into Something New?
You're wondering how to turn an old dresser into something new? Begin by evaluating its structure, then brainstorm unique uses, like a garden planter or kitchen island, and get creative with paint, hardware, and other decorative elements to give it a fresh spin.
How to Modernize a Wood Dresser?
As you gaze at the worn wood dresser, you wonder: can it be revived? Yes, you can breathe new life into it! Sand, paint, and update the hardware to transform it into a sleek, modern masterpiece that exudes style.
How Do You Upgrade a Boring Dresser?
You upgrade a boring dresser by adding modern hardware, painting it a new color, or adding decorative trim to give it a fresh look that reflects your personal style and flair.
How to Turn a Dresser Into a Bench?
You'll turn a dresser into a bench by removing top drawers, reinforcing the structure, and adding a cushioned seat, then cover with fabric for a cozy spot, and utilize the bottom drawer space for storage.
Conclusion
Transform your old dresser into a stunning new piece with these easy DIY tips.
Just like a caterpillar turning into a butterfly, your dresser can undergo a beautiful transformation with some creativity and elbow grease.
So grab your supplies, roll up your sleeves, and get ready to breathe new life into your furniture.
Your revamped dresser will be a stylish addition to your home, showcasing your unique touch and craftsmanship.
- About the Author
- Latest Posts
Introducing Ron, the home decor aficionado at ByRetreat, whose passion for creating beautiful and inviting spaces is at the heart of his work. With his deep knowledge of home decor and his innate sense of style, Ron brings a wealth of expertise and a keen eye for detail to the ByRetreat team.
Ron’s love for home decor goes beyond aesthetics; he understands that our surroundings play a significant role in our overall well-being and productivity. With this in mind, Ron is dedicated to transforming remote workspaces into havens of comfort, functionality, and beauty.
Decor
5 Stunning White Accent Wall Ideas for Your Living Room
Fascinate your guests with these 5 stunning white accent wall ideas for your living room, each bringing a touch of style and personality!
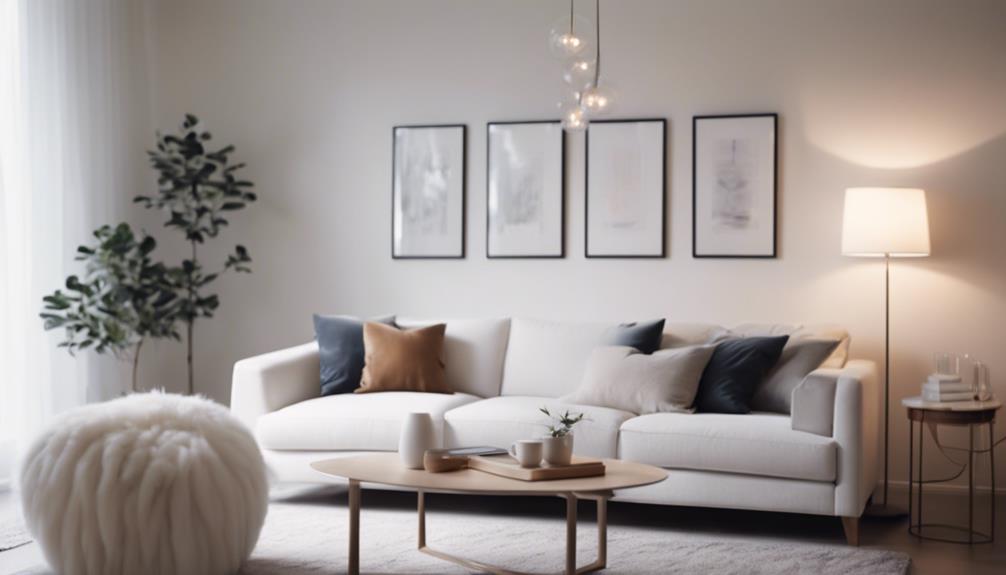
To conclude, stunning white accent wall ideas for your living room can be achieved through textured panels that offer depth and sophistication, serving as a focal point ideal for a minimalist or contemporary space. Shiplap accent walls evoke a serene coastal vibe, adding elegance and tranquility when paired with minimalist furniture. Gallery walls on white accent walls bring personality and captivate guests' attention, popular in versatile New York-based interior designs. Bold geometric patterns break the monotony, injecting personality and creating a modern, stylish look. Lastly, vertical gardens against white accent walls introduce nature indoors, offering a unique aesthetic. Discover more ways to enhance your living space!
Key Takeaways
- Textured panels add depth and sophistication.
- Shiplap walls evoke a serene coastal feel.
- Gallery walls display art and captivate attention.
- Bold patterns create a modern, stylish look.
- Vertical gardens bring nature indoors against white walls.
Textured Panels for Depth
How can textured panels on a white accent wall elevate the ambiance of a living room space?
Textured panels, when strategically placed on a white accent wall in a living room, have the remarkable ability to transform the entire atmosphere of the space. The contrast between the textured panels and the white background creates an engaging visual effect that adds depth and sophistication to the room. As light interacts with the textured surfaces, shadows are cast, creating a dynamic interplay that keeps the eye engaged.
In a living room setting, textured panels serve as a focal point, drawing attention and anchoring the design scheme. They provide a sense of luxury and refinement, making them ideal for minimalist or contemporary living spaces.
When paired with sleek, neutral-toned furniture and subtle decor, the textured panels stand out even more, enhancing the overall aesthetic of the room. By incorporating textured panels on a white accent wall, the living room feels more dynamic and visually interesting, elevating its design to a new level of sophistication.
Shiplap Accent Wall Design
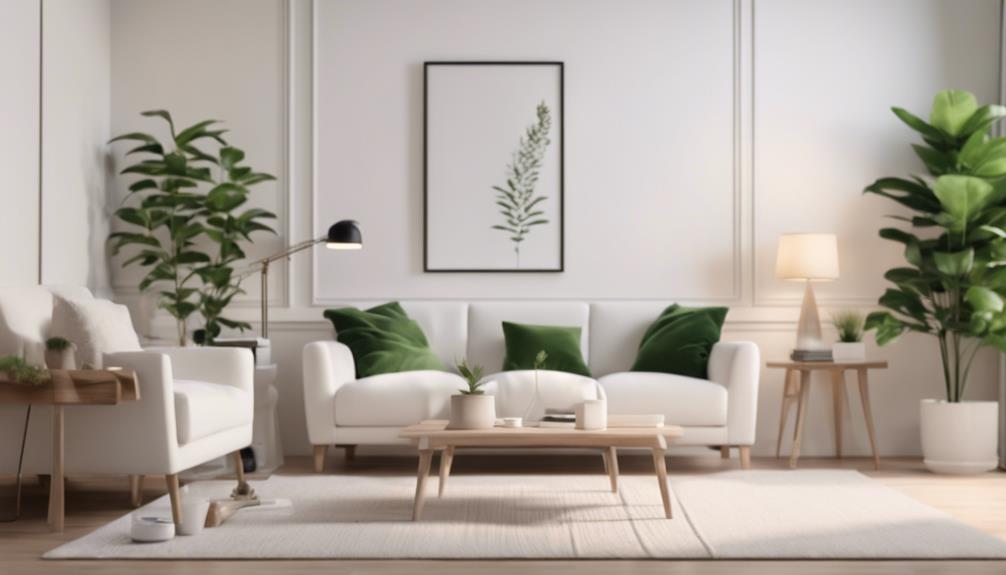
Textured panels may bring depth and sophistication to a living room, and now shifting our focus to shiplap accent wall design, we explore how this style can infuse a serene coastal vibe into your space.
A white shiplap accent wall adds a touch of elegance and tranquility, making it a popular choice in home decor. Known for its ability to evoke a sense of calmness, shiplap accent walls are recommended for creating a relaxed and inviting atmosphere in living rooms or bedrooms.
When paired with minimalist furniture and natural textures, the shiplap accent wall can enhance the overall aesthetic of the room, bringing a touch of coastal charm. The horizontal lines of the shiplap panels not only add visual interest but can also visually widen a room, creating an illusion of more space.
Its versatility makes it a suitable choice for various interior styles, from farmhouse to modern, allowing for seamless integration into different design themes. Whether aiming for a cozy farmhouse feel or a sleek contemporary look, a white shiplap accent wall is a timeless addition to any home decor.
Gallery Wall for Art Display
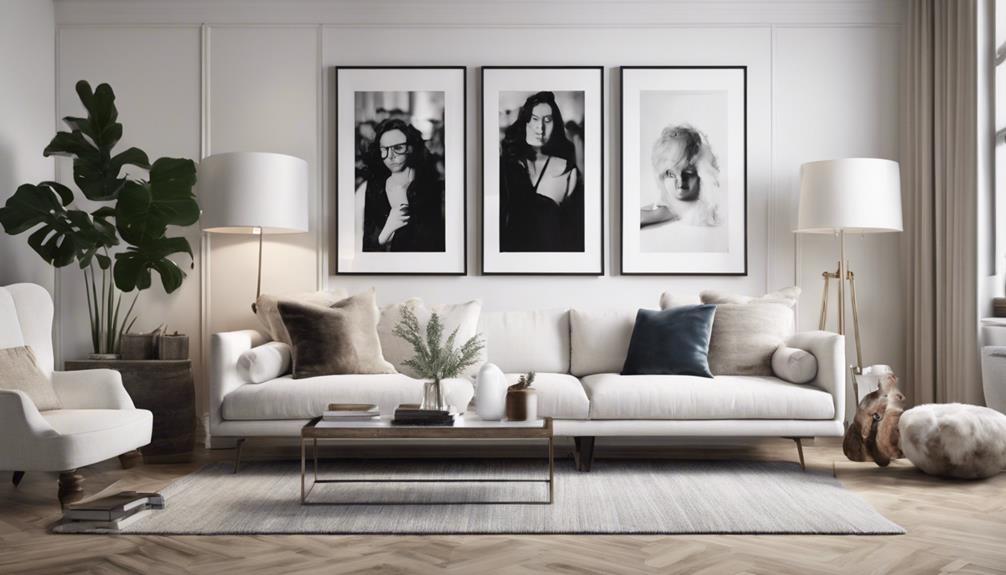
Creating a gallery wall on a white accent wall allows for a curated display of art pieces, photographs, and decor items in the living room. This design choice not only adds personality but also brings visual interest to the space, acting as a focal point that can captivate guests' attention. In New York-based interior design, gallery walls on white walls are a popular choice due to their versatility and ability to complement various decor styles.
The eclectic charm of a gallery wall is enhanced by varying picture-hanging techniques and frame sizes. This mix creates a dynamic visual composition that can be further accentuated by incorporating picture lights to highlight specific pieces.
Bold Patterns for Drama
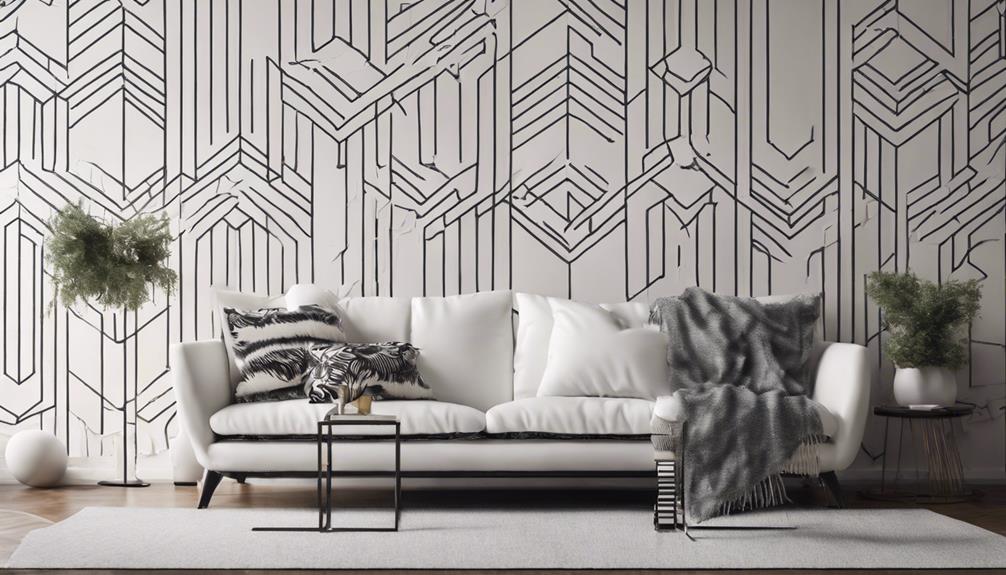
Adding bold patterns to a white accent wall can instantly bring drama and visual interest to your living room. Opting for geometric patterns can create a modern and stylish look in your space, breaking up the monotony of a plain white wall and injecting personality into the room.
Experimenting with intricate designs or large-scale motifs allows you to make a striking statement in your living area. These bold patterns are ideal for establishing a dynamic and attention-grabbing focal point in your living room, drawing attention and adding depth to the space.
Whether you choose to go with symmetrical shapes or asymmetrical arrangements, the contrast between the white accent wall and the bold patterns can create a dramatic visual impact. By incorporating bold patterns, you can transform a simple white accent wall into a captivating feature that elevates the overall aesthetic of your living room.
Vertical Garden for Greenery
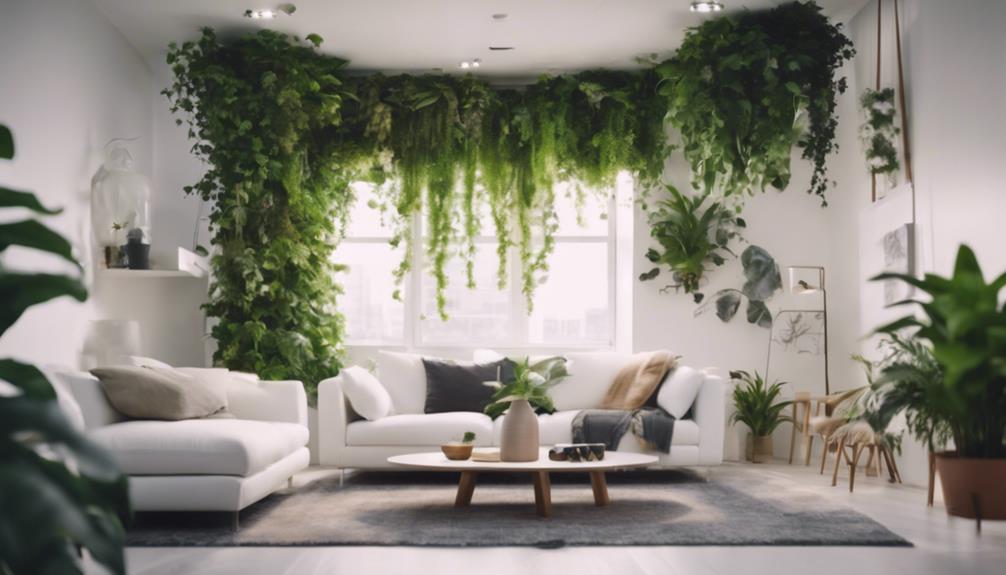
Embracing the concept of vertical gardens against white accent walls brings a rejuvenating touch of nature indoors, elevating the ambiance of any living space. These innovative green installations offer a seamless blend of modern design and natural elements, perfect for urban interiors seeking a revitalizing atmosphere.
The combination of lush greenery against a crisp white backdrop creates a striking visual contrast that enlivens the room. With low-maintenance plants housed in wall-mounted containers, vertical gardens provide a practical solution for infusing greenery into compact living areas or patios without sacrificing floor space.
The white accent wall serves as a clean canvas that highlights the vibrancy of the plants, offering an invigorating and serene atmosphere. Whether opting for a uniform display of greenery or a mix of different plant varieties, a vertical garden on a white accent wall introduces a unique and stylish way to bring the outdoors in while enhancing the overall aesthetic of the space.
Frequently Asked Questions
What Is the Best Accent Color for White Walls?
When considering the best accent color for white walls, various factors come into play to achieve the desired ambiance. Navy blue offers a classic, sophisticated look, while emerald green adds luxury and drama.
For a serene feel, soft blush pink or lavender work well, whereas bold options like mustard yellow or deep burgundy create a striking contrast.
Metallic shades of gold or silver bring glamour to the white accent wall, enhancing the living room's aesthetic.
What Is the Best Color for an Accent Wall in a Living Room?
When considering the best color for an accent wall in a living room, we often lean towards hues that create a harmonious balance with the existing decor.
Soft neutrals like beige or light grey can provide a subtle contrast without overpowering the space.
Alternatively, deep jewel tones such as emerald green or sapphire blue can add a touch of drama and sophistication.
Ultimately, the best color choice depends on personal preference and the desired ambiance of the room.
How Do You Make a Stunning Accent Wall?
When making a stunning accent wall, consider textures like textured panels or shiplap for depth and a serene vibe.
Bold patterns can offer energy and contrast, while geometric patterns add a modern touch.
Urban spaces may benefit from a vertical garden against a white accent wall.
Experiment with these ideas to create a visually appealing focal point in your living room or any space that needs a touch of elegance.
Should the Accent Wall Be Behind the Couch or Tv?
When deciding whether to position the accent wall behind the couch or TV in the living room, consider the room's layout and flow. Placing it behind the couch can create a focal point for the seating area, enhancing that zone.
On the other hand, positioning it behind the TV can draw attention to the entertainment area, complementing the room's design. The choice depends on the functionality and visual balance one aims to achieve in the space.
Conclusion
To sum up, incorporating a stunning white accent wall into your living room can truly transform the space and create a visually appealing focal point.
Whether you choose textured panels, shiplap, a gallery wall, bold patterns, or a vertical garden, the possibilities are endless.
By adding a touch of creativity and personality to your decor, you can elevate the ambiance of your living room and make a lasting impression on all who enter.
- About the Author
- Latest Posts
Introducing Ron, the home decor aficionado at ByRetreat, whose passion for creating beautiful and inviting spaces is at the heart of his work. With his deep knowledge of home decor and his innate sense of style, Ron brings a wealth of expertise and a keen eye for detail to the ByRetreat team.
Ron’s love for home decor goes beyond aesthetics; he understands that our surroundings play a significant role in our overall well-being and productivity. With this in mind, Ron is dedicated to transforming remote workspaces into havens of comfort, functionality, and beauty.
Decor
DIY Burlap Lamp Shade in 5 Easy Steps
Discover how to transform a plain lamp shade into a rustic masterpiece using burlap in just 5 simple steps – a cozy touch awaits!
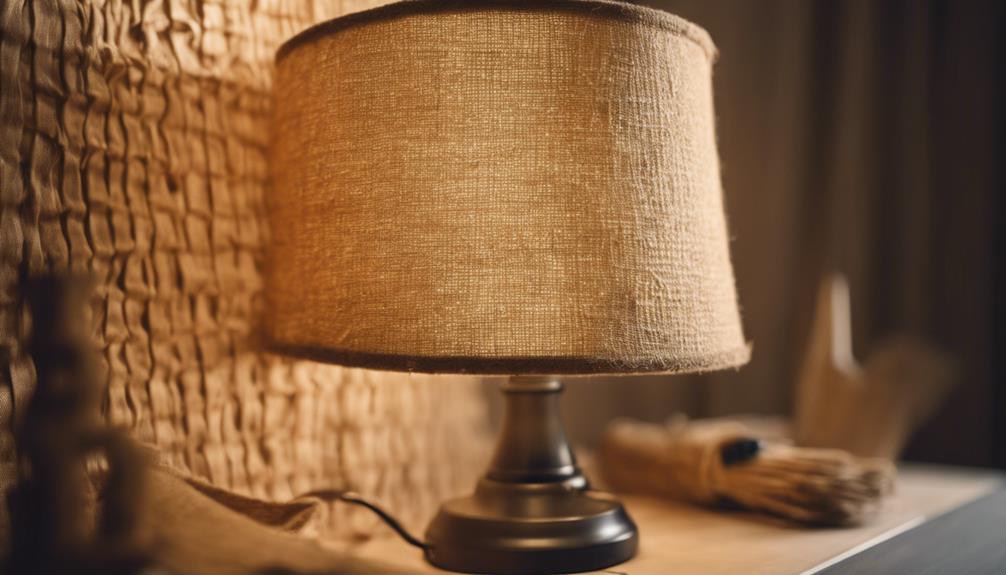
Craft a charming burlap lamp shade in 5 easy steps for a cozy room vibe. First, prepare by gathering burlap, glue, and a solid lamp shade. Next, measure and cut burlap to fit your shade, ensuring a snug cover. Then, create ruffles with twine and hot glue for rustic flair. Attach these ruffles to the lamp shade top with hot glue for a seamless look. Finally, trim excess burlap for a neat finish. Enjoy your personalized touch!
Key Takeaways
- Measure lampshade, cut burlap strip to size.
- Create ruffles with twine and hot glue.
- Attach ruffled burlap to lampshade with hot glue.
- Trim excess burlap for a clean finish.
- Admire and enjoy your personalized burlap lampshade.
Gather Supplies and Prepare Work Area
We typically gather supplies and prepare our work area before diving into the DIY Burlap Lamp Shade project. For this endeavor, we need burlap, scissors, spray adhesive, Heat n Bond, and a glue gun. Once we've all the necessary items, we clear a workspace and lay out our materials for easy access and organization. It's important to have a clean and organized work area to guarantee a smooth process.
To create our DIY Burlap Lamp Shade, we start with a solid color lamp shade as the base for the burlap covering. This helps maintain a cohesive look once the project is complete.
Using hot glue or a sewing machine, we can attach the burlap to the lamp shade securely. Additionally, preparing the burlap by measuring and cutting it to fit the lamp shade with some extra allowance for wrapping and securing is vital for a neat and professional finish.
Measure and Cut Burlap Fabric Strip
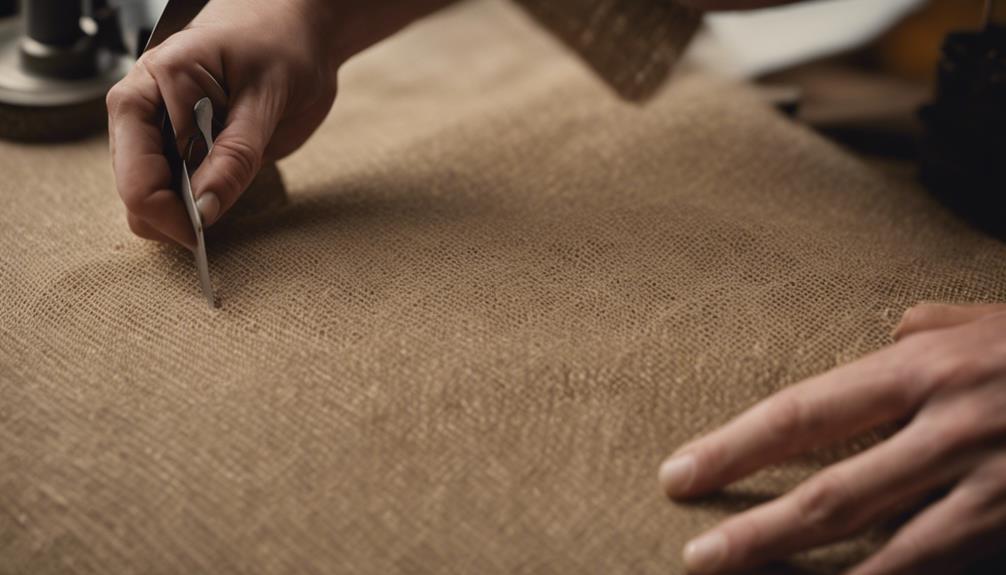
Before proceeding to cover the lamp shade with burlap, the next step involves measuring and cutting a strip of burlap fabric to the appropriate length and width.
To start, measure the circumference of the lamp shade, adding a few extra inches to allow for overlap. Using sharp scissors, cut a long strip of burlap fabric to match the measured length. Make sure the width of the burlap strip is adequate to cover the lamp shade with some extra for securing it in place. It's important to double-check the measurements before cutting to avoid any sizing mistakes.
Cutting the burlap strip accurately is vital for achieving a smooth and seamless covering of the lamp shade. Remember, precision is key in this step to ensure the burlap fabric fits snugly around the lamp shade.
Once the strip is cut to the correct dimensions, you'll be ready to move on to the next step of creating ruffles with twine and hot glue.
Create Ruffles With Twine and Hot Glue
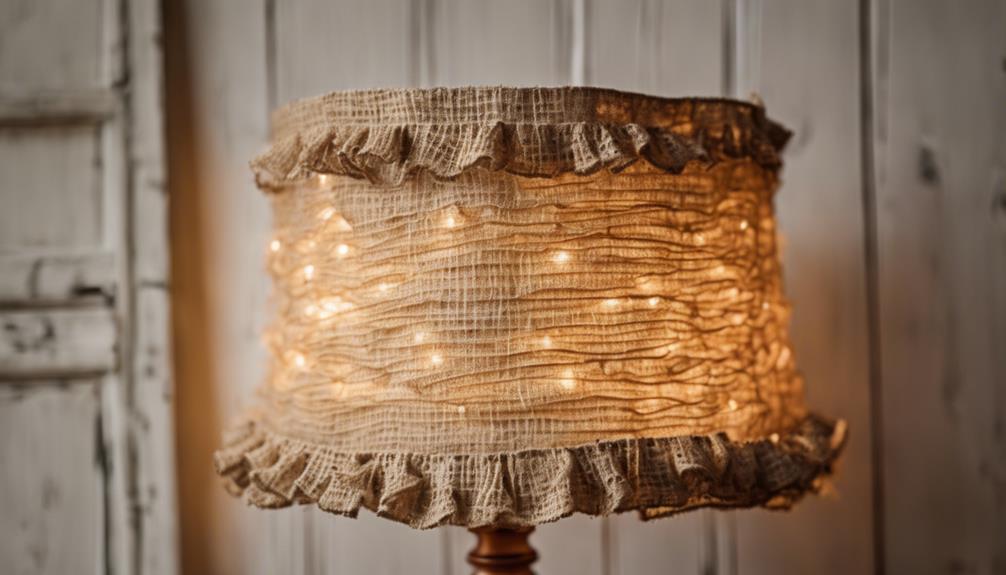
To create ruffles with twine and hot glue, gather a long strip of burlap and snip one strand of twine. Using a hot glue gun, secure the gathered burlap along the twine, creating beautiful ruffles that will add texture to your lampshade.
Make sure to trim any excess fuzz and strings for a polished finish on the ruffles. This technique not only adds a rustic charm to your lampshade but also gives it a unique and personalized touch.
Once you have created the ruffled strips, connect them end to end with hot glue to form a lovely garland that will adorn your lampshade beautifully.
Full disclosure, this step requires a bit of patience and precision, but the end result is definitely worth the effort. Get ready to see your plain lampshade transform into a stunning decorative piece with these charming burlap ruffles.
Attach Ruffles to Lampshade
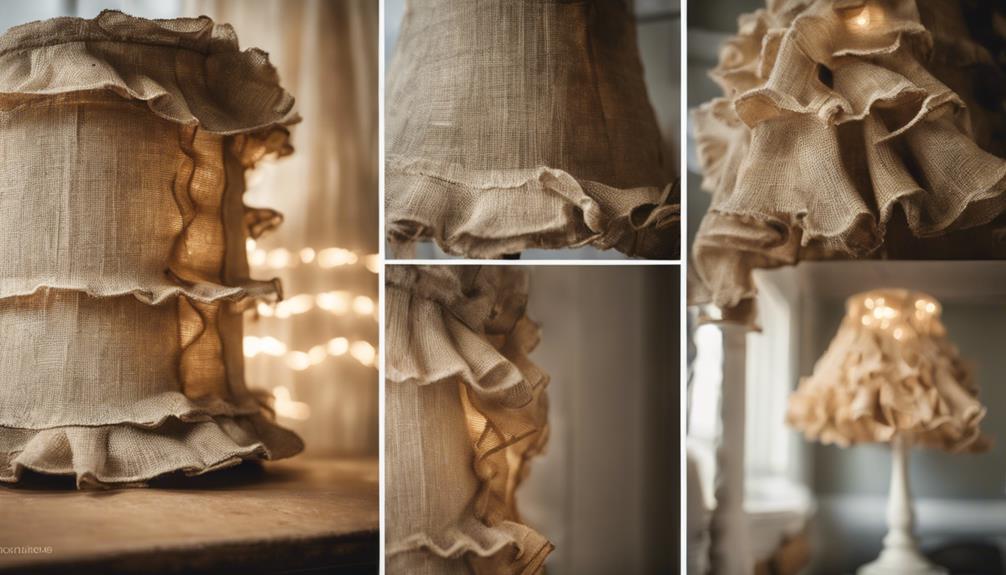
Attaching the burlap ruffles to the lampshade involves carefully positioning them and securing them with hot glue for a charming rustic touch. To successfully attach the burlap strips onto the shade, follow these steps:
- Start by applying a thin line of hot glue along the top rim of the drum shade.
- Press the gathered burlap strip gently onto the hot glue, making sure it adheres smoothly.
- Work in small sections, applying hot glue and pressing the burlap ruffles onto the shade gradually.
- Overlap each new burlap strip slightly over the previous one to create a seamless look.
- Continue this process until the entire lampshade is covered with the ruffled burlap, adjusting the positioning as needed for a uniform appearance.
Using a hot glue gun to attach the burlap ruffles not only provides a secure hold but also adds a lovely handmade charm to your burlap lampshade project.
Trim Excess and Enjoy Your New Lampshade
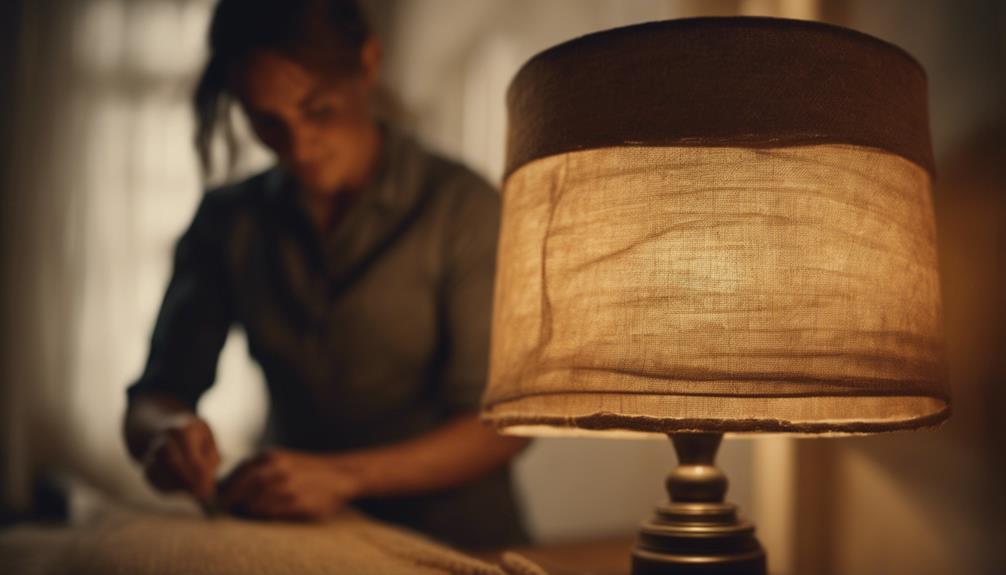
After securing the burlap ruffles onto the lampshade, carefully trim any excess material for a clean and polished final look. Use scissors to trim the burlap, making sure that the edges are neat and tidy. Check for any loose edges or corners; if you find any, secure them with a bit more hot glue from the glue gun. It's crucial to make sure the burlap covers the bottom of the shade evenly, especially if you're working with a larger shade.
Once you've trimmed the excess burlap and everything looks tidy, step back and admire your handiwork. If you love burlap's rustic charm, you'll be thrilled with the cozy feel it adds to your room. Test the stability and appearance of the lampshade to verify it meets your expectations.
Enjoy the personalized touch it brings to your decor and appreciate the effort you put into creating a unique piece for your home. Now, sit back, relax, and bask in the warm glow of your beautifully crafted burlap-covered lampshade.
Frequently Asked Questions
How to Make a DIY Lampshade Step by Step?
Making a DIY lampshade is simple. Measure the shade, cut burlap with extra allowance, and secure it with spray adhesive.
Create clean edges with Heat n Bond and a glue gun for a polished look. Personalize with colored bindings or embellishments.
This process enhances any room with a unique touch. Just follow these steps for a customized lampshade that adds personality to your space.
How Do You Make a Lampshade Cover From Scratch?
When making a lampshade cover from scratch, it's crucial to measure the dimensions of your lampshade first.
Cut the burlap with extra allowance for a proper fit. Use spray adhesive to attach the burlap smoothly.
Create a burlap binding using Heat n Bond for neat edges. Secure the binding with a glue gun for durability.
Personalize with bias tape for added flair. These steps guarantee a professional-looking burlap lampshade cover.
How to Make a Template for a Lamp Shade?
To make a template for a lamp shade, first measure its height and circumference. Then, use a large piece of paper or cardboard to trace the lamp shade's shape. Carefully cut out the template, ensuring it matches the dimensions.
Mark any openings or seams for accurate placement on the fabric. Test the template by wrapping it around the lamp shade to verify the fit before cutting the fabric.
How to Make Lampshades With Fabric?
When making lampshades with fabric, we measure and cut the fabric to size, then secure it with glue or adhesive. Smoothing out any wrinkles is essential for a polished look.
Embellishments like fringe or trim can add a decorative flair. Trimming excess fabric and securing edges completes the process.
Personalizing lampshades with different fabrics and accents can create unique lighting fixtures that reflect your style and creativity.
Conclusion
In just 5 easy steps, you can transform a plain lampshade into a charming burlap masterpiece.
Did you know that burlap is a sustainable material made from jute fibers, making it an eco-friendly choice for DIY projects?
So not only will you be adding a touch of rustic style to your home, but you'll also be helping the environment.
Give it a try and see the difference it makes in your space!
- About the Author
- Latest Posts
Introducing Ron, the home decor aficionado at ByRetreat, whose passion for creating beautiful and inviting spaces is at the heart of his work. With his deep knowledge of home decor and his innate sense of style, Ron brings a wealth of expertise and a keen eye for detail to the ByRetreat team.
Ron’s love for home decor goes beyond aesthetics; he understands that our surroundings play a significant role in our overall well-being and productivity. With this in mind, Ron is dedicated to transforming remote workspaces into havens of comfort, functionality, and beauty.
Decor
The 7 Best Diy Valentines Day Decor
Gather inspiration from these creative DIY Valentine's Day decor ideas to transform your space into a romantic oasis, and discover more.

We've put together a list of the 7 best DIY Valentine's Day decor ideas to help create a romantic ambiance. From printable gift tags that add a personal touch to gifts to personalized letter decor that showcases creativity, we've ensured all your needs are met. Framed love quote decor allows you to choose a quote that resonates with your personal style, while DIY love signs and banners add a heartfelt message. Mini pom pom garland and glittery Valentine sign making bring a festive vibe, and I love you sign ideas provide endless possibilities. Get ready to make this year's celebration unforgettable. There's more to explore, and we're just getting started.
Key Takeaways
• Printable gift tags and personalized decor add a thoughtful touch to gifts and celebrations, making loved ones feel special.
• Framed love quote decor with a personalized frame style elevates the ambiance and sentiment of the gift or decoration.
• Hanging decor securely and at eye level, with the right hardware and a level, adds a touch of romance to celebrations.
• DIY love signs, banners, and garlands, such as mini pom pom garlands, offer a personal and festive touch to Valentine's Day decor.
• Personalized letter decor and customized decor with heartfelt messages showcase creativity and add a unique, intimate touch to celebrations.
Printable Gift Tags Inspiration
We can add a personal touch to our Valentine's Day gifts with charming printable gift tags, like the one offered by Home.Made.Interest. This thoughtful gesture is worth considering, especially if you're looking for a unique way to make your gifts stand out.
Imagine presenting your loved one with a beautifully wrapped gift, complete with a customized tag that adds an extra layer of thoughtfulness. The simplicity of the design makes it perfect for personalizing your gifts, giving them an extra special touch that will surely be appreciated.
In New York, or anywhere else for that matter, it's the little things that count, and a well-designed printable gift tag can make all the difference. By adding a personal flair to your gift-giving, you're showing your loved ones that you're willing to go the extra mile to make them feel special.
And with Home.Made.Interest's printable gift tag, you can do just that. So why settle for a generic gift when you can add a touch of elegance and thoughtfulness with a charming printable gift tag?
Framed Love Quote Decor

As we move forward with our Framed Love Quote Decor project, we'll explore the key aspects to take into account.
We'll start by discussing how to select the perfect quote that resonates with our love story, then move on to choosing a frame style that complements our existing decor.
Quote Selection Tips
Choosing a quote that truly resonates with us is crucial for our framed love quote decor. A carefully selected quote can elevate the decor and make it truly special, so it's important to invest time in finding one that speaks to our hearts.
We consider the tone and sentiment of the quote, ensuring it matches our personal style and the overall aesthetic we aim for. Opting for a quote that feels authentic and meaningful, rather than simply selecting a romantic-sounding one, is key.
We also take into account the length and complexity of the quote, making sure it fits perfectly within the frame. By picking a quote that reflects our love story, we can create a one-of-a-kind and personalized piece of decor that celebrates our relationship.
With some thoughtful consideration, we can design a beautiful framed love quote decor that will be a cherished possession.
Frame Style Options
What style of frame will perfectly capture the essence of our love quote, and elevate our Valentine's Day decor to the next level?
When it comes to framed love quote decor, we've a plethora of frame styles to choose from. Rustic, modern, or vintage – the options are endless, and we can pick the one that resonates with our aesthetic. This flexibility allows us to personalize our decor to fit our unique style, making the DIY project truly special.
Whether we opt for a distressed wooden frame or a sleek, modern design, the frame style we choose will greatly impact the overall look and feel of our love quote decor.
We can also consider the color palette and materials used in our home decor to make sure our framed love quote blends seamlessly with the surroundings. By selecting a frame that complements our quote and decor, we can create a beautiful, cohesive look that exudes romance and warmth.
With so many frame styles available, we're sure to find the perfect one to make our Valentine's Day decor truly unforgettable.
Hanging Instructions
We hang our framed love quote decor with care, making sure it's securely mounted on the wall to avoid any accidents. We take our time to get it right, knowing that a little extra effort upfront will pay off in the long run.
Before we start hammering away, we take measurements and plan the placement of the decor to guarantee it's positioned at eye level for best visibility and aesthetic appeal. We also consider the weight of the frame and choose the appropriate hanging hardware to prevent any mishaps.
A level comes in handy to make sure the frame is straight, and we don't hesitate to use wall hooks or screws that can support the weight of the decor. By taking these precautions, we can confidently hang our framed love quote decor, knowing it'll stay put and add a touch of romance to our Valentine's Day celebration.
With a little patience and attention to detail, we can create a beautiful and safe display that will be the envy of all our friends and family.
I Love You Sign Ideas

With Valentine's Day just around the corner, crafting our own 'I love you' signs can add a personal touch to our home decor. We can create a unique and heartfelt piece that speaks directly to our loved ones.
For instance, The Dating Divas' DIY Framed Valentines Day Print features an adorable 'Two Little Lovers Sitting in a Tree' design that's sure to bring a smile.
Alternatively, Landeelu's DIY Valentines Day Sign offers a beautiful and elegant decor piece for our homes. If we're looking for something more playful, Lolly Jane's Easy Valentines Day Glitter Sign is a standout DIY project that adds a beautiful sparkle to our decor.
These signs can be placed anywhere in our home, from the living room to the dining table, and are sure to be a conversation starter. By making our own 'I love you' signs, we can add a personal and intimate touch to our Valentine's Day celebrations.
DIY Love Banner Project

As we explore the DIY Love Banner Project, we're excited to focus on the design elements that make this banner truly special.
We'll discuss the various design options that can enhance the overall aesthetic of our banner, from font styles to color schemes.
Next, we'll move on to heartfelt message ideas that will make our banner a unique and personalized addition to our Valentine's Day decor.
BANNER DESIGN ELEMENTS
Designing the DIY Love Banner begins with selecting the perfect combination of banner design elements, including fonts, colors, and graphics that evoke the spirit of Valentine's Day. We want our banner to exude love and celebration, after all!
When choosing fonts, we recommend opting for playful, cursive scripts or bold, modern sans-serifs that add a touch of sophistication. Colors should be bright and cheerful, with shades of pink, red, and white taking center stage. Graphics can include hearts, Cupid's arrows, or other Valentine's Day-themed icons that add visual interest.
By combining these design elements, we can create a banner that's both festive and elegant. With the DIY Love Banner project from TaterTots & Jello, we can easily create a beautiful decoration that adds a loving touch to any space.
This free printable decoration idea is easy to create and customize, making it perfect for Valentine's Day parties or everyday decor.
HEARTFELT MESSAGE IDEAS
We'll make our DIY Love Banner truly special by adding heartfelt message ideas that speak directly to our loved ones. When it comes to creating a personalized and charming atmosphere for Valentines Day, the right words can make all the difference.
With the DIY Love Banner project, we can customize our message to fit our unique style and relationship. Whether we're decorating for a Valentines Day party or simply want to add a festive touch to our home, this project is a fun and easy way to spread love and create a heartwarming ambiance.
We can choose messages that are romantic, playful, or a mix of both, depending on our personal preference. Some ideas include 'Love is in the air,' 'You're the love of my life,' or 'Forever and always.'
Mini Pom Pom Garland Craft

We're getting crafty this Valentine's Day with a Mini Pom Pom Garland that adds a playful pop of color to our home decor. This fun and easy DIY project is perfect for the occasion, and we love that it's simple enough for kids to help with.
The result is a playful and colorful touch that adds a festive vibe to any space. Created by The Happier Homemaker, this craft has become a popular choice for Valentine's Day decorating.
The best part? It's incredibly easy to make, and the end result is a beautiful, whimsical garland that's sure to bring a smile to everyone's face. We're excited to add this garland to our Valentine's Day decor, and we think you'll be too.
With its playful pom poms and vibrant colors, it's the perfect way to add a touch of whimsy to our homes. So why not get crafty with us and create your own Mini Pom Pom Garland this Valentine's Day?
Glittery Valentine Sign Making

By combining wooden letters, glitter, and glue, we can create a sparkly and festive Glittery Valentine Sign that adds a touch of glamour and romance to our Valentine's Day decor. This easy DIY project is a great way to personalize our decorations with romantic words or phrases like 'Love' or 'Be Mine.'
To make our sign, we simply need to glue the wooden letters together, add a generous amount of glitter, and let it dry. We can customize the sign to fit our personal style by choosing the color and shape of the wooden letters, as well as the type of glitter we use.
Once our sign is complete, we can display it proudly on a mantel, shelf, or as part of a table centerpiece. This craft project is a simple yet effective way to add a touch of elegance and romance to our Valentine's Day celebration.
With a few simple materials and some creativity, we can create a beautiful Glittery Valentine Sign that will make our holiday decorations stand out.
Personalized Letter Decor

With Personalized Letter Decor, we can add a unique and intimate touch to our Valentine's Day celebration by spelling out meaningful words or phrases using customized letters. This DIY project is an excellent way to showcase our creativity and express our love in a special way.
By using letters to create customized decorations, we can create a festive atmosphere that's truly one-of-a-kind. We can spell out words like 'LOVE' or 'XOXO' to create a romantic and whimsical ambiance that's perfect for the holiday. This craft idea is a popular choice for adding a personal touch to our home decor, and it's surprisingly easy to do.
With a little creativity, we can create a beautiful and meaningful decoration that will make our Valentine's Day celebration truly unforgettable. Whether we're celebrating with our partner, family, or friends, Personalized Letter Decor is a fantastic way to add a special touch to our holiday decor.
Frequently Asked Questions
How Can I Decorate My Home for Valentine's Day?
We can decorate our homes for Valentine's Day by adding personal touches to our decor.
We'll create a festive atmosphere by printing and framing cute Valentine's Day prints, like the 'Two Little Lovers' design.
We'll also add charm to gifts with printable tags and create a statement with a beautiful DIY sign.
To top it off, we'll hang a free printable banner and add a playful touch with mini pom pom garland.
How Do You Tastefully Decorate for Valentine's Day?
As we approach Valentine's Day, we wonder how to tastefully decorate our homes for the occasion.
We believe that incorporating romantic colors, elegant decorations, and personalized touches can create a warm and inviting atmosphere.
By choosing modern and stylish decor pieces, we can add a contemporary flair to our homes.
Additionally, involving the whole family in quick and kid-friendly decor options can make the celebration even more special.
What Crafts Can I Make for Valentine's Day?
As we prepare for Valentine's Day, did you know that 180 million cards are exchanged on this day alone?
When it comes to crafts, we can get creative and make something truly special. We can craft wooden heart ornaments, festive crayon hearts, or design a striking tissue paper wall heart.
We can even try our hand at making a dried floral wreath or craft floral linen-wrapped pots for a themed look.
Whatever we choose, we'll be spreading love and joy with our handmade creations.
Does Dollar Tree Have Valentine's?
We're happy to clarify: yes, Dollar Tree does have Valentine's Day items! They typically stock a variety of decorations and gifts at affordable prices.
You can find heart-shaped balloons, themed tableware, and festive garlands to create a romantic ambiance. Plus, they offer craft supplies and decorations for DIY projects.
Whether you're on a budget or just looking for a convenient option, Dollar Tree is a great place to find what you need for Valentine's Day.
Conclusion
As we wrap up our DIY Valentine's Day decor ideas, remember that 61% of Americans celebrate this holiday, making it a special day for many.
With these 7 creative projects, you'll add a personal touch to your celebrations.
From printable gift tags to a glittery Valentine sign, these DIY decorations will make your home feel loved.
So, get crafty and spread the love!
- About the Author
- Latest Posts
Introducing Ron, the home decor aficionado at ByRetreat, whose passion for creating beautiful and inviting spaces is at the heart of his work. With his deep knowledge of home decor and his innate sense of style, Ron brings a wealth of expertise and a keen eye for detail to the ByRetreat team.
Ron’s love for home decor goes beyond aesthetics; he understands that our surroundings play a significant role in our overall well-being and productivity. With this in mind, Ron is dedicated to transforming remote workspaces into havens of comfort, functionality, and beauty.
-

 Vetted3 weeks ago
15 Best Printers of 2024: Top Picks and Expert Reviews
-
 Vetted3 weeks ago
15 Best Tile Sealers for Long-Lasting Protection and Shine
-

 Vetted4 days ago
15 Best Leather Restorer Products to Revive Your Furniture and Accessories
-

 Vetted4 weeks ago
15 Best Smelling Floor Cleaners That Will Leave Your Home Fresh and Inviting
-

 Vetted4 weeks ago
14 Best Power Scrubbers for Showers That Will Transform Your Cleaning Routine
-

 Vetted2 weeks ago
14 Best Lawn Tractors of 2024 – Ultimate Guide for Your Yard Maintenance
-

 Vetted1 week ago
15 Best Leg Massagers to Relieve Tension and Improve Circulation – Ultimate Guide
-

 Vetted3 weeks ago
15 Best Evergreen Plants for Shade Gardens: A Complete Guide


